Proxy Server Configuration
The Proxy Server Configuration page enables administrators to define and manage proxy settings that facilitate secure and controlled network communication for the Motadata ServiceOps platform. From this interface, users can add both Manual Proxy Servers and DMZ (Demilitarized Zone) Servers depending on their organization's network architecture and security requirements.
Proxy Server
What is a Proxy Server?
A proxy server acts as an intermediary between a client (such as the ServiceOps application) and the internet. It forwards requests from the client to external servers and returns the responses, while optionally applying network policies such as filtering, caching, authentication, and logging.
When to use a Proxy Server:
- When direct access to the internet is restricted by your organization’s firewall.
- To enhance security by hiding internal IP addresses.
- To monitor, filter, or log outbound internet traffic.
- To improve performance through caching of frequently accessed resources.
The Proxy server supports Patch, Email servers, SSO, API custom fields, Workflow Webhook, Mobile notification, Captcha, JIRA integration, and RDP.
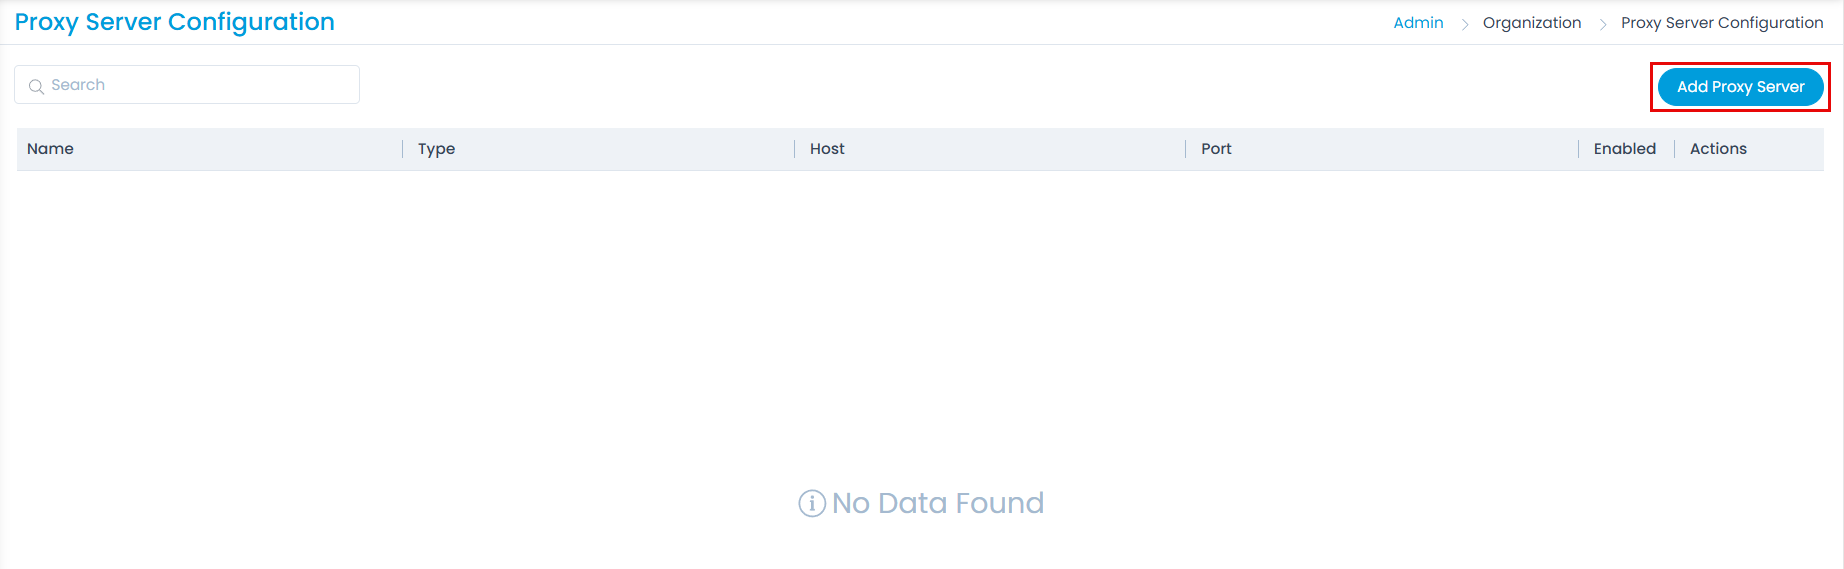
Configuring Manual Proxy Server
To configure,
- Click the Add Proxy Server button and the popup appears.
- Enter the below details:
- Name: Enter a unique name for the proxy server.
- Proxy Server Type: Select the proxy server type as Configure Manual Proxy.
- Host: Enter the host IP address.
- Port: Enter the port number.
- User Name and Password: Enter the user name and password for “Configure Manual Proxy” type.
- The “Direct Internet Access” option is not supported anymore.
- In edit mode, the Proxy type cannot be changed.
- Once done, click Add. You can also test the connection before adding the server using the Test Connection button.

- Once the proxy server is added, it appears on the list page. Here, you can perform the following tasks:
- Enable or disable (By default, enabled)
- Edit
- Delete
- Once the Proxy Server is added and enabled, it will be available for selection at the below locations:
- Patch Settings > Update Patch Database
- Patch Settings > Patch Storage Configuration (Remote office)
- Outgoing Mail Server > Add/Edit Outgoing Mail Servers
- Incoming Mail Server > Add/Edit Incoming Mail Servers
- Add/Edit User Import > Configuration
- Integration > Add/Edit Rest Integration
- User Security > Captcha (Available for enabled and Online type Captcha)
- System Preference > Application Settings, under Mobile Push Notification
- Automation > Add/Edit API Credentials
- Admin > RDP Configuration (Remotely RDP)
- Request and Service Catalog Form > Add/Edit API Custom Field
- Workflow > Action > Run Webhook
In case of an upgrade,
- If the "Direct Internet Access" option was selected before the upgrade, this option will be unavailable afterward, and the field will be blank.
- If "Manual Proxy" or "DMZ" was selected, the field will have the default value after the upgrade.
DMZ Server
What is a DMZ Server?
A DMZ (Demilitarized Zone) server resides in a network segment that acts as a buffer zone between the internal network and external/public networks. It is typically used to facilitate communication between external systems (e.g., patch repositories, remote agents, or update servers) and the internal ServiceOps application without exposing the internal network directly.
When to use a DMZ Server:
- When remote devices or services outside your corporate network need to securely interact with ServiceOps.
- To minimize exposure of internal systems by isolating external-facing services.
- As a secure gateway for controlled access to internal applications via the internet.
Configuring DMZ Server
To configure,
- First install the DMZ Server. For more details, refer to the DMZ Server Installation page.
- In ServiceOps, navigate to Admin > Organization > Proxy Server Configuration page.
- Click the Add Proxy Server button and the popup appears.

- Enter the below details:
- Name: Enter a unique name for the proxy server.
- Proxy Server Type: Select the proxy server type as DMZ.
- Host: Enter the host IP address.
- Port: Enter the port number 8085.
- Enable File Storage on DMZ as: Activate the flag to download the patch files on the DMZ server and then transfer them to the File Server for deployment.
- The “Direct Internet Access” option is not supported anymore.
- In edit mode, the Proxy type cannot be changed.
- DMZ proxy servers will be available in patch and remote office only.
Once done, click Add. You can also test the connection before adding the server using the Test Connection button.
Once the proxy server is added, it appears on the list page. Here, you can perform the following tasks:
- Enable or disable (By default, enabled)
- Edit
- Delete
Once the DMZ Server is added and enabled, it will be available for selection at the below locations:
- Admin > Patch Management > Patch Settings > Update Patch Database
- Admin > Patch Management > Remote Offices