Locations
The location is a classifier that helps to organize the requests and people based on their geographical presence. The location is an N-level dependent hierarchy which means you can create as many child locations as you want. You can assign the location with a user and the request. Hence, it can act as a security filter that technicians of one location can manage requests of that particular location only.
To view the Locations page, navigate to Admin > Organization > Locations.
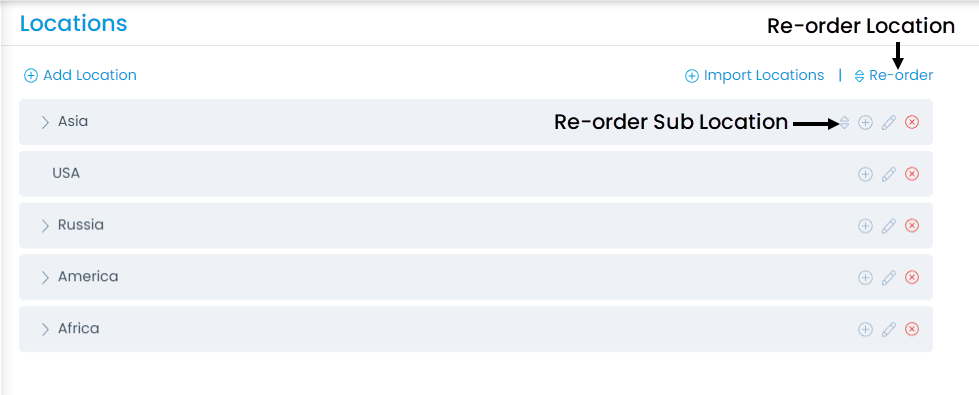
The list page displays all the available locations. Here, you can add, edit, delete, import, and re-order location and sub-location.
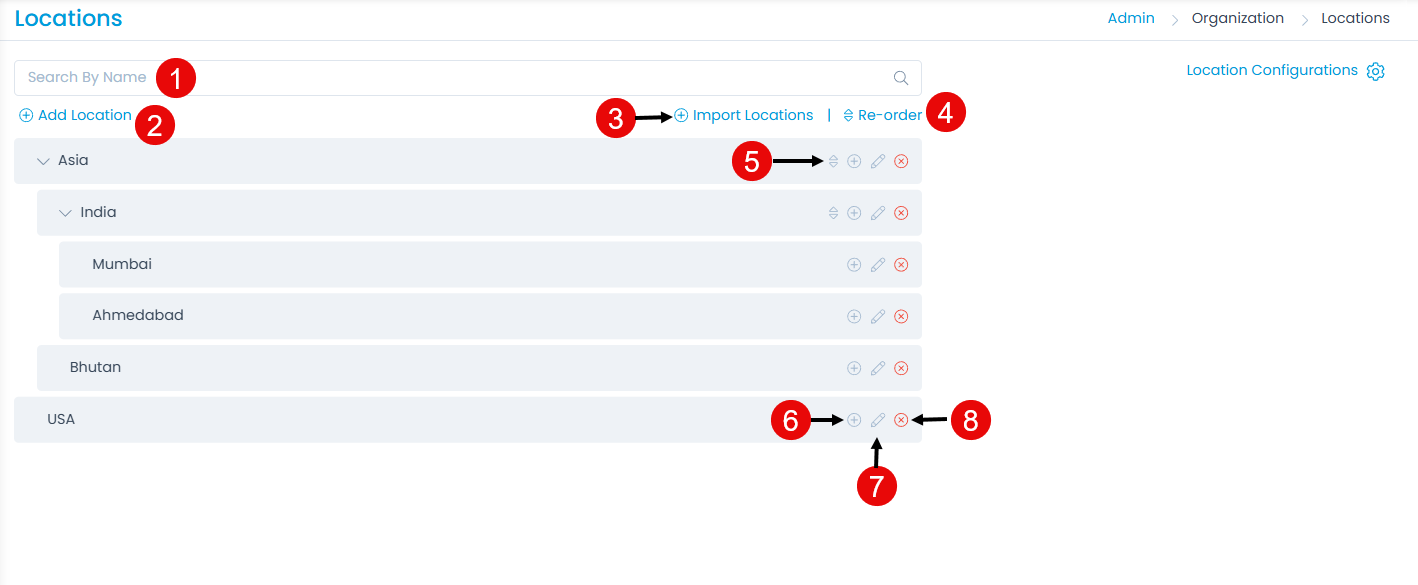
The page provides the following features:
- Search: You can search for specific locations by name.
- Add Location: You can add a location.
- Import Locations: You can import a list of locations in bulk.
- Re-order Locations: You can change the order of the locations. You can move it up or down.
- Re-order Sub Locations: You can change the order of the sub locations. You can move it up or down.
- Add Sub Location: You can add sub location.
- Edit: You can edit the desired location.
- Delete: You can delete the location if not required anymore. Once deleted, if the location is assigned to any user it will still reflect over there, but will not be available for assignment. The entry is kept just for viewing purpose.
Add Location and Sub Location
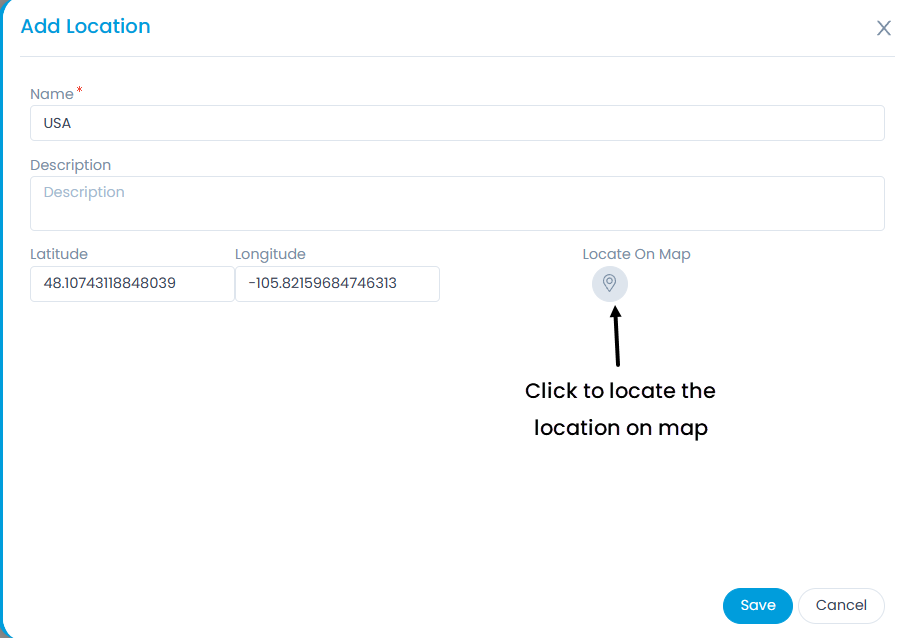
To add location,
- Click the Add Location link and a dialog appears.
- Enter the Name and Description of the location.
- Enter the Latitude and Longitude of the location. You can also click on Locate on Map to get the location coordinates of the location.
- Once done, click Save.
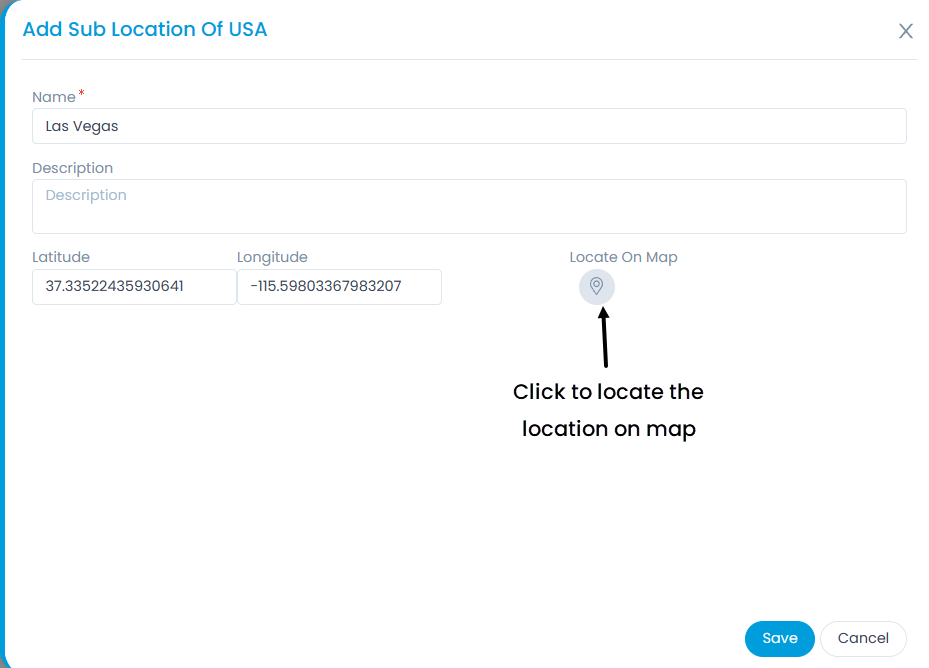
- Similarly, you can add the sub location by clicking the Add Sub Location icon.
Import Locations
To import locations,
Click the Import Locations link and the Location Batches page appears.
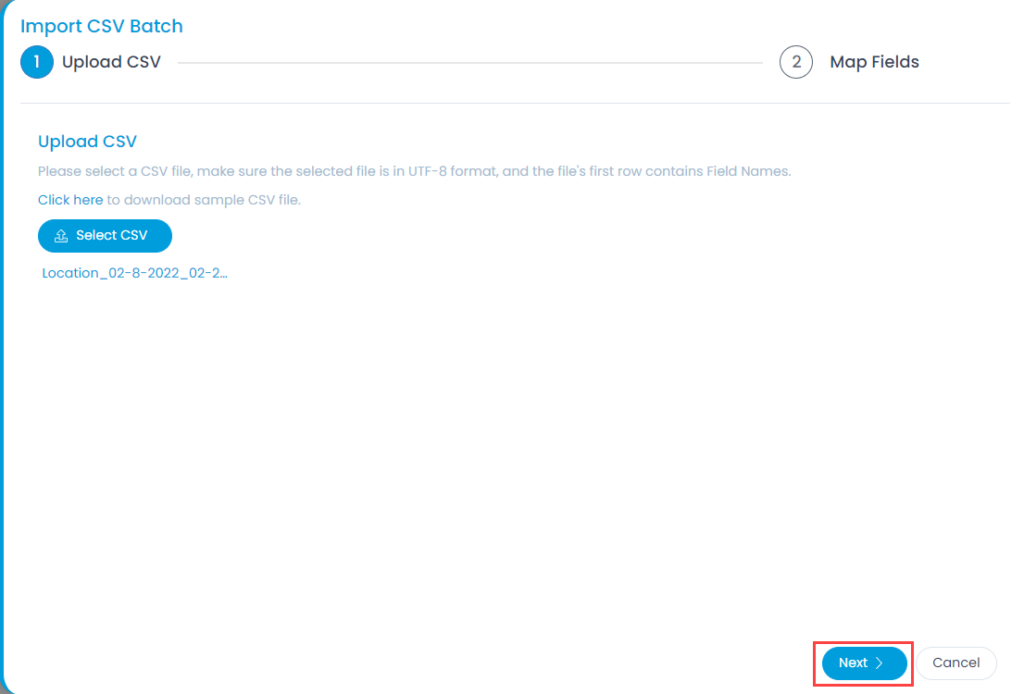
Click Import CSV Batch and a popup appears.
Select the .csv file if you already have it filled with the respective fields. If not, select the new .csv file using Click Here and fill the respective details. Once the file is uploaded, click Next.
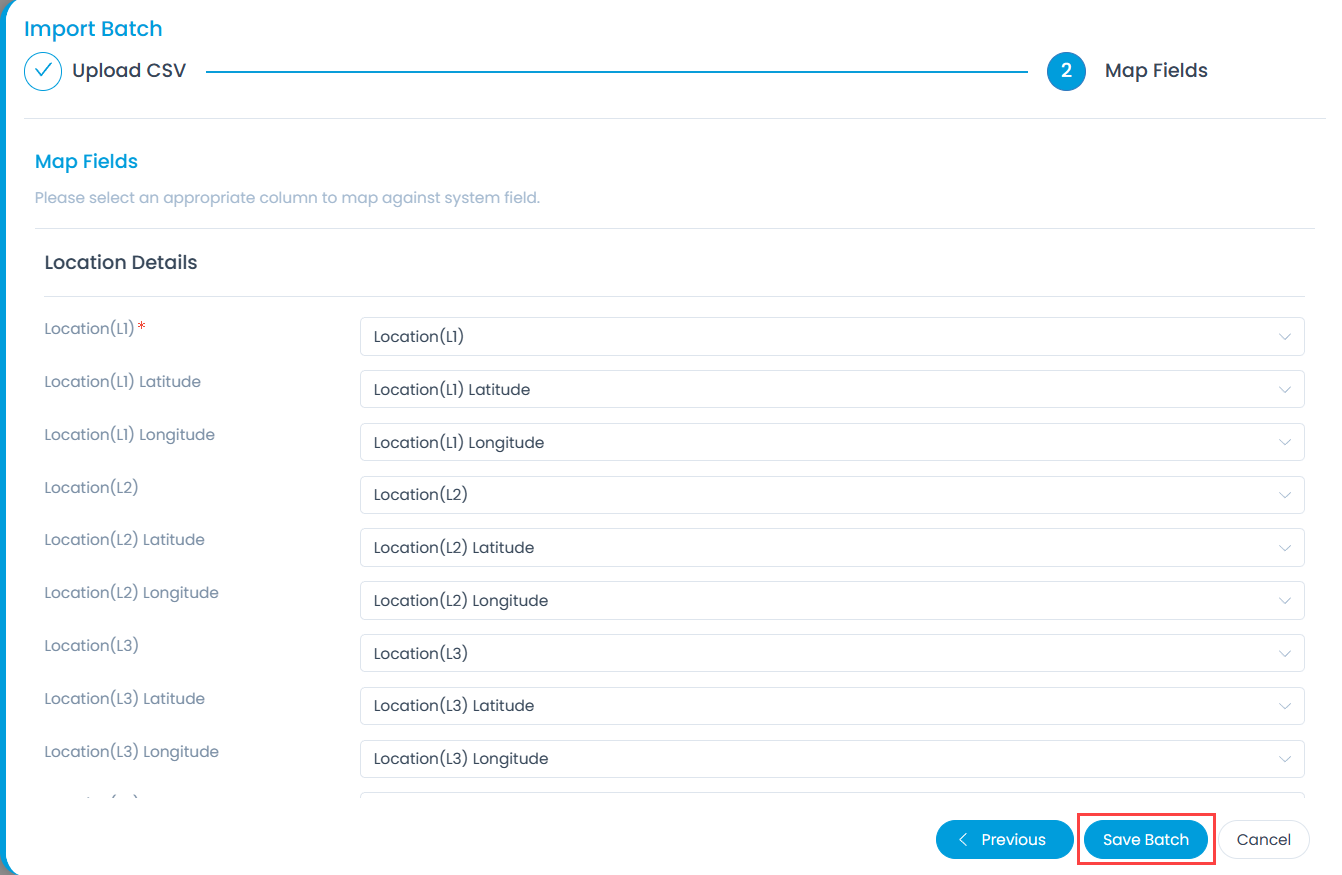
- Map the fields as per the requirement. By default it is mapped, only in case of removal or change of some parameters mapping is necessary, and click Save Batch.
- The Location Batches page appears. It displays the status of the import along with the details like processing time, total records, success records, failed records, etc. as shown below. Once successful, the imported locations will appear on the list page.

Re-Order Locations
To re-order the placement of locations,
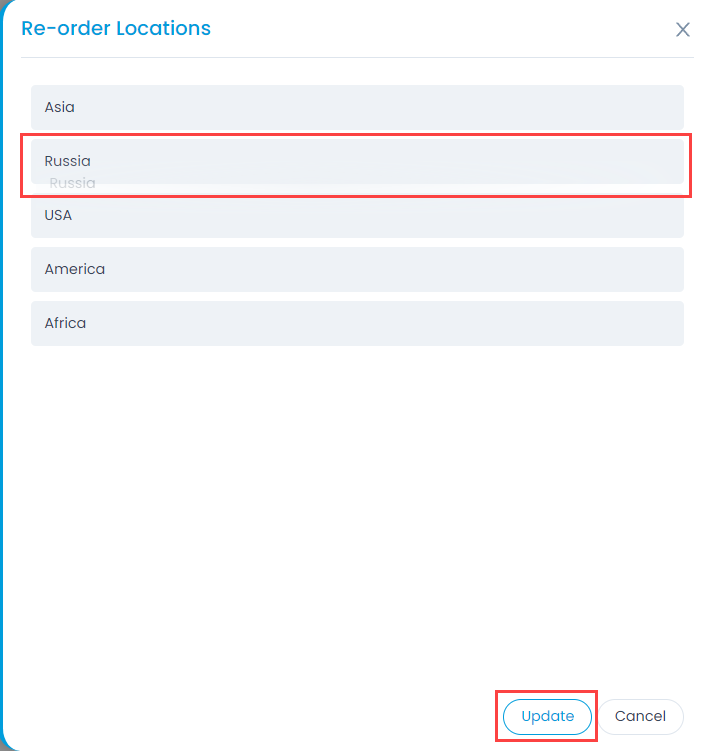
- Click the Re-Order link and a popup appears.
- Select the desired location, drag, and drop it to the desired location up or down. The order is reflected while working on the requests.
- Once done, click Update. Similarly, you can re-order the sub-locations as well.
Location Configurations
This popup enables to set configurations for location creation and display.

- Allow Request Creation at Leaf Node Only: Check the option to allow users to assign the request to leaf node locations only; selecting other nodes for assignment is not allowed. If unchecked, you can create requests at any level of the location hierarchy.
- Allow Problem Creation at Leaf Node Only: Check the option to allow users to assign the problem to leaf node locations only; selecting other nodes for assignment is not allowed. If unchecked, you can create problems at any level of the location hierarchy.
- Allow Change Creation at Leaf Node Only: Check the option to allow users to assign the change to leaf node locations only; selecting other nodes for assignment is not allowed. If unchecked, you can create changes at any level of the location hierarchy.
- Allow Release Creation at Leaf Node Only: Check the option to allow users to assign the release to leaf node locations only; selecting other nodes for assignment is not allowed. If unchecked, you can create releases at any level of the location hierarchy.
- Display Location Hierarchy in Report: Enable to organize data in the report based on location, including parent and sub-locations. The location hierarchy will then be visible within the report. By default, it is disabled. When disabled, only the leaf node will be displayed in the Location field.
Once done, click Update to apply the configurations.