Branding
Every organization needs its own logo and branding. Motadata ServiceOps provides this facility to its users. It allows the users to customize the portal as per their requirement.
To view the Branding page, navigate to Admin > Organization > Branding.
This section provides you with two tabs: Details and Theme.
Details
The details tab enables you to change the following details of the portal:
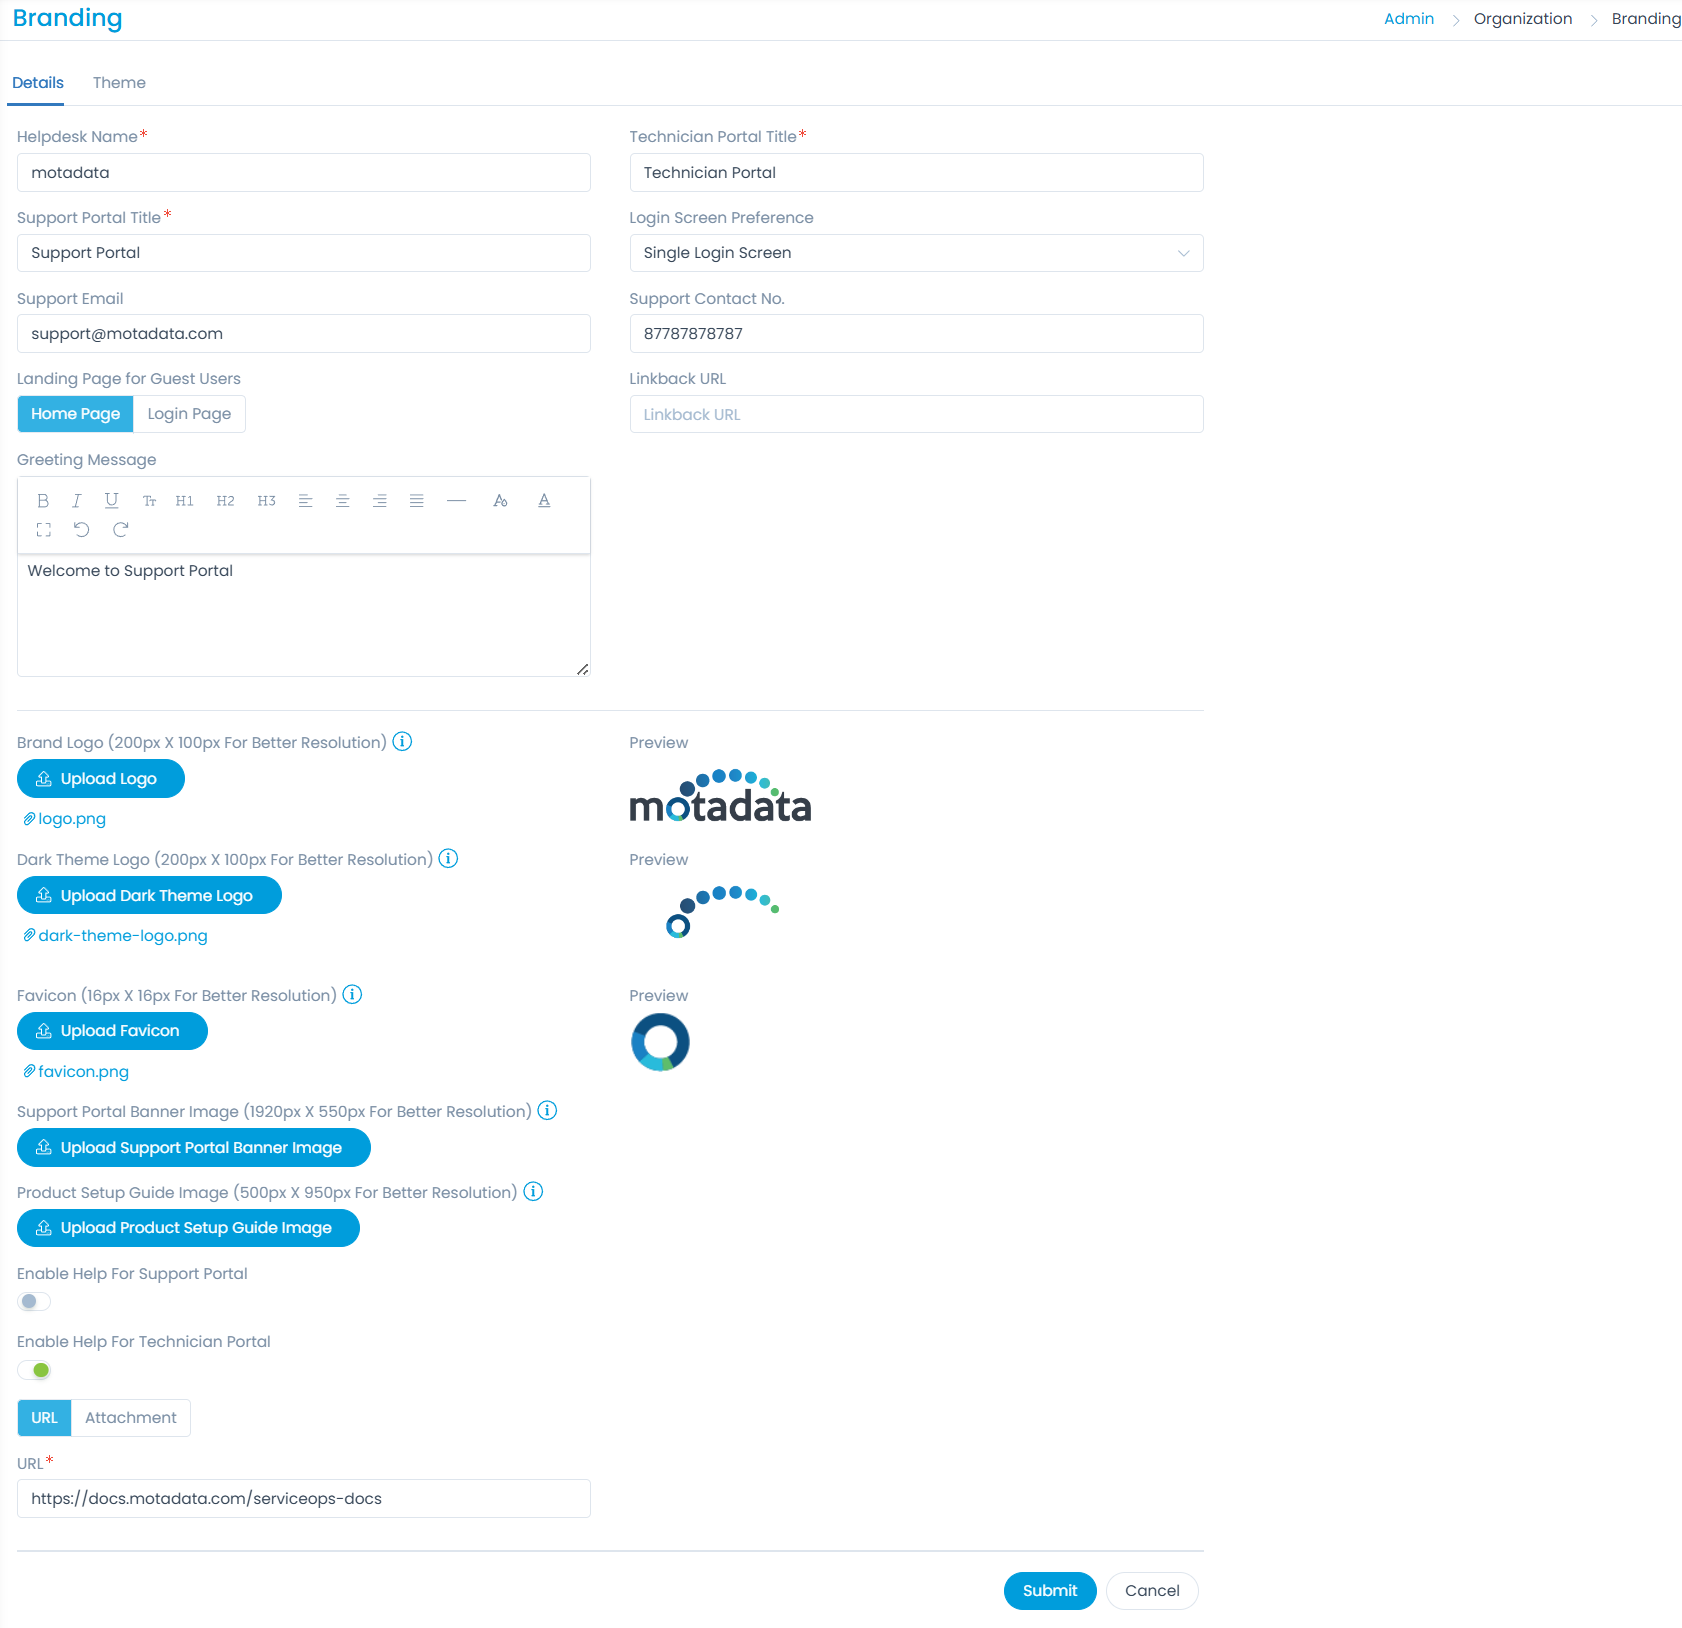
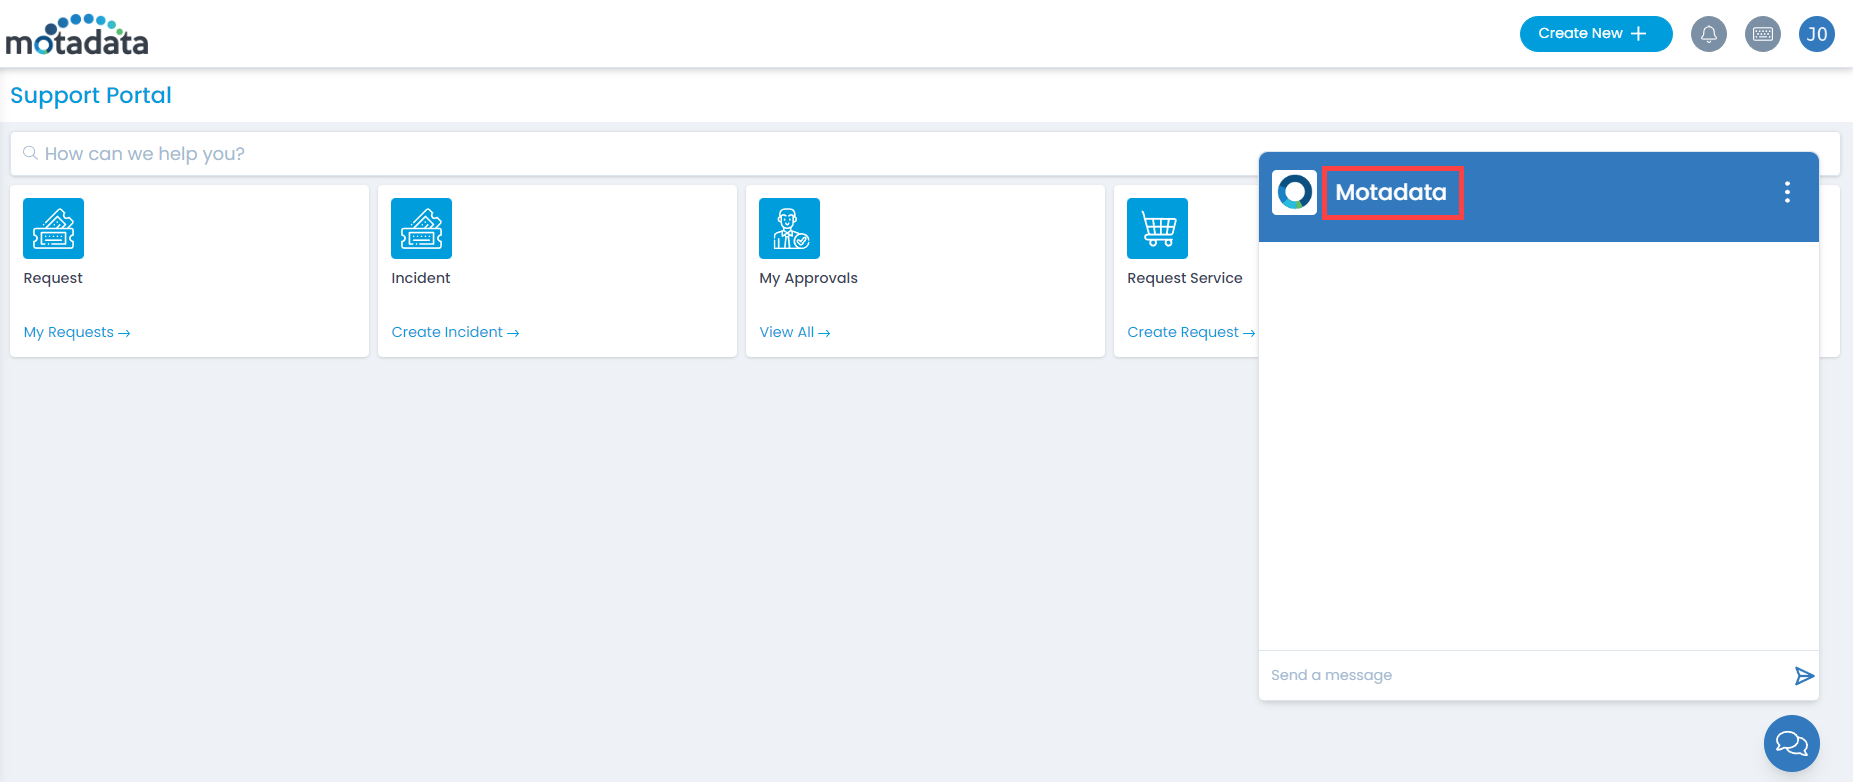
- Helpdesk Name: The name configured here will be available on the Chatbot of the Support Portal. The maximum number of characters allowed is 80.
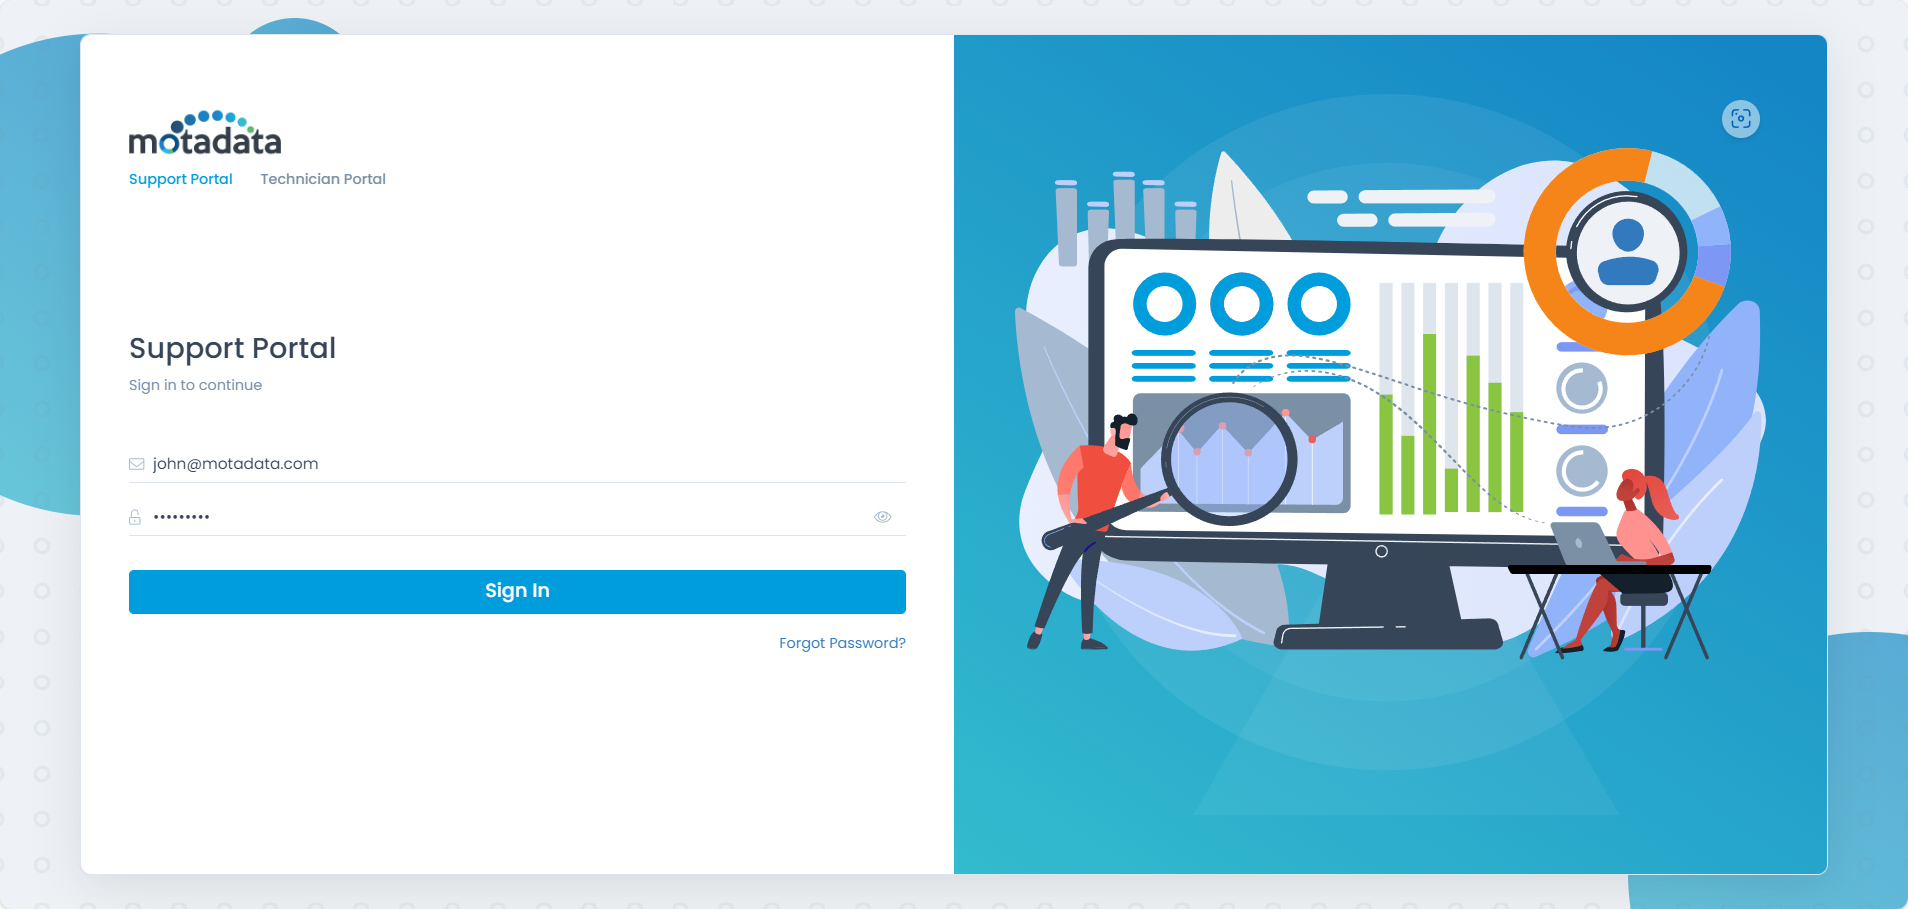
Technician Portal Title: You can set the title of the Technician Portal as per your requirement. It will appear on the Login page.
Support Portal Title: You can set the title of the Support Portal as per your requirement. It will appear on the Login page.
Login Screen Preference: You can set what you want to view on the login screen. By default, the Single Login Screen option is selected. The options are:
Single Login Screen: You can login to the Support or Technician Portal based on the user type. For example, if the user is of Technician Type, after login the Technician Portal will appear by default. If the user is of Requester type, the Support Portal will appear.

Separate Login Screen: You can login to both the Support and Technician portals. Both the options will be avaiable on the Login screen.
Support Email: Enter the email address of the Support department. Once updated, it will appear on the Support Portal home page.
Support Contact No.: Enter the contact number of the Support department. Once updated, it will appear on the Support Portal home page.
Landing Page for Guest Users: Select the page where you want your guest users to land. The options are Home Page and Login Page.
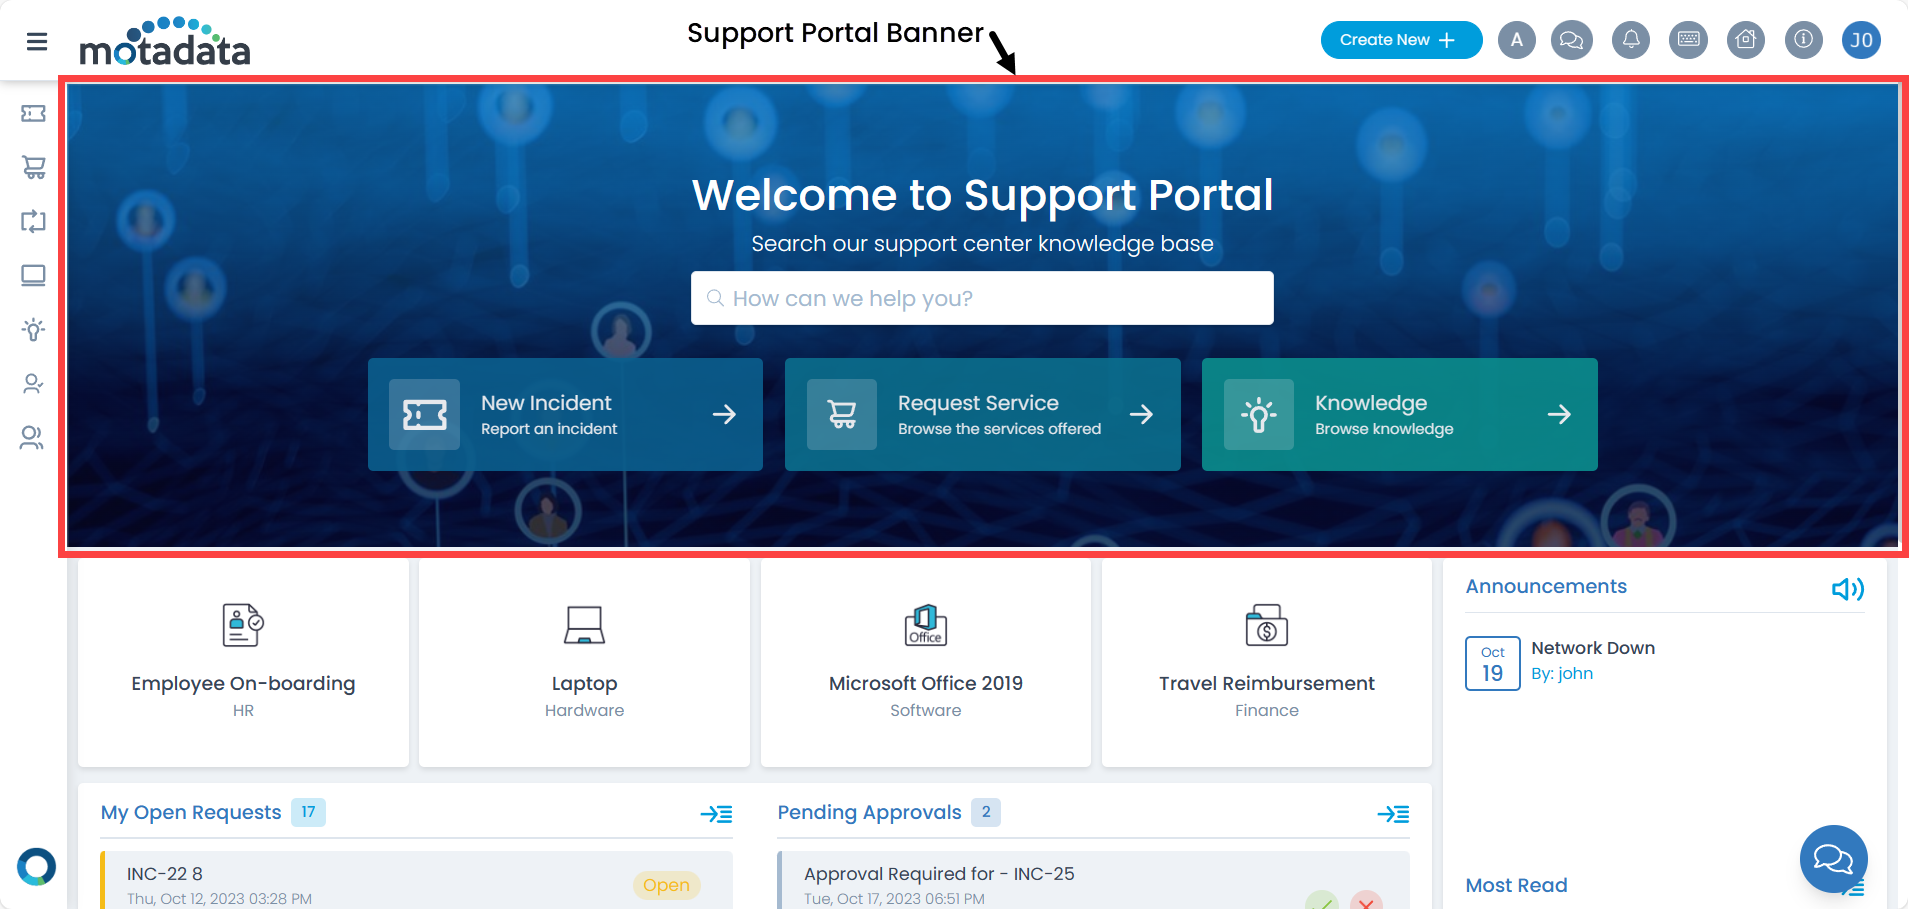
Greeting Message: You can set the greeting message in rich text format for the Support Portal as per your requirement. By default, it displays “Welcome to Support Portal”.
Linkback URL: Enter the URL that will open by clicking the Brand logo in the Support and Technician Portal. For example, If the "http://demo.motadataserviceops.com/t/request/" URL is set, on clicking the Brand Logo the Request list page will open. If nothing is set by default, the Dashboard page will open.
Brand Logo: You can change the brand logo. The supported file formats are: png, jpg, jpeg, and gif.
Dark Theme Logo: You can change the dark theme logo. The supported file formats are: png, jpg, jpeg, and gif.
Favicon: You can change the dark theme logo. The supported file formats are: png, jpg, and jpeg.
Support Portal Banner Image: You can change the banner of the Support Portal by selecting the desired image and uploading it.
For optimal visibility of all components, please avoid using images with white backgrounds.
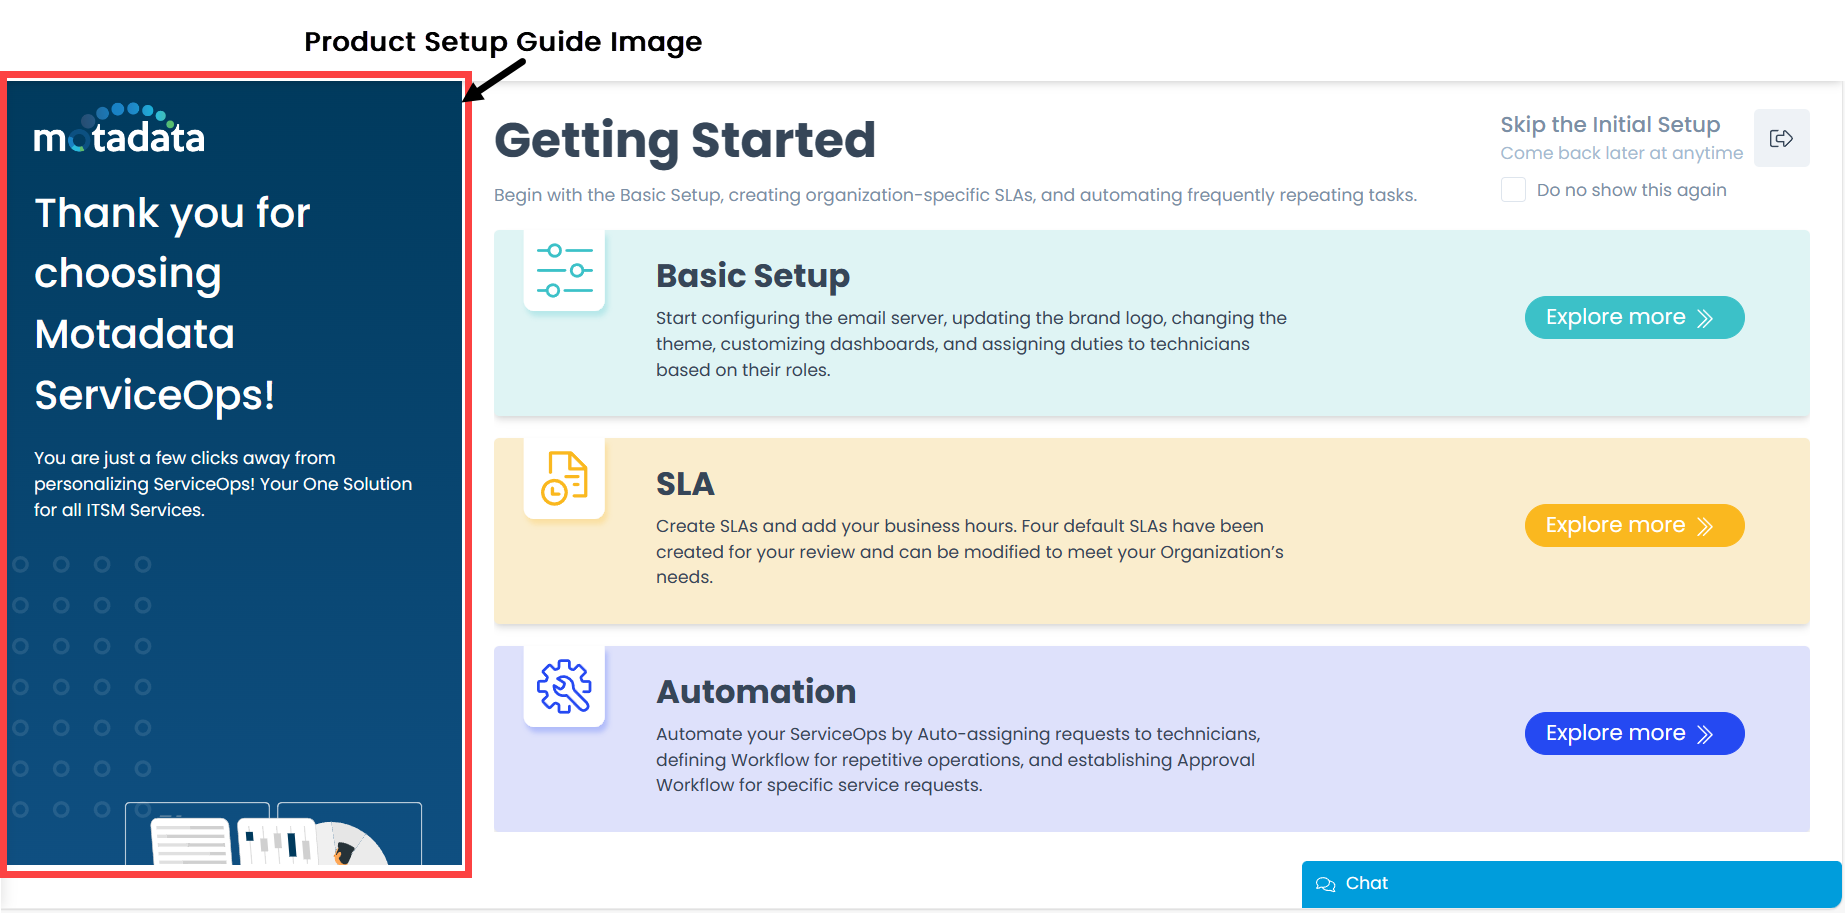
- Product Setup Guide Image: You can change the default “Product Setup Guide” image by selecting the desired one and uploading it. The image should be in portrait format for better resolution.
Also, you can preview the uploaded logo and favicon.
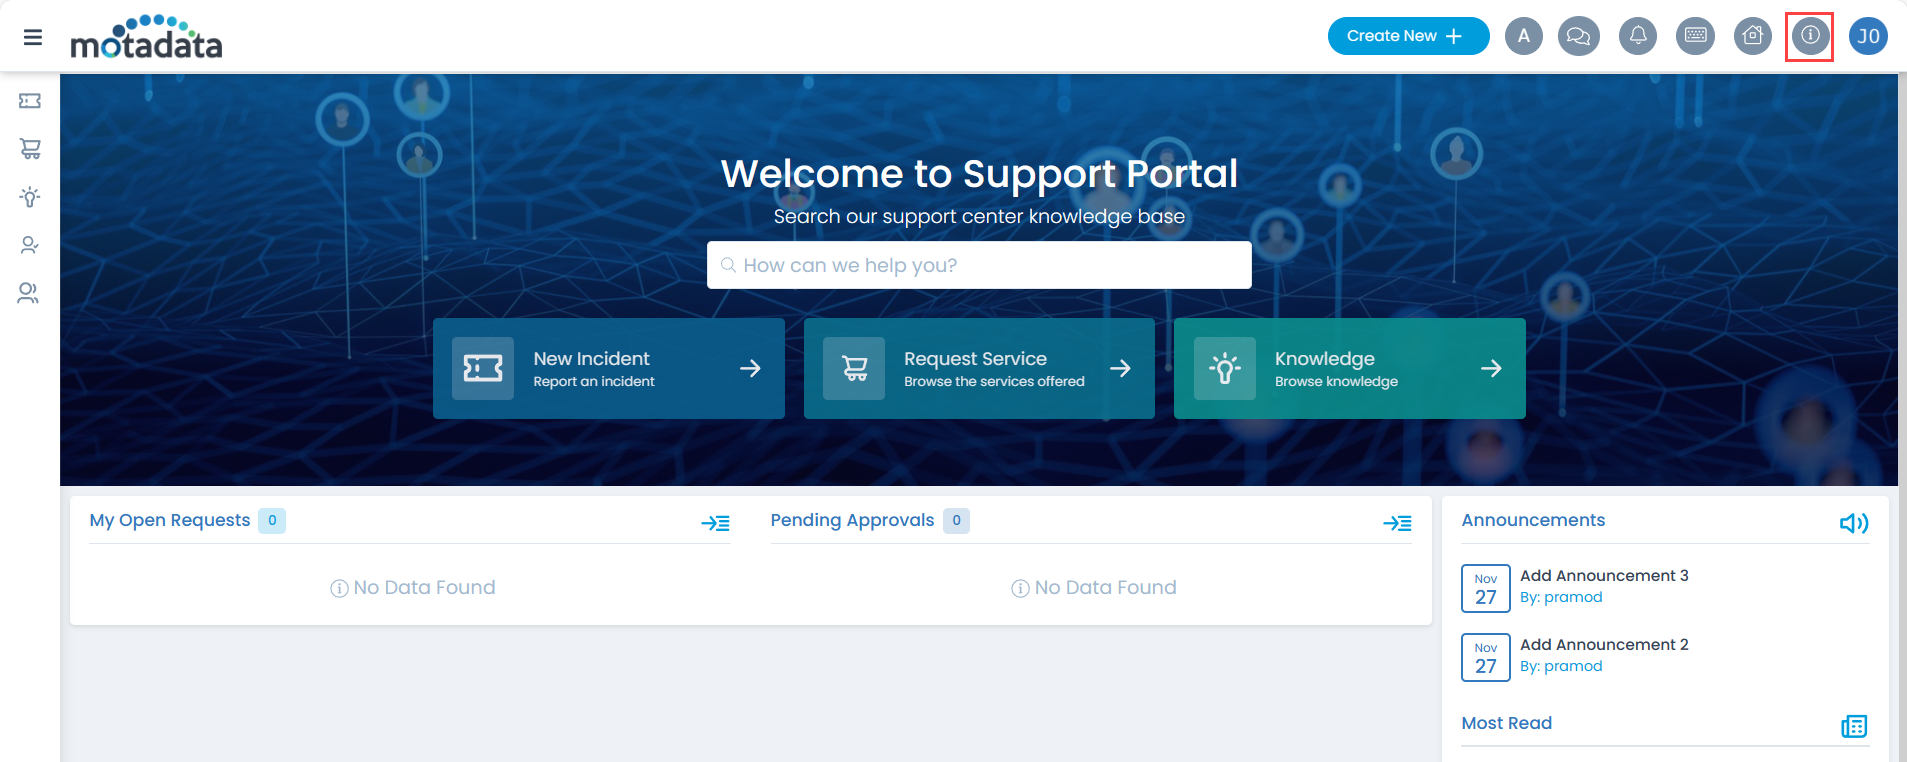
- Enable Help for Support Portal: You can display help on the Support Portal. Once enabled the Help icon will appear on the Support Portal as shown below.
- URL: Enter the URL that you want to open on clicking the Help icon on the Support Portal.
- Attachment: Upload the attachment that you want to download on clicking the Help icon on the Support Portal. The supported file formats are pdf, doc, and docx.
- Enable Help for Technician Portal: You can display help on the Technician Portal. Once enabled the Help icon will appear on the Technician Portal as shown below.

- URL: Enter the URL that you want to open on clicking the Help icon on the Technician Portal.
- Attachment: Upload the attachment that you want to download on clicking the Help icon on the Technician Portal. The supported file formats are pdf, doc, and docx.
Once the changes are submitted, they will get reflected the next time when you login.
Theme
This tab enables you to customize the look and feel of the Support Portal, Technician Portal, and Static Pages of the application. You can change them to match your branding requirements. From here, you can define the dark and light theme colors for the portals as well as design the static pages using the HTML code.
Support and Technician Portal
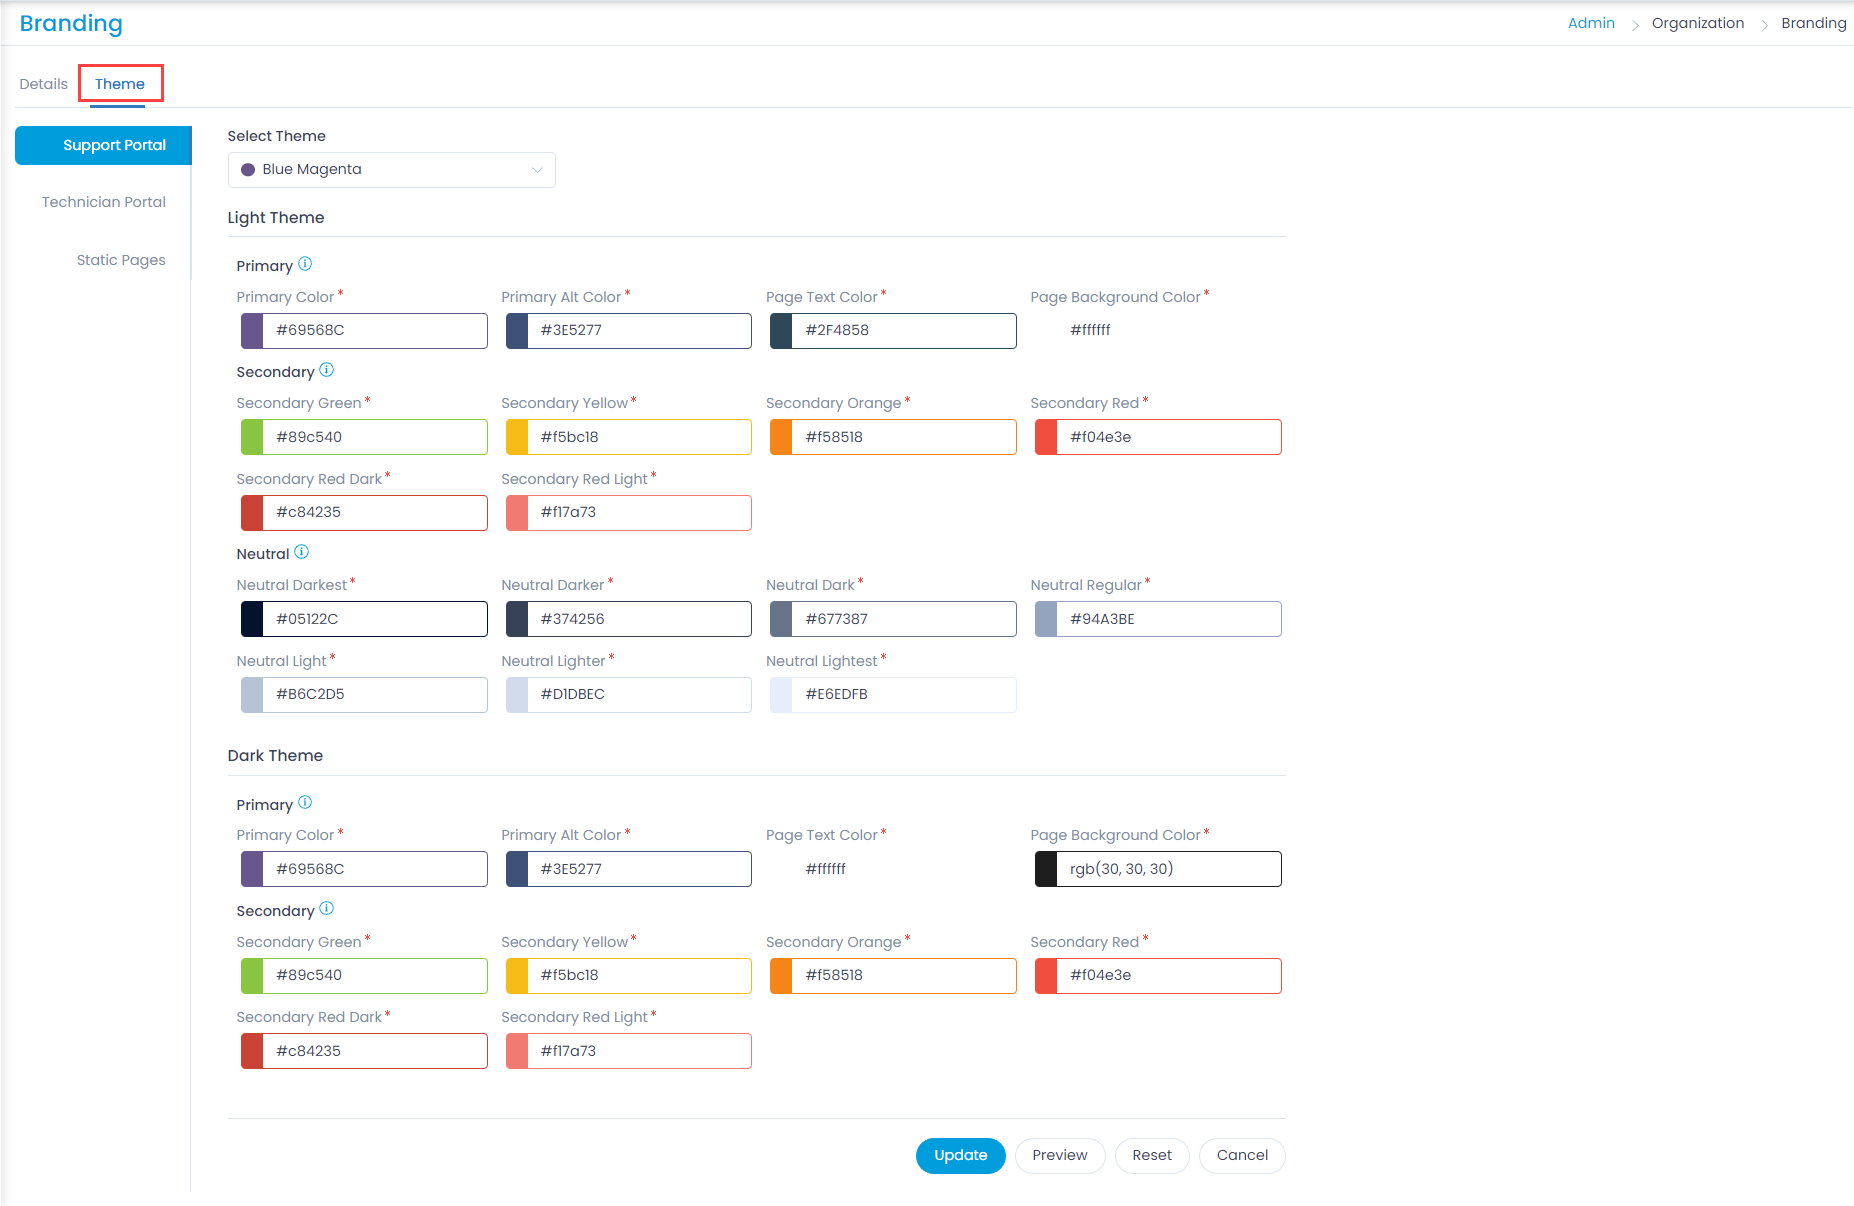
To change the theme of the portals,
- Select the theme.
- Select the colors of the portal:
- Primary: Changes the color of the buttons, headings, links, and the left panel menu items. You can also change the text and page background colors.
- Secondary: Changes the color of the error/warning messages, alerts, and notifications including information and success banners.
- Neutral: Changes the color of the buttons other than the ones changed by primary colors. Search tags, three-dot menu, the header of the grid or table, and the area highlighted on-hover can be changed.
- Once done, click Update to apply the theme. You can also preview the changes using the Preview button. To reset the theme to default, click the Reset button.

Static Pages
This tab enables you to customize the static pages like login page.

To customize, configure the desired settings as below:
- Page Name: You can select the desired Page Name from the drop-down. For example you wish to fix the the OTP Page select OTP Page.
- Enable: Enable the flag to save the selected changes.
- Page Content: Put the desired content for the selected page in the box. Here, the pages can be customized using html code.
Once you are done with the above input, you can Update the changes. Also, you can reset all the settings to the default using the Reset to Default button.