DMZ Server Installation
A DMZ (Demilitarized Zone) server is a host or service placed within a DMZ network—a subnetwork that acts as a buffer between an organization's internal local-area network (LAN) and untrusted external networks, such as the Internet. The primary purpose of a DMZ server is to handle external-facing services, including web, email, DNS, and FTP servers, thereby adding an extra layer of security to the internal network. By isolating these services in the DMZ, organizations can prevent direct access to their internal LAN, reducing the risk of unauthorized intrusion.
This document applies to Ubuntu (v22 and 24) and RedHat (v9.2 and 9.4) OS.
Prerequisites
Internet Connectivity: The system where the DMZ is installed must have access to the Internet.
DMZ Port Access: Ensure that port 8085 is allowed through the firewall.
Checking and Allowing Port 8085 on Ubuntu
Use the following commands to check and configure the firewall:
ufw statusTo allow port 8085 through the firewall:
ufw allow 8085Checking and Allowing Port 8085 on Red Hat
Use the following commands to verify and allow port 8085 through the firewall:
To check the list of currently allowed ports:
sudo firewall-cmd --list-portsTo allow port 8085 on the public zone:
sudo firewall-cmd --zone=public --add-port=8085/tcp
Installation Steps
Step 1: Download the DMZ Server on the ServiceOps Server.
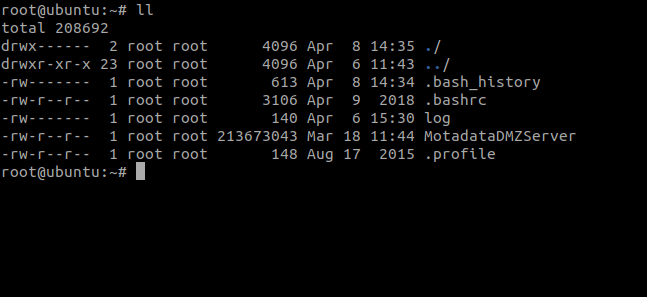
Step 2: Provide the execution permission to the file using the below command:
chmod 777 MotadataDMZServer
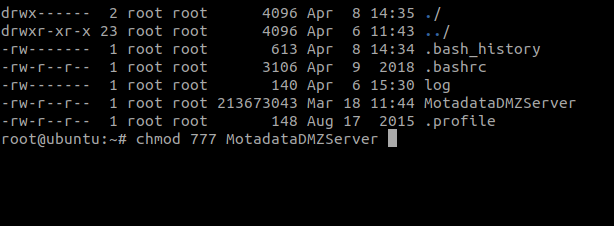
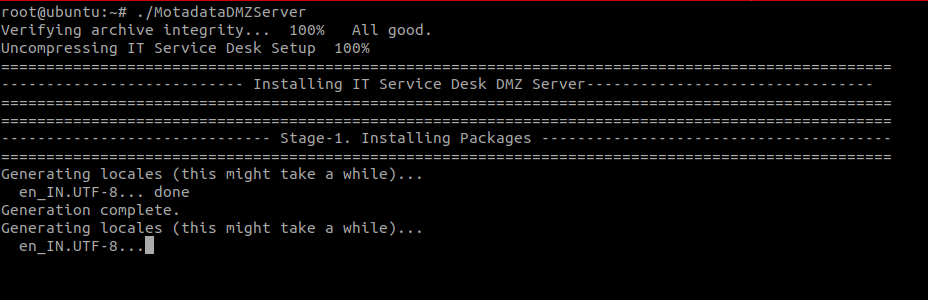
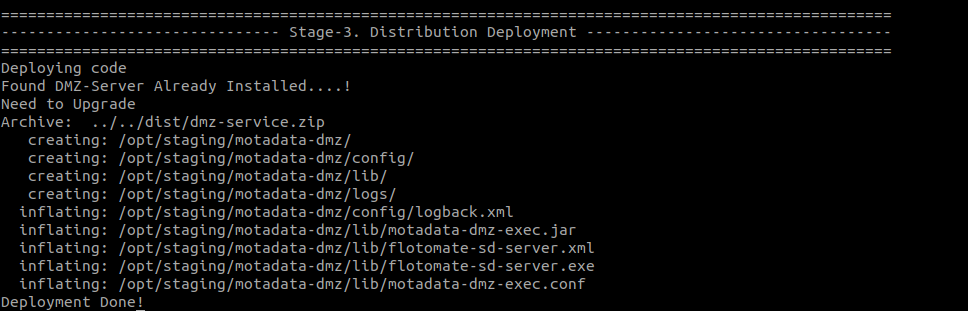
Step 3: Run the executable file using the below command:
./MotadataDMZServer

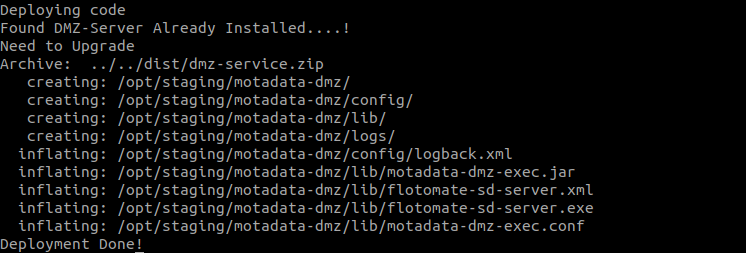
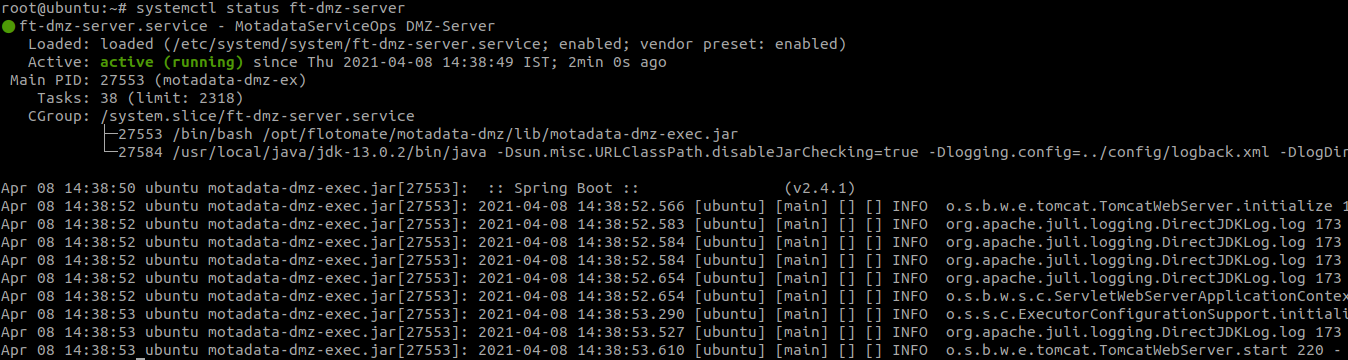
Step 4: Check service status using the below command:
systemctl status ft-dmz-server
Once the DMZ server is installed, configure it in the ServiceOps from the Proxy Server Configuration section.