Example Scenario 2
To understand the Run Webhook workflow, you can consider the following scenario:
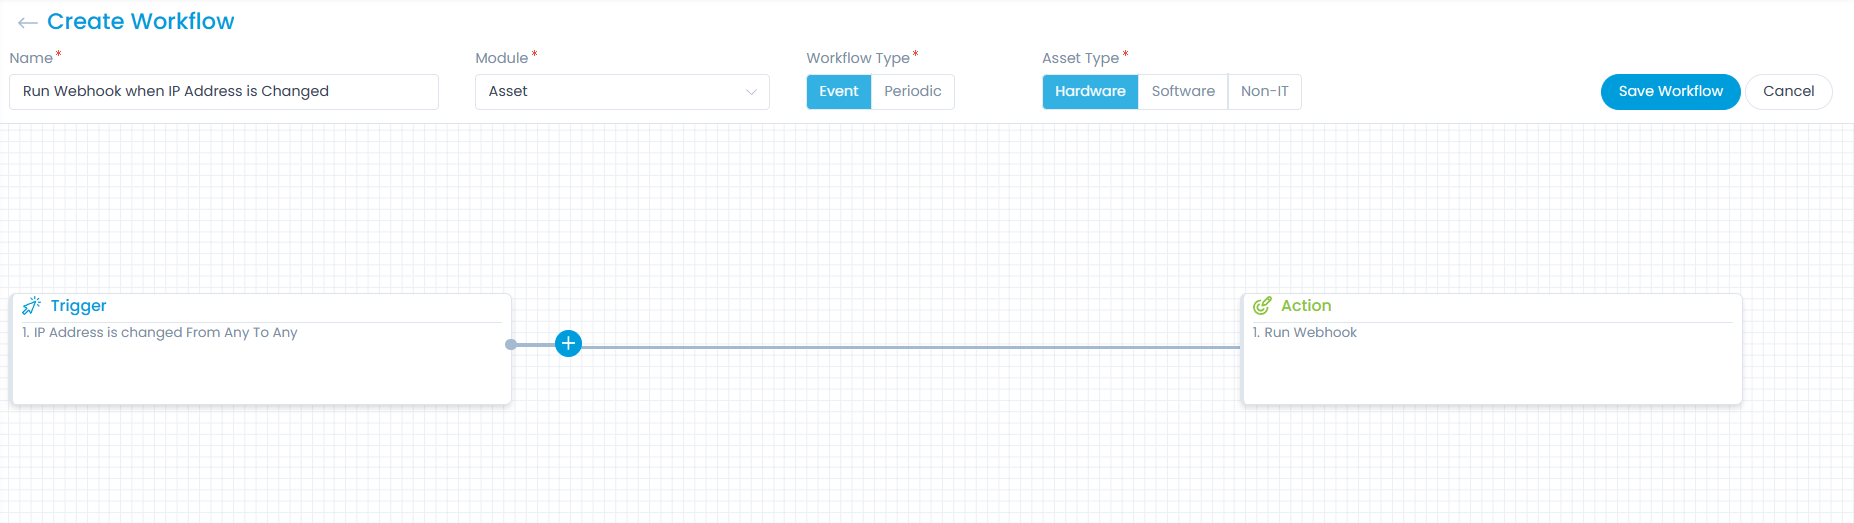
Create a workflow with the following statements:
- Name: Run Webhook when location is not Asia.
- Trigger Statement: When IP Address is changed.
- Action for trigger statement: Run Webhook.
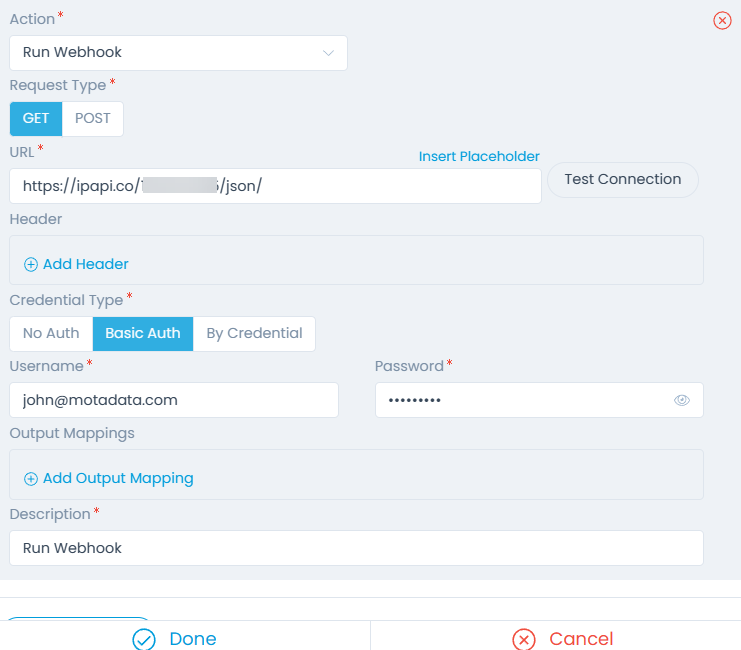
In the Run Webhook Action editor, configure the following parameters:
| Parameter | Description |
|---|---|
| Request Type | Select the request type as Get or Post. |
| URL | Enter the URL using which the Webhook will run. |
| Header | Provide the custom headers that you want to add to the HTTP request or response. You can add multiple headers using the Add Header link in the form of Key and Value. For example: Key: Custom-Header Value: SomeValue |
| Credential Type | Select the type of credentials used for accessing the API. The options are: No Auth: Select if no authentication is required. Basic Auth: If selected, enter the Username and Password using which the API can be accessed. By Credential: If selected, select the credentials that you want to use for accessing the API. These credentials are created from the API Credential page. |
| Output Mappings | - Key: Select the key to be mapped with the output. - Value: Enter the value of the key to be mapped. |
| Description | Enter the description of the Webhook. |
Once the details are filled, click done, and save the workflow.
Now, when the IP Address is changed, the Webhook gets executed, and you get to know from where the user has signed-in to the system.
Webhooks are API services that provide information whenever an event is triggered. Thus, with the help of this scenario you can track the location of the users.