Custom Script
As the name suggests, Custom Scripts are scripts created based on specific user requirements. When default configurations are not enough that time custom configurations are used to get the desired result.
Creating Custom Scripts
To create Custom Scripts:
Navigate to Admin > Automation > Custom Script page.
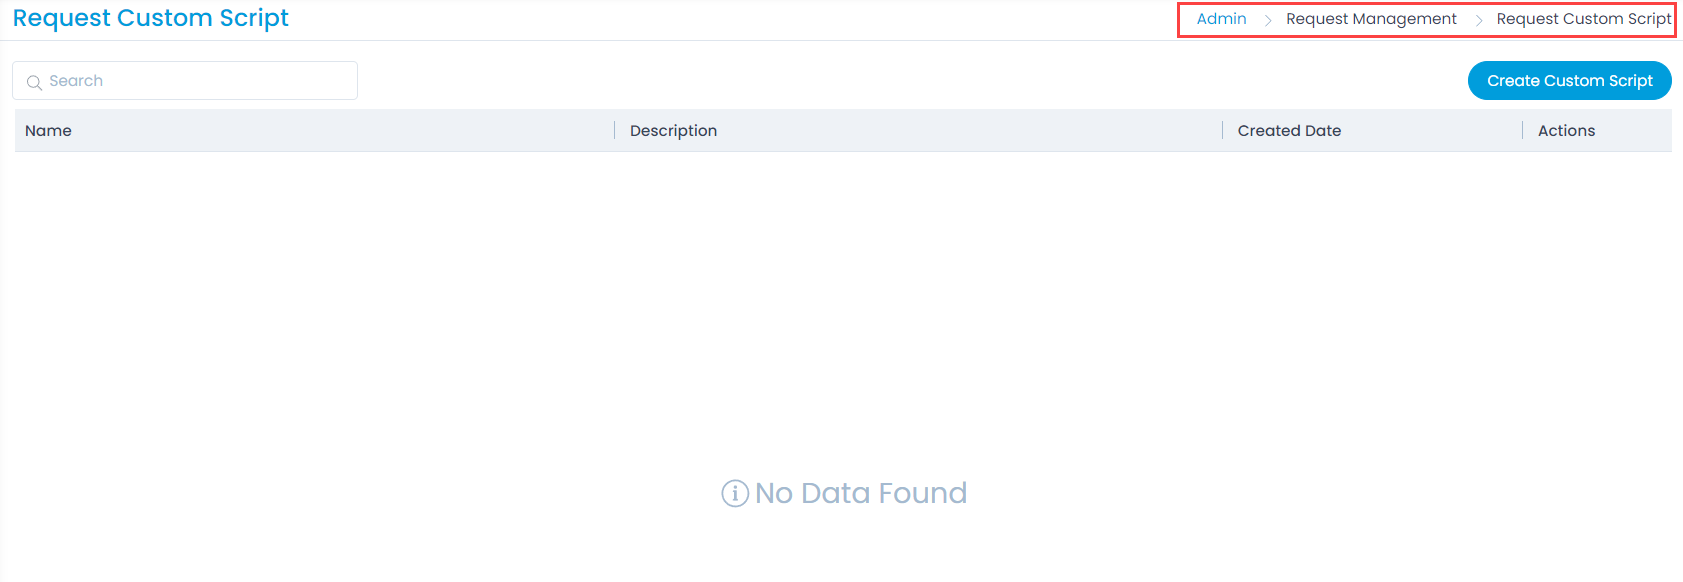
Click Create Custom Script, and a popup appears.
- Only unique custom scripts can be added.
- In the script, you can use all the fields of the Request/Change Form to get the desired output using the Form Rules.
- The data type of the field values used in the script must be same.
- Example 1: If the value of a Dropdown field is of Custom type, then the result field value should also be Custom.
- Example 2: If the source field has the value of integer type, the value of the result field should also be integer.

- Enter the name, description, and content. In the Content section, type the script that will get executed as per the created Request/Change Form rule. Here, the script is written to display a validation message on the Start date field of a Change Request.
MS.getValue('start date').then(function (value) {
    if (value && value < Date.now()) {
    MS.abort('Start Date must be greater than current time')
    }
})
- Once done, click Create, and it will appear on the list page, as shown below. Once the script is created, use it in the Change Form Rule.
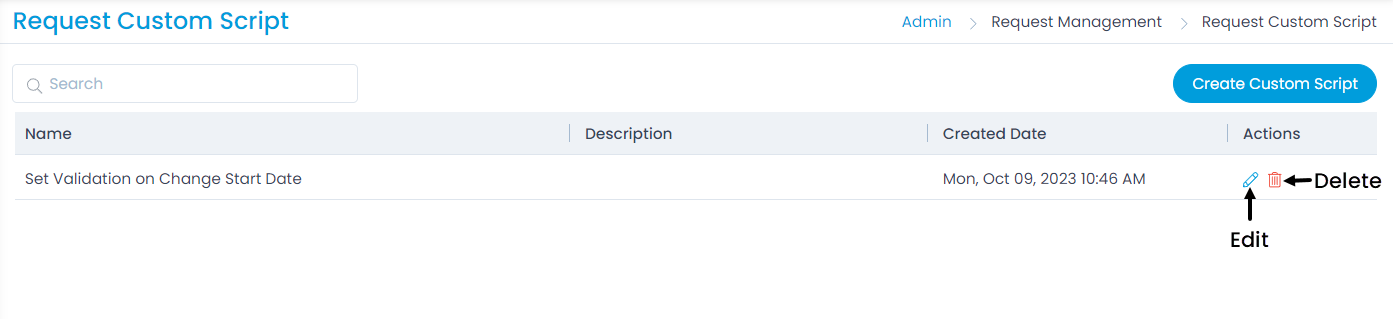
Later, if required, you can edit it using the Edit icon on the list page or delete it using the Delete icon.
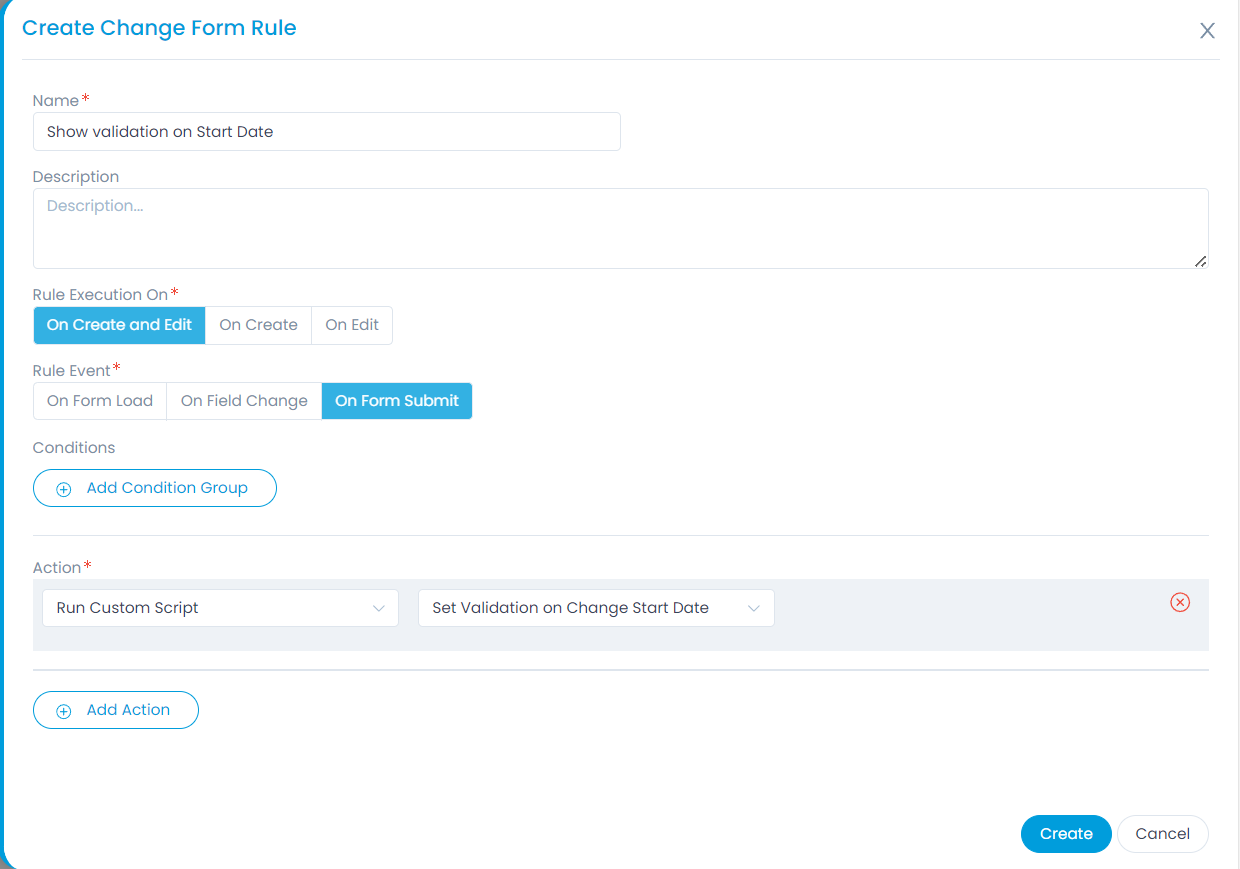
Next, once the script is ready, create a Change Form Rule and apply this script with Rule Execution on "On Create and Edit" and rule Event "On Form Submit".
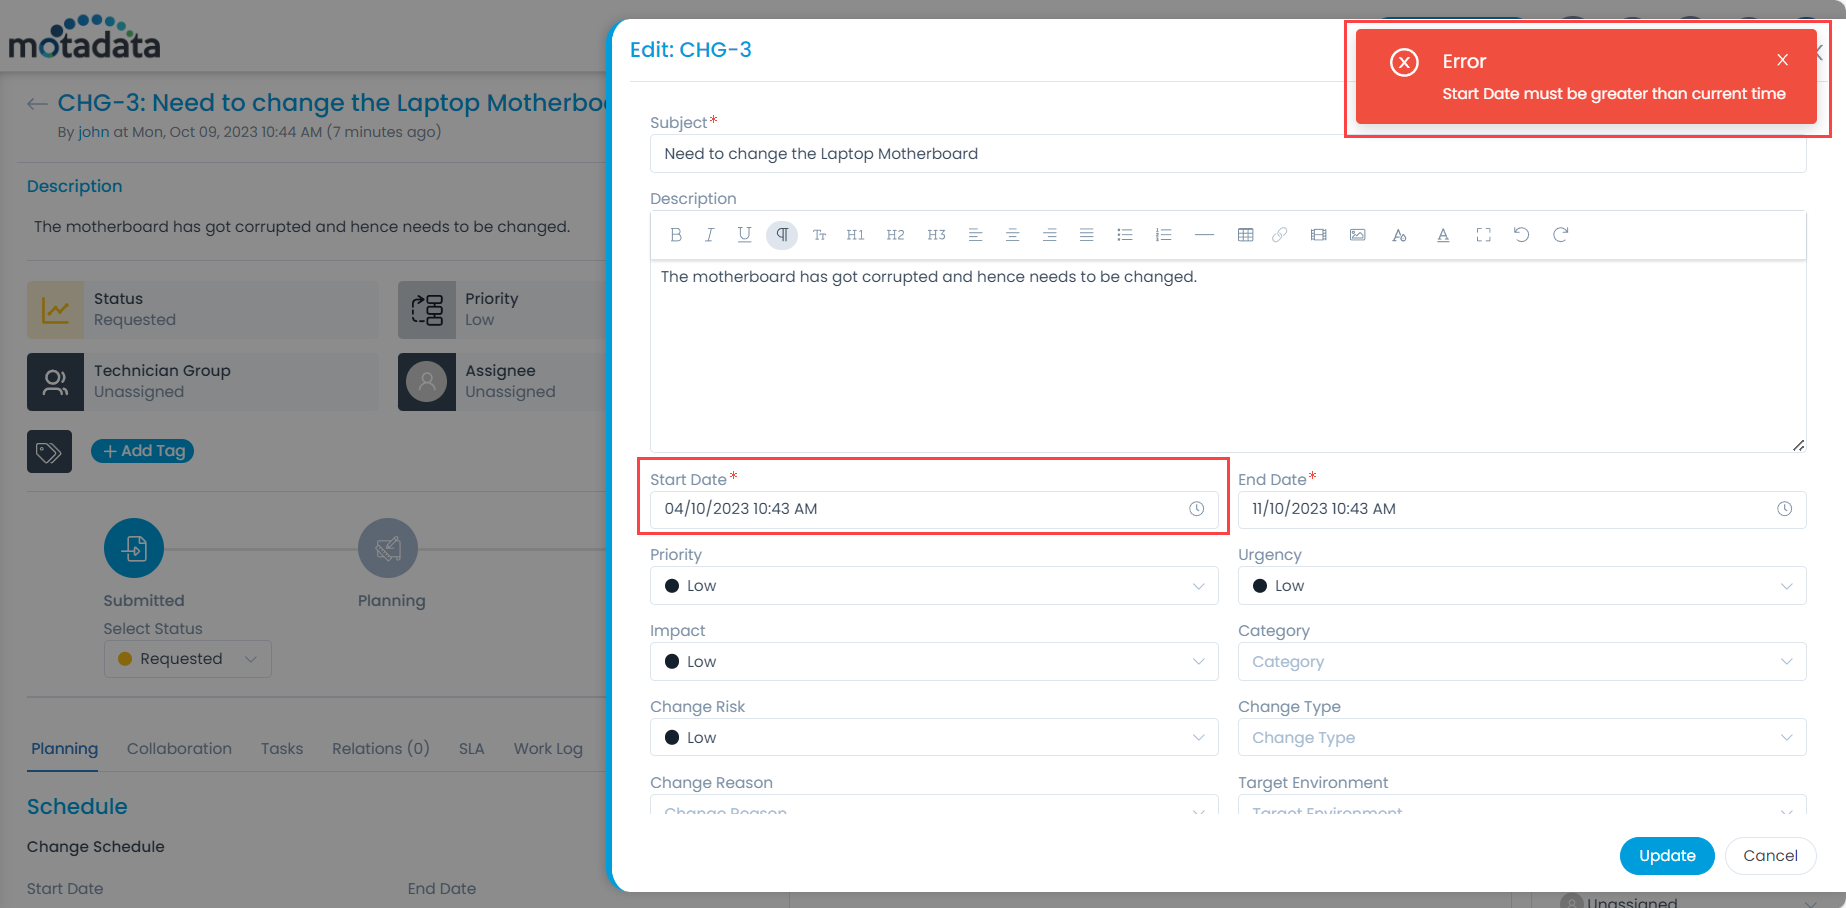
- Once done, create a Change with date less than the Current date, and check the validation appears as shown below.
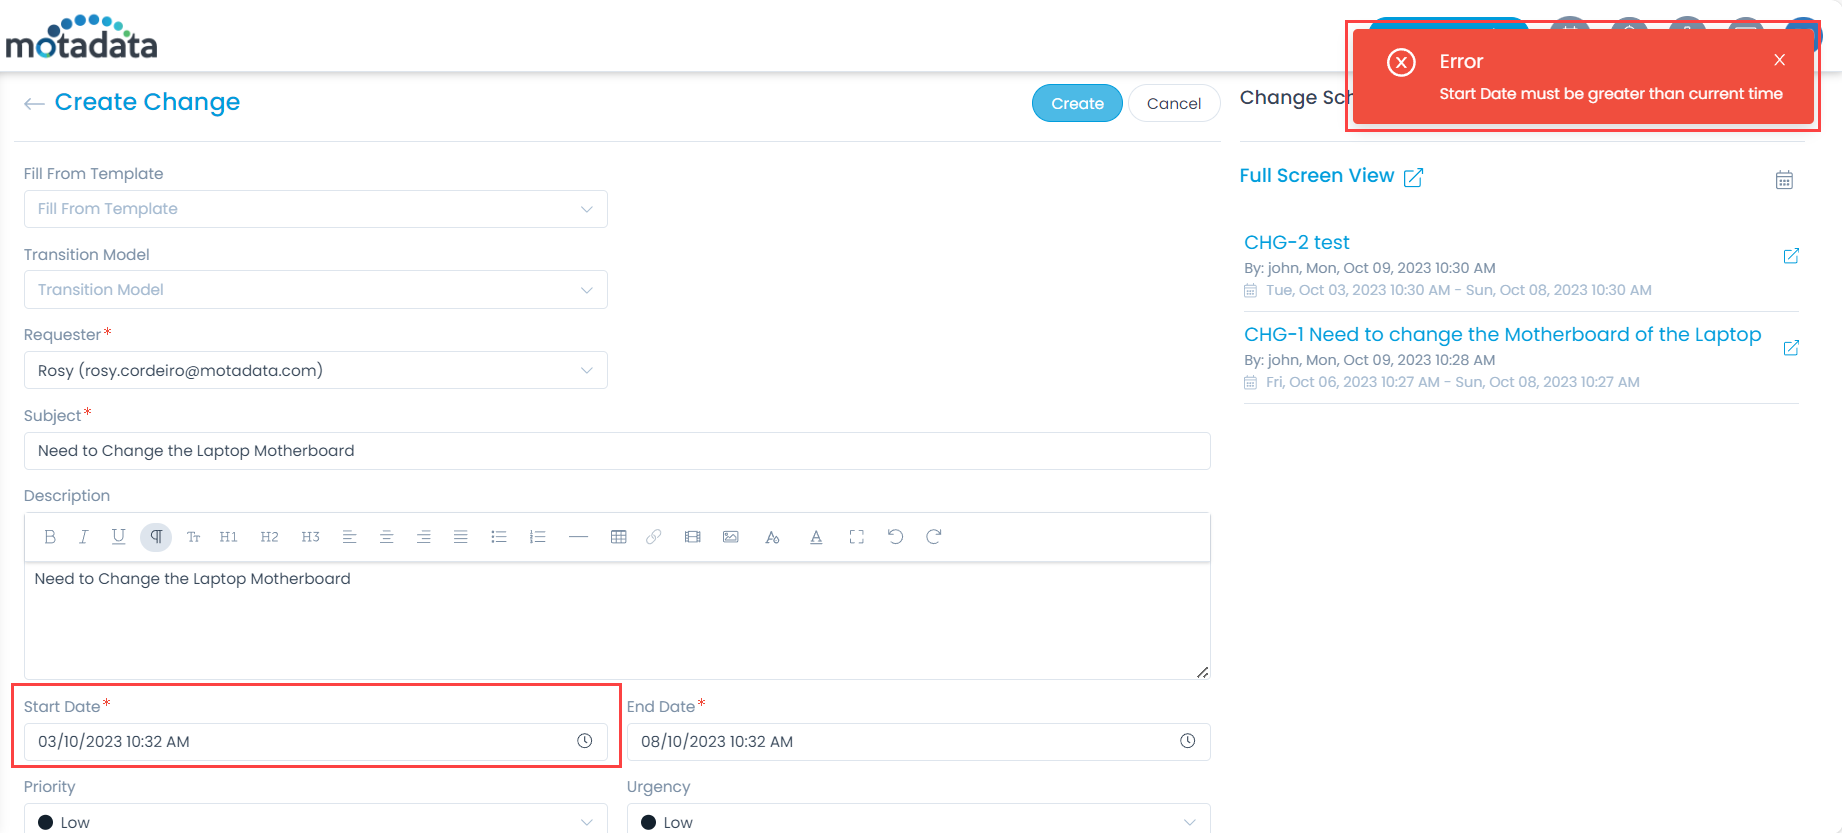
Since the rule will execute on create and edit, it also appears while editing the Change Request, as shown below.
- Similarly, you can create other scripts for fulfilling the desired requirements. Read on, to view some more sample scripts.
Sample Scripts
The sample scripts include the following use-cases:
Use Case 1:
- In case while creating a Change request, you want to set the currently logged-in user name in the "Requester" field and disable it, you can use the below script:
var user = MS.getLoggedInUser()
setTimeout(function() {
console.log(user)
  if (user) {
    MS.setValue('requester', user.id)
    MS.disable('requester')
        MS.setValue('regional office', user['regional office'])
  }
}, 400)
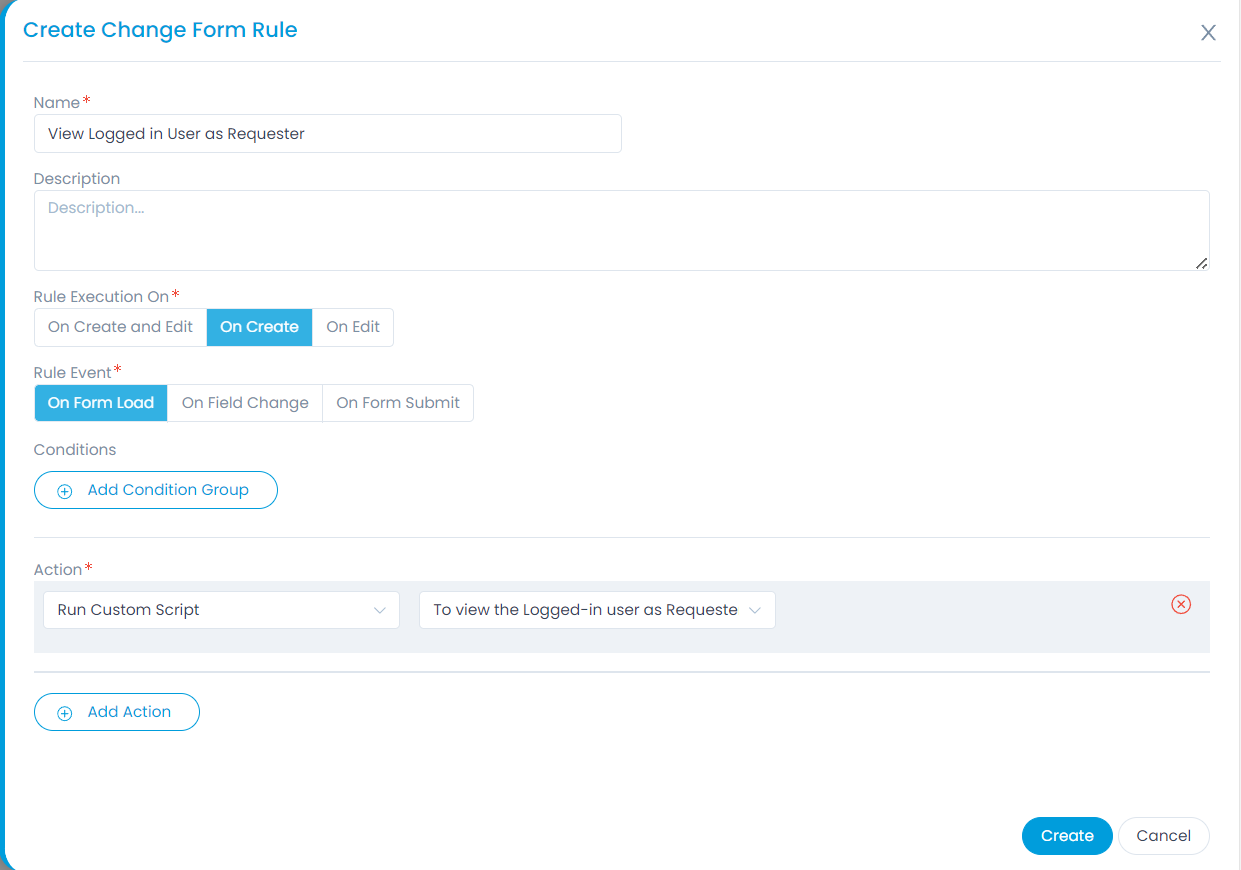
- Next, create the Change Form Rule as shown below.
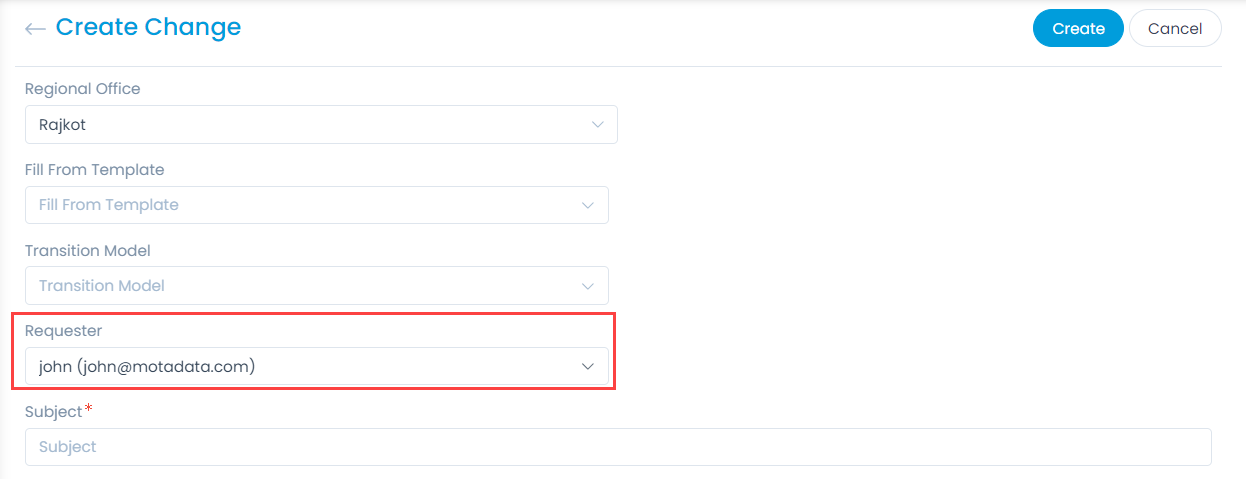
- Once done, on creating a Change Request, you will see the "Requester" field pre-filled with the currently logged-in user's name as shown below.
Use Case 2:
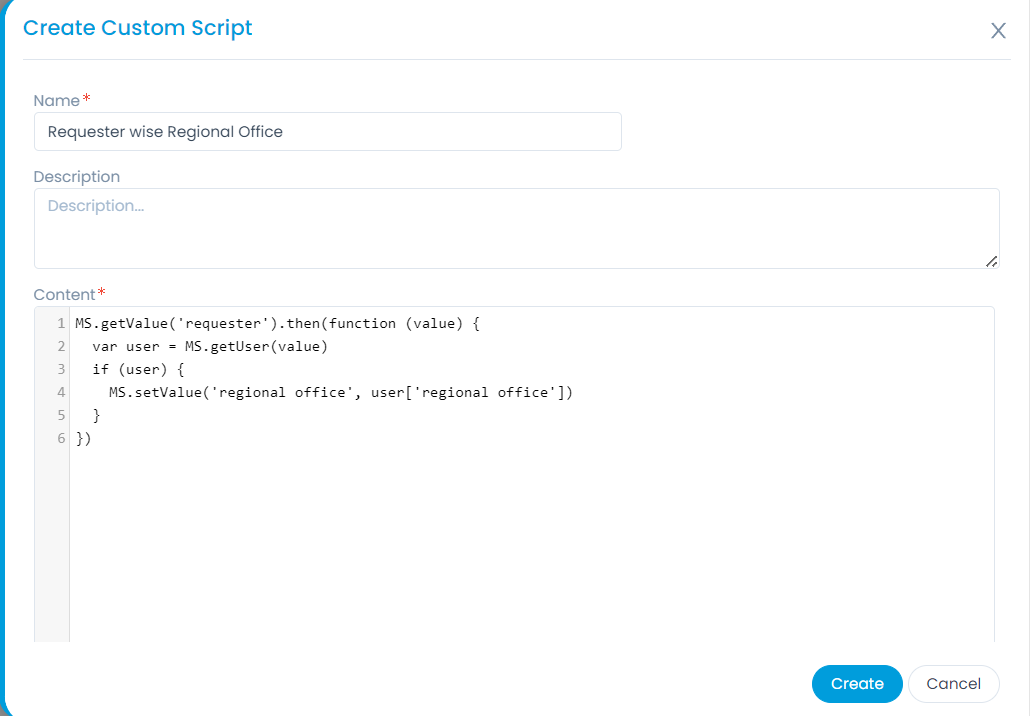
- While creating or editing a Change Request, if you want to display the Requester wise regional office data in the "Regional Office" Custom field, you can use the below script:
MS.getValue('requester').then(function (value) {
    var user = MS.getUser(value)
    if (user) {
        MS.setValue('regional office', user['regional office'])
    }
})
Before creating the script, create a Custom field named "Regional Office" in the Change Form and User Custom Fields (User Form) as data is fetched from this field.
- Create a Change Form Rule as shown below:
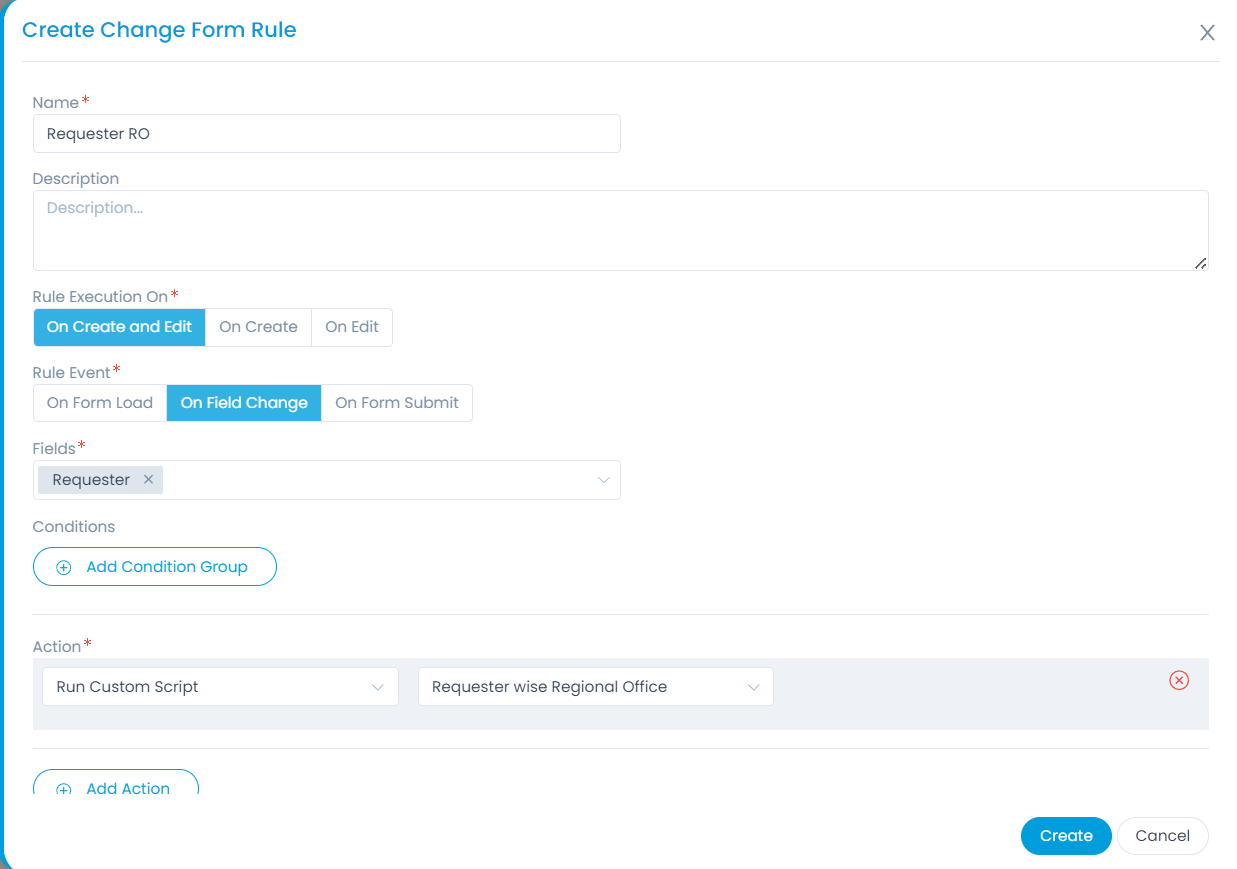
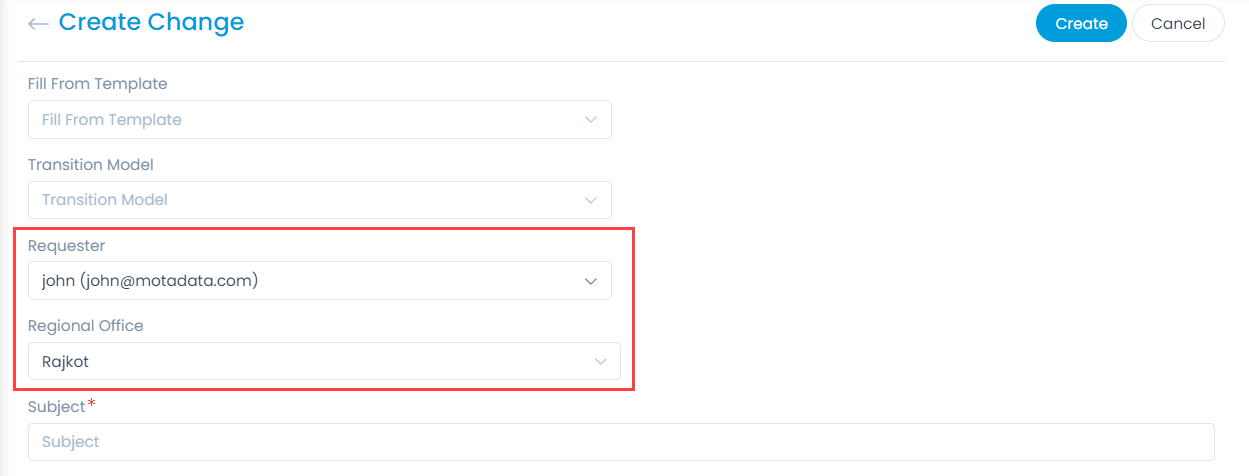
- Once done, while creating or editing the Change Request, on Field Change event the Regional office data will be available based on the selected Requester as shown below.
Use Case 3:
- Similarly, in case of Address fields like State and City, if you want to set the value of City based on the State field, you can use the below script:
var stateData = {
    "Gujarat": ["Ahmedabad", "Rajkot", "Surat", "Junagadh"],
    "Maharashra": ["Thane", "Mumbai", "Pune", "Aurangabad"],
    "Rajasthan": ["Jaipur", "Kota", "Udaipur", "Jodhpur"]
}
setTimeout(function () {
  MS.getValue('state').then(function (value) {
    if (value && data[value]) {
      MS.setOptions('city', data[value])
    }
  })
}, 400)
Create the State and City custom fields in the Change Form.
Create the Change Form Rule.
Once done, create a Change Request and check the behaviour.