Standalone HA Deployment with DC-DR Master-Slave (6 Machines)
Run independent HA at both the DC and DR sites so each site handles its own automatic failover without depending on the other site's infrastructure.
This layout extends the standalone HA setup to a full DC-DR configuration where both the DC site and the DR site run their own standalone HA with a Master, Slave, and Observer machine. Use it when you need automatic failover at both the DC site and the DR site independently.
The key difference from the 4-machine DC-DR setup: the DC side uses a 3-node ETCD cluster spread across the Observer, Master, and Slave machines. The DR side uses a standalone non-clustered ETCD that stays inactive during normal operation.
Prerequisites
Before starting, confirm the following:
- Operating System: Ubuntu and RHEL
- PostgreSQL Version: 16 or 17
- 6 machines provisioned and reachable over the network: 3 on the DC site and 3 on the DR site
- ServiceOps installed on DC Master, DC Slave, DR Master, and DR Slave (follow the Standalone Installation Guide)
- Root or sudo access on all 6 machines
- Back up your database before starting any HA configuration step if you are working on an existing production environment. See the ServiceOps Application and Database Backup Procedure.
- A common OS user with sudo access on all nodes
- Setup scripts extracted on their respective machines:
MotadataETCDSetupU24on the DC Observer, DC Master, DC Slave, and DR ObserverMotadataPatroniSetupU24on DC Master, DC Slave, DR Master, and DR SlaveMotadataPatroniHAMasterSlaveAppConfigon DC Master, DC Slave, DR Master, and DR SlaveMotadataAppHASetupon the DC Observer and DR ObserverMotadataHAFileSyncon DC Master, DC Slave, DR Master, and DR SlaveMotadataPatroniHADBConfigon DC Master, DC Slave, DR Master, and DR SlaveMotadata_DCDR_Setup.shon DC Master, DC Slave, DR Master, and DR Slave
- Firewall ports open on each machine:
| Machine | Open Ports |
|---|---|
| DC Observer / HAProxy / ETCD | 80 (Optional), 443 (ssl), 2379, 2380, 5000, 5432, 7000, 8008 |
| DC Master (APP + DB) | 80 (Optional), 443 (ssl), 2379, 2380, 5432, 8008 |
| DC Slave (APP + DB) | 80 (Optional), 443 (ssl), 2379, 2380, 5432, 8008 |
| DR Observer / HAProxy / ETCD | 80 (Optional), 443 (ssl), 2379, 2380, 5000, 5432, 7000, 8008 |
| DR Master (APP + DB) | 80 (Optional), 443 (ssl), 5432, 8008 |
| DR Slave (APP + DB) | 80 (Optional), 443 (ssl), 5432, 8008 |
- Back up your database before starting any configuration step on an existing production environment. See the ServiceOps Application and Database Backup Procedure. Back up your HAProxy configuration on both Observer machines from
/etc/haproxybefore making any changes. - Back up your HAProxy configuration on the Observer machine from
/etc/haproxybefore making any changes.
Architecture Overview
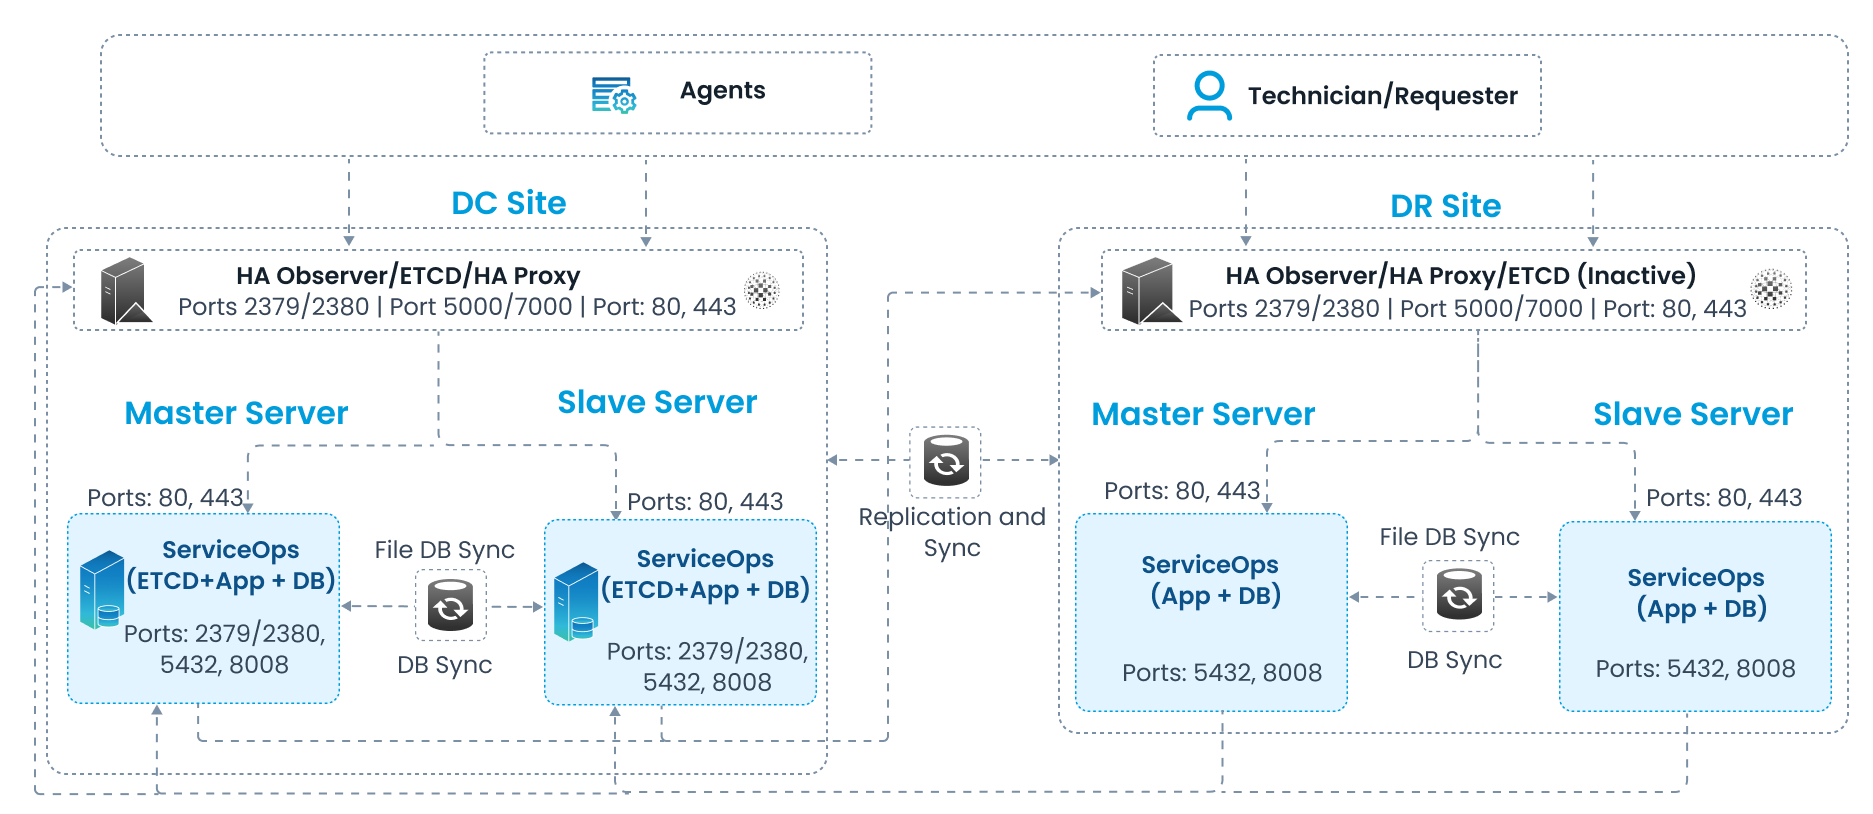
This layout spans two sites. The DC site runs a full 3-machine standalone HA setup with a 3-node ETCD cluster. The DR site mirrors this layout with its own Observer, Master, and Slave, but uses a standalone non-clustered ETCD that stays inactive during normal operation.
| Site | Role | Machine | Patroni Node |
|---|---|---|---|
| DC | Observer / HAProxy / ETCD Node 1 / HA Observer | DC Observer | - |
| DC | APP + DB Master / ETCD Node 2 | DC Master | Node 1 |
| DC | APP + DB Slave / ETCD Node 3 | DC Slave | Node 2 |
| DR | Observer / HAProxy / ETCD (standalone, inactive) / HA Observer | DR Observer | - |
| DR | APP + DB Master | DR Master | Node 3 |
| DR | APP + DB Slave | DR Slave | Node 4 |
Components and Roles
Each machine in the 6-node layout performs a distinct role during normal operation.
- DC Observer (HAProxy / ETCD Node 1 / HA Observer): Entry point for all traffic on the DC side. HAProxy load-balances application traffic and routes database connections to the Patroni Leader on port
5000. ETCD Node 1 is the first member of the 3-node ETCD cluster spread across the Observer, DC Master, and DC Slave. The HA Observer monitors both DC servers and triggers failover when the DC Master is unreachable. - DC Master (APP + DB + ETCD Node 2): Active server handling all live DC requests. Runs ServiceOps, the Patroni Leader database, and ETCD Node 2. File Sync keeps non-database files in sync with the DC Slave and DR side.
- DC Slave (APP + DB + ETCD Node 3): Passive standby on the DC side, kept in sync with the DC Master. Runs ETCD Node 3, completing the 3-node ETCD cluster. Patroni promotes it automatically when the DC Master fails.
- DR Observer (HAProxy / ETCD standalone / HA Observer): Entry point for all traffic when the DR site is active. HAProxy load-balances DR traffic. ETCD installs on this machine but stays inactive during normal operation.
- DR Master (APP + DB): Primary server on the DR site. Patroni Node 3 with
nofailover: true. Becomes active only after a manual switchover from the DC side. - DR Slave (APP + DB): Standby server on the DR site. Patroni Node 4 with
nofailover: true. Stays in sync with the DR Master when the DR site is the active primary.
Part 1: DC Side Configuration
Configure all DC side machines before starting the DR side. Complete Steps 1 through 11 in order.
Step 1: Download Setup Files
Download the zip file containing all setup files from the Download Links page and extract it on all six machines before proceeding.
Step 2: Set Up the DC Observer ETCD Cluster and HAProxy
This setup uses a 3-node ETCD cluster on the DC side. Run ETCD setup on the Observer first, then on the DC Master, then on the DC Slave. Each machine joins the cluster as a numbered node.
On the DC Observer machine
Give
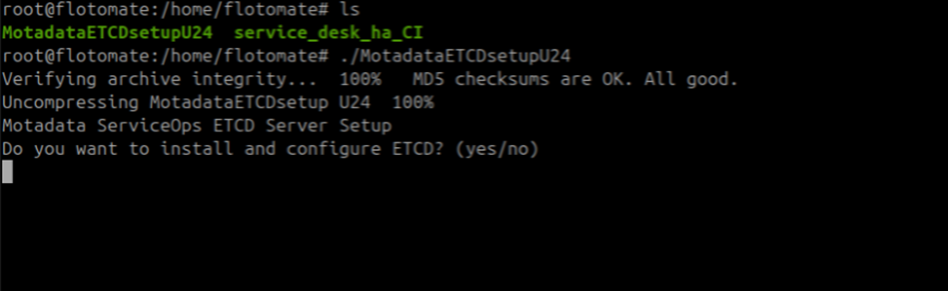
MotadataETCDSetupU24execute permissions and run it:chmod 777 MotadataETCDSetupU24
./MotadataETCDSetupU24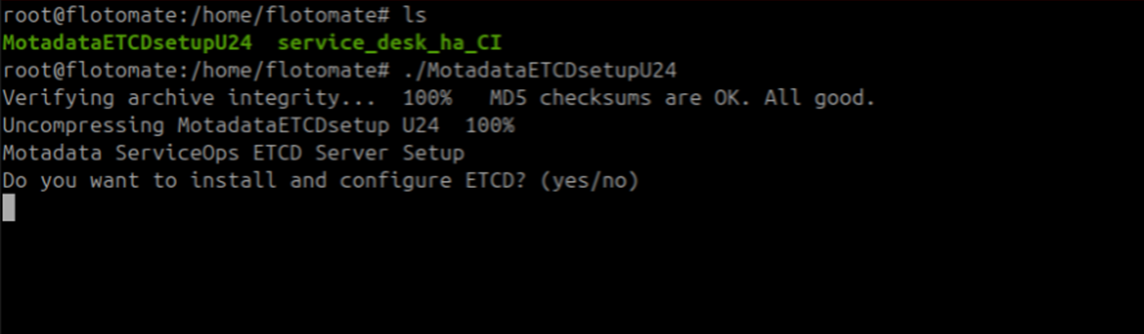
Type
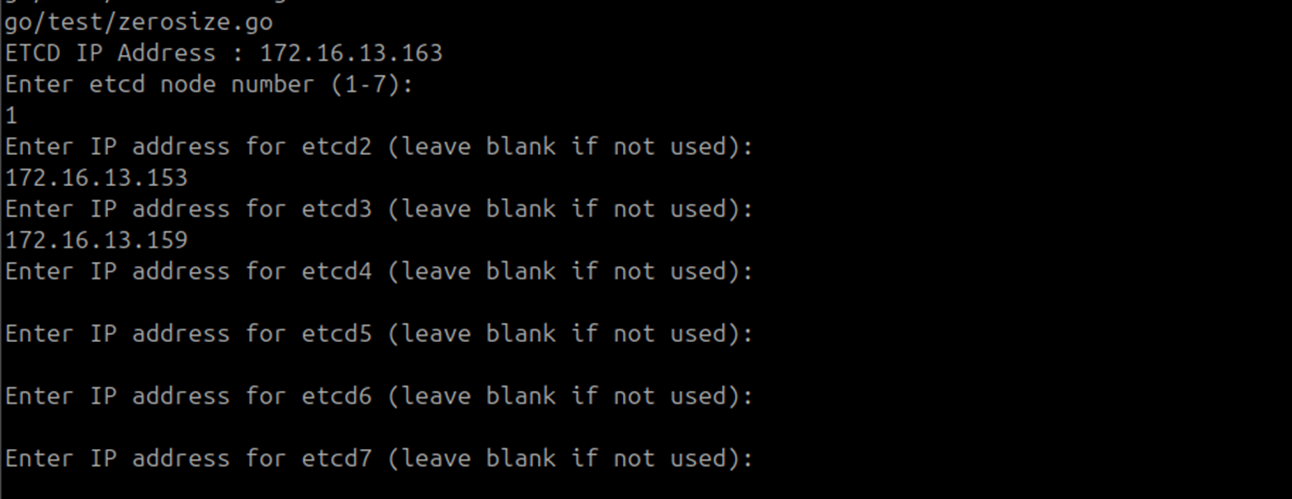
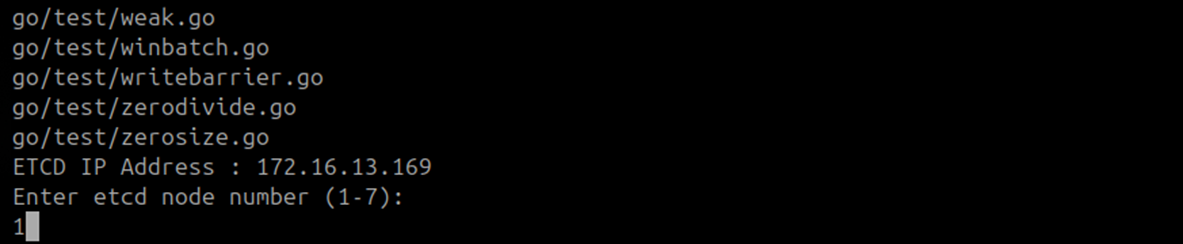
yeswhen prompted to install and configure ETCD.Enter
1when prompted for the ETCD node number. The Observer is Node 1 of the DC ETCD cluster.Maximum ETCD Cluster NodesThis setup supports a maximum of 7 ETCD cluster nodes. Leave any unused node prompts blank.

Enter the DC Master IP address when prompted for Node 2.
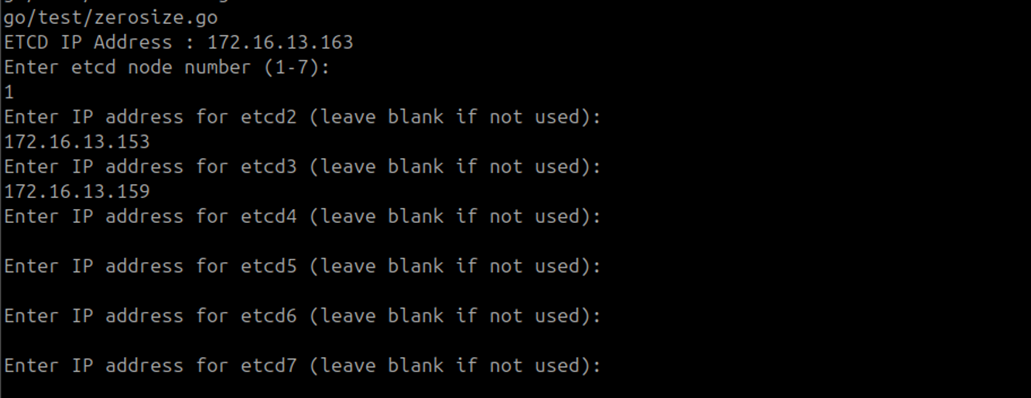
Enter the DC Slave IP address when prompted for Node 3. Leave all remaining node prompts blank.
Type
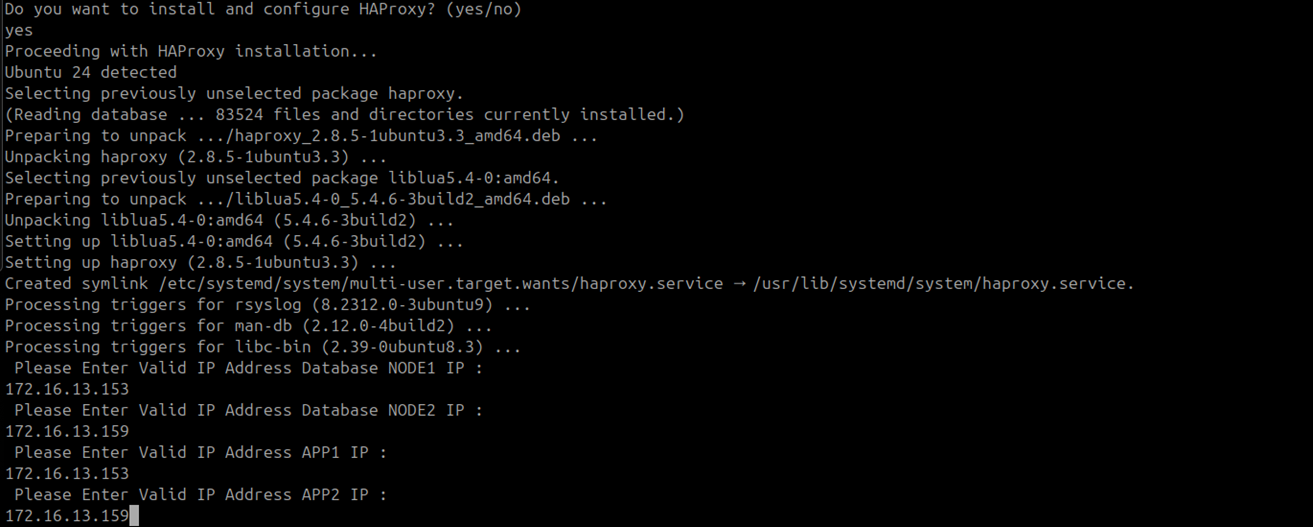
yeswhen prompted to install and configure HAProxy.

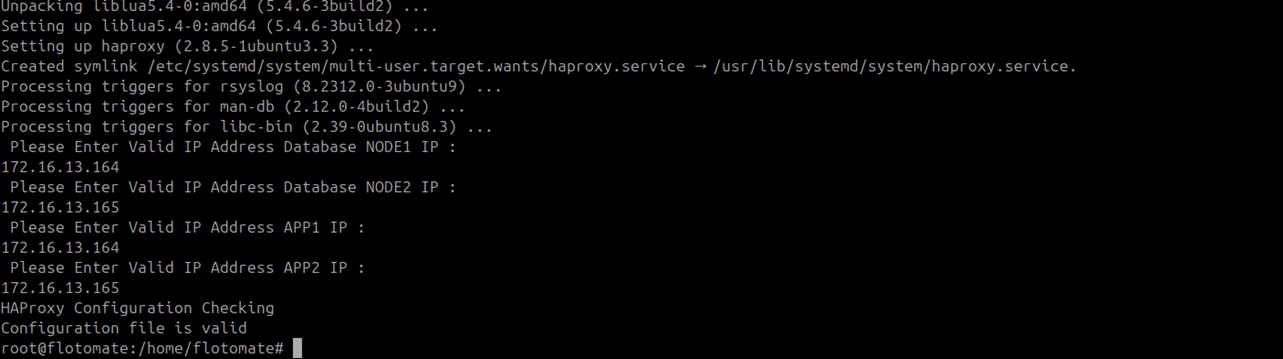
Enter the DB and APP IP addresses when prompted:
Prompt Value DB Node 1 IP DC Master IP DB Node 2 IP DC Slave IP APP Node 1 IP DC Master IP APP Node 2 IP DC Slave IP 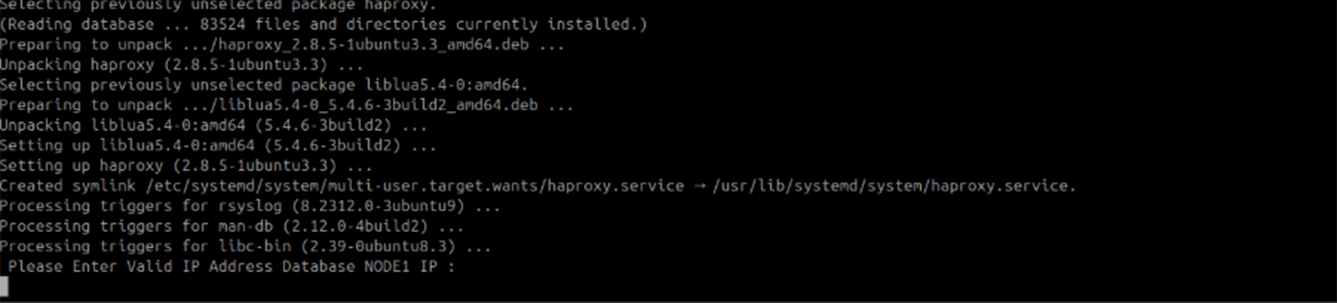
ETCD Node 1 and HAProxy setup on the DC Observer is complete. To start the ETCD service, use the below commands:
systemctl status motadata_etcd
systemctl start motadata_etcd
The ETCD service on the Observer will remain in "activating" state until ETCD is configured on the DC Master and DC Slave. Expect this behavior.
On the DC Master machine
Give
MotadataETCDSetupU24execute permissions and run it:chmod 777 MotadataETCDSetupU24
./MotadataETCDSetupU24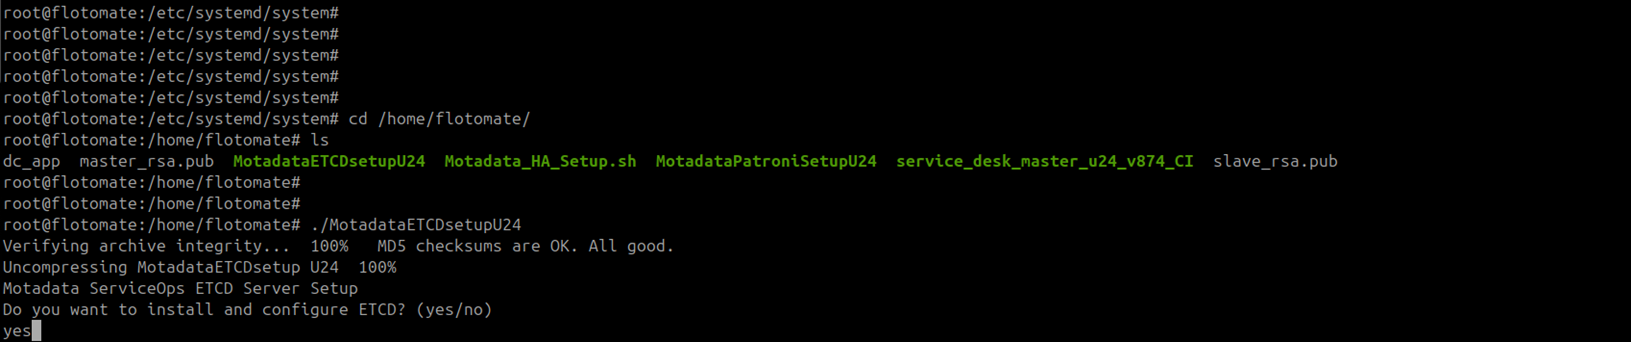
Type
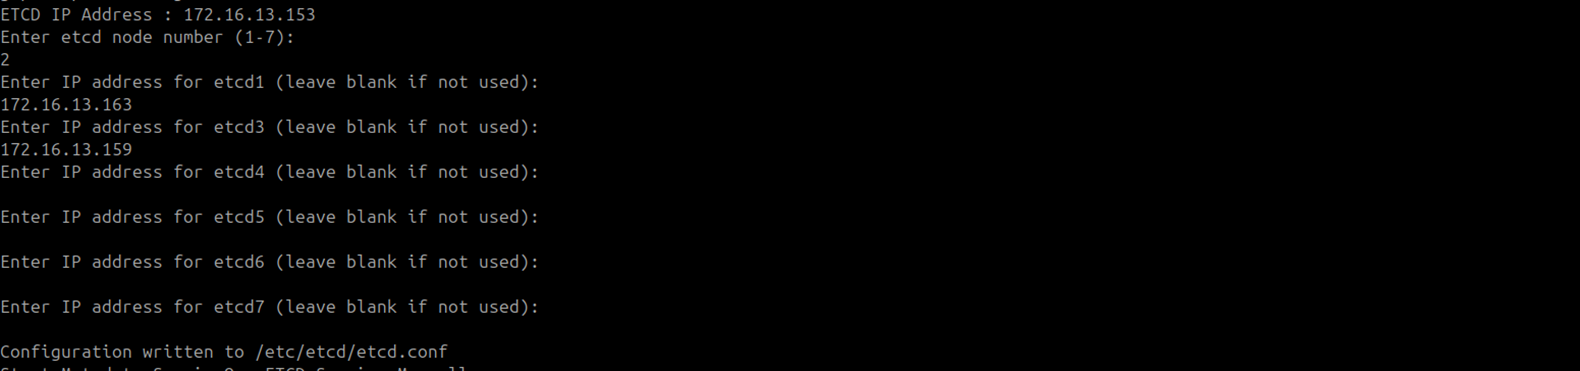
yeswhen prompted to install and configure ETCD. Enter2when prompted for the ETCD node number.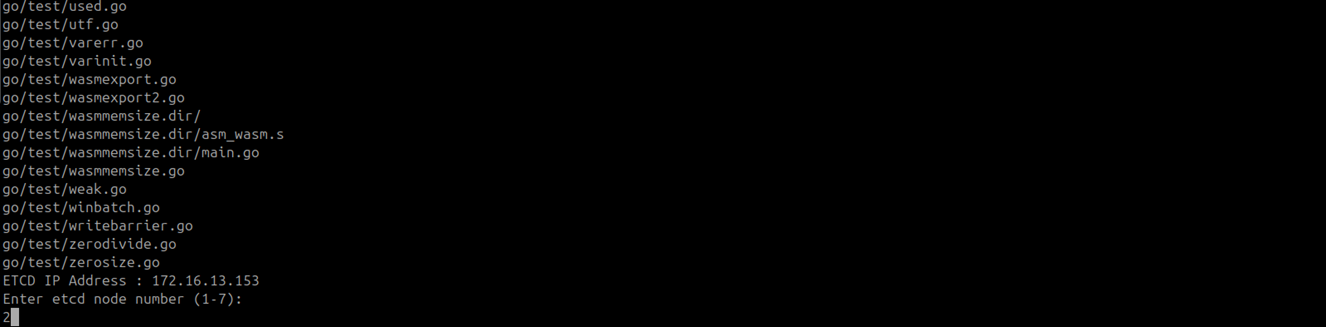
Enter the DC Observer IP address when prompted for Node 1. Enter the DC Slave IP address when prompted for Node 3. Leave all other node prompts blank.
Enter
nowhen prompted to install and configure HAProxy. HAProxy is installed on the Observer only.

ETCD Node 2 setup on the DC Master is complete.
On the DC Slave machine
Give
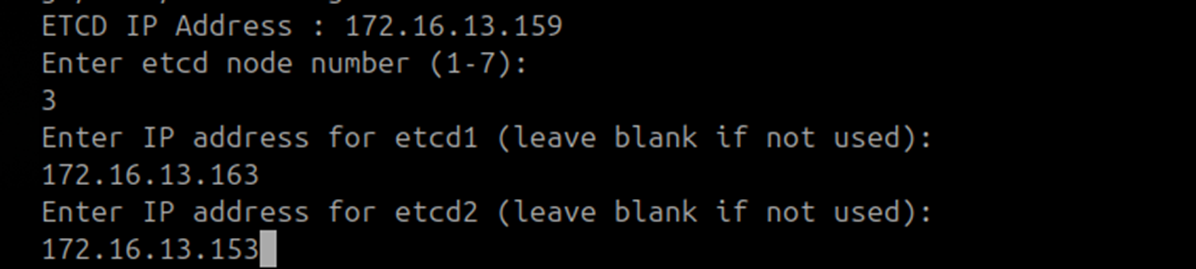
MotadataETCDSetupU24execute permissions, run it, and typeyesto install and configure ETCD. Enter3when prompted for the ETCD node number.Enter the DC Observer IP address when prompted for Node 1. Enter the DC Master IP address when prompted for Node 2. Leave all other node prompts blank.
Enter
nowhen prompted to install and configure HAProxy.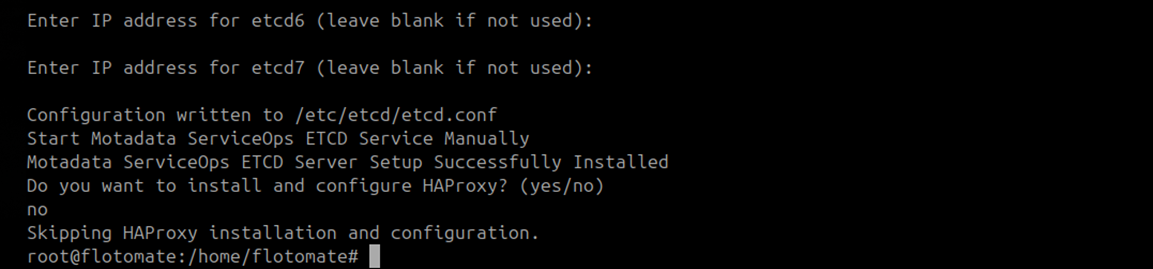
ETCD Node 3 setup on the DC Slave is complete. The 3-node ETCD cluster on the DC side is now configured.
Verify the HAProxy Configuration
Open /etc/haproxy/haproxy.cfg on the DC Observer and confirm it matches this structure:
global
    maxconn 100

defaults
    log global
    mode tcp
    retries 2
    timeout client 30m
    timeout connect 4s
    timeout server 30m
    timeout check 5s

listen stats
    mode http
    bind *:7000
    stats enable
    stats uri /

listen postgres
    bind *:5000
    option httpchk
    http-check expect status 200
    default-server inter 3s fall 3 rise 2 on-marked-down shutdown-sessions
    server etcd1 172.16.12.153:5432 maxconn 100 check port 8008
    server etcd2 172.16.13.159:5432 maxconn 100 check port 8008

listen backend
    bind *:80
    balance roundrobin
    mode tcp
    option tcp-check
    server ubuntu1 172.16.13.153:80 check port 80
    server ubuntu2 172.16.13.159:80 check port 80
Verify ETCD Service Status
Check and activate the ETCD service status on all the three nodes of DC (HA Observer, Master, and Slave):
systemctl status motadata_etcd
If the service is inactive, start it:
systemctl start motadata_etcd
Step 3: Configure the DC Master Database (Patroni Node 1)
Run the following steps on the DC Master machine.
Give
MotadataPatroniSetupU24execute permissions and run it:chmod 777 MotadataPatroniSetupU24
./MotadataPatroniSetupU24Enter
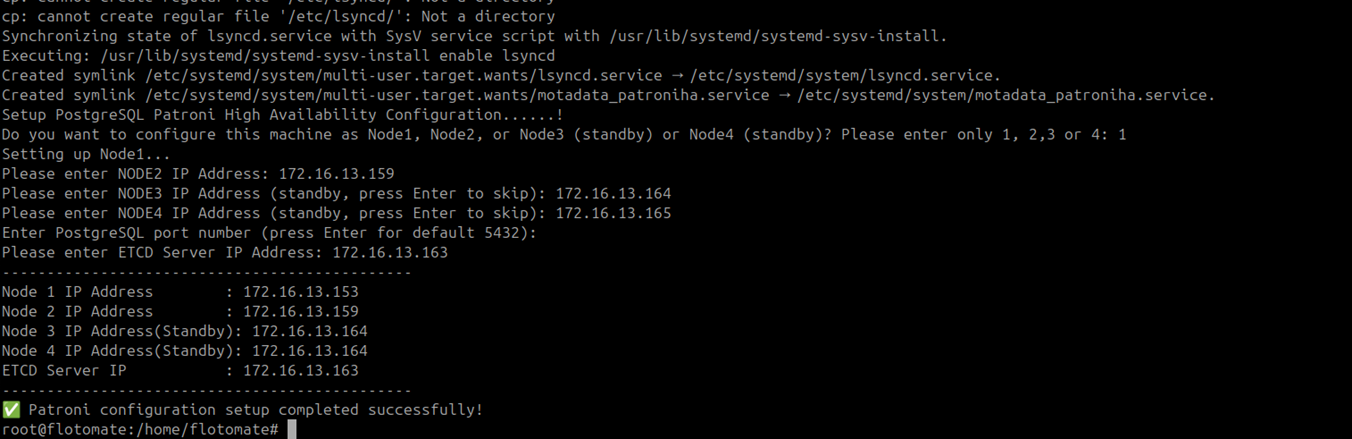
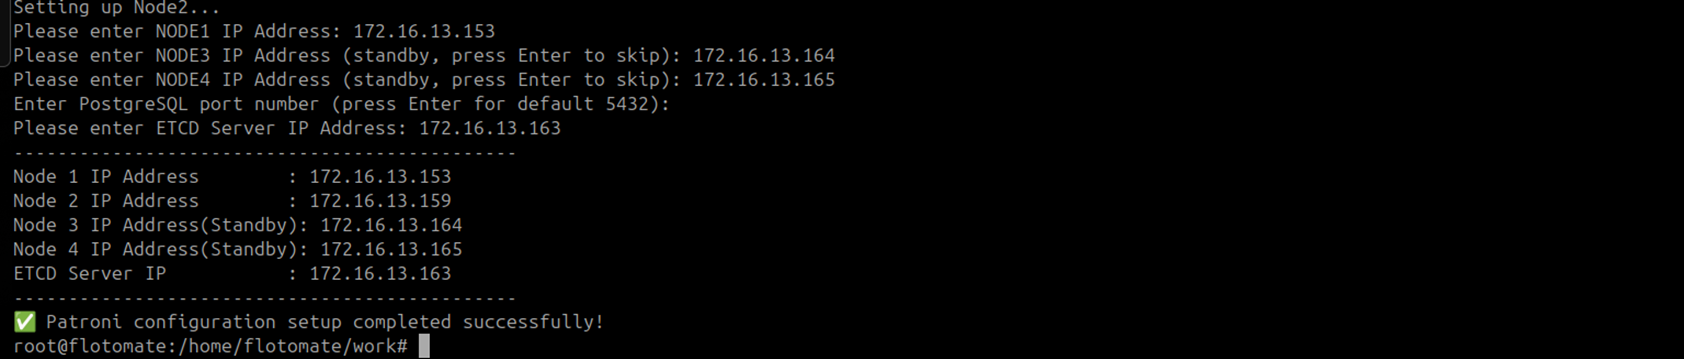
1when asked for the node number. The DC Master is Patroni Node 1.
Enter the DC Slave IP address when prompted for Node 2.

Enter the DR Master IP address when prompted for Node 3 and the DR Slave IP address for Node 4.

Enter the DC Observer IP address when prompted for the first ETCD node.

Enter the DC Master IP address for the second ETCD node and the DC Slave IP address for the third ETCD node.

Patroni setup on the DC Master is complete.
After setup, confirm the Patroni service is inactive on the DC Master. If it shows active, stop it:
systemctl status patroni
systemctl stop patroni
Step 4: Configure the DC Slave Database (Patroni Node 2)
Run the following steps on the DC Slave machine.
Give
MotadataPatroniSetupU24execute permissions and run it:chmod 777 MotadataPatroniSetupU24
./MotadataPatroniSetupU24Enter
2when asked for the node number. The DC Slave is Patroni Node 2.
Enter the DC Master IP address when prompted for Node 1, the DR Master IP for Node 3, and the DR Slave IP for Node 4.

Enter the DC Observer IP address when prompted for the ETCD node.
Patroni setup on the DC Slave is complete.

After setup, confirm the Patroni service is inactive on the DC Slave. If it shows active, stop it:
systemctl status patroni
systemctl stop patroni
Do not continue to Step 5 until the DC Slave Patroni service is inactive.
Step 5: Configure the DC Master Application
Run the following steps on the DC Master machine.
Copy
MotadataPatroniHAMasterSlaveAppConfigfrom/opt/HAto the home directory.Give it execute permissions and run it:
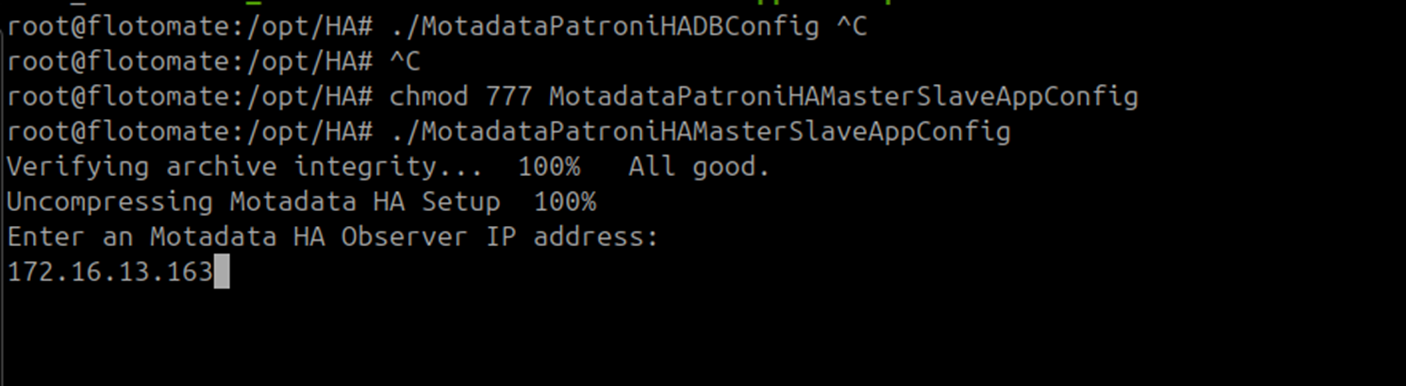
chmod 777 MotadataPatroniHAMasterSlaveAppConfig
./MotadataPatroniHAMasterSlaveAppConfig
Enter the DC Observer IP address when prompted for the HA Observer IP.
Enter
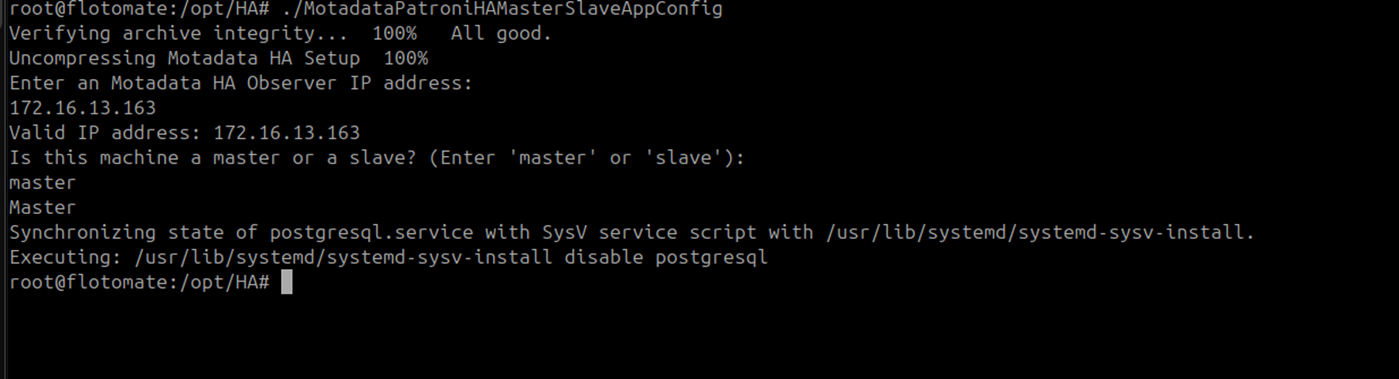
masterwhen asked for the machine role.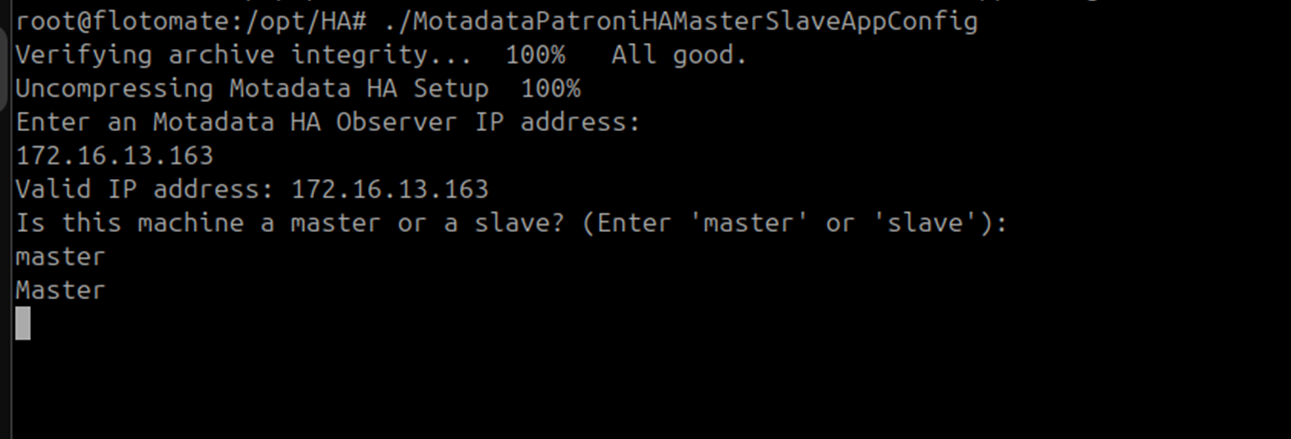
DC Master application configuration is complete.
Step 6: Configure the DC Slave Application
Run the following steps on the DC Slave machine.
Copy
MotadataPatroniHAMasterSlaveAppConfigfrom the DC Master/opt/HAfolder to the DC Slave home directory.Give it execute permissions and run it:
chmod 777 MotadataPatroniHAMasterSlaveAppConfig
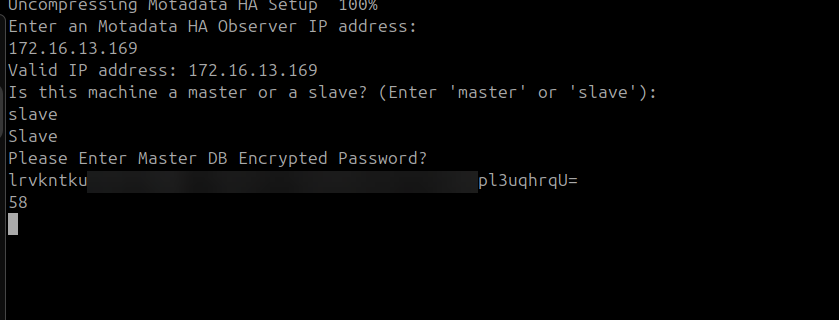
./MotadataPatroniHAMasterSlaveAppConfigEnter the DC Observer IP address when prompted for the HA Observer IP.
Enter
slavewhen asked for the machine role.
Enter the DC Master application DB password when prompted.
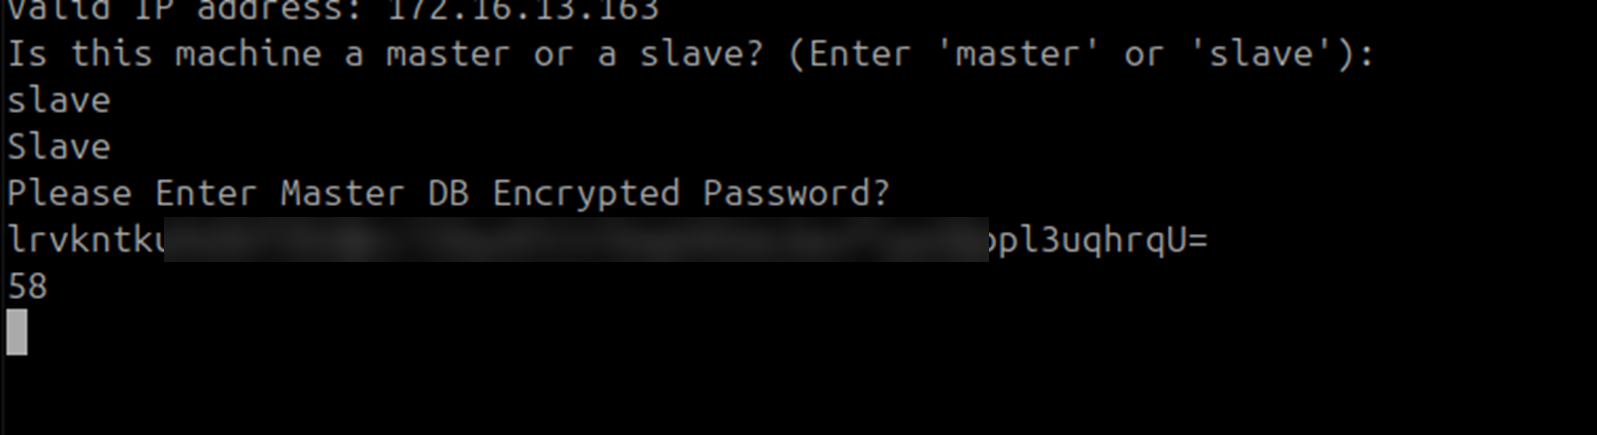
Retrieve the DB password from the DC Master configuration file:
cat /opt/flotomate/main-server/lib/boot-hosted-exec.conf
The password must be identical on all machines.
DC Slave application configuration is complete.

Step 7: Configure File Sync on the DC Master
Run the following steps on the DC Master machine.
Change to the
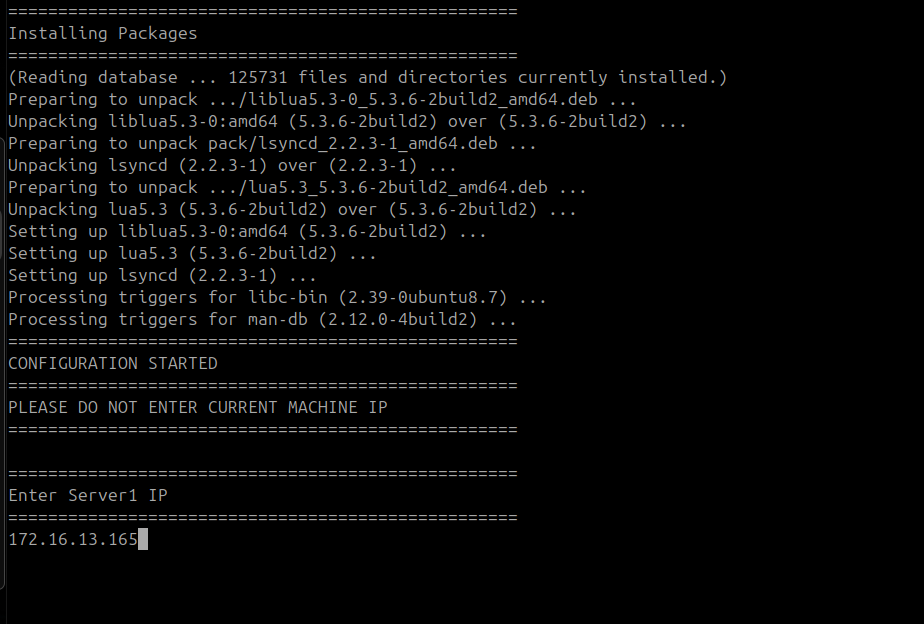
/opt/HAdirectory and runMotadataHAFileSync:cd /opt/HA
./MotadataHAFileSync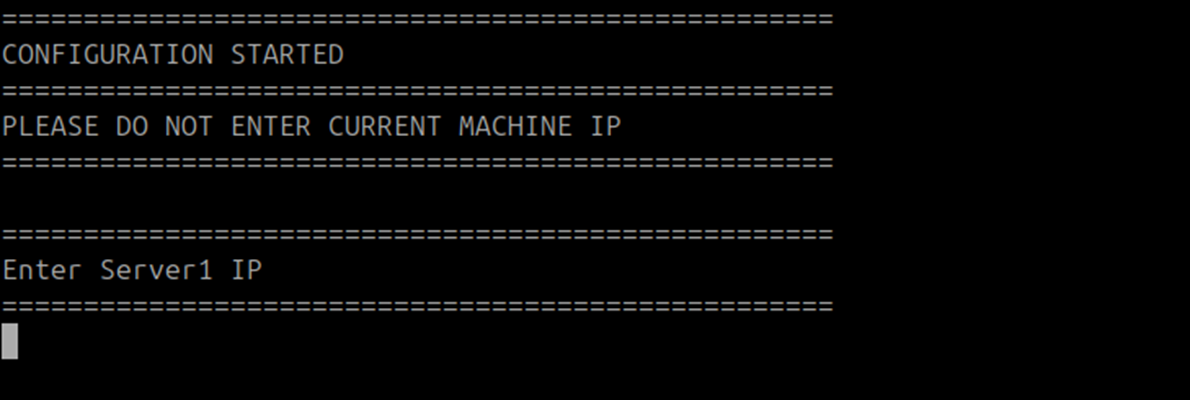
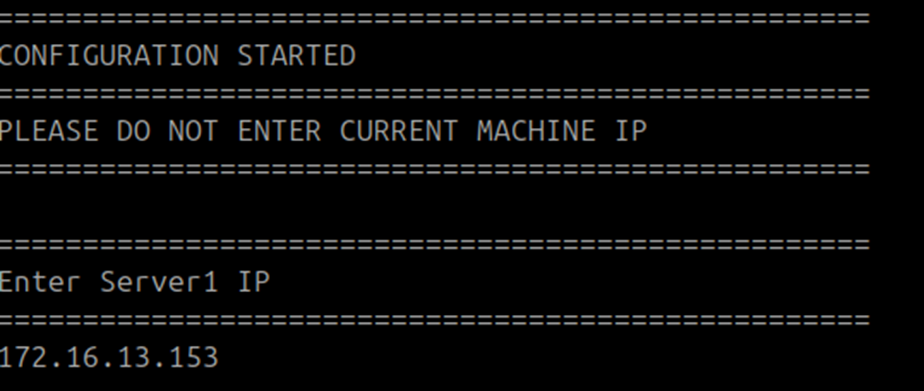
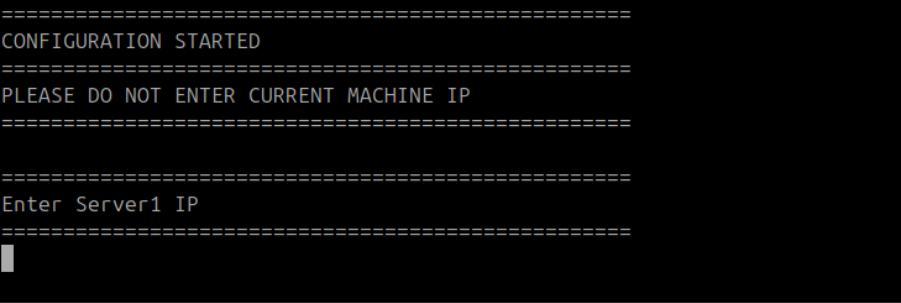
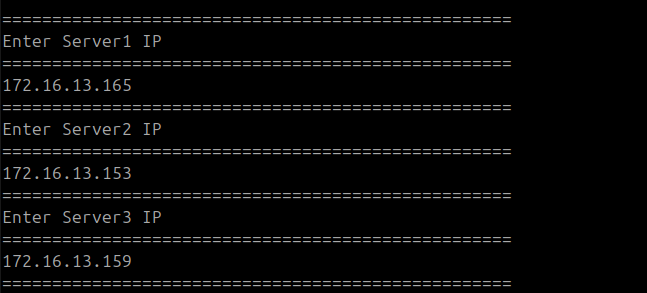
Enter the DC Slave IP address when prompted for Server 1.

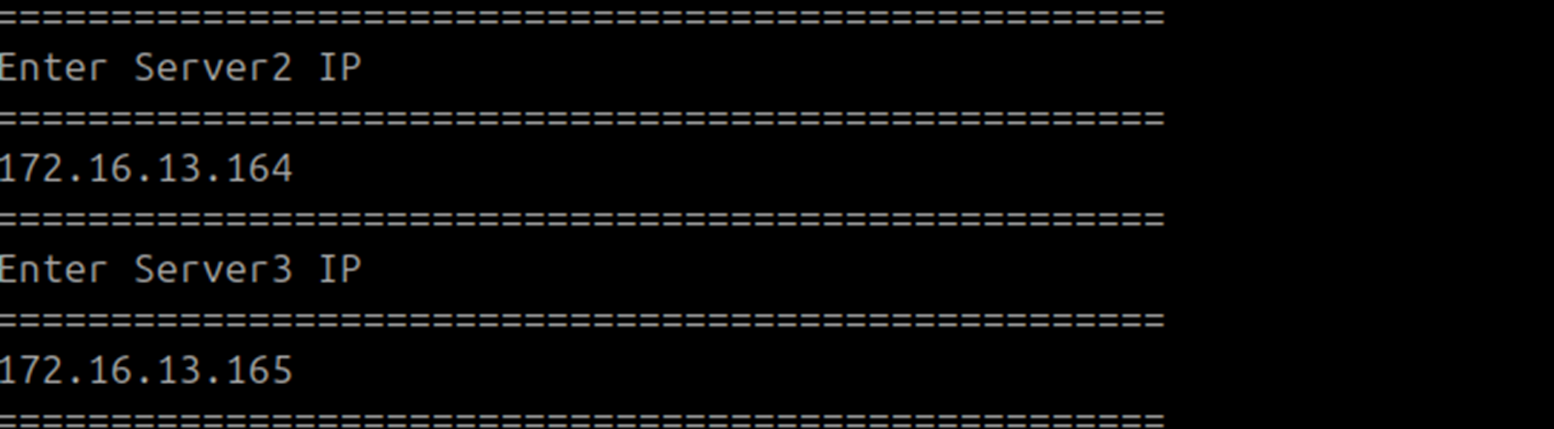
Enter the DR Master IP address when prompted for Server 2 and the DR Slave IP address for Server 3.

Enter the common SSH username when prompted. Use the username that is available on all nodes and is used for SSH between nodes.

File sync configuration on the DC Master is complete.

Step 8: Configure File Sync on the DC Slave
Run the following steps on the DC Slave machine.
Change to the
/opt/HAdirectory and runMotadataHAFileSync:cd /opt/HA
./MotadataHAFileSync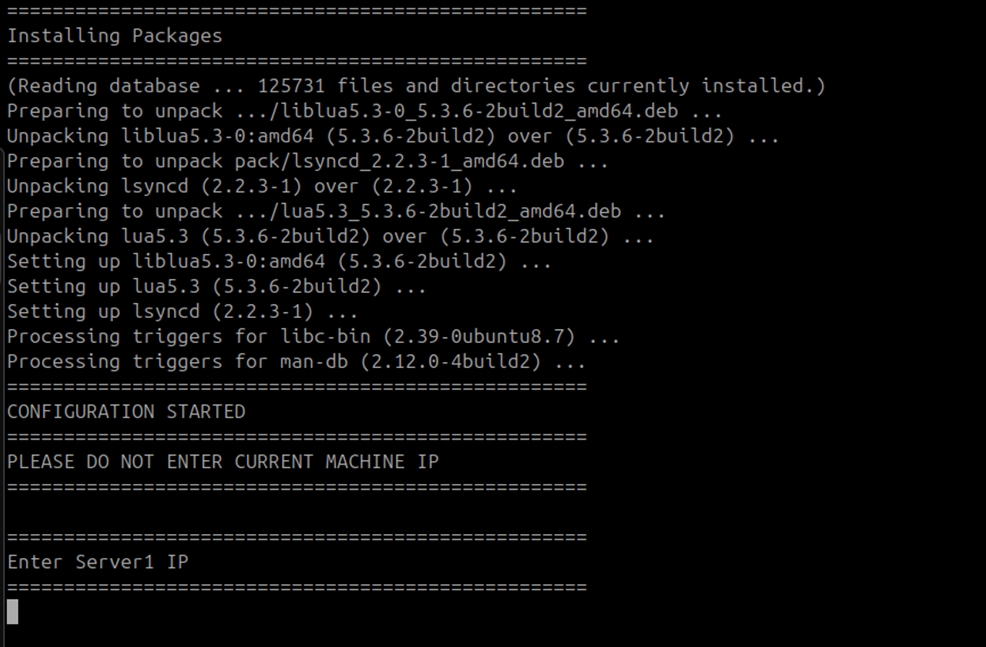
Enter the DC Master IP address when prompted for Server 1.
Enter the DR Master and DR Slave IP addresses when prompted for Servers 2 and 3.
Enter the common SSH username when prompted.
File sync configuration on the DC Slave is complete.
Step 9: Run DB Configuration on the DC Master
Run the following steps on the DC Master machine.
- Give
MotadataPatroniHADBConfigexecute permissions and run it:chmod 777 MotadataPatroniHADBConfig
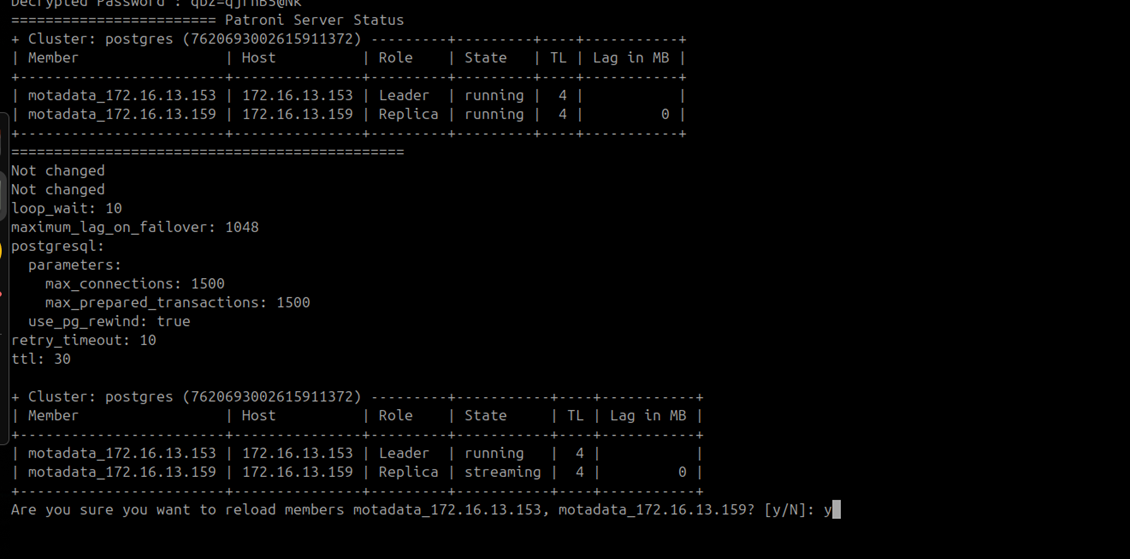
./MotadataPatroniHADBConfig

At first, only one cluster member appears. This is expected before the reload step.
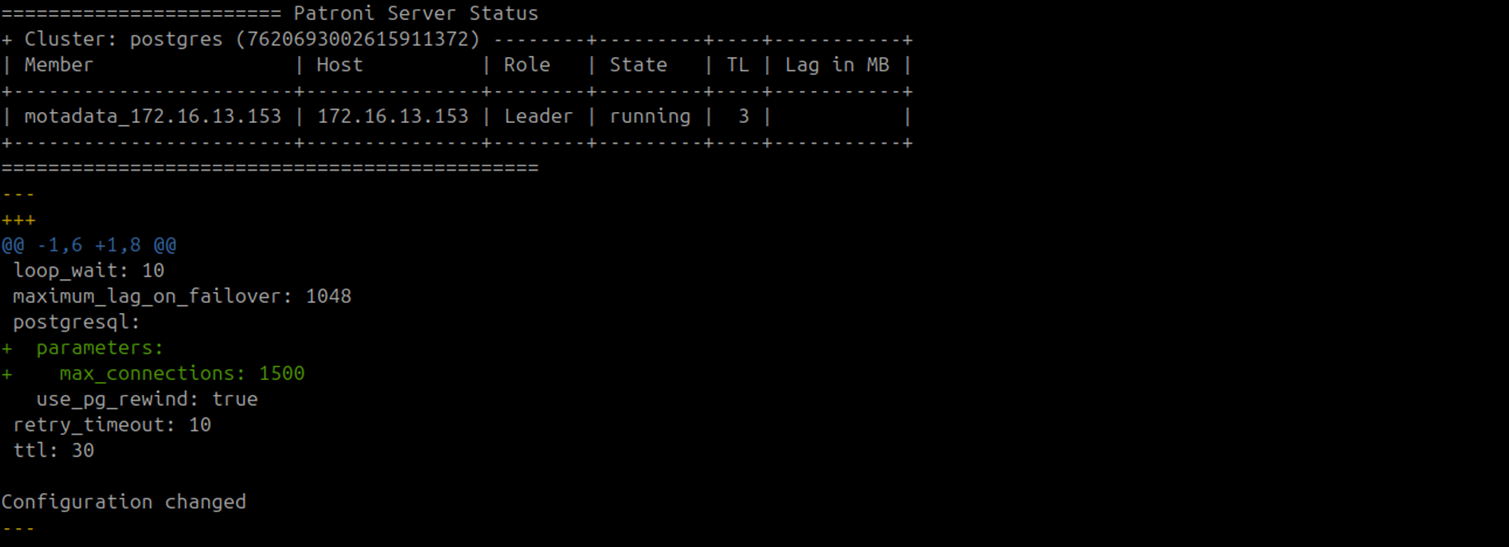
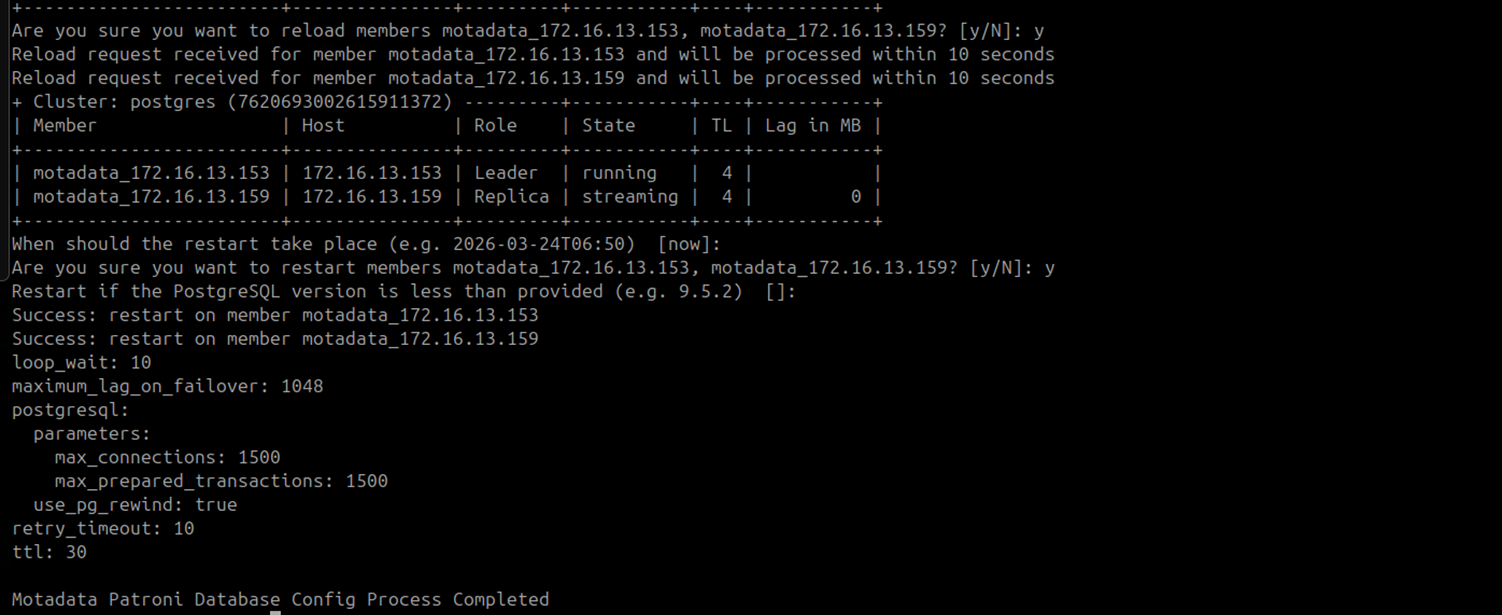
- Enter
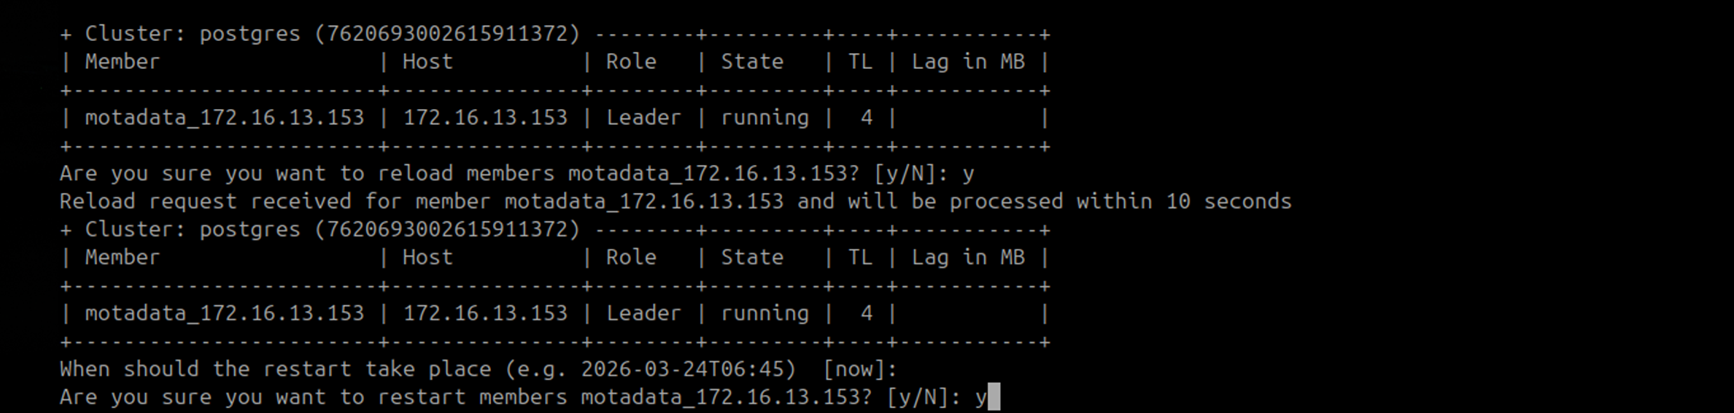
ywhen asked to reload and restart Patroni members. Press Enter when prompted for a version.

- Enter
ywhen asked to confirm restarting the member.

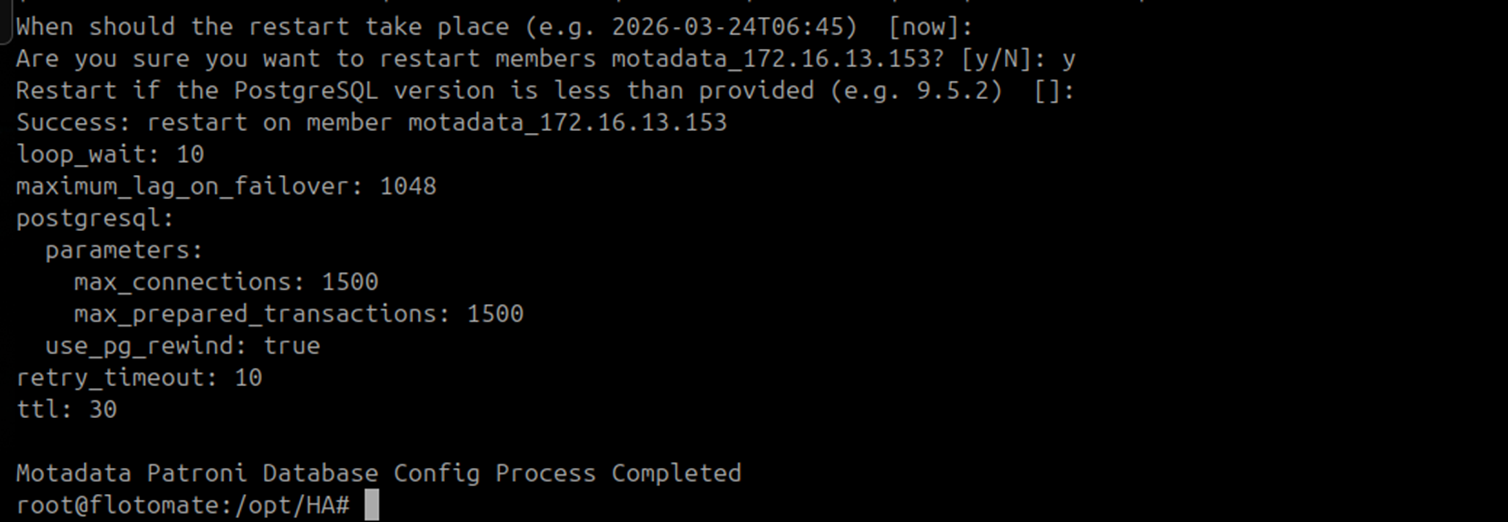
DC Master DB configuration is complete.
Step 10: Run DB Configuration on the DC Slave
Run the following steps on the DC Slave machine.
- Give
MotadataPatroniHADBConfigexecute permissions and run it:chmod 777 MotadataPatroniHADBConfig
./MotadataPatroniHADBConfig

- Enter
ywhen asked to reload and restart Patroni members.
- Confirm the reload. The DC Slave shows two Patroni cluster members: the DC Master and itself.
DC Slave DB configuration is complete.
Step 11: Configure the Application HA Observer
Run the following steps on the DC Observer machine.
Run this script as a normal user. Do not use root or sudo. The script fails when run as root.
- Give
MotadataAppHASetupexecute permissions and run it:chmod 777 MotadataAppHASetup
./MotadataAppHASetup
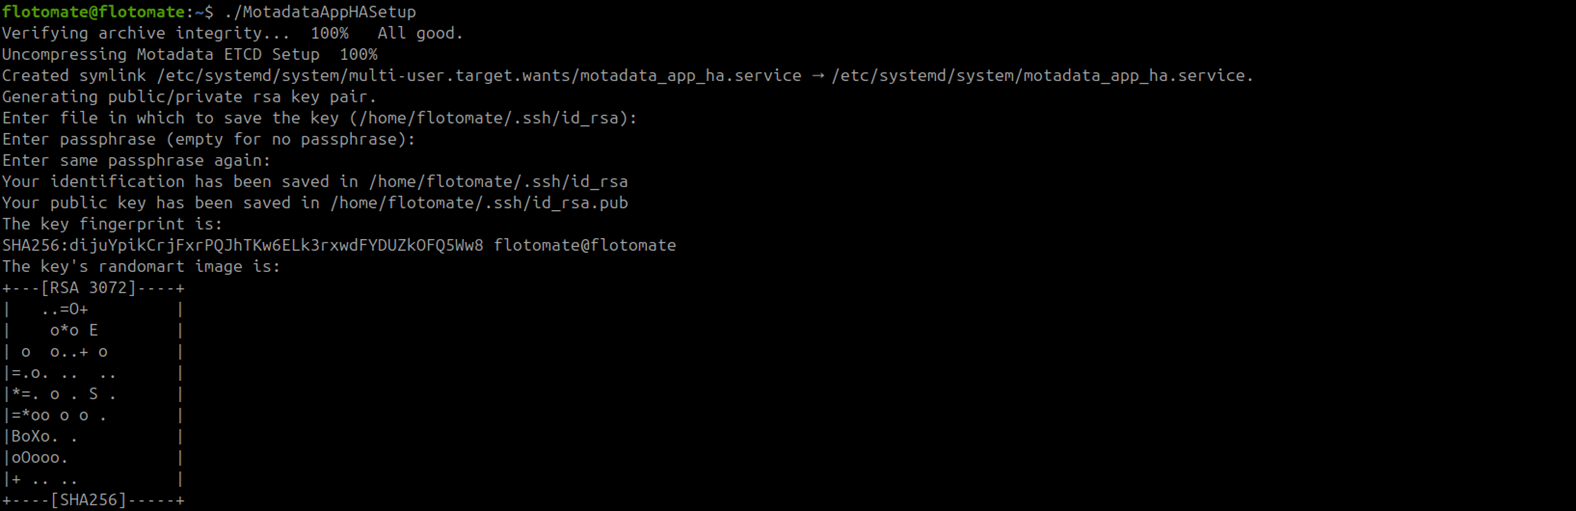
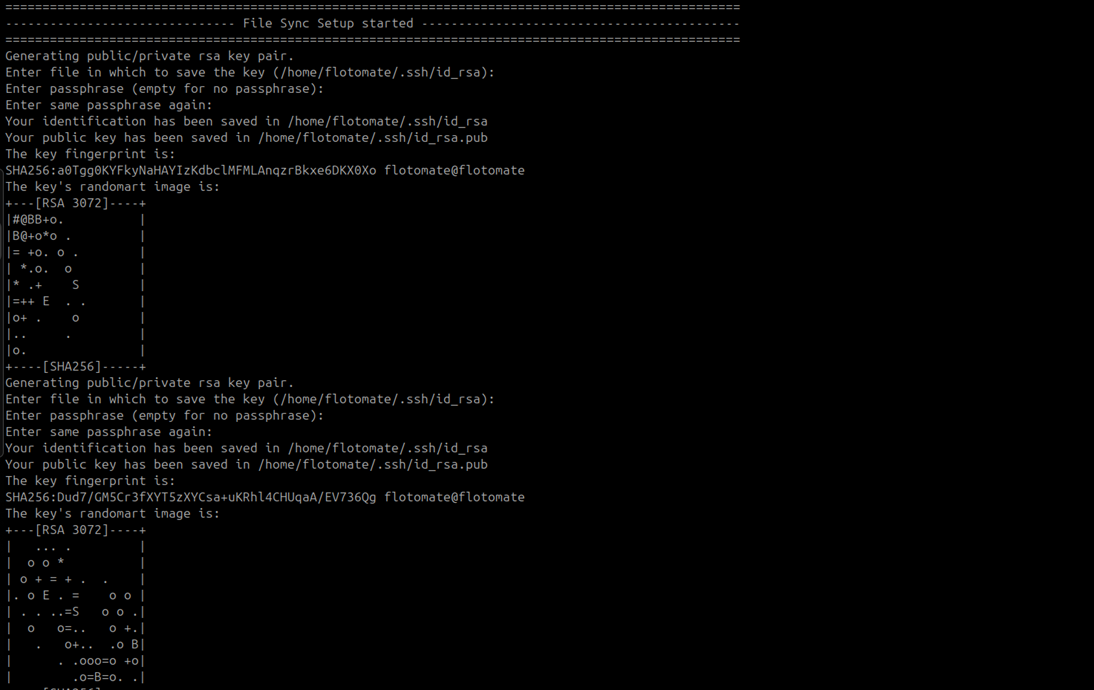
Press Enter at the key-pair generation prompts until generation completes.
Enter the following values when prompted:
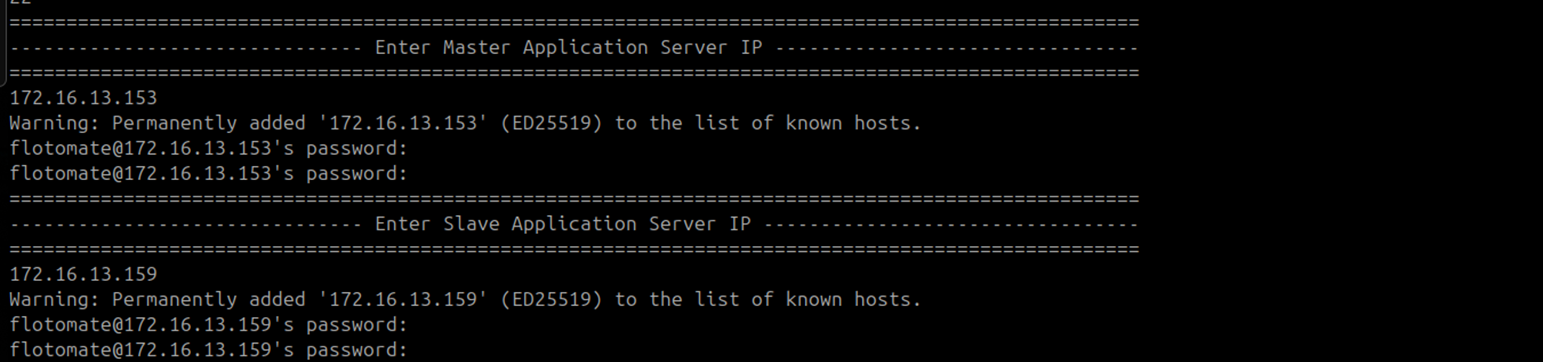
Prompt Value Username for SSH Common SSH username on all DC nodes Port for SSH SSH port (default: 22)Master Server IP DC Master IP address Master Server Password DC Master password Slave Server IP DC Slave IP address Slave Server Password DC Slave password Sudo Password Sudo password for the SSH user 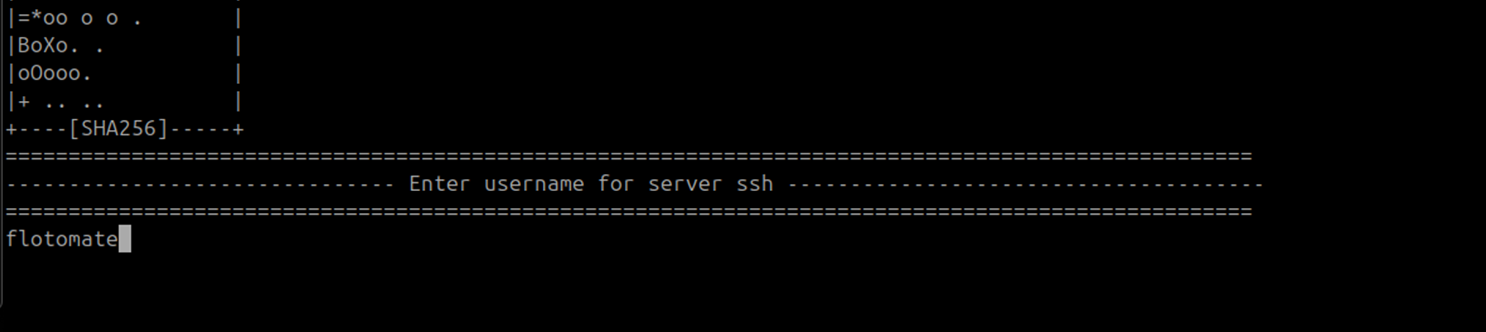


Press Enter at the second key-pair generation prompt. Enter
Yif prompted to overwrite an existing key pair.
Application HA Observer configuration on the DC side is complete.

Verify the service is running:
systemctl status motadata_app_ha
DC side configuration is complete. Proceed to Part 2 for DR side configuration.
Part 2: DR Side Configuration
Configure the DR side only after completing all 11 steps of Part 1. Install the ServiceOps application on both DR Master and DR Slave before running these steps.
Step 1: Set Up the DR Observer (ETCD and HAProxy)
The DR side uses a single standalone ETCD node. Unlike the DC side, the ETCD service on the DR Observer must be stopped after setup and kept inactive during normal operation.
Run the following steps on the DR Observer machine.
- Give
MotadataETCDSetupU24execute permissions and run it:chmod 777 MotadataETCDSetupU24
./MotadataETCDSetupU24
- Type
yeswhen prompted to install and configure ETCD. Enter1when prompted for the ETCD node number.
- Leave all additional ETCD node IP prompts blank and press Enter. The DR side does not use ETCD clustering.

- Type
yeswhen prompted to install and configure HAProxy.


Enter the DR side DB and APP IP addresses when prompted:
Prompt Value DB Node 1 IP DR Master IP DB Node 2 IP DR Slave IP APP Node 1 IP DR Master IP APP Node 2 IP DR Slave IP 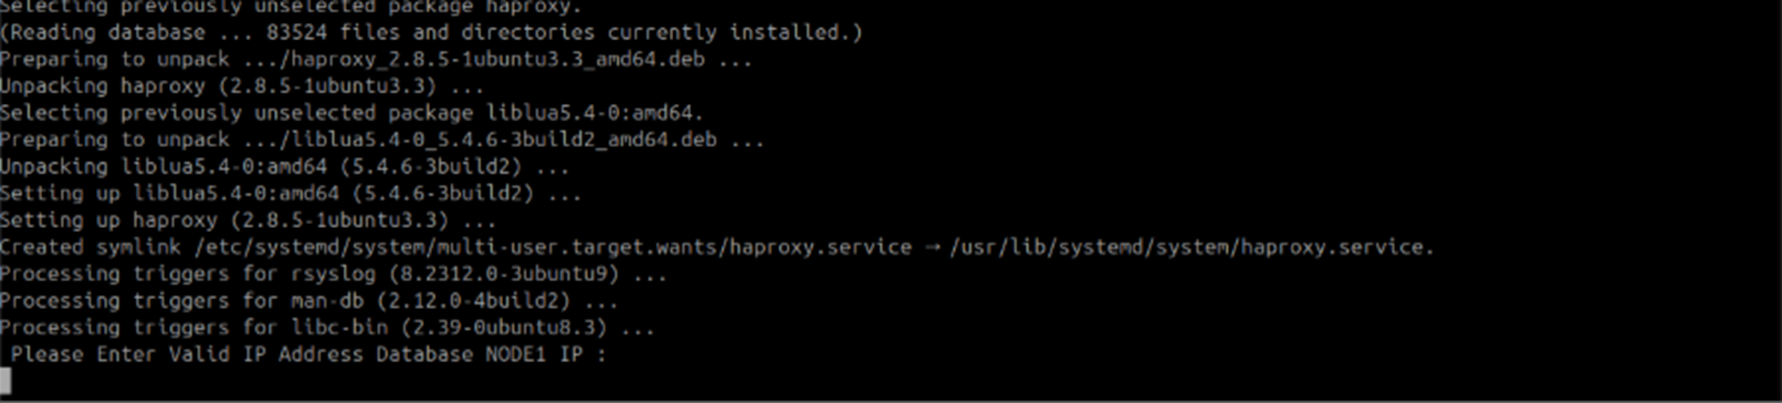

ETCD and HAProxy setup on the DR Observer is complete.
The DR side does not use ETCD clustering. After setup, stop the motadata_etcd service on the DR Observer and keep it inactive during normal operation:
systemctl status motadata_etcd
systemctl stop motadata_etcd
Step 2: Configure the DR Master Database (Patroni Node 3)
Run the following steps on the DR Master machine.
- Give
MotadataPatroniSetupU24execute permissions and run it:chmod 777 MotadataPatroniSetupU24
./MotadataPatroniSetupU24 - Enter
3when asked for the node number. The DR Master is Patroni Node 3.


- Enter the DC Master IP for Node 1, the DC Slave IP for Node 2, and the DR Slave IP for Node 4 when prompted.

Press Enter to accept the default PostgreSQL port.
Enter the DC Observer ETCD IP address when prompted for the ETCD server IP.
Use the DC Side ETCD IP on DR MachinesDR machines connect to the DC side ETCD for cluster coordination. The DR ETCD stays inactive by default. Enter the DC Observer IP here, not the DR Observer IP.
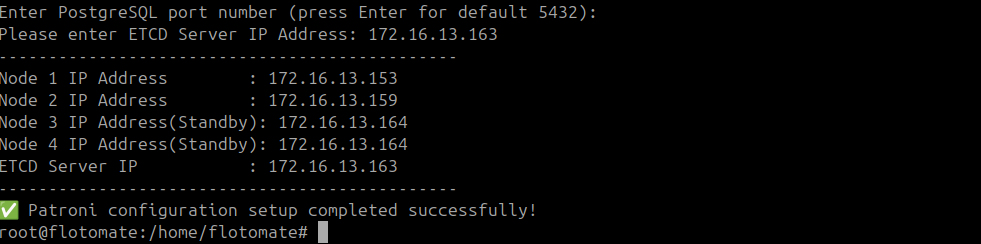
Patroni setup on the DR Master is complete.
Step 3: Configure the DR Slave Database (Patroni Node 4)
Run the following steps on the DR Slave machine.
Give
MotadataPatroniSetupU24execute permissions and run it:chmod 777 MotadataPatroniSetupU24
./MotadataPatroniSetupU24Enter
4when asked for the node number. The DR Slave is Patroni Node 4.

- Enter the DC Master IP for Node 1, the DC Slave IP for Node 2, and the DR Master IP for Node 3 when prompted.
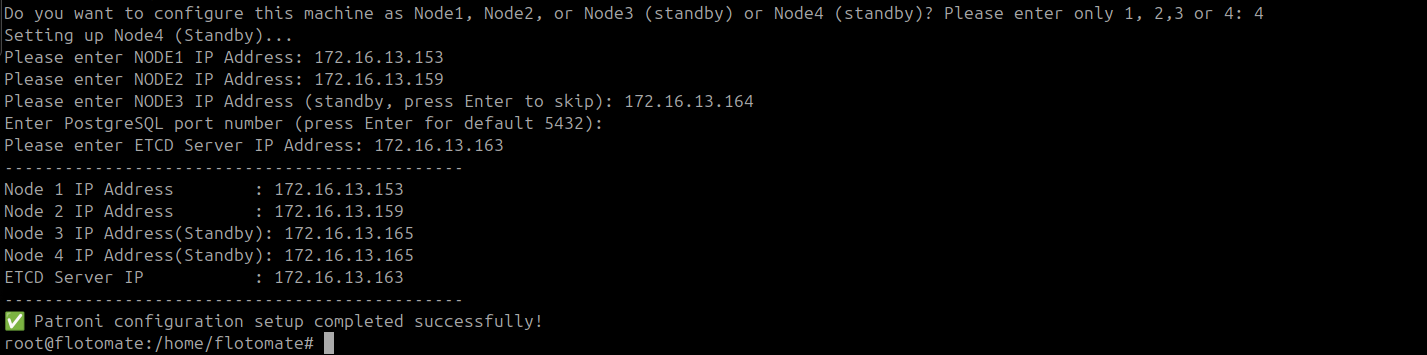
- Enter the DC Observer ETCD IP address when prompted.
Patroni setup on the DR Slave is complete.
Step 4: Configure the DR Master Application
Run the following steps on the DR Master machine.
- Copy
MotadataPatroniHAMasterSlaveAppConfigfrom/opt/HAto the home directory. - Give it execute permissions and run it:
chmod 777 MotadataPatroniHAMasterSlaveAppConfig
./MotadataPatroniHAMasterSlaveAppConfig

Enter the DR Observer IP address when prompted for the HA Observer IP.
Enter the DR Observer IP for DR Side MachinesWhen configuring DR side applications, enter the DR Observer IP, not the DC Observer IP.
Enter
slavewhen asked for the machine role. DR side machines always use theslaverole because they are passive during normal DC operation.Enter the DB password from the DC Master when prompted.
DR Master application configuration is complete.
Step 5: Configure the DR Slave Application
Run the following steps on the DR Slave machine.
- Copy
MotadataPatroniHAMasterSlaveAppConfigto the DR Slave home directory. - Give it execute permissions and run it:
chmod 777 MotadataPatroniHAMasterSlaveAppConfig
./MotadataPatroniHAMasterSlaveAppConfig - Enter the DR Observer IP address when prompted for the HA Observer IP.
- Enter
slavewhen asked for the machine role.
- Enter the same DB password from the DC Master when prompted.
DR Slave application configuration is complete.
Step 6: Configure File Sync on the DR Master
Run the following steps on the DR Master machine.
- Change to the
/opt/HAdirectory and runMotadataHAFileSync:cd /opt/HA
./MotadataHAFileSync
- Enter the DR Slave IP address when prompted for Server 1.
- Enter the DC Master and DC Slave IP addresses when prompted for Servers 2 and 3.
- Enter the common SSH username when prompted.

File sync configuration on the DR Master is complete.

Step 7: Configure File Sync on the DR Slave
Run the following steps on the DR Slave machine.
Change to the
/opt/HAdirectory and runMotadataHAFileSync:cd /opt/HA
./MotadataHAFileSyncEnter the DR Master IP address when prompted for Server 1.

- Enter the DC Master and DC Slave IP addresses when prompted for Servers 2 and 3.
- Enter the common SSH username when prompted.
File sync configuration on the DR Slave is complete.
Step 8: Run DB Configuration on the DR Master
Run the following steps on the DR Master machine.
Give
MotadataPatroniHADBConfigexecute permissions and run it:chmod 777 MotadataPatroniHADBConfig
./MotadataPatroniHADBConfigEnter
ywhen asked to reload and restart Patroni members.
The DR Master appears as a third cluster member with the nofailover: true tag. This prevents Patroni from automatically promoting the DR node during a DC-side failure.
Step 9: Run DB Configuration on the DR Slave
Run the following steps on the DR Slave machine.
Give
MotadataPatroniHADBConfigexecute permissions and run it:chmod 777 MotadataPatroniHADBConfig
./MotadataPatroniHADBConfigEnter
ywhen asked to reload and restart Patroni members.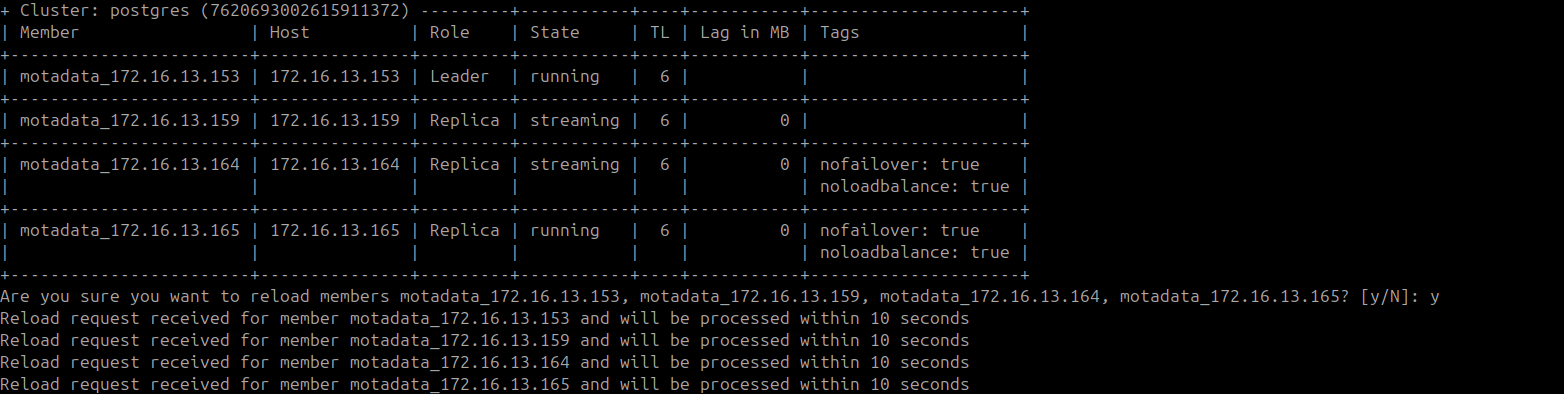
A new cluster member appears in the output after the reload completes.
Step 10: Configure the Application HA Observer on the DR Side
Run the following steps on the DR Observer machine.
Run this script as a normal user. Do not use root or sudo. The script fails when run as root.
Give
MotadataAppHASetupexecute permissions and run it:chmod 777 MotadataAppHASetup
./MotadataAppHASetupPress Enter at the key-pair generation prompts until generation completes.

Enter the following values when prompted:
Prompt Value Username for SSH Common SSH username on all DR nodes Port for SSH SSH port (default: 22)Master Server IP DR Master IP address Master Server Password DR Master password Slave Server IP DR Slave IP address Slave Server Password DR Slave password Sudo Password Sudo password for the SSH user 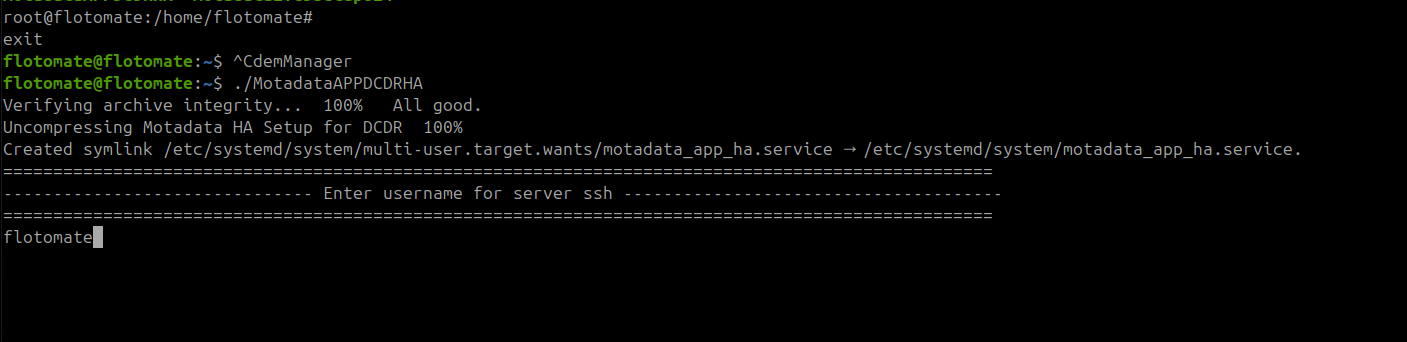


Press Enter at the final key-pair generation prompt.
Application HA Observer configuration on the DR side is complete. The full DC-DR 6-machine setup is now configured. Proceed to Part 3 to set up passwordless SSH communication between all nodes.
Part 3: Configure Passwordless SSH Between All Nodes
This step sets up SSH key-based authentication between the DC Master, DC Slave, DR Master, and DR Slave so that switchover scripts can execute across nodes without password prompts.
Copy Motadata_DCDR_Setup.sh from /opt/HA to the home directory of the normal user before running it. Run it as a normal user, not root. The script does not work correctly when run from /opt/HA directly.
Step 1: Run on the DC Master
Run the following steps on the DC Master machine.
Copy
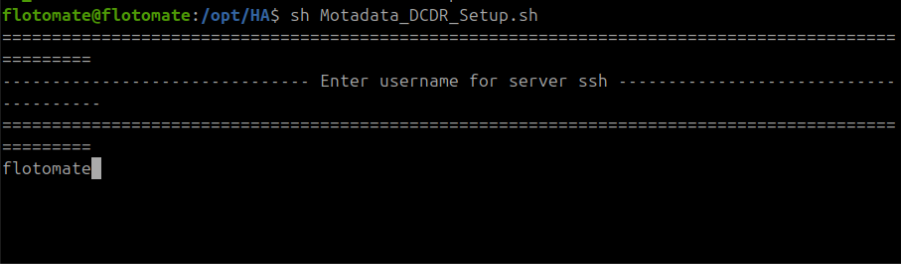
Motadata_DCDR_Setup.shto the home directory and run it:cp /opt/HA/Motadata_DCDR_Setup.sh ~/
cd ~
./Motadata_DCDR_Setup.shEnter the common SSH username when prompted.
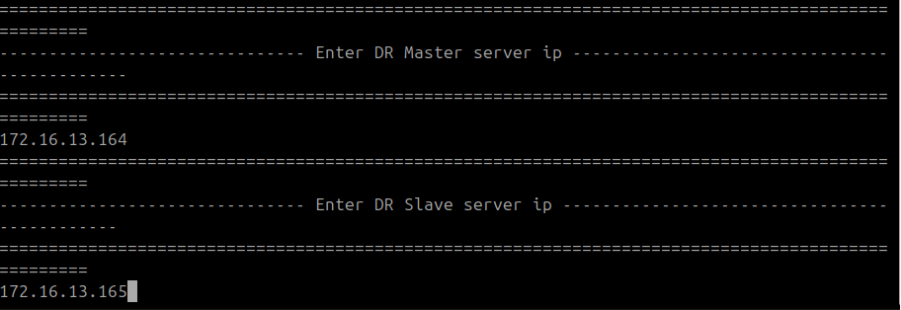
Enter
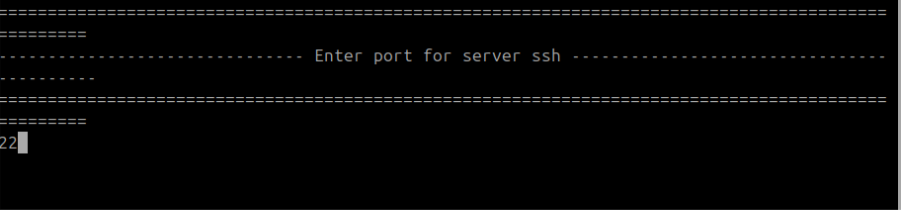
22for the SSH port.
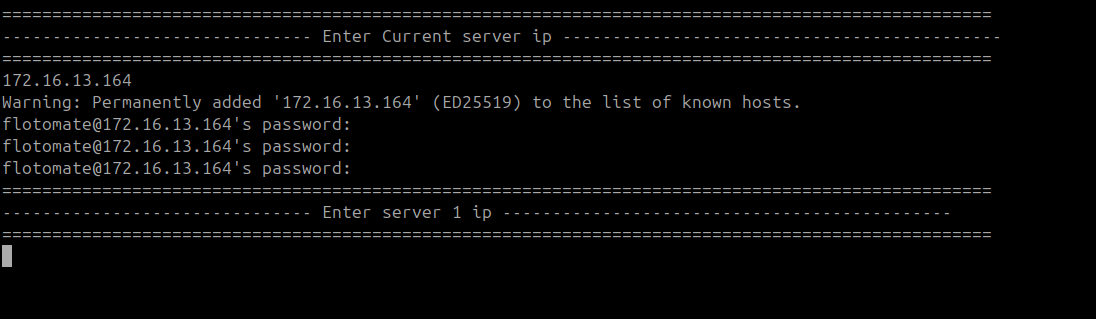
Enter the DC Master's own IP address when prompted for the current server IP and enter the DC Master password.
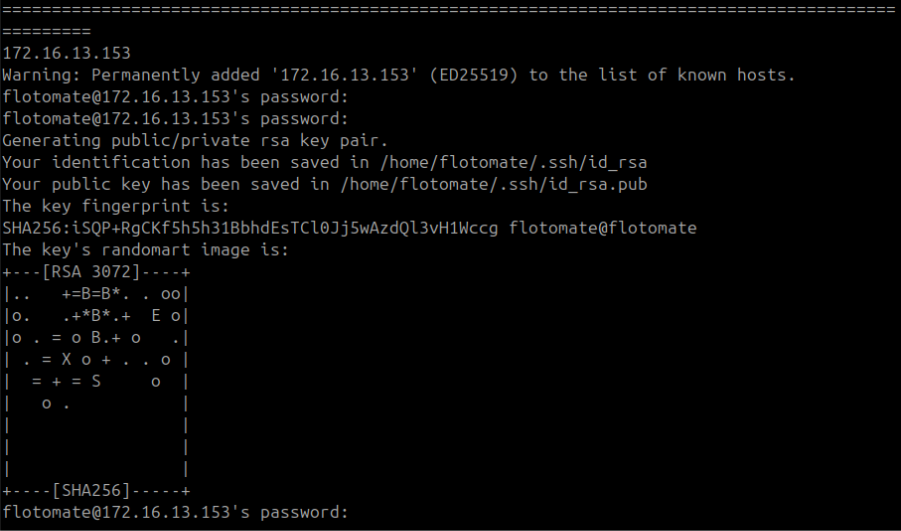
Enter the DC Slave IP address when prompted for Server 1.

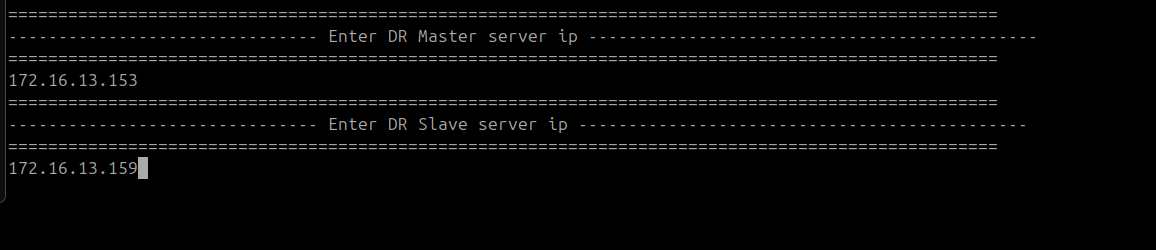
Enter the DR Master IP for Server 2 and the DR Slave IP for Server 3.
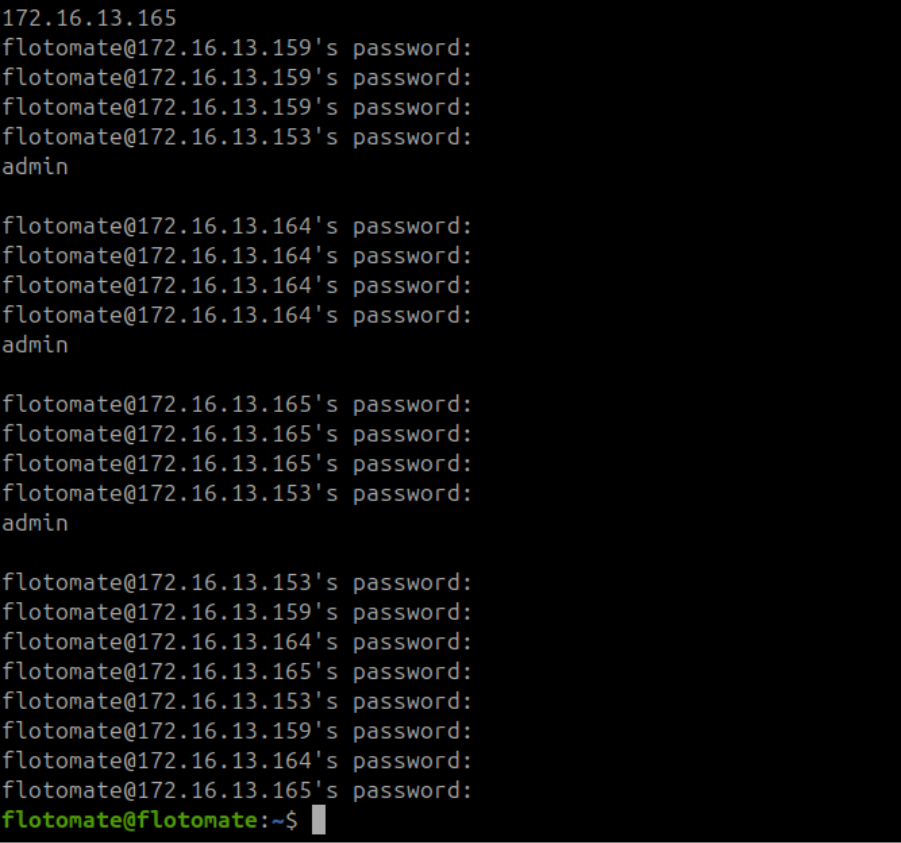
Enter the passwords for the DC Slave and DR machines when prompted. If the prompt appears to hang, enter the password again and press Enter.
Passwordless SSH setup on the DC Master is complete.
Step 2: Run on the DC Slave
Run the following steps on the DC Slave machine.
Copy and run
Motadata_DCDR_Setup.shfrom the home directory as a normal user:cp /opt/HA/Motadata_DCDR_Setup.sh ~/
cd ~
./Motadata_DCDR_Setup.sh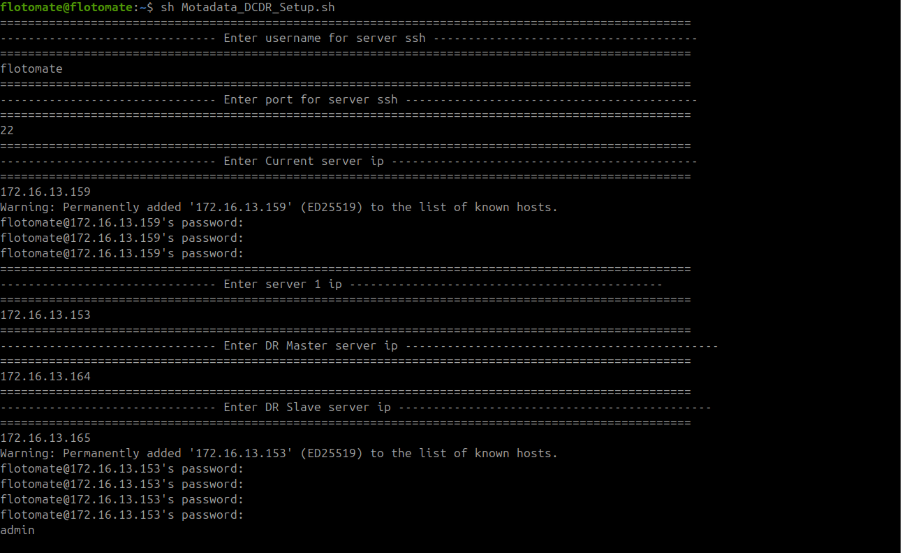
Enter the same SSH username and port
22.Enter the DC Slave's own IP address when prompted for the current server IP and enter the DC Slave password.
Enter the DC Master IP address when prompted for Server 1.
Enter the DR Master IP for Server 2 and the DR Slave IP for Server 3.
Enter the passwords for each remote machine when prompted.
Passwordless SSH setup on the DC Slave is complete.
Step 3: Run on the DR Master
Run the following steps on the DR Master machine.
- Copy and run
Motadata_DCDR_Setup.shfrom the home directory as a normal user:cp /opt/HA/Motadata_DCDR_Setup.sh ~/
cd ~
./Motadata_DCDR_Setup.sh

- Enter the same SSH username and port
22.
- Enter the DR Master's own IP address when prompted for the current server IP and enter the DR Master password.

- Enter the DR Slave IP address when prompted for Server 1.

- Enter the DC Master IP for Server 2 and the DC Slave IP for Server 3.
- Enter the passwords for each remote machine when prompted. If the prompt appears to hang, enter the password again and press Enter.

Passwordless SSH setup on the DR Master is complete.
Step 4: Run on the DR Slave
Run the following steps on the DR Slave machine.
- Copy and run
Motadata_DCDR_Setup.shfrom the home directory as a normal user:cp /opt/HA/Motadata_DCDR_Setup.sh ~/
cd ~
./Motadata_DCDR_Setup.sh
- Enter the SSH username and port
22.
- Enter the DR Slave's own IP address when prompted for the current server IP.

- Enter the DR Master IP address when prompted for Server 1.

- Enter the DC Master IP for Server 2 and the DC Slave IP for Server 3.

- Enter the passwords for each remote machine when prompted.
Passwordless SSH setup on the DR Slave is complete. The full DC-DR Master-Slave 6-machine setup is now fully configured.
Switchover Procedures
Two switchover scripts in /opt/HA control traffic direction between the DC and DR sites.
| Script | Purpose |
|---|---|
dr2dc_switchover | Activates the DR site as the primary when the DC site goes down |
dc2dr_switchover | Syncs data from DR back to DC and prepares DC to resume as primary |
Run each switchover script on both the Master and Slave machines of the site performing the switch.
Switching Traffic from DC to DR (DC Site Down)
Follow this procedure when the DC site is unavailable and you need the DR site to serve as the live environment.
- On the DR Master, run
dr2dc_switchover.sh:./dr2dc_switchover.sh - Enter the DR Observer ETCD IP address when prompted.
- Repeat the same steps on the DR Slave.
The DR site is now the active primary.
Switching Traffic Back from DR to DC (DC Site Restored)
Follow this procedure when the DC site comes back online and you need to restore it as the primary.
- On the DC Master, run
dc2dr_switchover.shand enter the DR Observer ETCD IP address to sync data from DR back to DC:./dc2dr_switchover.sh - Repeat the same steps on the DC Slave.
- Wait for data sync to complete on both DC machines.
- Run
dr2dc_switchover.shon the DC Master to restore the DC side as the active primary.
DC side is now the active primary again.
Troubleshooting
Use this section to diagnose common issues after completing the DC-DR Master-Slave setup.
ETCD service on the DC Observer stays in activating state
Cause: The 3-node ETCD cluster requires all three nodes to be configured before any node can start. The Observer ETCD stays in "activating" state until ETCD setup runs on the DC Master and DC Slave.
Fix: Complete ETCD setup on the DC Master (node 2) and DC Slave (node 3), then start the ETCD service on the Observer:
systemctl start motadata_etcd
DR ETCD service starts automatically and interferes with the DC cluster
Cause: The DR ETCD service started automatically after the setup script completed on the DR Observer. The DR ETCD must remain inactive during normal operation.
Fix: Stop the DR ETCD service and confirm it is inactive:
systemctl stop motadata_etcd
systemctl status motadata_etcd
DR nodes do not show nofailover: true after DB configuration
Cause: MotadataPatroniHADBConfig did not complete the reload step on the DR machine, or the script did not run successfully.
Fix: Re-run MotadataPatroniHADBConfig on the DR machine and confirm y at both reload prompts. Verify the cluster state after completion:
patronictl -c /etc/patroni/patroni.yml list
Switchover script fails with a permission error
Cause: Motadata_DCDR_Setup.sh was run from /opt/HA instead of the user home directory, or it was run as root.
Fix: Copy the script to the home directory and run it from there as a normal user:
cp /opt/HA/Motadata_DCDR_Setup.sh ~/
cd ~
./Motadata_DCDR_Setup.sh
Machines cannot communicate after DC-DR Master-Slave setup
Cause: One or more required firewall ports are blocked between machines.
Fix: Confirm the following ports are open between each machine pair:
| Source | Destination | Ports |
|---|---|---|
| DC Observer | DC Master and DC Slave | 80 (optional), 443, 5432, 8008 |
| DC Master and DC Slave | DC Observer | 2379, 2380, 5000, 7000 |
| DR Observer | DR Master and DR Slave | 80 (optional), 443, 5432, 8008 |
| DC Master, DC Slave, DR Master, DR Slave | Each other | 5432, 8008 |
Check both OS-level and network-level firewall rules on each machine.