ISO Installation
ISO installation provides a complete, self-contained approach to deploying ServiceOps using pre-configured ISO images, offering IT administrators and implementation consultants a streamlined method for setting up production-ready ServiceOps environments with minimal configuration.
This guide walks you through the complete process of installing ServiceOps using the ISO installation method. This approach is ideal for organizations that prefer a complete, pre-configured installation environment with all necessary components included in a single ISO image.
The ISO installation method offers several advantages:
- Complete Environment: Pre-configured operating system with all prerequisites included
- Streamlined Process: Single ISO image contains everything needed for installation
- Consistent Deployment: Ensures identical environments across different installations
- Minimal Configuration: Reduces manual setup and configuration steps
- Offline Installation: Can be used in environments with limited internet access
Prerequisites
Before beginning the installation, ensure your system meets the System Requirements and Pre-Installation Checklist.
- ServiceOps can be installed using the ISO only on systems running in CLI mode. Desktop/GUI installations are not supported.
- The partition must be of LVM type.
- Do not install other features listed in the OS Installation steps.
- You need to reinstall the VM again if any LVM default partition is not shown after installation.
Installation Process
Step 1: Download and Prepare ISO
- Download ISO Image: Download the appropriate ServiceOps ISO for your preferred operating system from the Latest Download Links.
- Create Bootable Media:
- For USB Drive: Use a tool like
ddto create a bootable USB.sudo dd if=serviceops-ubuntu-24.iso of=/dev/sdX bs=4M status=progress - For Virtual Machine: Mount the ISO file directly in your VM settings.
- For USB Drive: Use a tool like
Step 2: Boot and Configure OS
Boot from ISO: Start your machine from the created bootable media. Select your language when prompted.

Installer Configuration:
- Updates: Select "Continue without updating".
- Keyboard: Keep the default (English US) and select "Done".
- Network: Configure a static IP or use DHCP.
- Proxy & Mirror: Keep the default settings and select "Done".


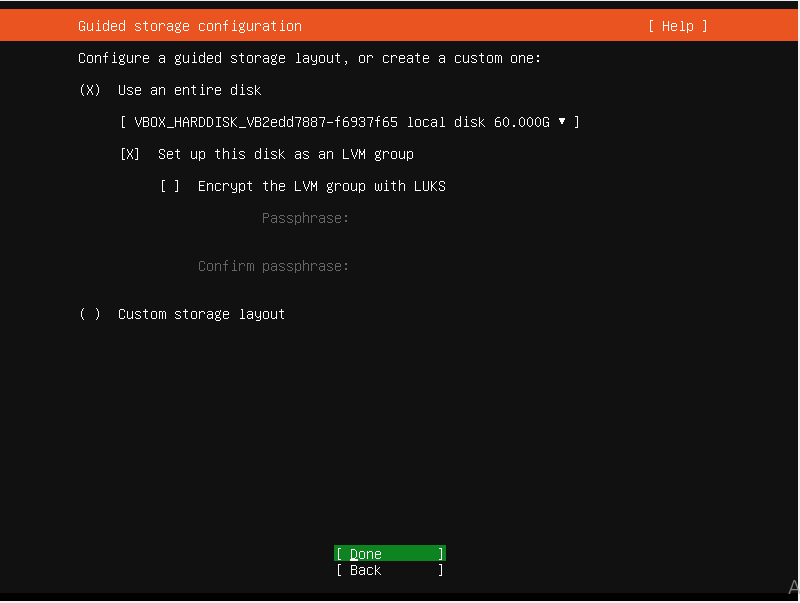
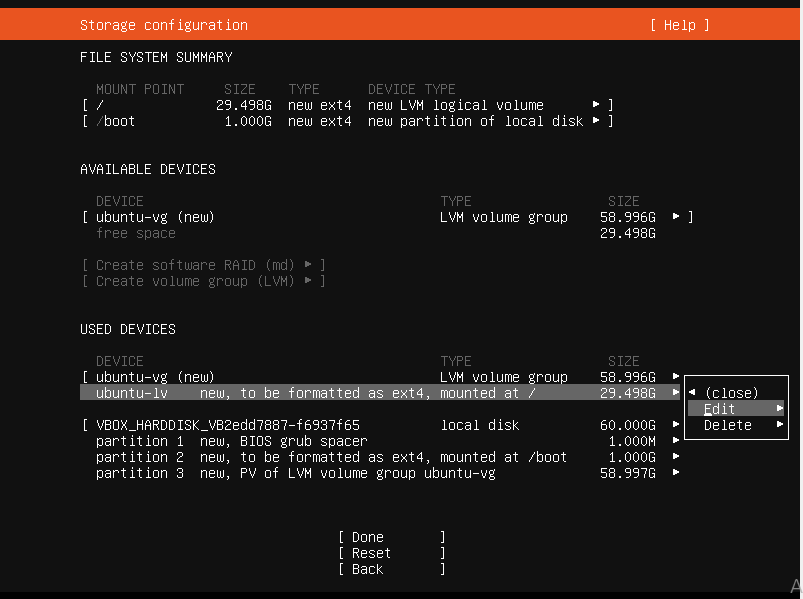
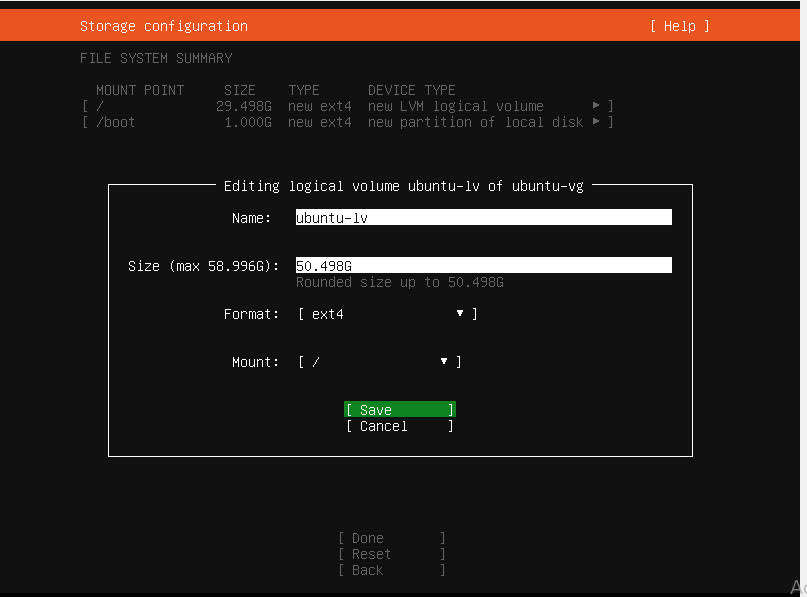
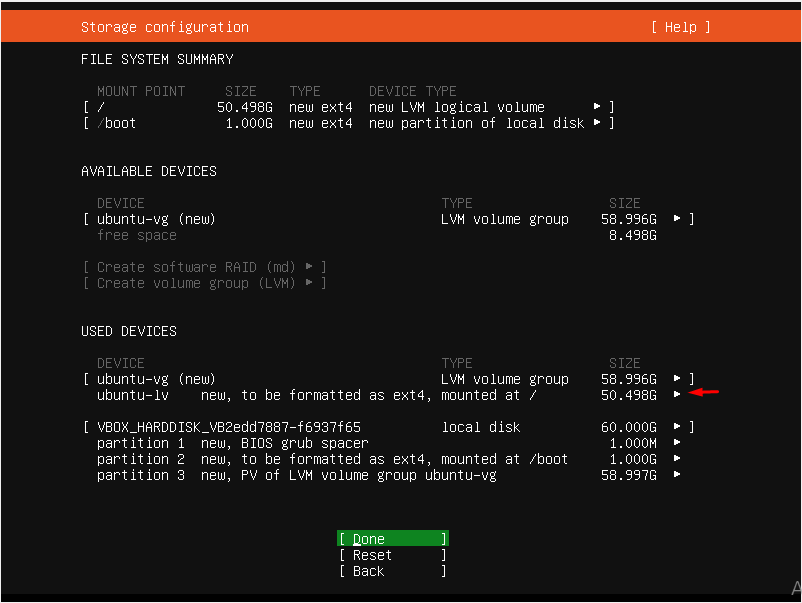
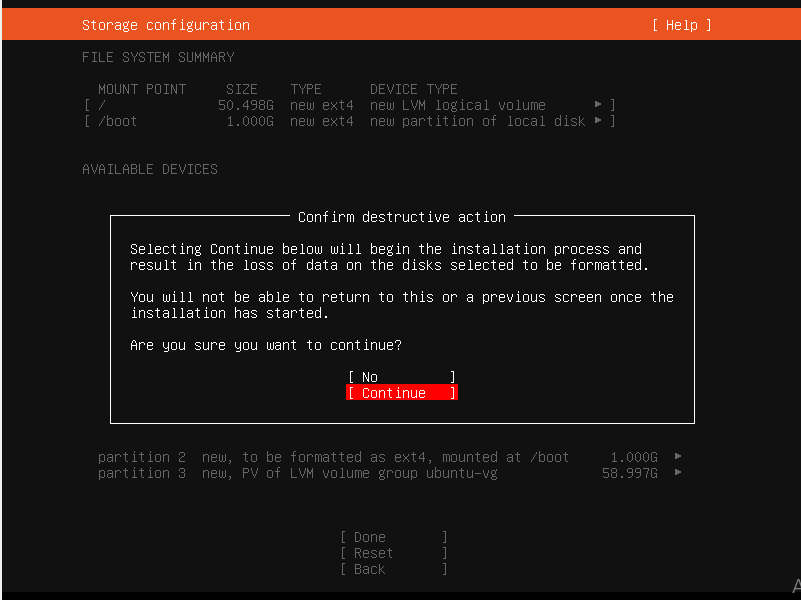
Storage Configuration: :::important The partition must be of LVM type. Do not install other features during OS installation. :::
- Choose Guided storage configuration and select LVM.
- Verify the storage layout, edit partition sizes if needed, and confirm.
System and Profile Setup:
- Profile: Create a system user account with a username and password.
- SSH: Enable Install OpenSSH server for remote management.
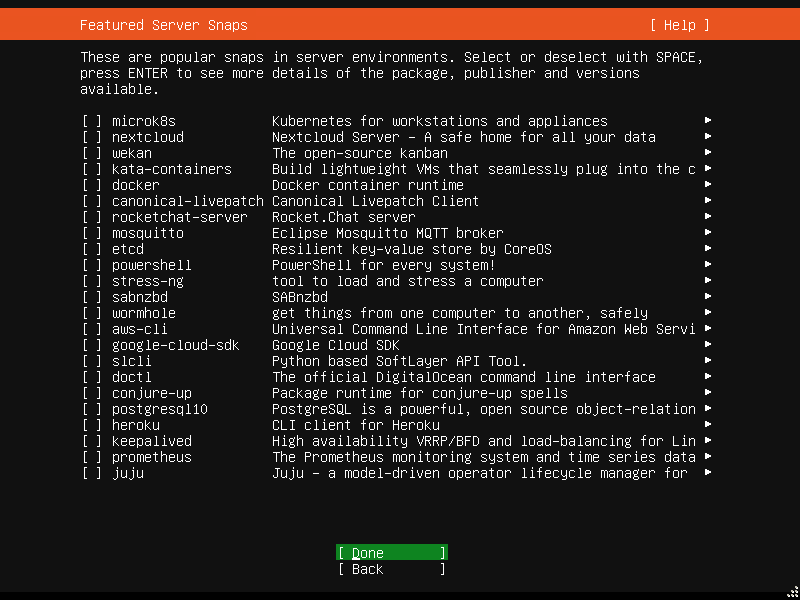
- Snaps: Skip additional server snaps.


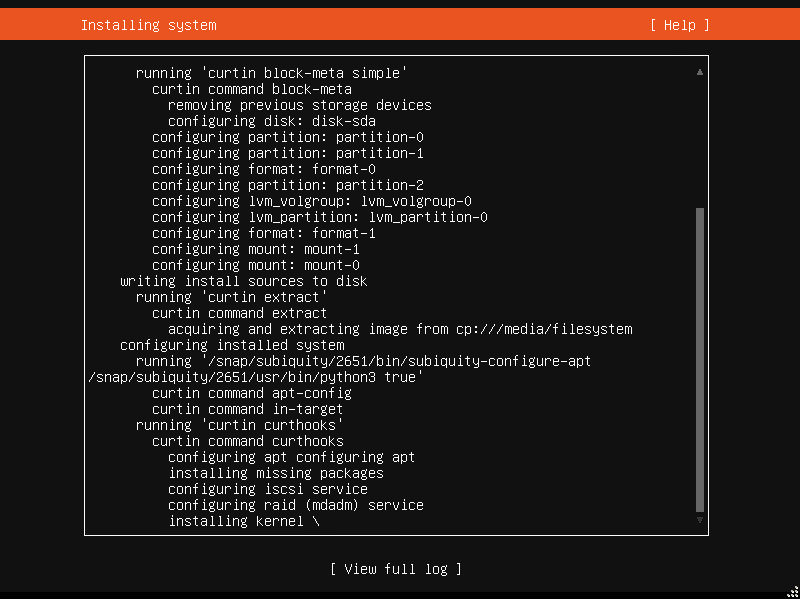
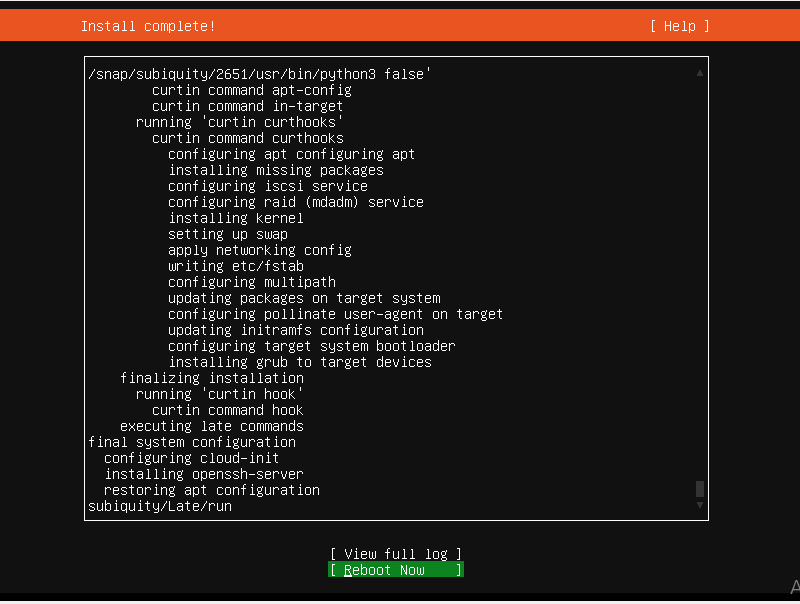
Finalize and Reboot:
- Wait for the system installation to complete.
- Select "Reboot Now" when prompted.
Step 3: Install ServiceOps
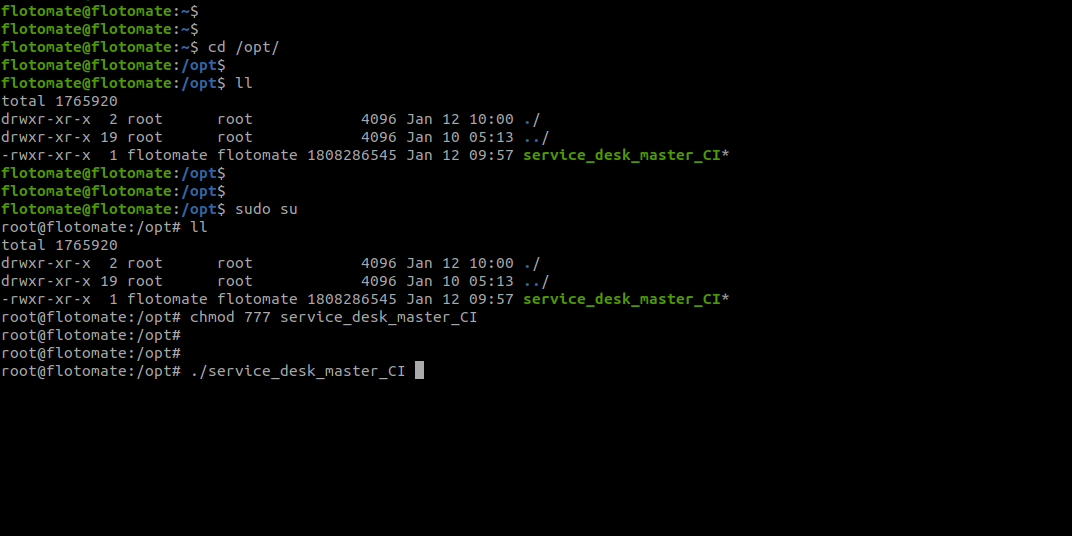
Locate and Run Installer:
- After reboot, the ServiceOps installer is in
/opt. - Navigate to the directory:
cd /opt - Set execute permissions:
sudo chmod 777 service_desk_master_CI - Run the installer:
sudo ./service_desk_master_CI

- After reboot, the ServiceOps installer is in
Verify Installation:
- Check that services are running:
systemctl status ft-main-serverandsystemctl status ft-analytics-server. - A successful installation will display the final configuration screen.
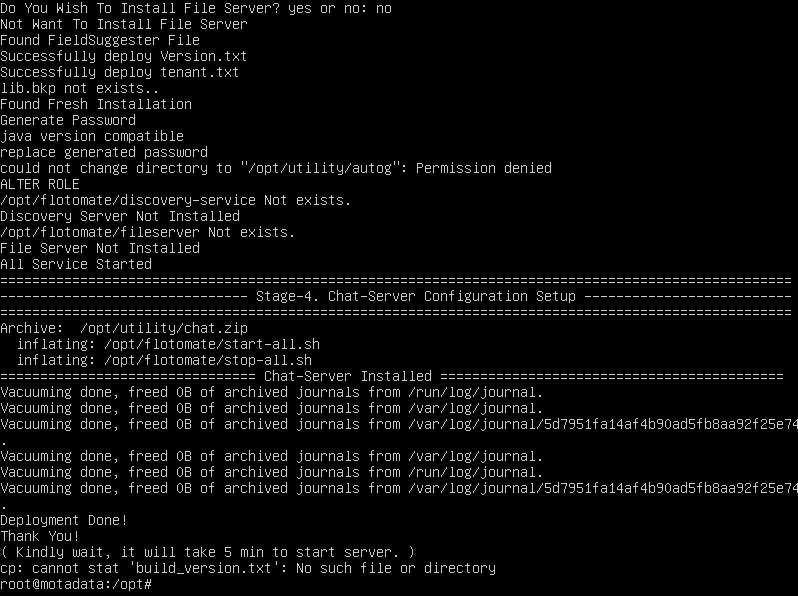
- Check that services are running:
Initial Setup and Login:
- Wait 5 minutes for services to initialize.
- Access the registration page at
http://{server_IP}/register, it will open the Registration form as below:.

Please provide the Super Admin user details there.
Click on ‘Register’ once the form is filled. It will redirect you to the Login Page.
After registration, access the portal at
http://{server_IP}/login. Use the tabs to switch between the Support and Technician portals.Note that:
- You can login to the Technician Portal by selecting the ‘Technician Portal Login’ tab.
- You can login to the Support Portal by selecting the ‘Support Portal Login’ tab.
Operations and Maintenance
This section covers post-installation configuration and maintenance for your ISO-based deployment.
Port Configuration
| Service | Port | Description |
|---|---|---|
| HTTP/HTTPS | 80/443 | Web interface access |
| Main Server | 8080-8082 | Core application services |
| Analytics Server | 8080-8082 | Reporting and analytics |
| Plugin Server | 5050 | Plugin functionality |
| Mesh RDP Server | 8443 | Remote desktop access |
| Internal Mesh RDP | 4430 | Internal RDP communication |
| SSH | 22 | Secure shell access |
| SMTP | 25/465/587 | Email communication |
| LDAP/LDAPS | 389/636 | Directory services |
Advanced Configuration
Configure API rate limits by editing /opt/flotomate/main-server/config/flotomate_rate_limit.yaml.
Service Management
Manage ServiceOps services using systemctl (start, stop, restart, enable).
Security Considerations
Configure the firewall to allow necessary ports:
sudo ufw enable
sudo ufw allow ssh
sudo ufw allow http
sudo ufw allow https
sudo ufw allow 8080:8082/tcp
sudo ufw status
SSL/TLS Configuration For production, configure SSL using a tool like Certbot.
Performance Optimization
Backup and Recovery
Monitoring and Maintenance
Troubleshooting
ISO Boot Fails
Problem: System cannot boot from ISO.
Solution: Verify the ISO integrity (md5sum) and check that the boot media was created correctly.
Installation Fails
Problem: ServiceOps installer fails to execute.
Solution: Ensure the installer script has execute permissions (chmod 777) and that all prerequisites are installed correctly.
Services Not Starting
Problem: ft-main-server or ft-analytics-server services fail to start.
Solution: Check the service status with systemctl status <service-name> and view detailed logs with journalctl -u <service-name> -f.
Registration Page Not Accessible
Problem: Cannot access the registration page after installation.
Solution: Verify that services are running and wait at least 5 minutes for them to initialize fully before trying to access http://{server_IP}/register.
Log Files
Related Topics
Next Steps
After the initial setup, you can further configure and secure your ServiceOps installation. Below are some recommended next steps:
- SSL Certificate Configuration: Secure your installation with SSL/TLS certificates.
- Change Ports: Modify the default ports for the main and Nginx servers.
- Configure API Rate Limit: Set limits on API usage to prevent abuse.
- Configure Memory and Connection Pool: Optimize performance by adjusting memory and database connection settings.
- Enable HTTPS: Enforce secure connections by enabling HTTPS.
- Increase Connection Limit: Adjust the maximum number of concurrent connections.