License Management
Ensure continuous service availability and compliance by properly managing, reactivating, and updating your on-premises ServiceOps license.
This guide provides instructions for managing your ServiceOps license in an on-premises deployment, including reactivation and updates.
Reactivate License using API
The ServiceOps license is bound to the MAC address of the server. If you migrate the product to a different server, the license will not work due to the new MAC address.
To resolve this, you need to reactivate the license:
- Make an API call to
http://server-ip/api/public/activationcodeto get an activation key.

Provide the activation key to the ServiceOps support team. They will use it to generate a new license for you.
Once you receive the new license, follow the instructions below to Update Product License.
Generate Activation Code When ServiceOps Is Not Running (HA / DC-DR Scenarios)
If ServiceOps services are not running or the license has expired, and you are unable to generate the activation code through the application or API—especially in High Availability (HA) or DC-DR deployments—use the following procedure to manually generate the activation code.
In HA or DC-DR deployments, these steps must be performed on the Slave and DR servers.
Steps
Log in to the server (Slave or DR) using the root account.
Navigate to a working directory.
Download the ServiceOps Activation Code Generator tool.
Provide execute permission to the tool:
chmod 777 MotadataServiceOpsActivatationCodeGenerator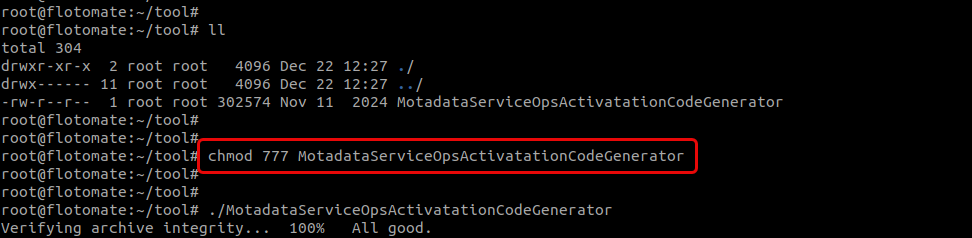
Run the Activation Code Generator using the following command:
./MotadataServiceOpsActivatationCodeGenerator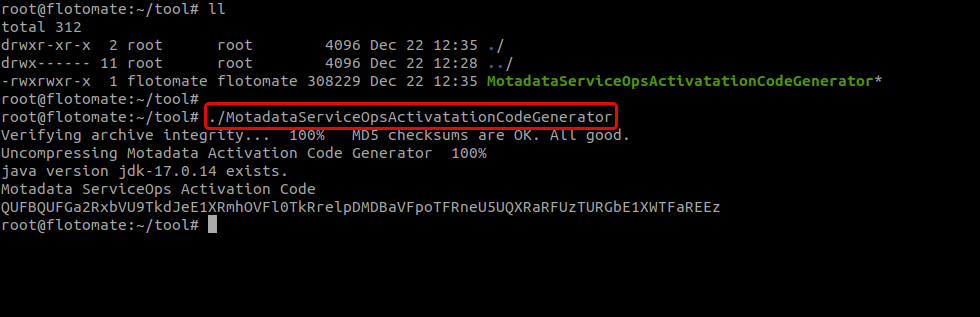
After successful execution, the ServiceOps Activation Code is displayed on the terminal.
Next Steps
- Copy the generated Activation Code
- Share it with the Motadata Licensing / Support team
- Obtain the updated
license.licfile - Apply the license as per the Update Product License (Command Line) procedure
Update Product License
You can update your product license using the command line or through the Technician Portal.
Your new license file (license.lic) will be provided by the Motadata team.
The following procedure is applicable to standalone deployments. In an HA deployment, the same procedure must be executed on both the Master and Slave nodes using the same license file.
Using the Command Line
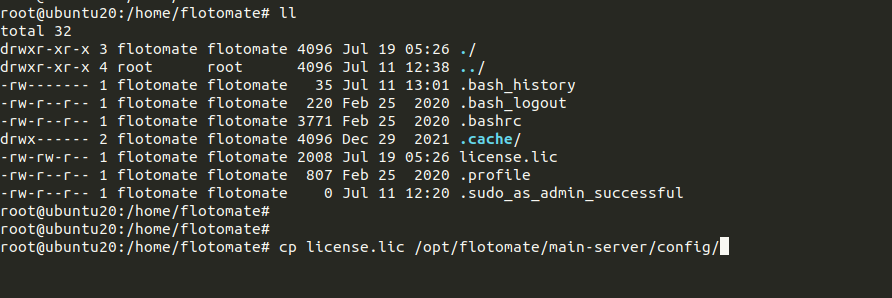
Copy the new
license.licfile to the config directory:cp license.lic /opt/flotomate/main-server/config/noteThe license file must be named as license.lic. If the file has a different name, it will not be recognized and the license update will fail. In such cases, rename the file to license.lic before using it for the update.
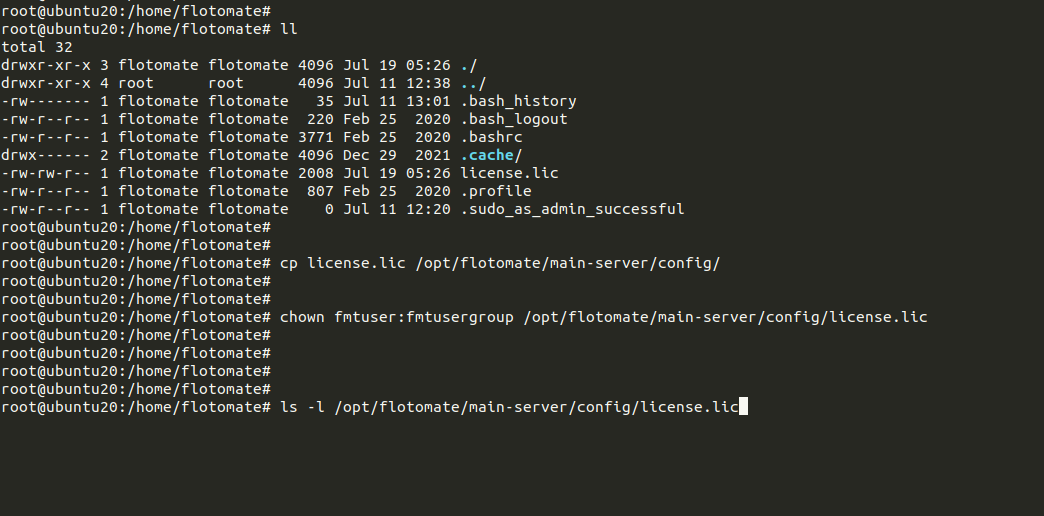
Assign the correct ownership to the file:
chown fmtuser:fmtusergroup /opt/flotomate/main-server/config/license.lic

Verify the file ownership and permissions:
ls -l /opt/flotomate/main-server/config/license.lic
Stop the ServiceOps services:
systemctl stop ft-main-server
systemctl stop ft-analytics-server


Start the services again to apply the new license:
systemctl start ft-main-server
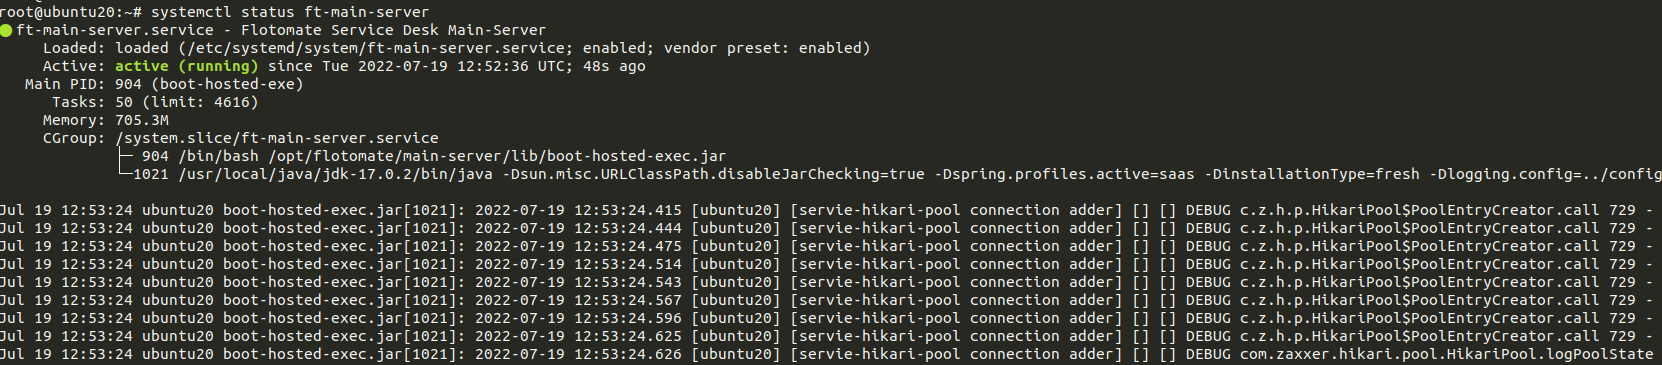
systemctl start ft-analytics-serverCheck the status of the services to ensure they are running correctly:
systemctl status ft-main-server
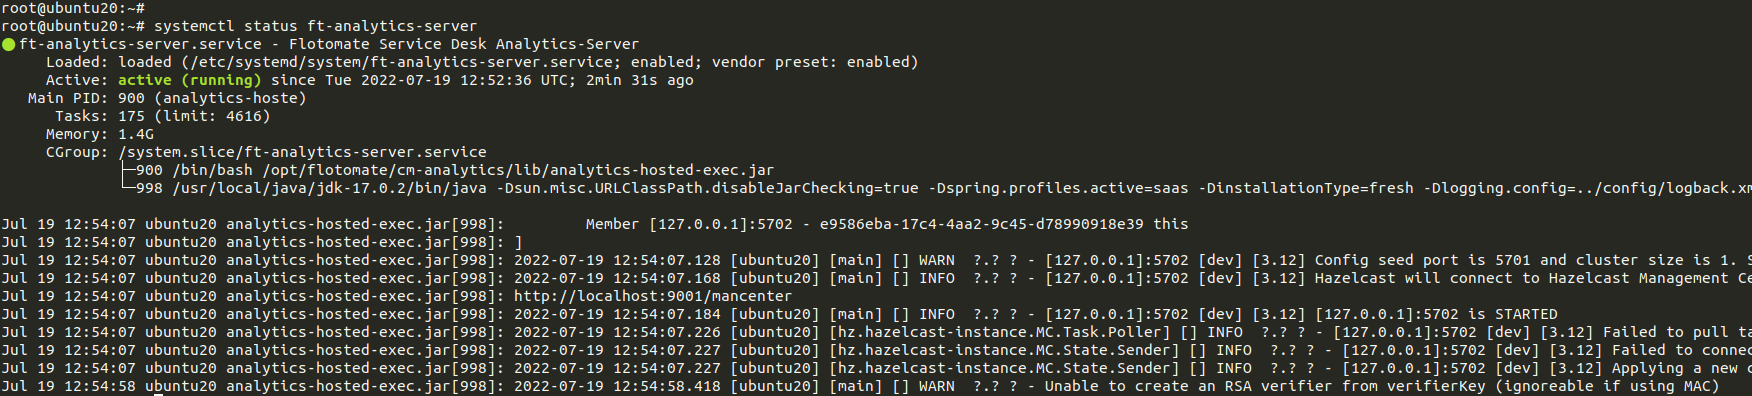
systemctl status ft-analytics-server
Using the Technician Portal
- Login to the Technician Portal.
- Go to Admin > Organization > Application Maintenance.
- In the Product License section, upload your new
License.licfile.
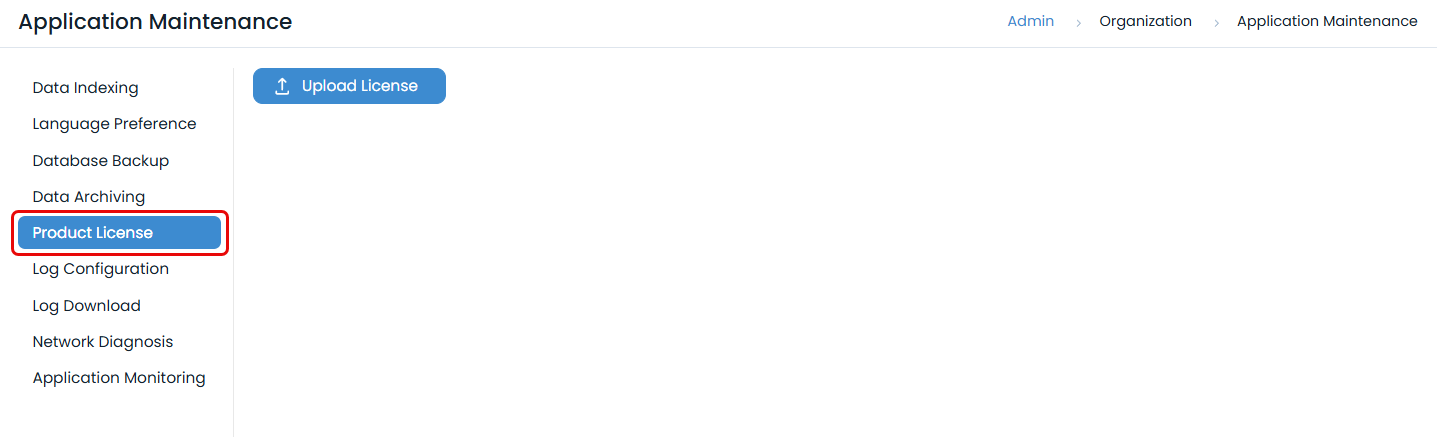
- Once the file is uploaded, the license will be upgraded.