Installation Guide for Multi-Site Deployment
A step-by-step guide for IT Administrators to deploy ServiceOps with a centralized application server and a distributed file server for optimized performance in multi-site environments.
This document outlines the procedure for installing ServiceOps in a distributed environment where the main application server is located at a central site and the file server is deployed at a remote site. This topology is ideal for organizations with multiple geographic locations, as it helps reduce latency and manage large file attachments efficiently.
1. Pre-Requisites
Before starting the installation, ensure you have met the System Requirements and Pre-Installation Checklist
2. Install ServiceOps Server at Main Site
Follow these steps to install the core ServiceOps application at your main data center or primary location.
- Prepare the server's operating system (Linux or Windows, as per the supported environments).
- Download the latest ServiceOps Server installer from the Download Links page.
- Install the ServiceOps application server.
- Complete the Product Setup Guide to perform initial configurations, such as Branding, Email Server Setup, and other system preferences.
- Validate that the ServiceOps application is accessible both within the main site's local network and externally, if required.
3. Install File Server at Remote Site
At the remote location, provision, and configure the dedicated server that will handle file storage.
- Provision a dedicated server for file storage at the remote site.
- Download the ServiceOps File Server installation package.
- Install the File Server using the File Server Installation Guide.
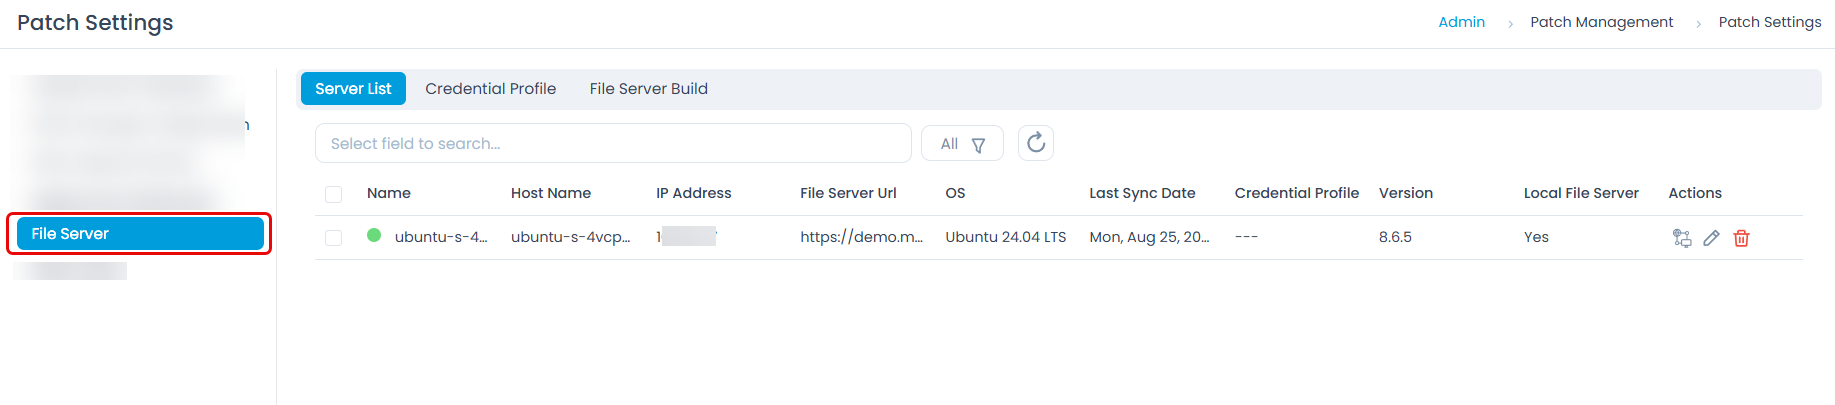
- Verify that the File Server service is running and is accessible from the Main Site over the network. You can view the installed File Server in the Admin > Patch Management > Patch Settings > File Server > Server List tab as shown below.
4. Install Poller at Remote Site
The Poller acts as a bridge between the main ServiceOps server and devices located in the remote site.
- Provision a dedicated server for the Poller.
- Download the Poller Server installation package.
- Install the Poller Server by referring to the Installation Guide.
- Verify that the Poller is visible and active under Admin > Discovery and Agents > Agent > Discovery Poller tab in the ServiceOps portal.

5. Configure Remote Office in ServiceOps
Next, register the remote site within the ServiceOps administrative console to make the system aware of the distributed component.
- Log in to the ServiceOps Admin Portal.
- Navigate to Admin > Patch Management > Remote Offices.

- Click Create Remote Office and enter the following information:

- Name: Enter the name of the remote office.
- Proxy Server: Select the proxy server if direct Internet connection is required. Select the DMZ server if communication between external systems and the internal ServiceOps application is required.
- File Server: Select the File Server to which the remote office should be connected.
- Description: Enter a short description about the remote office.
- Add Computers: Add computers to the remote office using the Add Computers link as shown below. A list of Agents appear, select the desired agents, and click Add.


- Save the configuration and confirm that the new Remote Office is listed and shows an active status.
6. Test the Integration
Perform an end-to-end test to ensure the entire workflow is functioning correctly.
- Create a test ticket in ServiceOps and attach a file.
- Verify that the file is successfully uploaded and stored in the designated directory on the Remote File Server.
- From the technician or requester portal, attempt to download the attachment and confirm that it is retrieved without errors.
7. Secure and Optimize Communication
Implement the following best practices to secure your multi-site deployment and ensure optimal performance.
- Enable SSL/TLS: Secure the communication channel between the main site and the remote site with SSL/TLS encryption.
- Restrict Access: Configure network rules so that only the ServiceOps Server is permitted to connect to the File Server.
- Optimize for WAN: If WAN latency is high, consider enabling caching or using a Content Delivery Network (CDN) for frequently accessed files to improve user experience.
- Backup and DR: Implement comprehensive backup and disaster recovery (DR) plans for both the application and file servers to ensure business continuity.
8. Maintenance and Monitoring
Regular maintenance is crucial for a stable and secure environment.
- Keep the ServiceOps application, File Server component, and underlying operating systems updated with the latest security patches.
- Monitor system logs for any failed file uploads or downloads to proactively address issues.
- Periodically test your disaster recovery scenarios to ensure system resilience.
- Monitor storage utilization on the File Server and plan for expansion as data grows.
Summary
By following these steps, you can establish a robust multi-site ServiceOps deployment where the ServiceOps Server at the Main Site handles the core application load (tickets, workflows, database), while the Remote File Server manages the storage of large files and attachments. This architecture effectively reduces the load on the application server and supports distributed operations, creating a secure, scalable, and resilient IT service management environment.
Related Topics
Next Steps
After completing the multi-site deployment, you may need to set up additional components depending on your requirements. Below are links to guides for other server components that you can deploy.
- Agent Deployment: To install agents on managed endpoints for monitoring, asset management, and remote control.
- Distributed File Server Installation: For storing and managing attachments and other file-based assets.
- Plugin Server Installation: To extend ServiceOps functionality with custom or third-party integrations.
- DMZ Server Installation: For secure communication with agents and services in a demilitarized zone.
- RDP Server Installation: To enable remote desktop protocol sessions for remote assistance and management.
- Poller Installation: To discover assets behind a firewall.