DMZ Server Installation
A DMZ (Demilitarized Zone) server provides a secure buffer zone between your internal network and external systems, enabling controlled communication for patch management, remote offices, and external integrations while maintaining network security.
A DMZ (Demilitarized Zone) server is a host or service placed within a DMZ network—a subnetwork that acts as a buffer between an organization's internal local-area network (LAN) and untrusted external networks, such as the Internet. The primary purpose of a DMZ server is to handle external-facing services, including web, email, DNS, and FTP servers, thereby adding an extra layer of security to the internal network.
By isolating these services in the DMZ, organizations can prevent direct access to their internal LAN, reducing the risk of unauthorized intrusion while enabling secure communication for ServiceOps features like patch management and remote office connectivity.
This document applies to Ubuntu (v22 and 24) and RedHat (v9.2 and 9.4) OS.
Pre-Installation
- Prerequisites
- Firewall Configuration
- Pre-Installation Checklist
This section outlines the requirements for setting up your DMZ server.
System Requirements
- Operating System: Ubuntu (v22 and 24) or RedHat (v9.2 and 9.4)
- Internet Connectivity: The system where the DMZ is installed must have access to the Internet
- Administrative Access: Root or sudo privileges for installation and configuration
- Network Access: Proper network configuration for DMZ zone
Network Requirements
- DMZ Port Access: Ensure that port 8085 is allowed through the firewall
- Network Isolation: Proper network segmentation for DMZ zone
- DNS Resolution: Proper DNS configuration for external communication
- Routing: Correct routing configuration for DMZ traffic
Security Requirements
- Firewall Configuration: Proper firewall rules for DMZ traffic
- Access Control: Restricted access to DMZ server
- Monitoring: Network monitoring and logging capabilities
- Backup Strategy: Backup and recovery procedures
Ubuntu Firewall Configuration
Checking Firewall Status
ufw status
Allowing Port 8085
ufw allow 8085
Verifying Configuration
ufw status numbered
RedHat Firewall Configuration
Checking Currently Allowed Ports
sudo firewall-cmd --list-ports
Allowing Port 8085 on Public Zone
`sudo firewall-cmd --zone=public --add-port=8085/tcp
Making Changes Permanent
sudo firewall-cmd --zone=public --add-port=8085/tcp --permanent
sudo firewall-cmd --reload
Verifying Configuration
sudo firewall-cmd --list-ports
This section details the checklist that helps preventing installation failures.
- DMZ Planning: Plan DMZ server deployment
- Internet Access: Verify internet connectivity
- Port 8085: Ensure port 8085 is accessible
- Security Configuration: Plan security configuration
Installation and Configuration
Installation Process
This section walks through the steps to install the DMZ server.
Step 1: Download the DMZ Server
- Navigate to the ServiceOps Server where you want to install the DMZ server
- Download the DMZ Server from the download links
- Ensure the file is downloaded to a secure location
Step 2: Set Execution Permissions
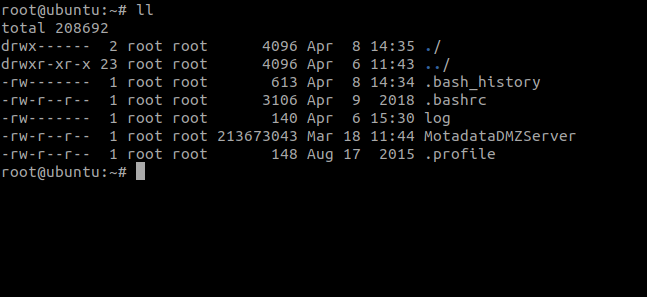
Navigate to the directory containing the downloaded DMZ server file
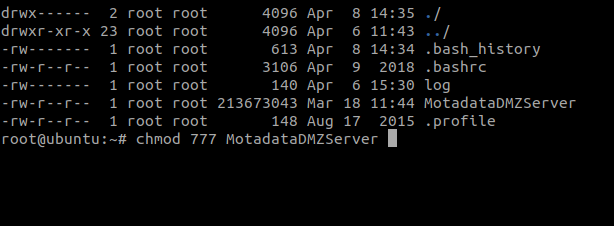
Set execution permissions using the following command:
chmod 777 MotadataDMZServer
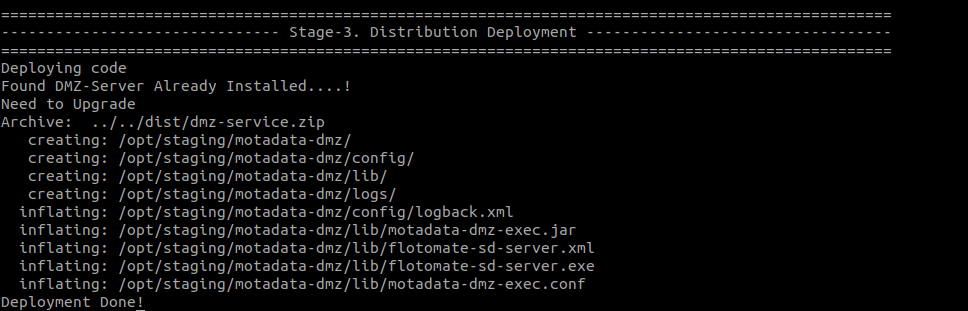
Step 3: Execute the Installation
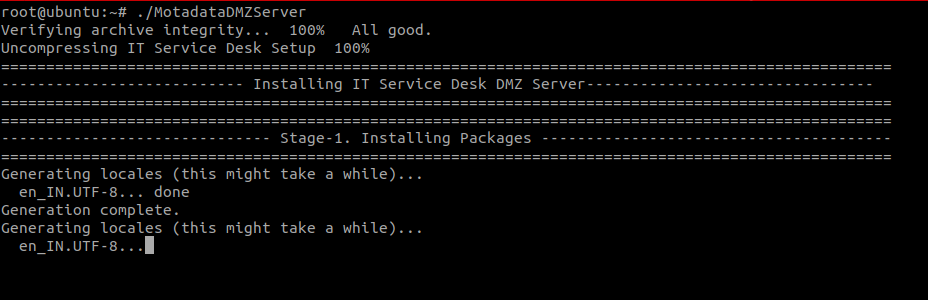
Run the executable file using the following command:
./MotadataDMZServer

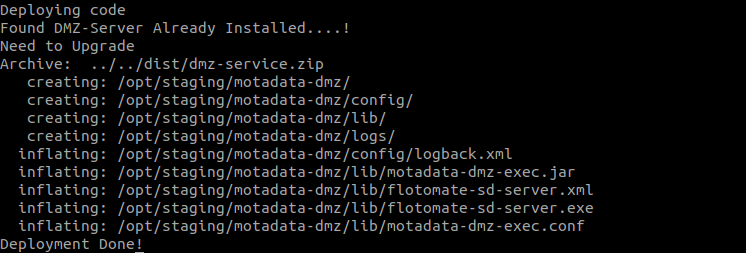
- The installation process will begin automatically
- Monitor the installation progress through the terminal output
Step 4: Verify Installation
Check the service status using the following command:
systemctl status ft-dmz-server
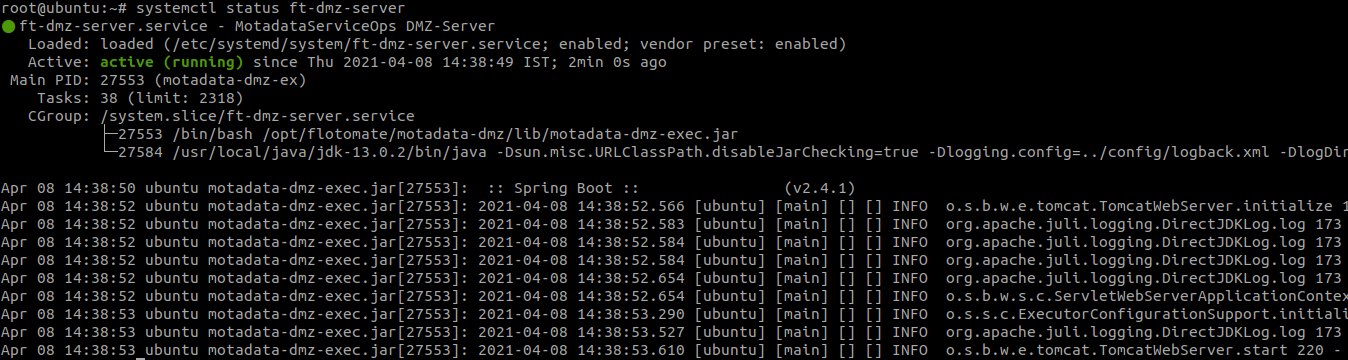
- Verify that the service is running and active
- Check for any error messages or warnings
Post-Installation Configuration
After installation, you may need to manage the service or verify network settings.
Service Management
Start the DMZ Server Service
sudo systemctl start ft-dmz-server
Stop the DMZ Server Service
sudo systemctl stop ft-dmz-server
Restart the DMZ Server Service
sudo systemctl restart ft-dmz-server
Enable Auto-Start on Boot
sudo systemctl enable ft-dmz-server
Check Service Logs
sudo journalctl -u ft-dmz-server -f
Network Configuration
Verify Port Listening
netstat -tlnp | grep 8085
Check Firewall Rules
# Ubuntu
sudo ufw status

# RedHat
sudo firewall-cmd --list-ports
Test Connectivity
telnet localhost 8085
ServiceOps Configuration
After installing the DMZ server, you need to configure it in ServiceOps.
Step 1: Access Proxy Server Configuration
- Log in to ServiceOps as an administrator
- Navigate to Admin > Organization > Proxy Server Configuration
- Click the Add Proxy Server button
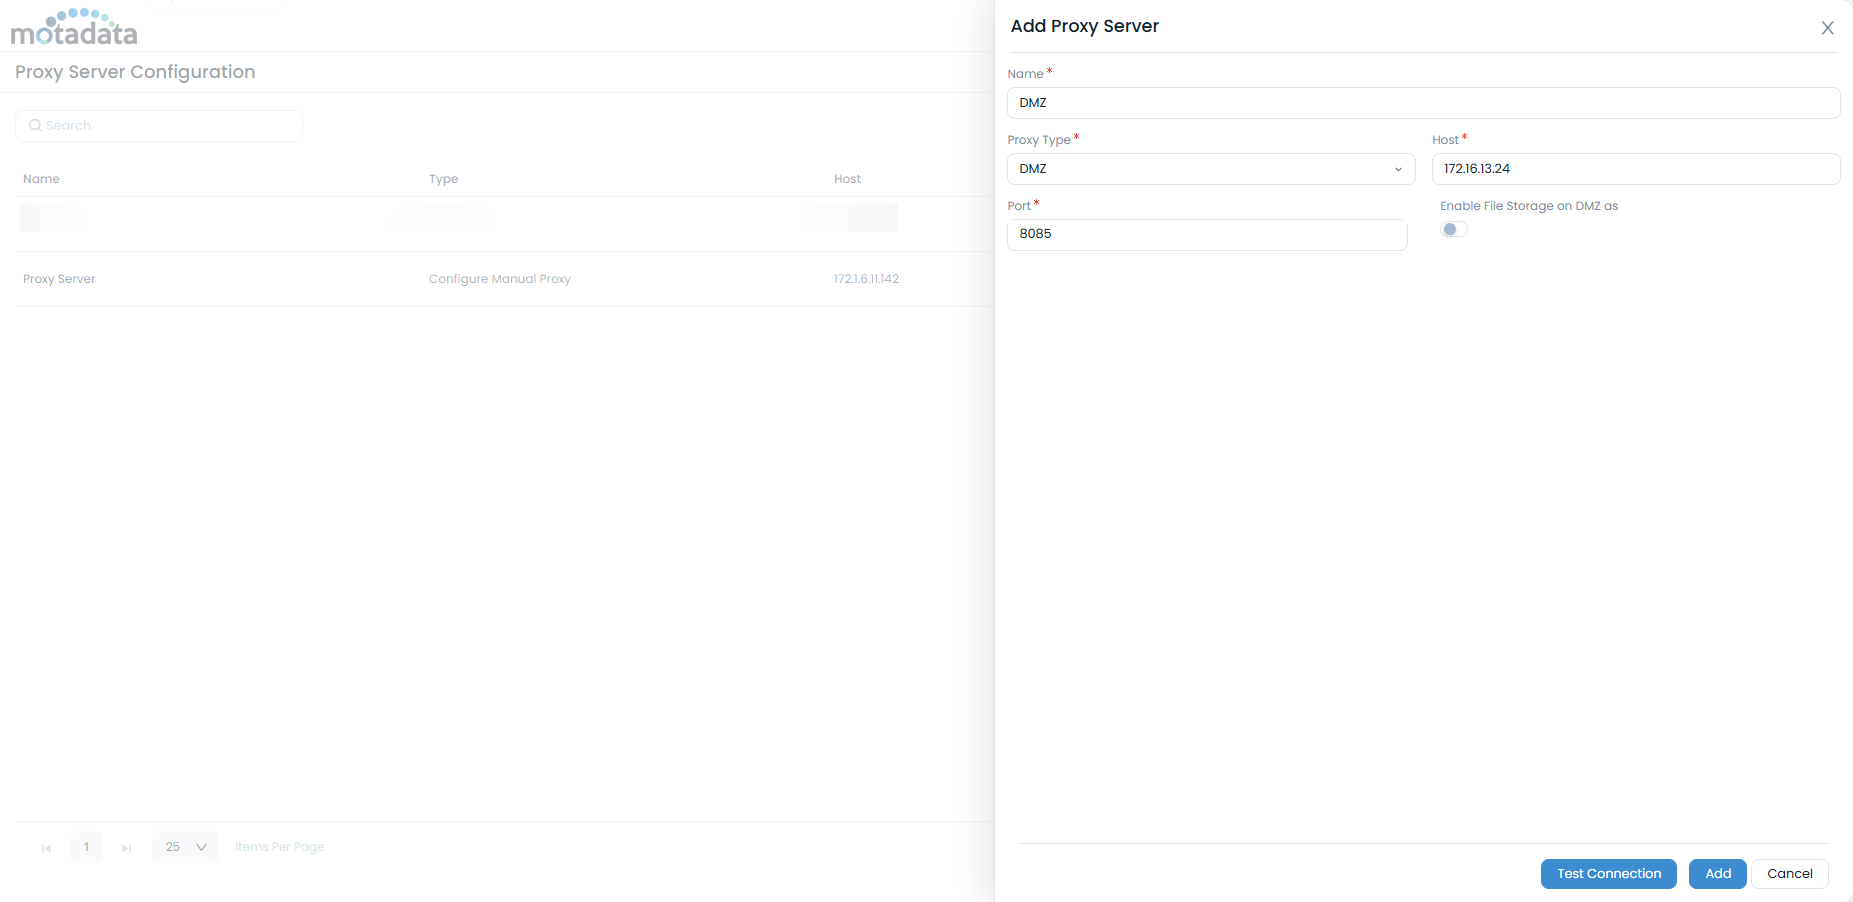
Step 2: Configure DMZ Server
Enter the following details:
- Name: Enter a unique name for the DMZ server
- Proxy Server Type: Select "DMZ"
- Host: Enter the DMZ server IP address
- Port: Enter port number 8085
- Enable File Storage on DMZ: Activate this flag to download patch files on the DMZ server and transfer them to the File Server for deployment
Click Test Connection to verify connectivity
Click Add to save the configuration
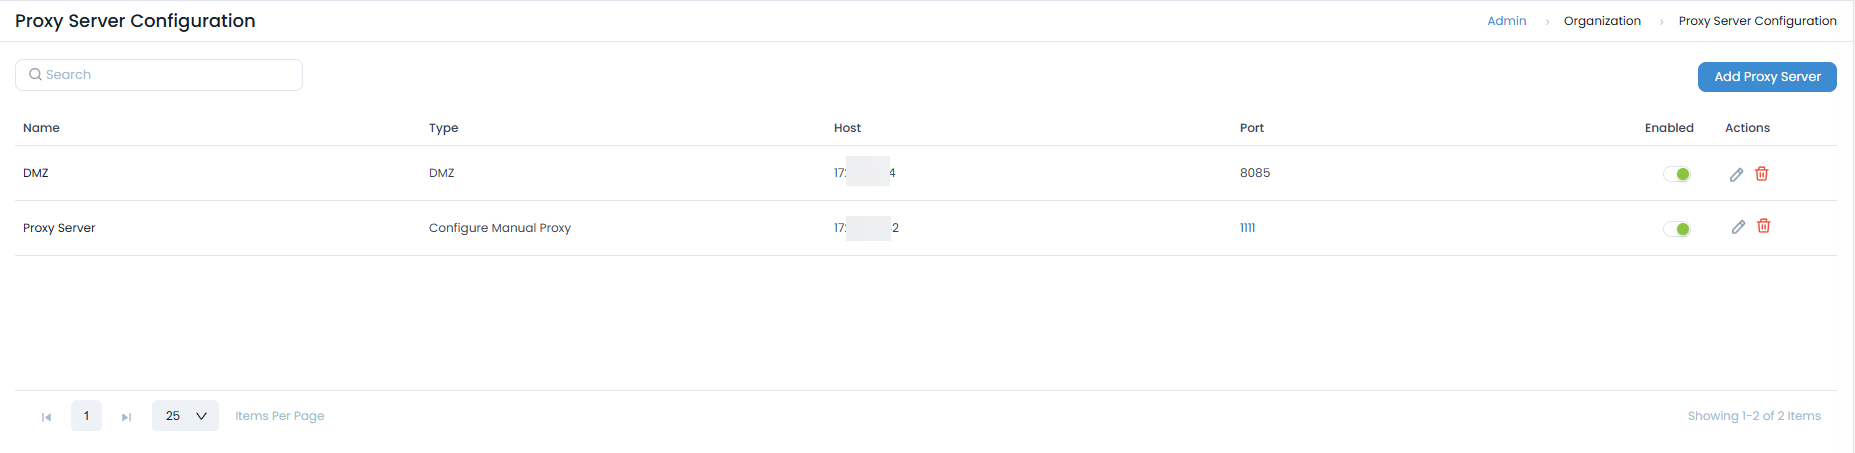
Step 3: Enable DMZ Server
- Once added, the DMZ server will appear in the list
- Ensure the server is enabled (enabled by default)
- The DMZ server will now be available for selection in:
- Patch Settings > Update Patch Database
- Patch Settings > Patch Storage Configuration (Remote office)
- Admin > Patch Management > Remote Offices
Operations and Maintenance
- Usage Scenarios
- Troubleshooting
- Diagnostic Commands
- Security Best Practices
The DMZ server is useful in several key scenarios.
Patch Management
The DMZ server is particularly useful for patch management scenarios:
- External Patch Downloads: Download patches from external repositories through the DMZ
- Remote Office Distribution: Distribute patches to remote offices via the DMZ server
- Security Isolation: Keep patch repositories isolated from internal networks
Remote Office Management
For organizations with multiple remote offices:
- Centralized Control: Manage remote offices from a central location
- Secure Communication: Enable secure communication between remote offices and central systems
- Patch Distribution: Distribute patches and packages through the DMZ server
External Integrations
For external system integrations:
- API Access: Provide secure API access to external systems
- Webhook Support: Enable webhook communication through the DMZ
- Third-party Integrations: Support integrations with external services
This section provides solutions for common issues and useful diagnostic commands.
Common Issues
Service Not Starting
Problem: DMZ server service fails to start
Solution:
# Check service status
sudo systemctl status ft-dmz-server

# Check logs for errors
sudo journalctl -u ft-dmz-server -n 50

# Restart the service
sudo systemctl restart ft-dmz-server
Port Access Issues
Problem: Port 8085 is not accessible
Solution:
# Check if port is listening
netstat -tlnp | grep 8085

# Check firewall rules
sudo ufw status  # Ubuntu
sudo firewall-cmd --list-ports  # RedHat

# Allow port if needed
sudo ufw allow 8085  # Ubuntu
sudo firewall-cmd --zone=public --add-port=8085/tcp --permanent  # RedHat
Network Connectivity Issues
Problem: DMZ server cannot communicate with external systems
Solution:
- Verify internet connectivity
- Check DNS resolution
- Verify firewall rules
- Test network connectivity to external systems
Check Service Status
systemctl status ft-dmz-server
View Service Logs
journalctl -u ft-dmz-server -f
Check Network Connectivity
# Test local port
telnet localhost 8085

# Test external connectivity
ping google.com

# Check DNS resolution
nslookup google.com
Verify File Permissions
ls -la MotadataDMZServer
Follow these best practices to ensure your DMZ server is secure.
Network Security
- Isolation: Ensure proper network isolation for DMZ zone
- Access Control: Restrict access to DMZ server to authorized personnel only
- Monitoring: Implement network monitoring and logging
- Regular Updates: Keep DMZ server updated with security patches
Configuration Security
- Strong Authentication: Use strong authentication for DMZ server access
- Encryption: Enable encryption for sensitive communications
- Logging: Enable comprehensive logging for audit trails
- Backup: Regular backup of DMZ server configuration
Operational Security
- Access Management: Implement proper access controls
- Incident Response: Have incident response procedures in place
- Regular Audits: Conduct regular security audits
- Documentation: Maintain detailed documentation of DMZ configuration
Further Reading
Related Topics
- File Server Installation: For file server installation and configuration
- System Requirements: For detailed system requirements
- Security Best Practices: For security configuration guidelines
Next Steps
After successfully installing and configuring the DMZ server:
- Test Connectivity: Verify DMZ server connectivity with external systems
- Configure ServiceOps: Set up DMZ server in ServiceOps proxy configuration
- Test Patch Management: Verify patch download and distribution through DMZ
- Monitor Performance: Set up monitoring for DMZ server performance
- Document Configuration: Create detailed documentation of your DMZ setup