Windows Poller Installation
The Windows Poller service enables automated asset discovery in your local network and remote offices, providing comprehensive visibility into your IT infrastructure.
This guide provides step-by-step instructions for installing and configuring the Windows Poller service on Windows Server 2016+ and Windows 10 Enterprise+.
Prerequisites
Before you begin, ensure your system meets the requirements.
System Requirements
Operating System: Windows Server 2016+ or Windows 10 Enterprise+
Processor: 2.5 GHz, 8 Core minimum
Memory: 16 GB RAM
Storage: 300 GB available space
Network: Port 8080 must be open for communication
Required Information
Agent Activation Code (from License Details)
Secure Auth Key (from Agent Credential Profile)
ServiceOps Server URL
Protocol (HTTP/HTTPS)
noteFrom v8.6.2 onwards, the Poller Agent must be upgraded to match the ServiceOps server version.
Installation and Verification
Step 1: Install the Poller
Download: Get the latest Windows Poller
.msifile from the Download Links.Launch Wizard: Run the
.msifile and click Next.
Select Directory: Choose an installation folder and click Next.

Configure Connection: Enter the following details on the Configuration screen.

Field Description Protocol Select the communication protocol: http or https. Use https for secure communication. URL Enter the ServiceOps server URL. Port Enter the port number used for communication with the ServiceOps server. Activation Code Enter the Agent Activation Code available from the License Details page in ServiceOps. Install Nmap Select this checkbox to install Nmap alongside the Poller. Nmap is a third-party network scanning application used to enhance asset discovery. By default, this option is not selected and Nmap will not be installed. You must explicitly select Install Nmap to include it in the installation. Note that Nmap does not support silent installation in its free version, so the installer will launch an interactive Nmap setup wizard. The current Poller setup includes Nmap version 7.98. The installer cannot detect whether a version of Nmap is already present on the system. The Nmap package also requires Npcap to function correctly. Secure Communication Select this checkbox to enable secure communication between the Poller and the ServiceOps server. Secure Auth Enter the Secure Auth Key from the Agent Credential Profile configured in ServiceOps. Complete Installation: Click Install and then Finish.


Step 2: Verify Installation
After installation, verify that the Poller service is working correctly:
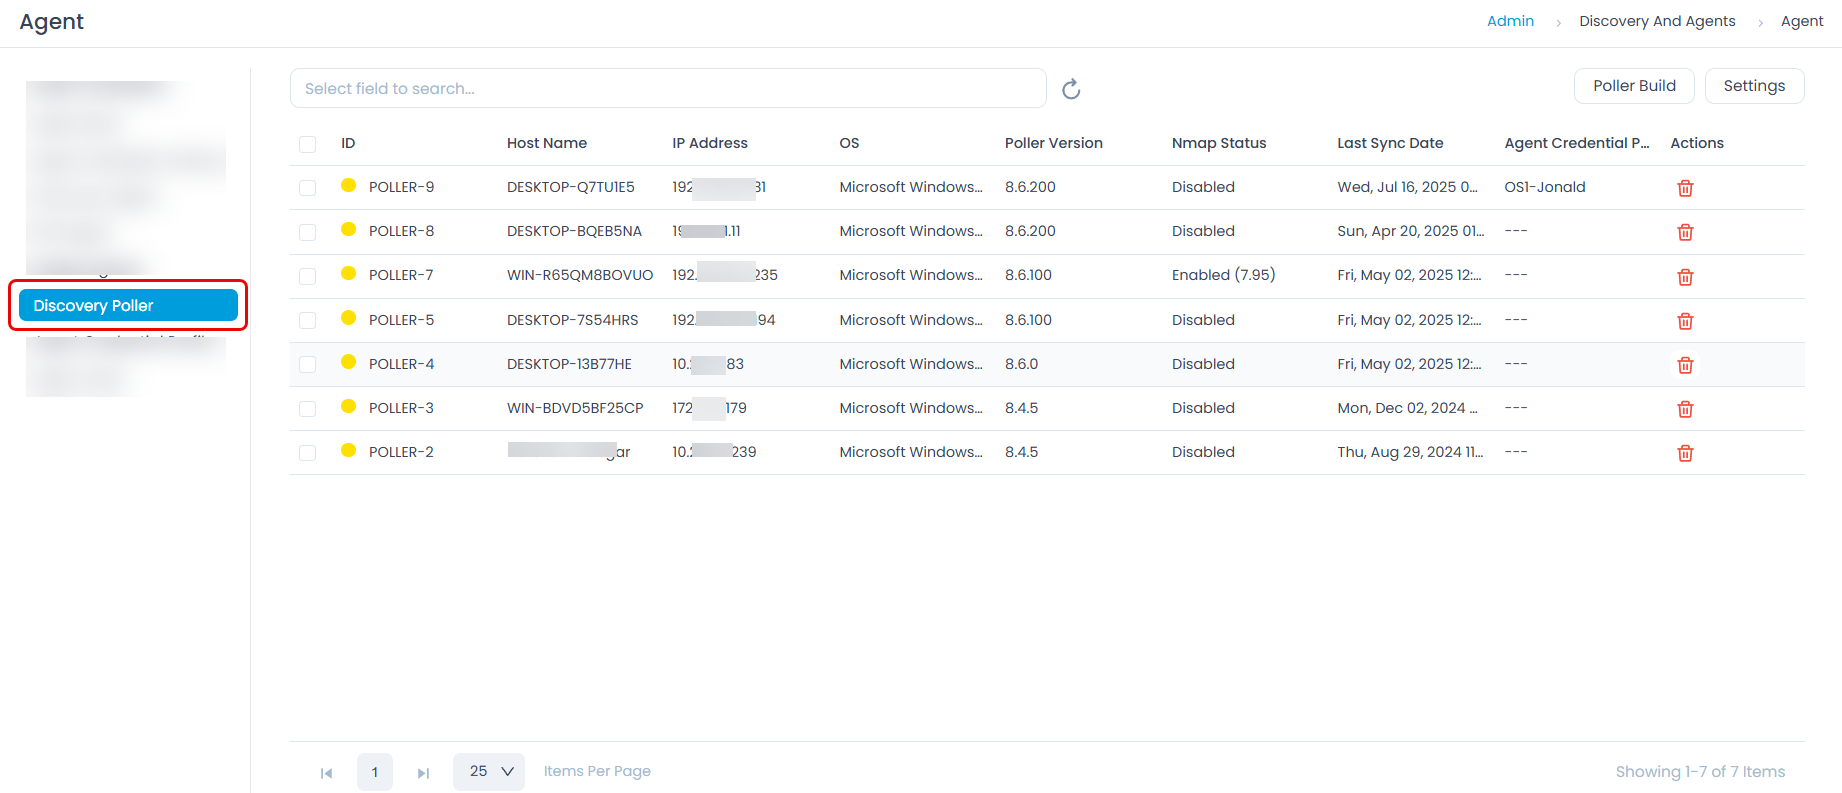
- Poller Registration: Ensure the poller agent is installed from the Admin > Discovery and Agents > Agent > Discovery Poller tab.
- Check Service: Ensure the "Motadata ServiceOps Poller" service is running in Windows Services.
- Verify Discovery: Assets should begin appearing in the Hardware Assets List page in your ServiceOps portal after the next scan cycle.
- Monitor Logs: Check the Poller logs for any connection or discovery issues.
Poller Uninstallation Steps
To uninstall the Windows Poller service, follow these steps:
- Open Control Panel: Go to
Control Panel > Programs > Programs and Features. - Find Poller Service: Locate and select Motadata ServiceOps Poller from the list of installed programs.
- Uninstall: Click Uninstall and follow the on-screen prompts to complete the removal process.
Troubleshooting and Best Practices
Troubleshooting Common Issues
- Connection Issues: Verify the URL, port, and firewall settings (port 8090 must be open).
- Authentication Issues: Double-check the Activation Code and Secure Auth Key.
- Discovery Issues: Ensure the Poller is in the same subnet as target assets and that network connectivity is stable.
- Service Not Starting: Check Windows Event Logs and verify system requirements.
Configuration Best Practices
- Network: Install the Poller in the same subnet as the assets you want to discover. Use HTTPS for secure communication.
- Security: Keep authentication keys confidential and regularly update the Poller.
- Performance: Ensure adequate system resources and configure scan schedules to avoid network congestion.