Print Templates
Streamline your problem management process by generating customized printouts of problem records.
This page provides a comprehensive guide to creating and managing print templates specifically for Problem forms within the Problem Management module. By leveraging these templates, administrators and IT staff can customize the presentation of problem details for various purposes, including record-keeping, auditing, and stakeholder communication. This ensures consistency and efficiency in how problem-related information is documented and shared across the organization.
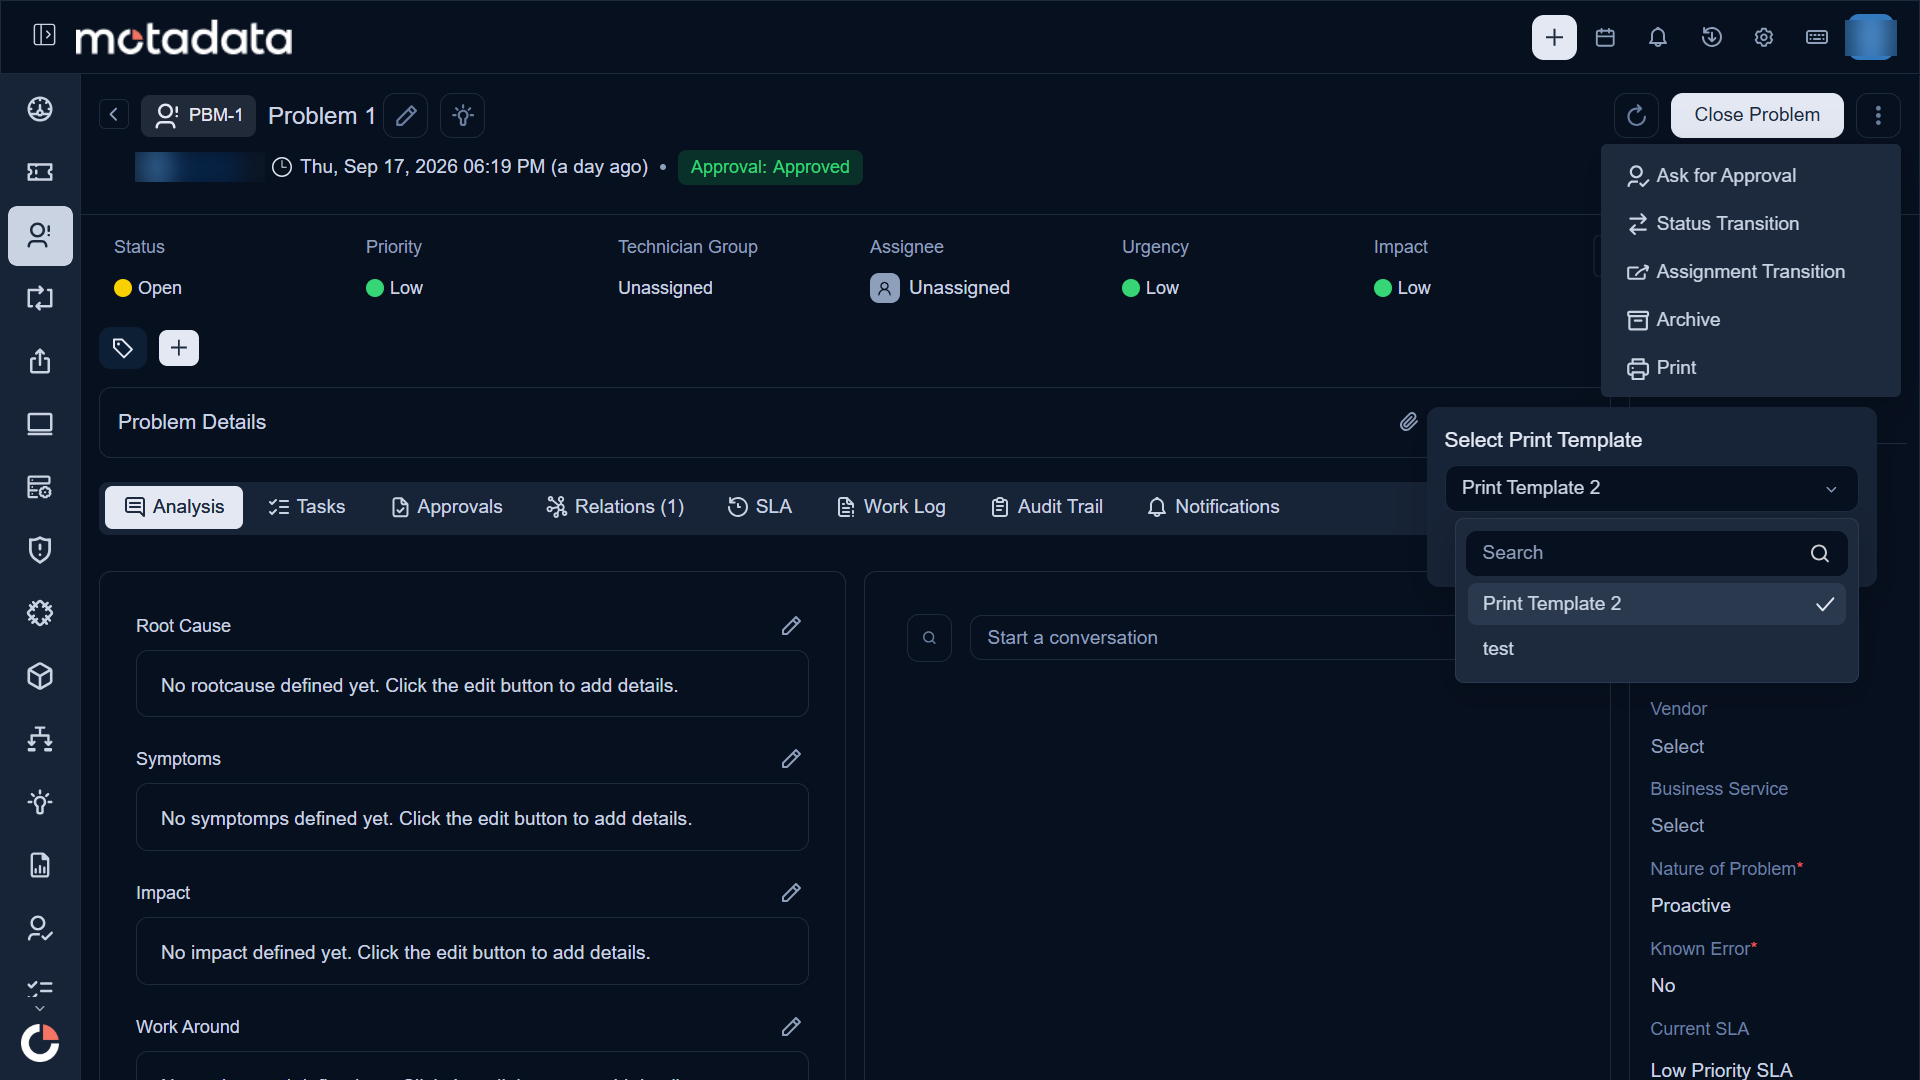
To view the Print Templates page, navigate to Admin > Problem Management > Print Template.
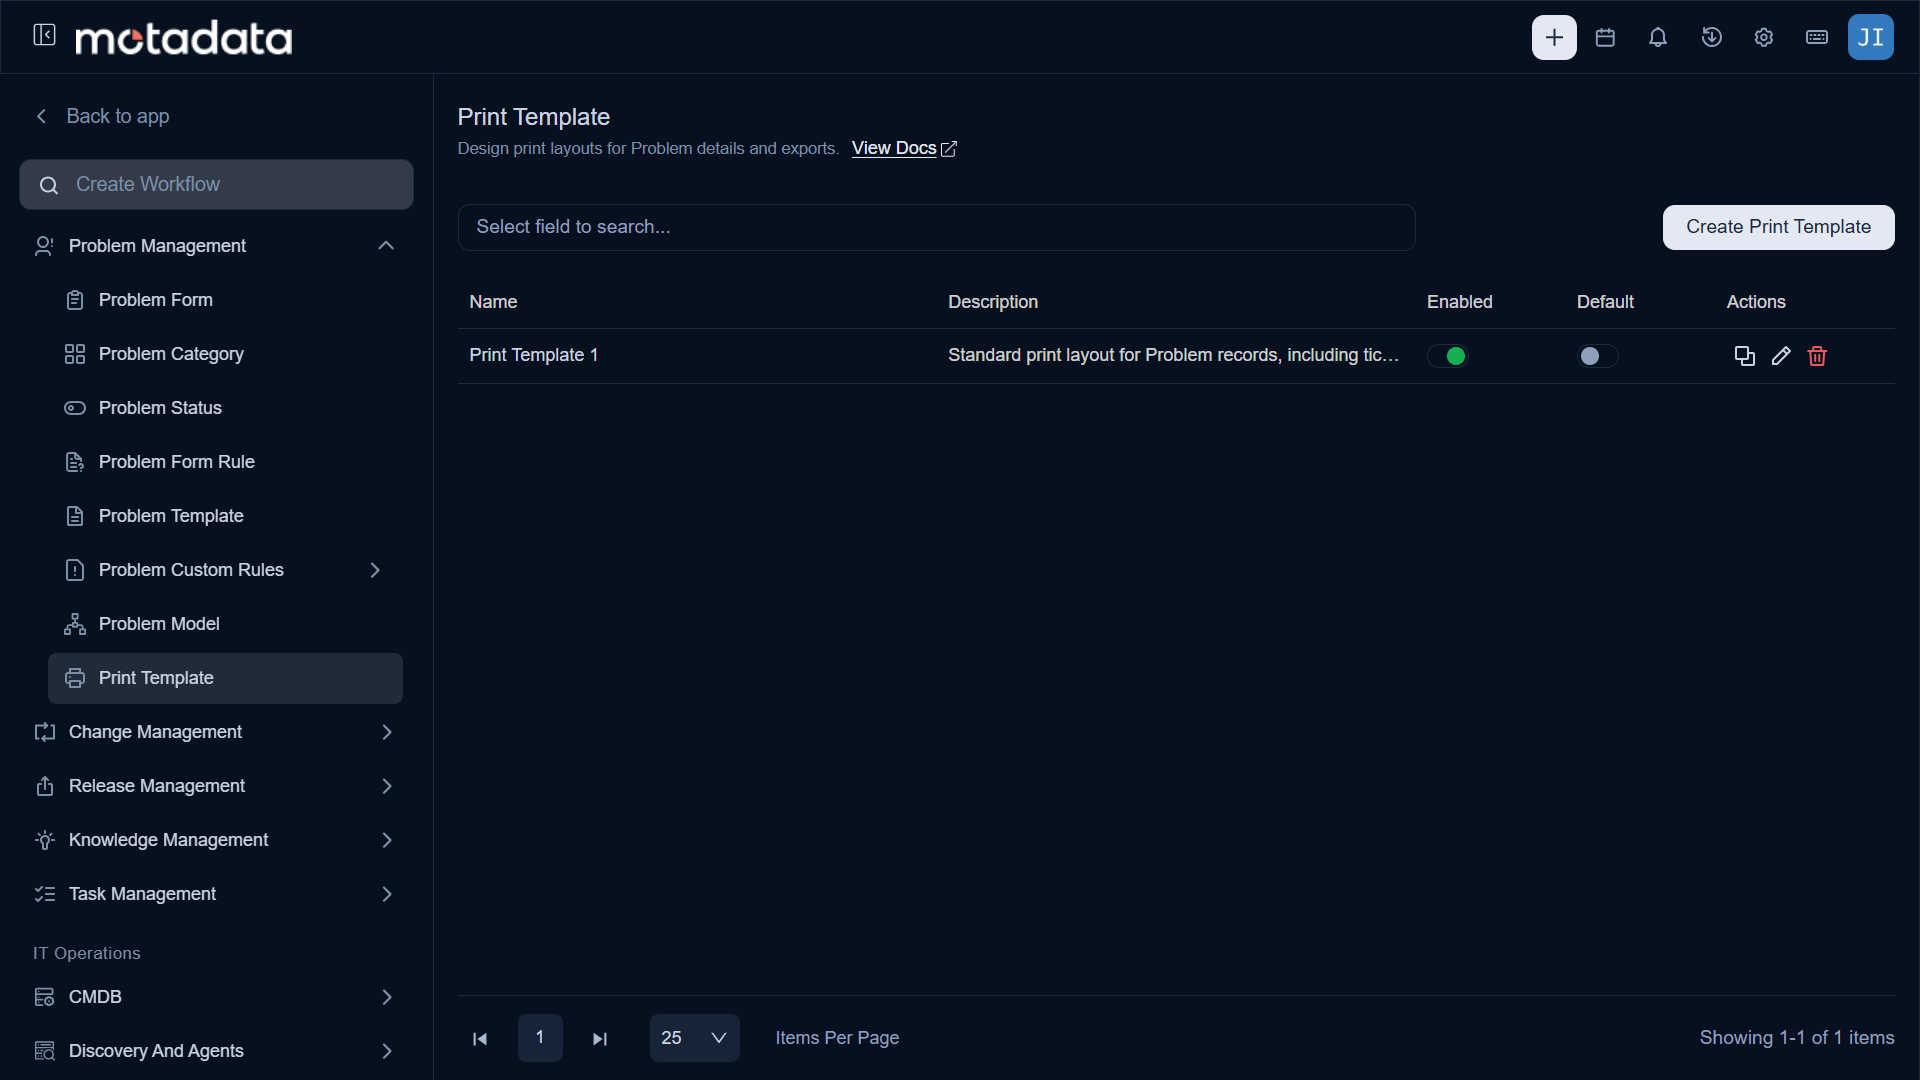
Here, you can do the following:
- Search: You can search for the required entry based on the Name column.
- Create Print Template: You can create a new print template.
- Enabled: You can enable or disable a print template.
- Set as Default: You can set a print template as the default template.
- Duplicate: You can create a duplicate print template.
- Edit: You can edit the existing print template.
- Delete: You can delete the template if not required. A confirmation message appears. Click Yes to continue or Cancel to stop the process. Only custom templates can be deleted.
Create Print Template
To create a print template:
- Click Create Print Template. A pop-up window appears.
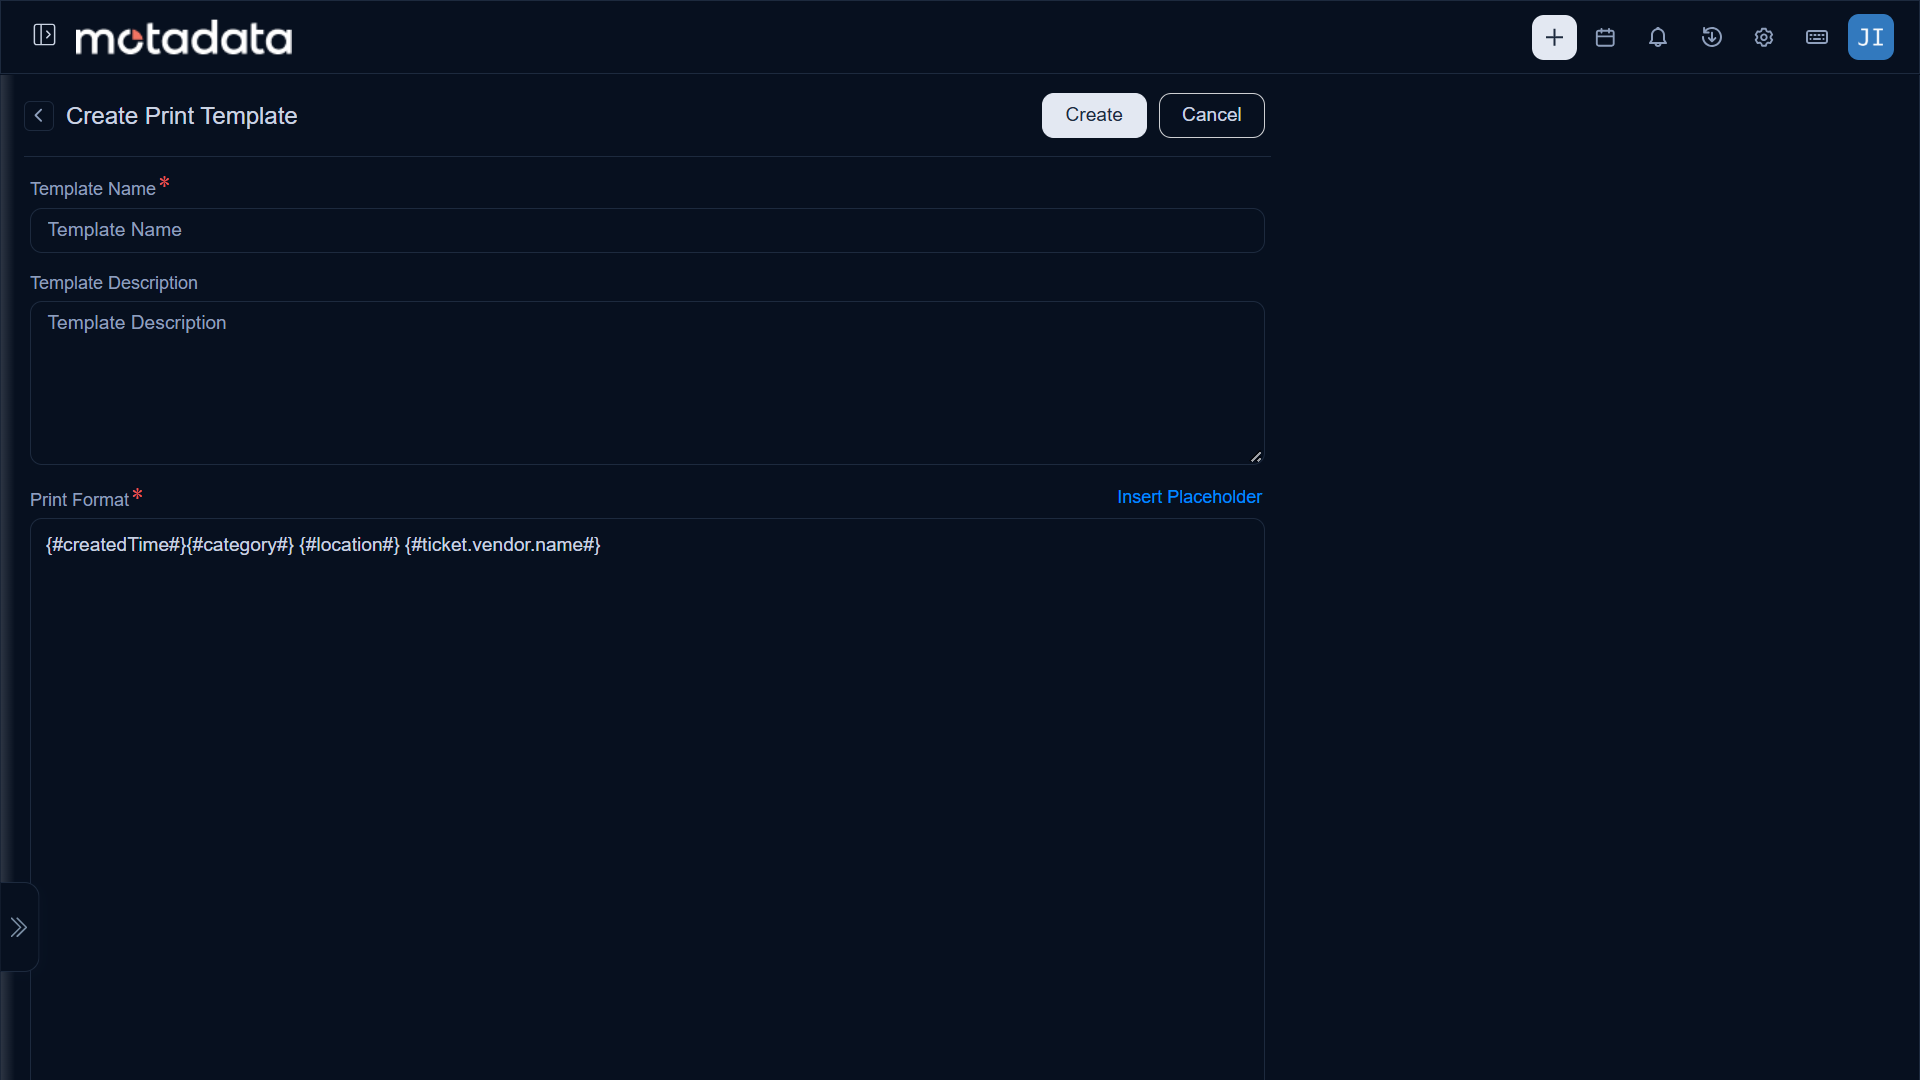
- Enter the below details:
| Parameter | Description |
|---|---|
| Template Name | Enter the name of the template. |
| Template Description | Enter a short description about the template. |
| Print Format | Create a template that defines how Problem details will appear when printed. Use the Insert Placeholder button to add placeholders for fields such as Problem ID, Problem Requester, Subject, Task Details, etc. For placeholders like Task Details, which contain selectable columns, you can configure the displayed columns using the Placeholder Configuration section. This section allows you to select or remove specific columns to control the level of problem information included in the print format. |
- Once done, click Create. Once created, it will be in disabled state. So first enable it to use for printing the details. Then the created template will appear on the "Problem Details" page at the time of printing the Problem record.