Problem Form Rule
Empower administrators to dynamically control Problem form behavior, ensuring data integrity and a tailored user experience through automated rules.
Problem form rules enable you to make fields (system and custom) mandatory/non-mandatory, show/hide, enable/disable, set/clear value, or show/hide options based on certain conditions in the problem form. These rules are applicable at the time of problem creation, edit, or both, helping you to fetch the required details from the user.
To view the Problem Form Rules, navigate to Admin > Problem Management > Problem Form Rule.
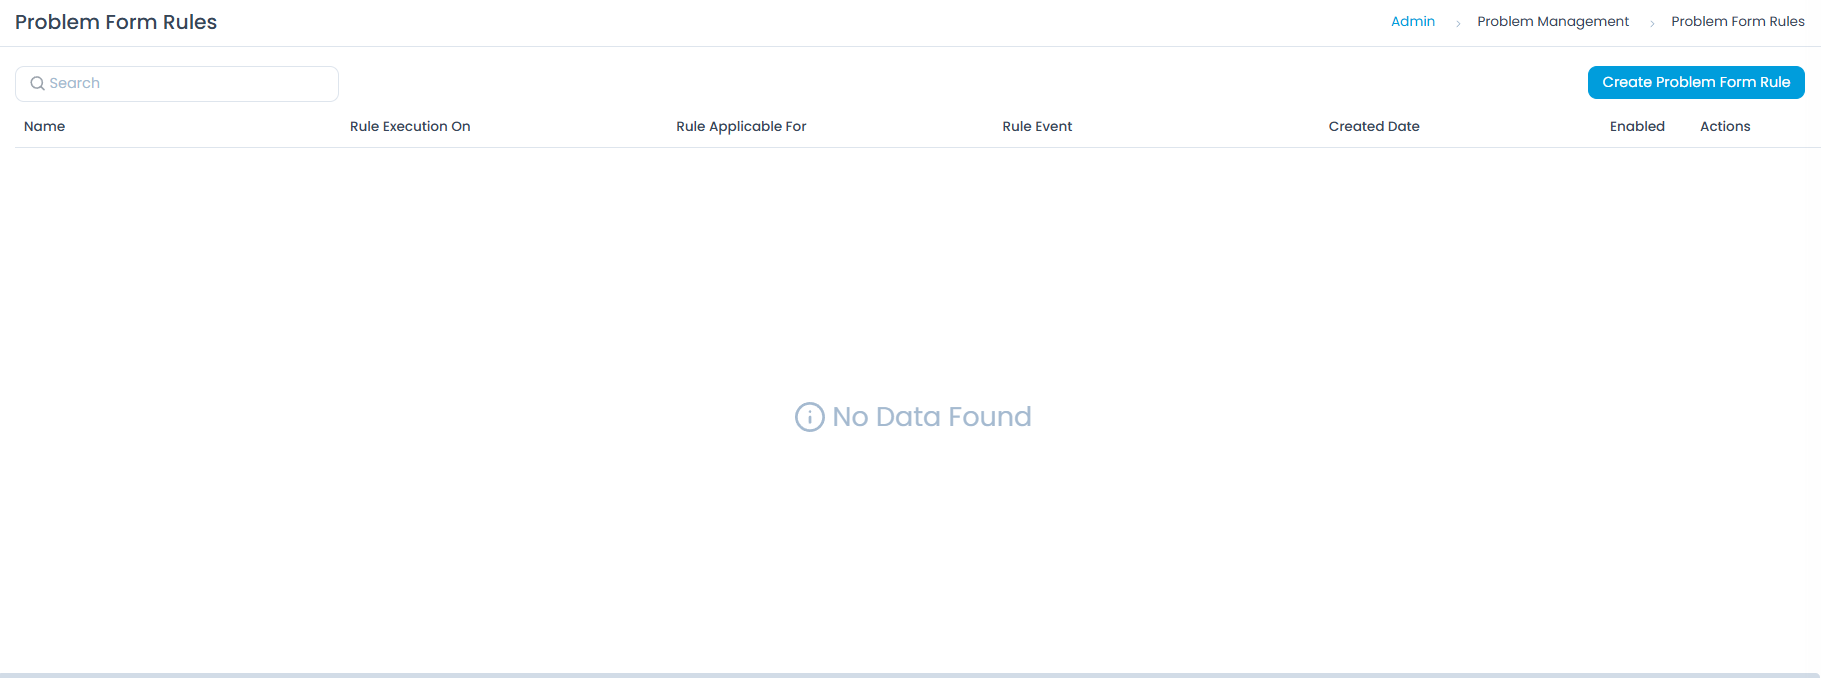
For the first time, the page displays a blank list page. You can create a new problem form rule by clicking the Create Problem Form Rule button.
Create a Problem Form Rule
To create a problem form rule, follow the steps below:
In case of a conflict between a template and a form rule, the Template takes precedence over the form rule.
- Click the Create Problem Form Rule button on the top-right corner of the page. A popup appears.

Enter the following details:
Name: Enter a unique name for the Problem Form Rule.
Description: Enter a short description explaining the purpose of the rule.
Rule Execution On: Select when the rule should be executed:
- On Create and Edit: The rule executes during both creation and editing of a problem.
- On Create: The rule executes only during problem creation.
- On Edit: The rule executes only when an existing problem is being edited.
Rule Event: Select the event that triggers the rule:
- On Form Load: Triggers when the problem form is first opened.
- On Field Change: Triggers when a user changes the value of a selected field on the form. You can select one or more fields. The rule is triggered when any one of the selected fields is changed.
- On Form Submit: Triggers when the user attempts to submit the form.
Conditions: Define the conditions that must be met for the rule to apply. Conditions are grouped into categories:
- Problem Fields: Conditions based on fields within the problem record (e.g., Category, Priority, Urgency).
- Requester Fields: Conditions based on the requester's details (e.g., Department, Location).
- Logged-in User Fields: Conditions based on the logged-in user's details (e.g., User Role, User Group).
You can define multiple conditions; by default, these work in an AND logic, meaning all conditions must be true for the actions to execute. You can also use the OR logic in which case only one condition needs to be true for the actions to execute.
Action: Select the action to perform when conditions are met. You can add multiple actions using the Add Action button.
note- The list of available actions depends on the selected Rule Event:
- On Form Load & On Field Change: Supports all actions including Show/Hide, Mandate/Non-Mandate, Enable/Disable, Set Value, Clear Value, Show/Hide Options, Run Custom Script, and Filter Data.
- On Form Submit: Supports only Set Value, Clear Value, and Run Custom Script.
- On On Edit and On Form Load event, the following tabs can be disabled: Analysis, Approval, Task, Notification, and Work Log.
Supported actions include:
Show: Makes a hidden field or tab visible.
For example, show the Nature of Problem field when a specific category is selected.
Hide: Hides a specific field.
For example, hide the Vendor field when the Category is set to 'Internal Support'.
Mandate: Makes a field mandatory (required).
For example, mandate the Known Error field when a problem status is moved to 'Resolved'.
Non-Mandate: Makes a field optional.
For example, make the Attachment field optional if the Category is 'General Query'.
Enable: Enables an otherwise disabled field for input.
For example, enable the Assignee field only after a Technician Group is selected.
Disable: Disables a field or tab, making it read-only.
For example, disable the Category field once a problem is 'In Progress' to prevent changes. Also, disable the Analysis tab if the problem is in a 'Pending' status.
noteTabs can be disabled only if the Rule Execution On is On Edit and the Rule Event is On Form Load.
Set Value: Automatically populates a field with a predefined value. The Set Value action also supports dynamic population from Requester profile data. When configuring the action, select the target field, then choose From > Requester Field as the source. Supported Requester fields include contact number, email, manager, department, location, and compatible custom fields. Only fields with a matching data type appear in the selection list.
For example, to auto-populate the Location field based on the selected requester, set the Rule Event to On Field Change, select Requester as the trigger field, then set the Action to Set Value, choose Location as the target field, and map it using From > Requester Fields > Location.
Clear Value: Resets a field to its empty state.
For example, clear the Assignee value if the Technician Group is modified.
Show Options: Displays specific options in a dropdown field.
For example, show only relevant Status options based on the selected problem Category.
Hide Options: Conceals specific options from a dropdown field.
For example, hide the 'Closed' status for technicians who do not have permission to close problems.
Run Custom Script: Executes a pre-configured Custom Script.
For example, run a script to validate custom data or perform external API calls.
Filter Data: Dynamically filters data in a field based on another field's value.
For example, filter the Assignee list to show members belonging to the selected User's Location on the Problem Form.
Reverse Actions if conditions are not matched: Enable this toggle if you want the system to automatically undo the actions (e.g., un-hide a field) if the conditions are no longer met.
Click Create to save the rule and it will be listed in the Problem Form Rules list page.
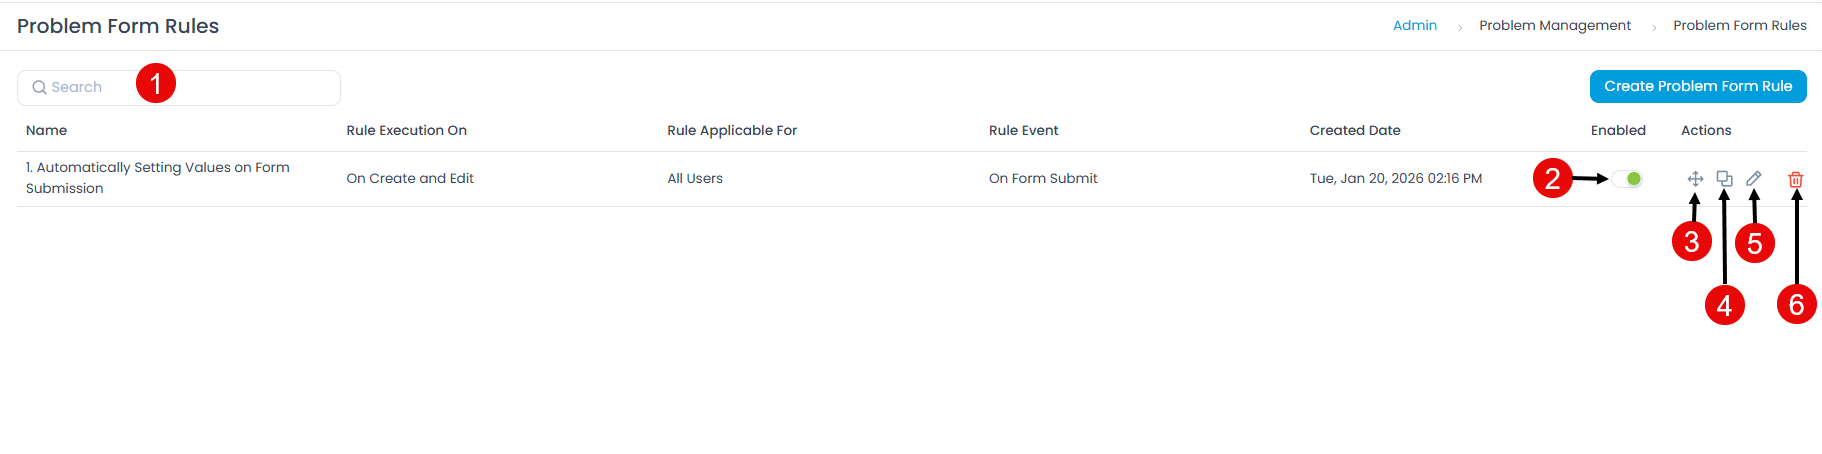
Manage Problem Form Rules
Once you have created form rules, you can perform the following actions from the list page:
- Search: Use keywords to quickly find a specific rule.
- Enabled Toggle: Use the toggle button to enable or disable a rule. If disabled, the rule will not be applied to the form.
- Re-order: Use the drag-and-drop handles to change the execution priority. Rules at the top are executed first.
- Duplicate: Create a copy of an existing rule to use as a starting point for a new one.
- Edit: Modify the details of an existing rule, except for the Rule Event.
- Delete: Remove unwanted rules. A confirmation prompt will appear before deletion.
Best Practices for Problem Form Rules
Following these best practices ensures your problem forms remain efficient and user-friendly:
- Plan Field Behavior: Before creating rules, identify which fields or tabs should be dynamic based on specific problem fields.
- Optimize Rule Execution: Use
On Form Loadfor initial UI setup andOn Field Changefor responsive adjustments. - Use Descriptive Names: Name your rules clearly (e.g., "Mandate Nature of Problem on Submission") to make them easy to identify in the list.
- Order Rules Correctly: Rules are evaluated from bottom to top, with rules placed at the top having the highest priority. If multiple rules conflict, the rule higher in the list overrides those below it. For example, if a rule at the bottom makes a field optional and a rule above makes the same field mandatory, the field will be mandatory.
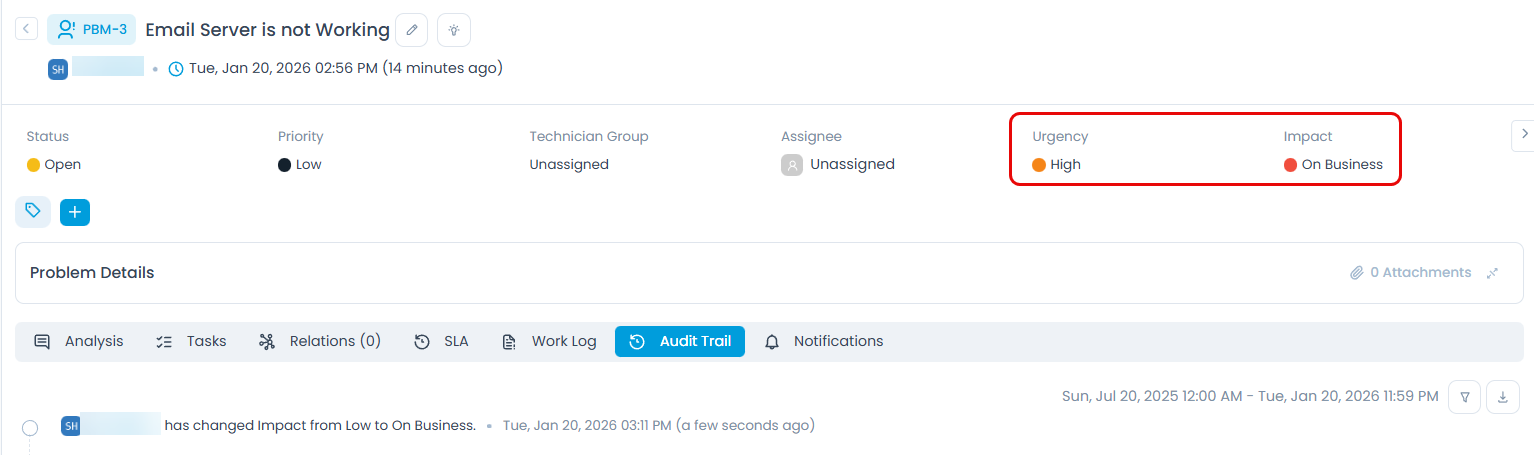
Use Case: Automatically Set Impact for High-Urgency Problems on Submission
Scenario: When a problem is submitted with Urgency set to High, the system should automatically set the Impact to On Business to reflect the wider organizational impact.

Configuration:
- Name: Auto-set Impact to Business for High Urgency
- Rule Execution On: On Create and Edit
- Rule Event: On Form Submit
- Condition: Problem – Urgency Equals High
- Action:
Set Value->Impact->On Business(This will set the Impact to "On Business" for the problem record.)
Expected Outcome: When a technician submits a problem record with Urgency marked as High, the system automatically sets the Impact field to On Business at the time of submission. This ensures accurate impact classification, consistent prioritization, and reduces the risk of underestimating critical problems without requiring manual updates.