Configure Indexes for Log Retention in ObserveOps
Indexes control how long ObserveOps stores your logs and which logs go into which retention bucket. You create inclusion criteria to route specific logs into an index, set retention periods, and order indexes to control which one captures each log first.
Prerequisites
- Logs are flowing into ObserveOps. See Log Ingestion.
- You have access to Settings > Observability Pipeline > Log Pipeline.
How It Works
Every log that passes through the Observability Pipeline is checked against the inclusion criteria of each active index, in order from top to bottom. The log falls into the first index whose criteria match. A log can fall into only one index, and it is stored there for that index's retention period.
The Configure Indexes Screen
Go to Settings > Observability Pipeline > Log Pipeline, then click Configure Indexes to expand the section.
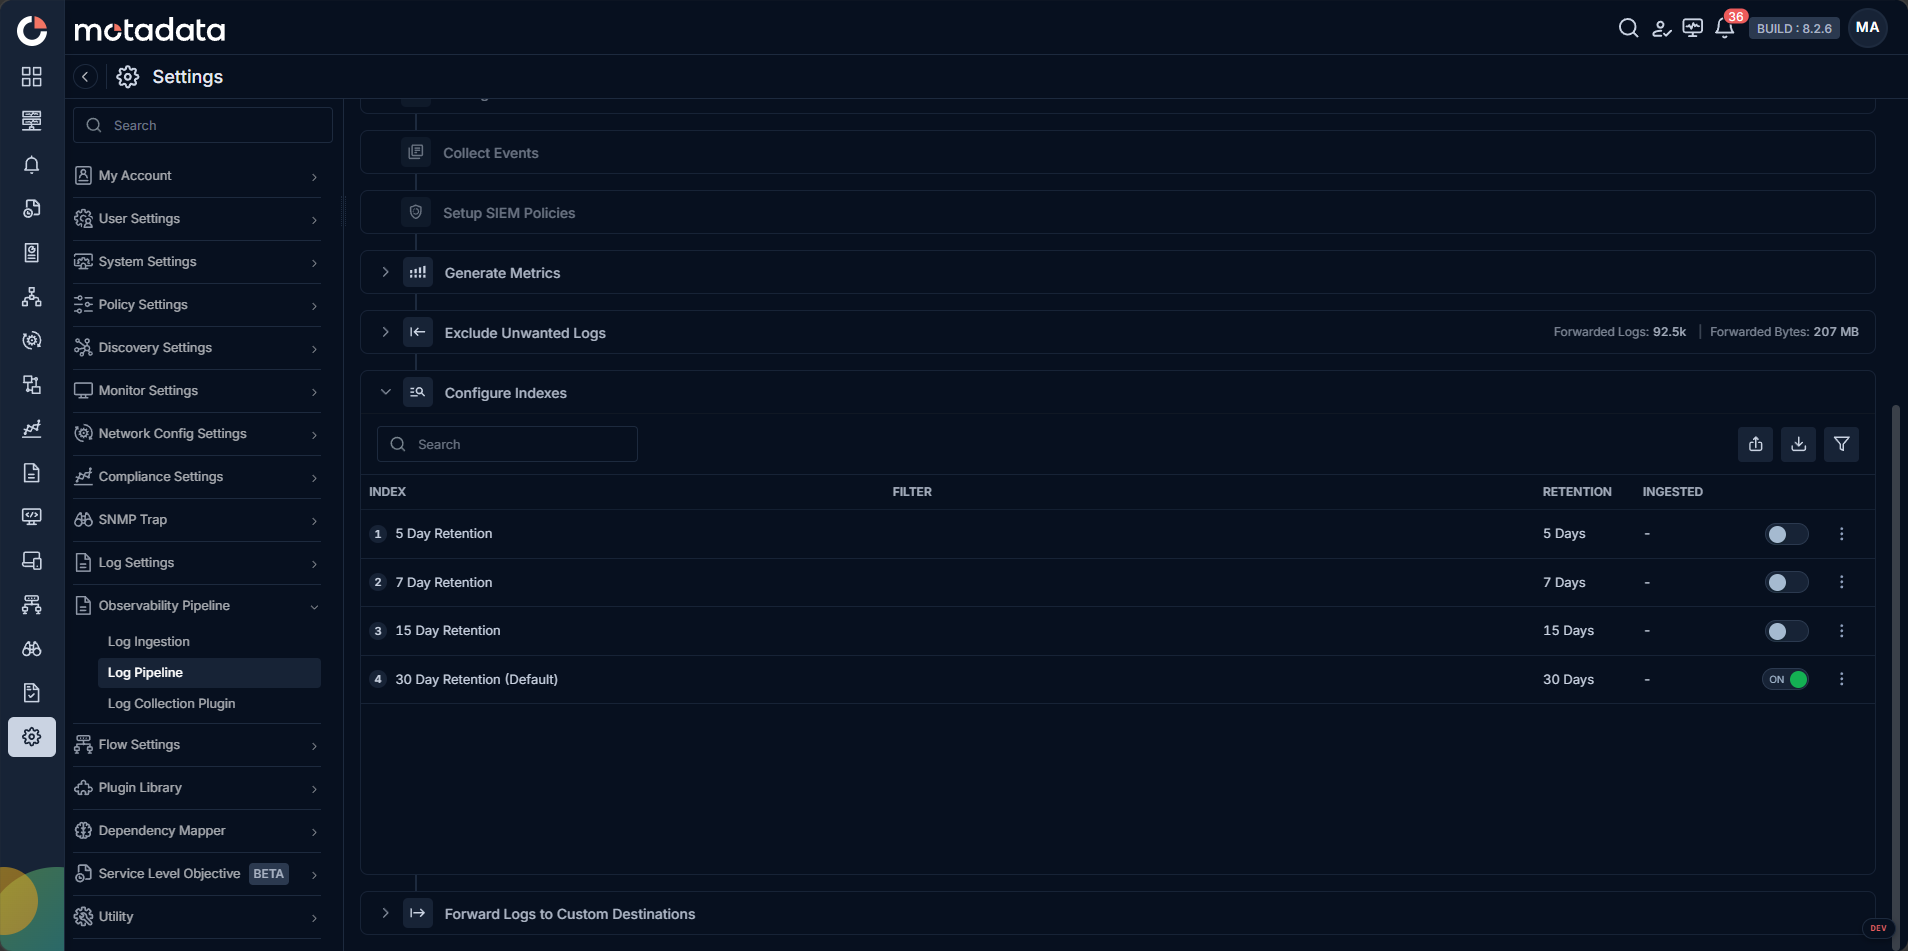
The list shows all indexes with their INDEX name, FILTER, RETENTION, and INGESTED columns. You can search for an index by name and import or export the index configuration using the icons at the top right.
Pre-Configured Indexes
ObserveOps includes four pre-configured indexes in every new deployment:
| Index | Retention |
|---|---|
| 5 Day Retention | 5 Days |
| 7 Day Retention | 7 Days |
| 15 Day Retention | 15 Days |
| 30 Day Retention (Default) | 30 Days |
The 30 Day Retention (Default) index is enabled by default and sits at the bottom of the list. It uses a select * filter that matches all logs. Every log that does not match a higher-priority index falls into this default index and is kept for 30 days.
Edit an Index
Click the edit icon next to any index to update its Name, Description, or Retention Days.
Retention changes apply to all logs already in the index, not just new ones. Lowering the retention period removes logs that exceed the new limit. This cannot be undone.
Inclusion Criteria
Each index holds one or more inclusion criteria. Each criterion has a Name and a Filter.
To add an inclusion criterion: Open the index and click + Add Inclusion Criteria. Enter the name and filter, then click Save.
To edit a criterion: Click the edit icon on the criterion row.
To delete a criterion: Click the delete icon on the criterion row.
Index Ordering and Priority
Logs check indexes in order, top to bottom. The log falls into the first index whose inclusion criteria match. Drag indexes to change their priority order.
Click the configure icon 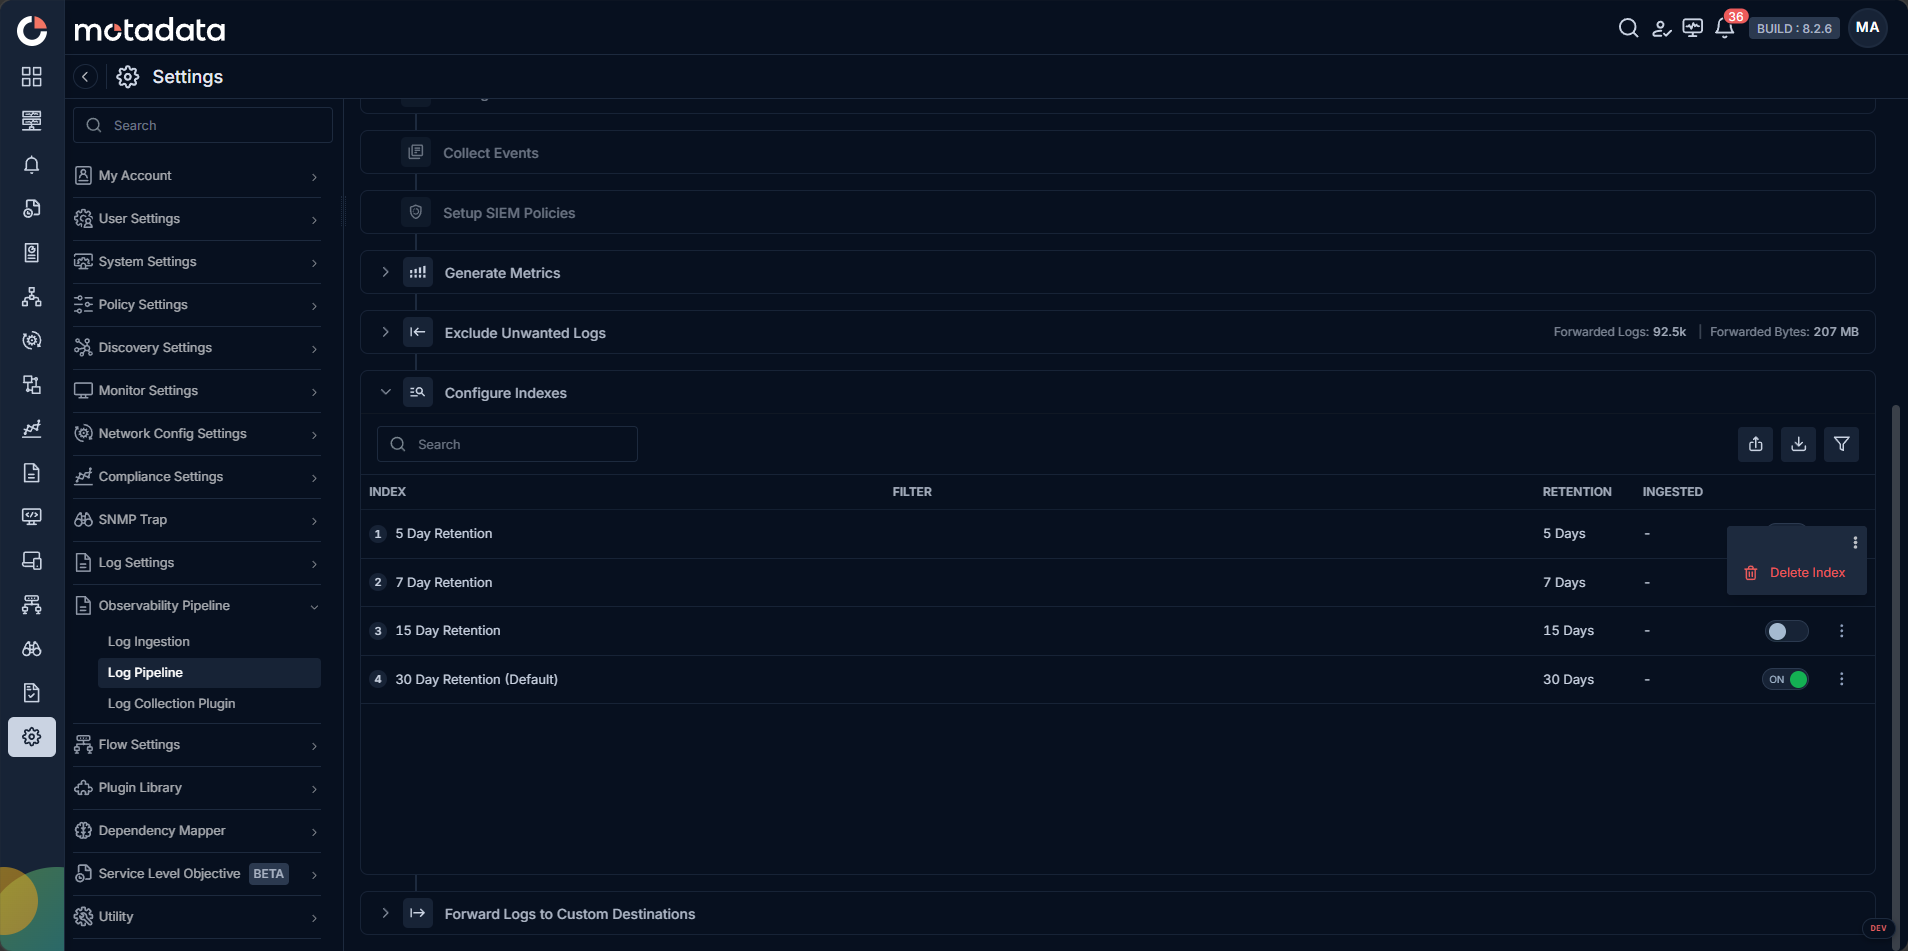 to open index settings.
Turn an Index On or Off
Indexes cannot be deleted. Use the toggle to turn each index on or off. When an index is off, its criteria are skipped.
What Happens When No Index Matches
If a log does not match any active index, it falls into the default index at the bottom of the list. This is why the default index uses select *: it catches everything that no other index captures.
Example
A team wants security logs kept for 90 days and everything else for 30 days. They create an index called Security Logs with an inclusion criterion of log_type = security and set retention to 90 days. They drag this index above the 30 Day Retention (Default) index. Security logs fall into the Security Logs index. All other logs reach the default index and are kept for 30 days.
Troubleshooting
Logs are disappearing sooner than expected
Cause: The retention days on the index were reduced after logs were ingested. Retention changes apply retrospectively.
Fix: Edit the index and increase the retention days. Logs already removed cannot be recovered.
A log is falling into the wrong index
Cause: A higher-priority index is capturing the log first.
Fix: Check indexes in order from top to bottom. Inspect the log's fields in Log Explorer and compare them against each index's inclusion criteria.