Credentials
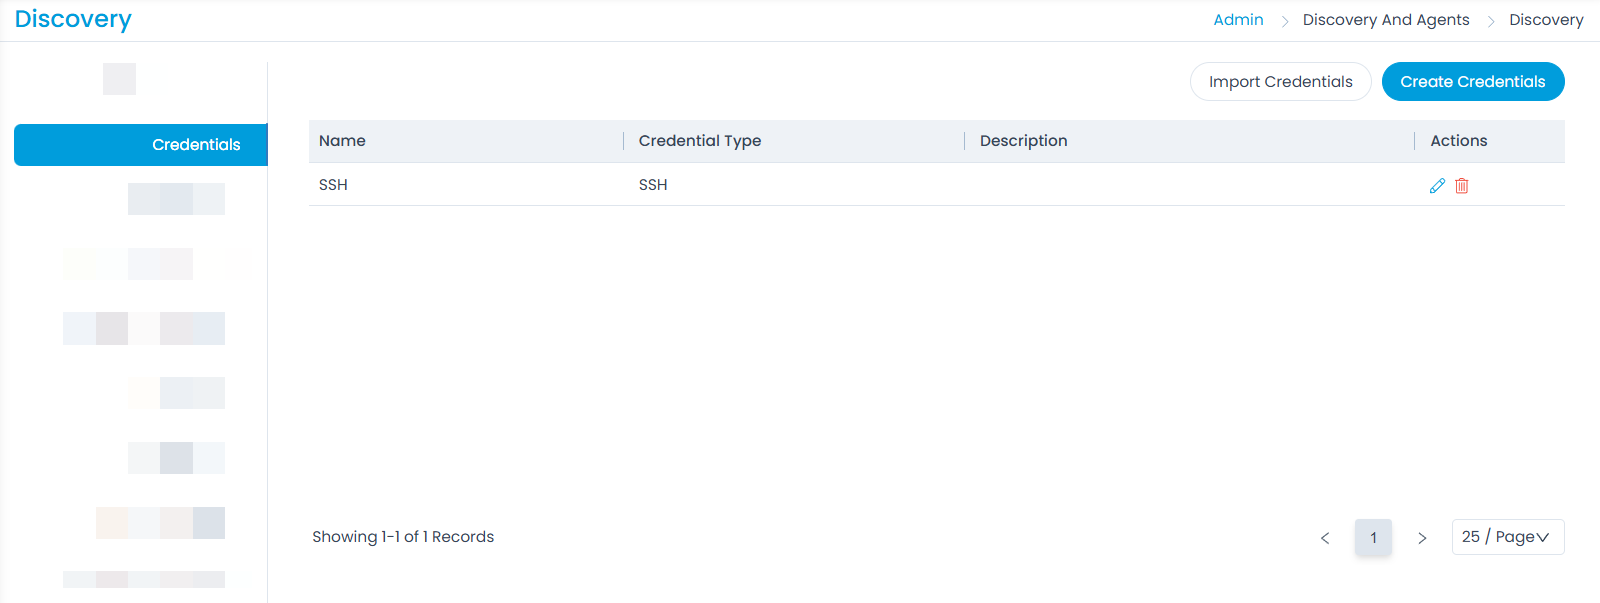
Motadata ServiceOps provides an interface to upload all your credentials, so our product can authenticate for an authorized access to a network. A repository stores all the Credentials, also known as a library where you can manage (add, edit and delete) them.
- Managing credentials require administrative rights.
- If the Credentials are incorrect, authentication fails, and the asset discovery fails too.

Adding Credential
To create credentials, click the Create Credentials button and a popup appears where you need to fill the details.

The details are:
- Name: Enter the name of the credential.
- Credential Type: Select the type of credentials. The options are:
- WMI: To discover windows machine.
- SSH: To discover Linux based devices.
- SNMP and SNMP V3: To discover network devices, storage devices, printers and scanners.
- VMWARE: To discover the virtual machines.
- AWS: To authenticate and authorize users, applications, and services to interact with AWS resources.
- AZURE: To discover and manage devices in Azure.
- NUTANIX: To discover Nutanix devices.
- OAUTH. To authenticate and discover the ChromeOS devices. Based on the selected option, enter the username and password details of the machines that you want to discover. For example, if SSH is selected, enter the Username, port, authentication type, and password details.
- Once you are done, click Save. You can also click the Test Connection button to check the connectivity. Later, you can also edit or delete the credentials if not required.
The Test Connection button is unavailable in the SaaS application.
You can create multiple credentials required for the future asset discoveries also.
Troubleshooting
In case you face any issue in discovering the asset via WMI/winRM, verify the ports and Firewall settings:
Check whether the below ports are open on the target server:
If winRM (HTTP): 5985
If winRM (HTTPS): 5986
If WMI: 135
On the target server, check the status of the port by using the below command:
netstat -ano | findstr <port_number>
Check whether the Firewall is not blocking connections from Poller/ServiceOps server to the target.
On the Poller/ServiceOps server run the below command:
telnet <ip> <port>
Import Credentials
This option allows you to import the credentials in bulk. To do so,
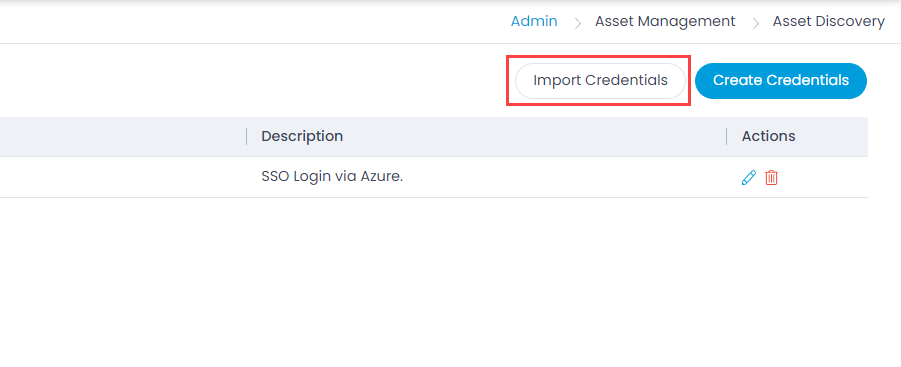
- Click the Import Credentials button. The Credential Batches page appears.
- Click the Import CSV Batch button.

- Select the .csv file if you already have it filled with the respective fields. If not, select the new .csv file using Click Here and fill the respective details. Once the file is uploaded, click Next.

- Map the fields as per the requirement. By default it is mapped, only in case of removal or change of some parameters mapping is necessary, and click Save Batch.

- The Credential Batches page appears. It displays the status of the import along with the details like processing time, total records, success records, failed records, etc. as shown below. Once successful, the imported credentials will appear in the list page.
