RedHat Patch Settings
This tab provides you with options to select how you can fetch the RedHat patches.
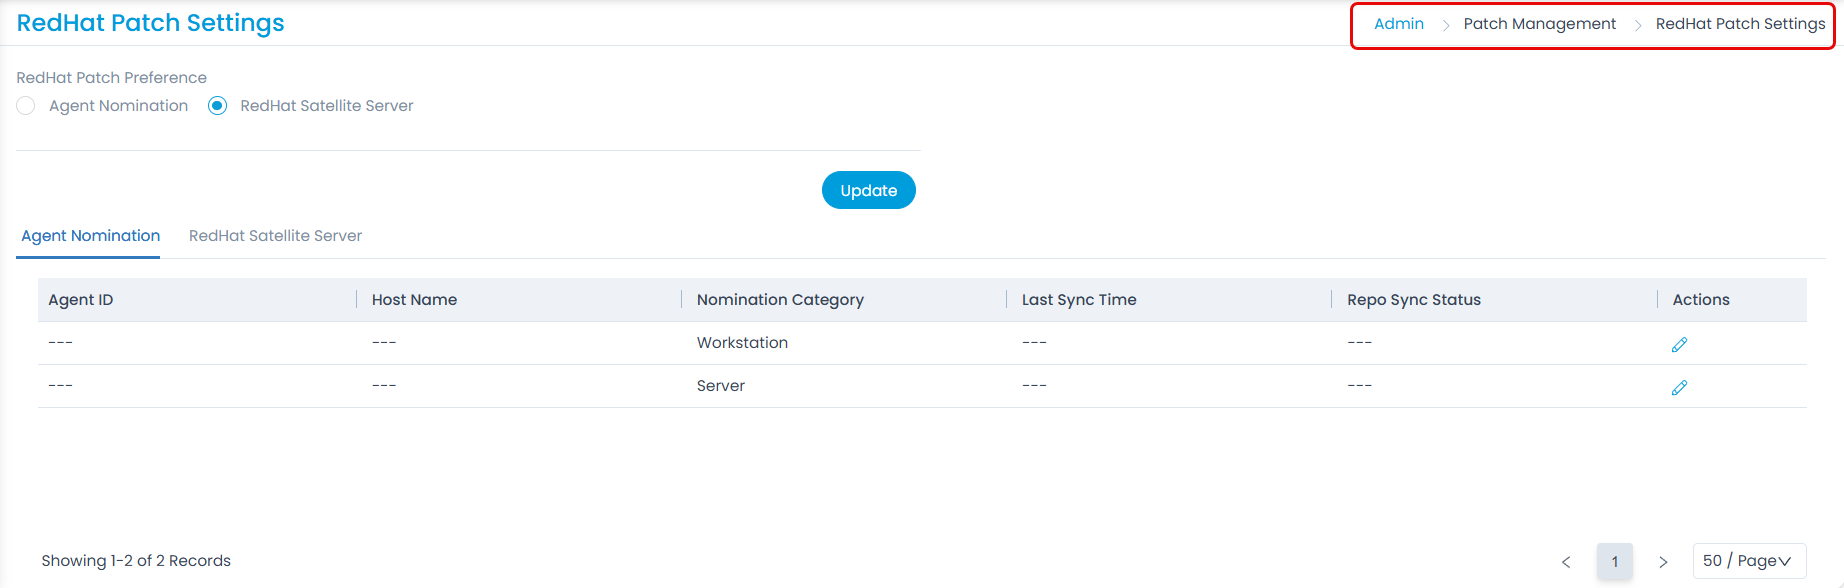
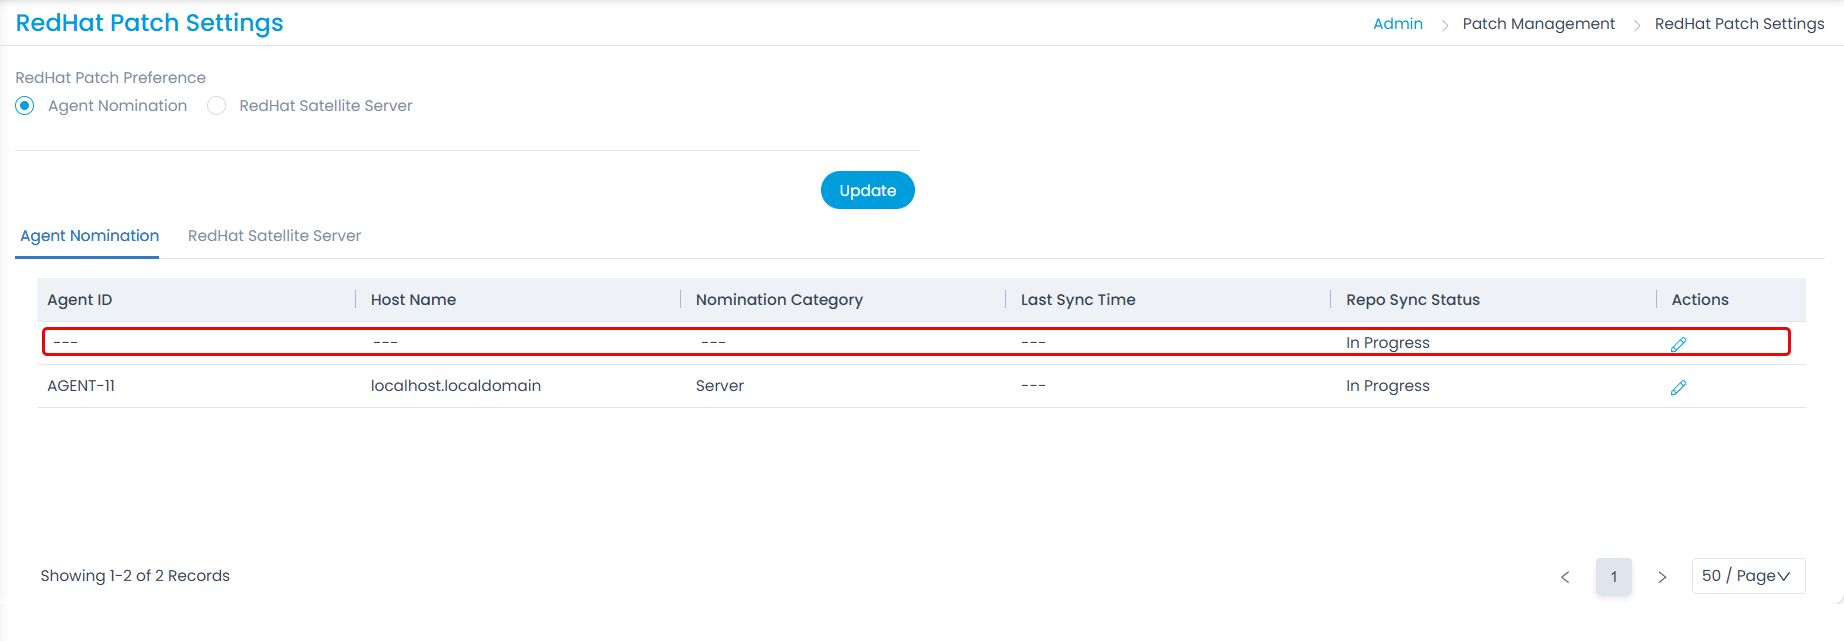
To view the page, navigate to Admin > Patch Management > RedHat Patch Settings and the below page appears.
Here, select the required preference and configure accordingly.
RedHat Patch Preference: Select the preference based on which the RedHat patches will be fetched.
- Agent Nomination: Select to nominate the agents to be used for managing the REDHAT patches
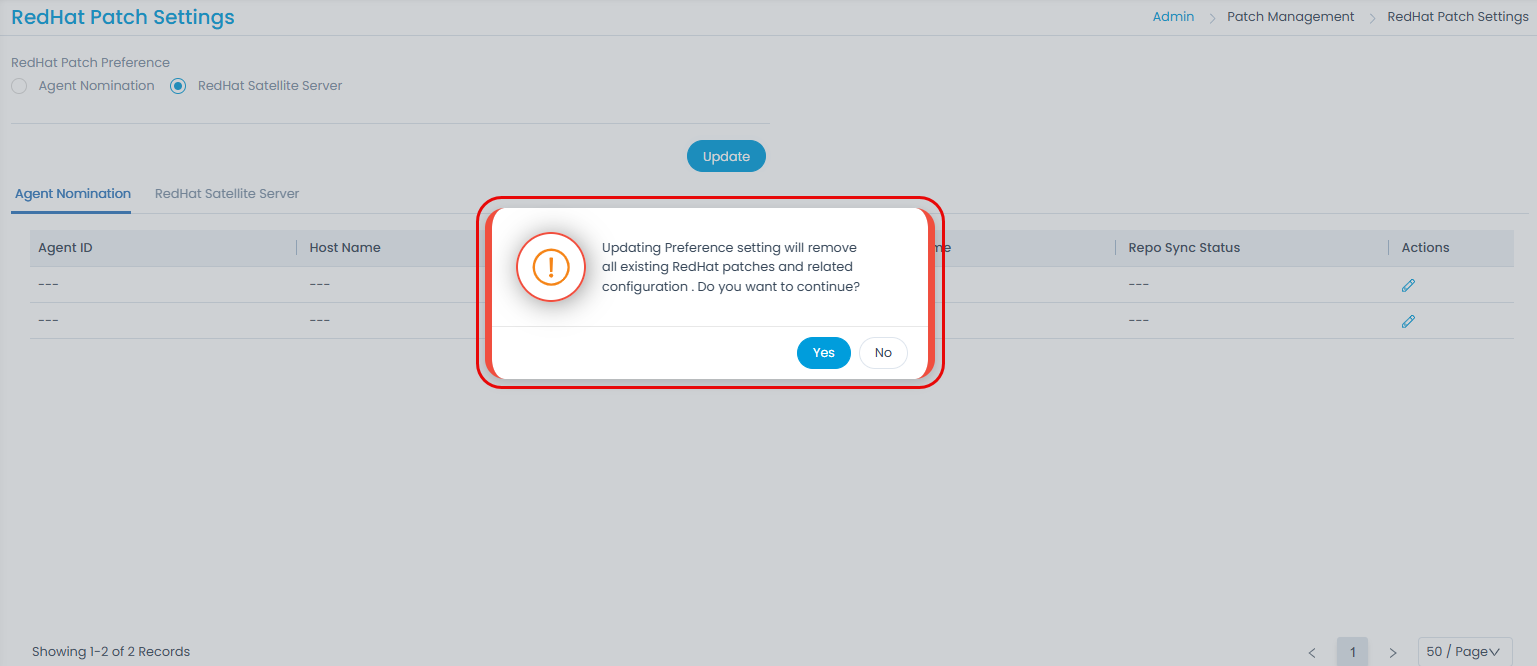
- RedHat Satellite Server: Select to use the satellite server for RedHat patches. Once selected, update the preference.
On updating the preference, all the existing RedHat patches and agent nomination details will be removed from the Patch list.
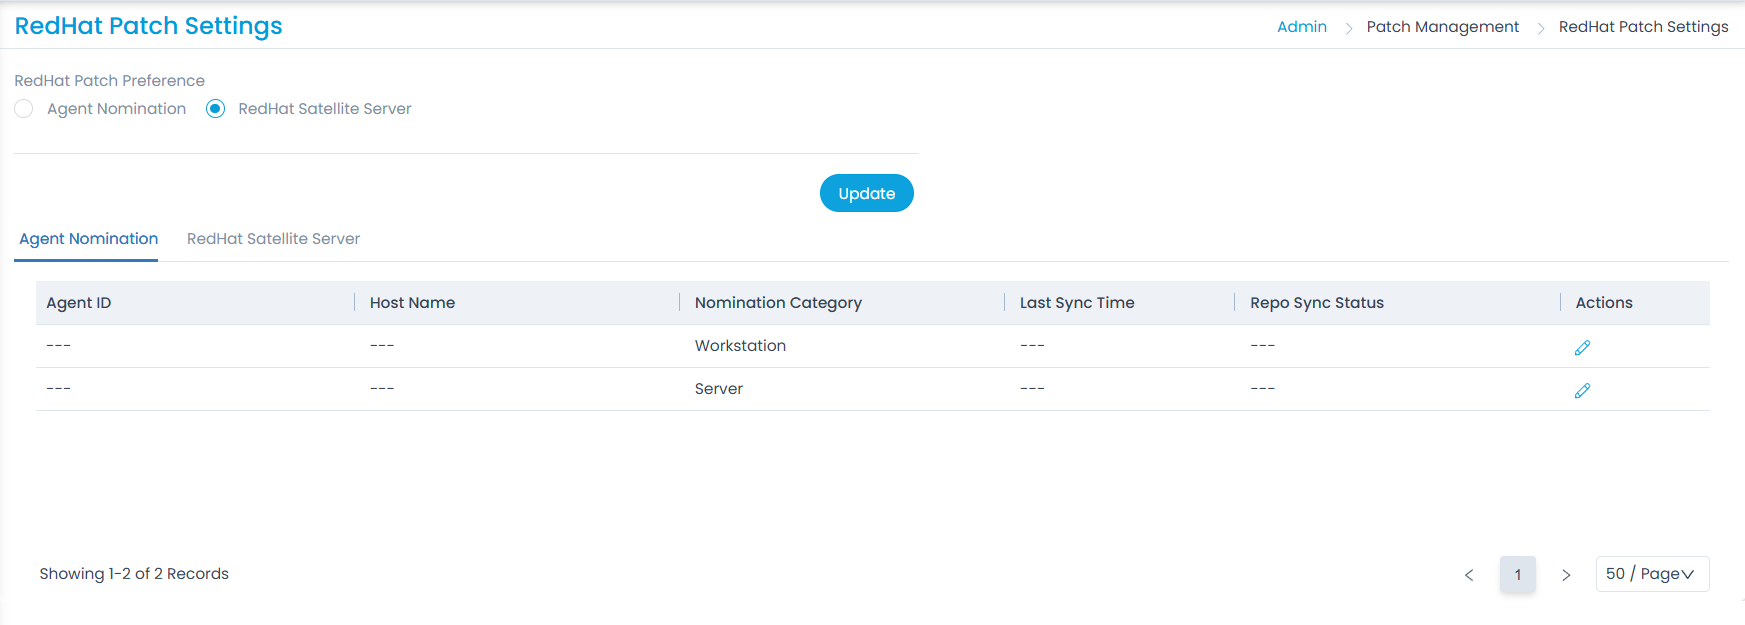
Agent Nomination
Here, you can nominate only two agents: Workstation and Server.
You can nominate only those agents that hold an active subscription and the Internet connection. To nominate, click the Edit icon and the following popup appears.
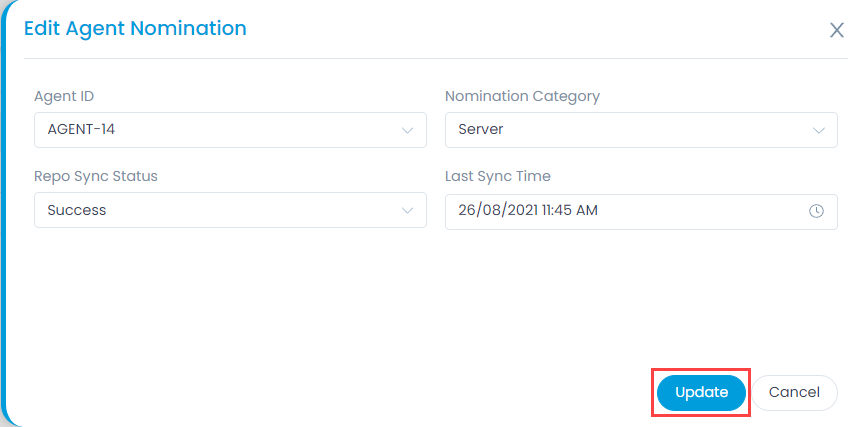
Provide the below details:
- Agent ID: Select the Agent ID to be nominated. You can select only those agents that are present in the End Points Scope page.
- Nomination Category: Displays the category for which the agent is to be nominated. It can be either Workstation or Server.
- Repo Sync Status: Displays the repo sync status as success or failed.
- Last Sync Time: Displays the date and time when the nominated agent synchronized last with the REDHAT repository.
Once done, click Update. If there is no agent nominated, the record remains blank as shown below.
RedHat Satellite Server
The RedHat satellite server is a tool that helps manage, update, and secure Red Hat Enterprise Linux (RHEL) systems across different environments. It automates tasks like software updates, system provisioning, and compliance, making IT management easier and more efficient. Here, you can find the steps to configure the same in your system.

Prerequisites:
- The ServiceOps Server must be able to connect to the RedHat Satellite Server.
- The RedHat Satellite Server must have the OS repository added and fully synced.
To configure the satellite server,
Edit the config and provide the following details:

Server URL: Enter the client satellite server url or IP address. For example, https:// satellite.serviceops.local
Username and Password: Enter the username and password of the satellite server.
Enable Schedule: Enable and specify the time to fetch patches daily.
Proxy Server: Select the desired proxy server.
Certificate: Upload the certificate taken from the satellite server. To get the certificate, follow the below steps:
- Login to the RedHat Satellite Server website.
- Navigate to Administer > Organizations.
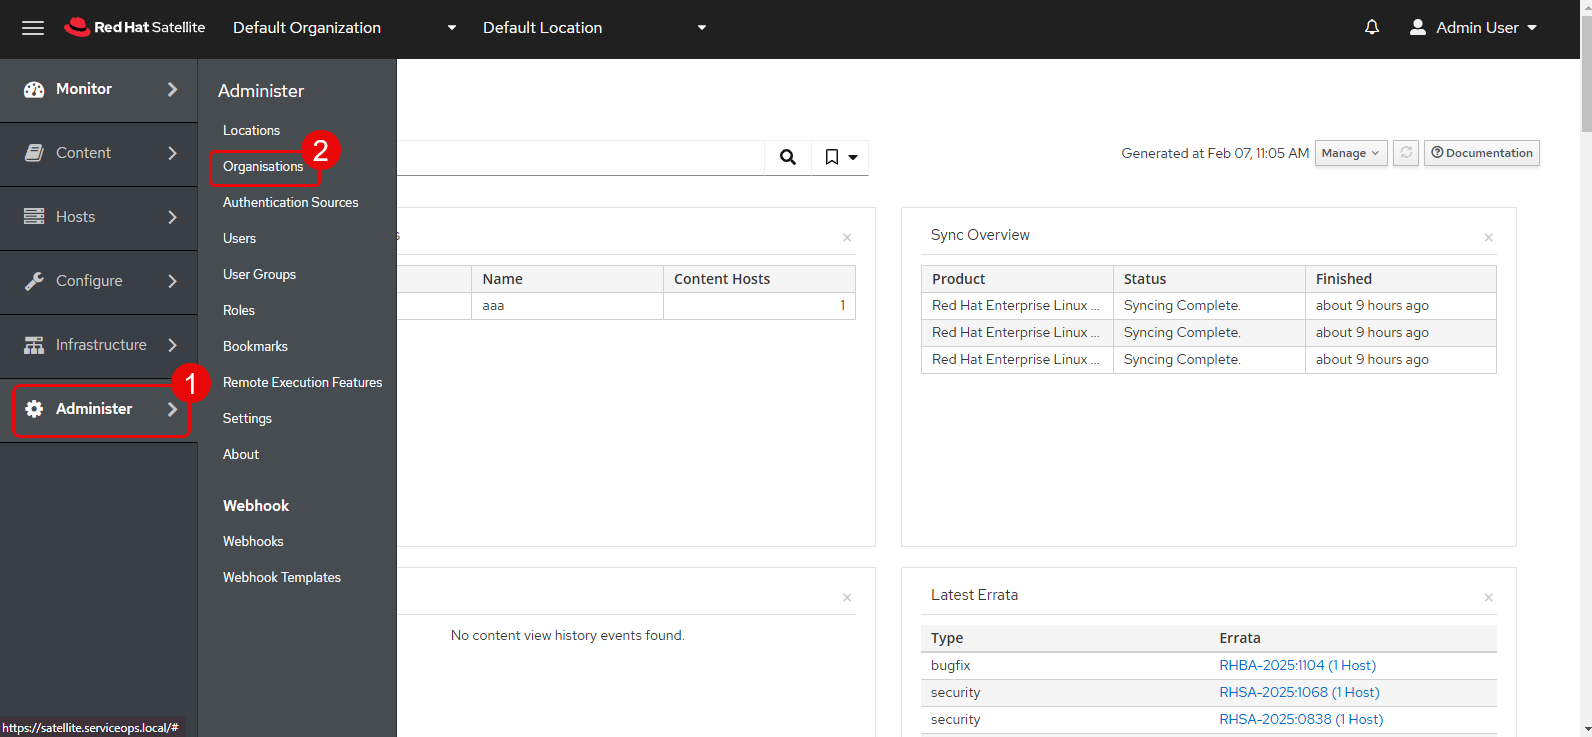
- Edit the Default Organization.
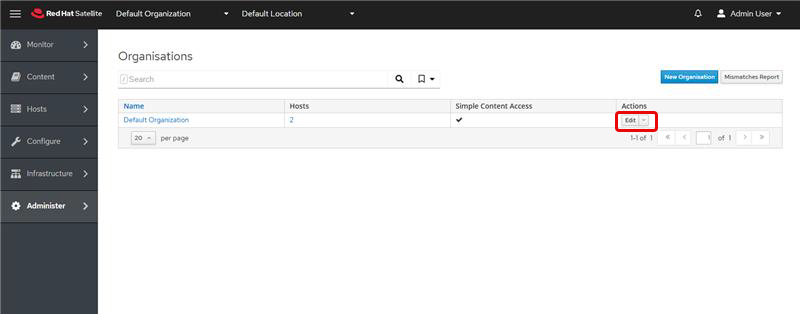
The following page appears.
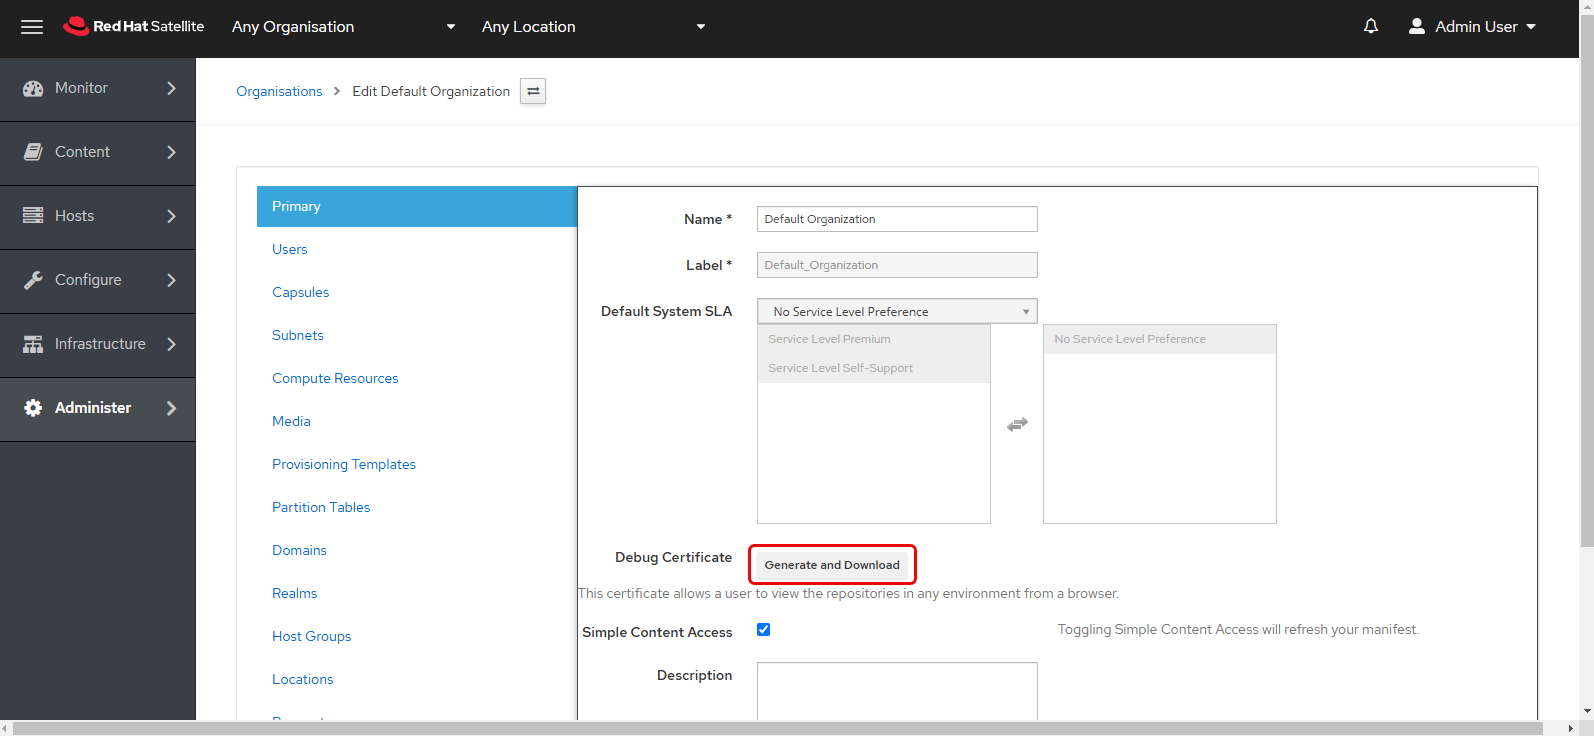
Click the Generate and Download button to download the certificate, and upload it to the ServiceOps portal. The file will be in .pem format.
Once uploaded, click Save. The added server configurations will appear as shown below.
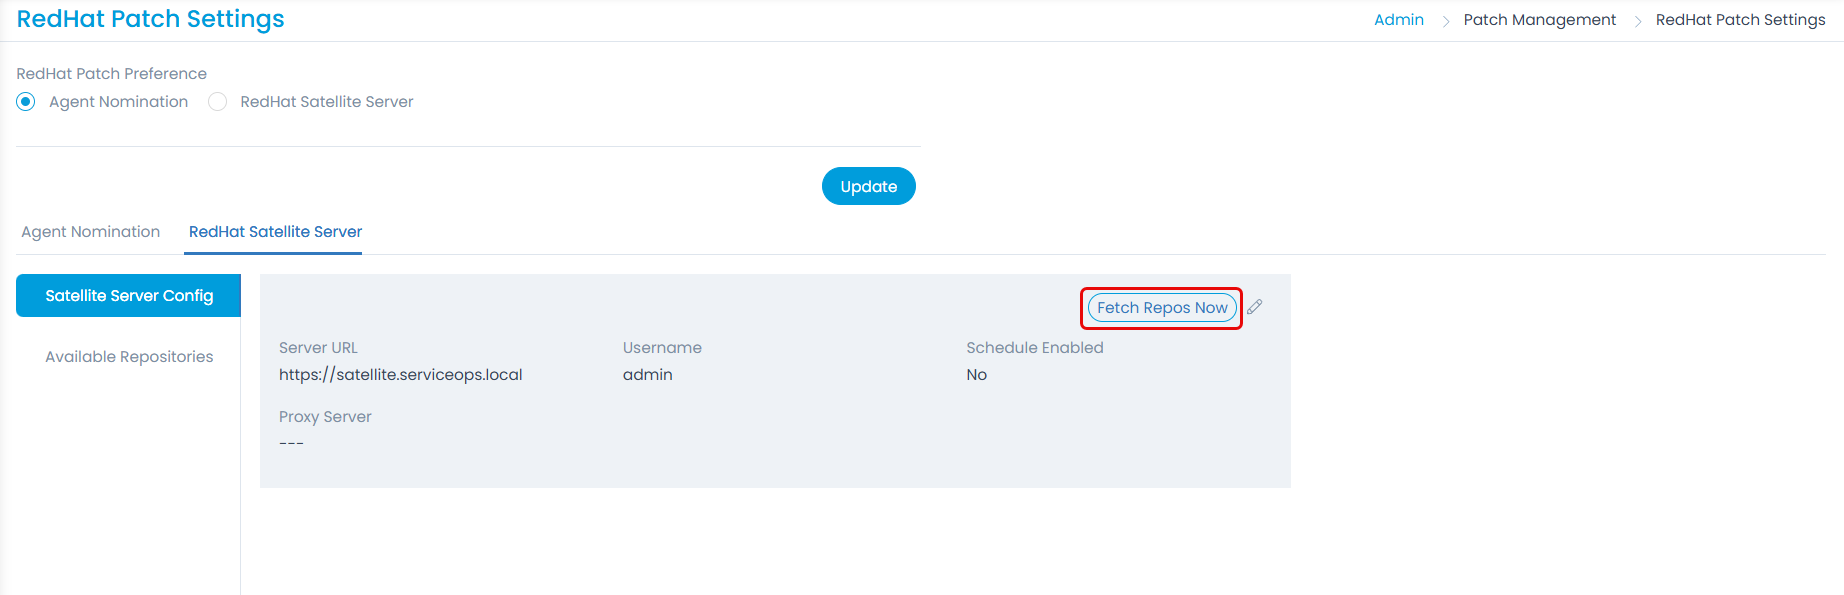
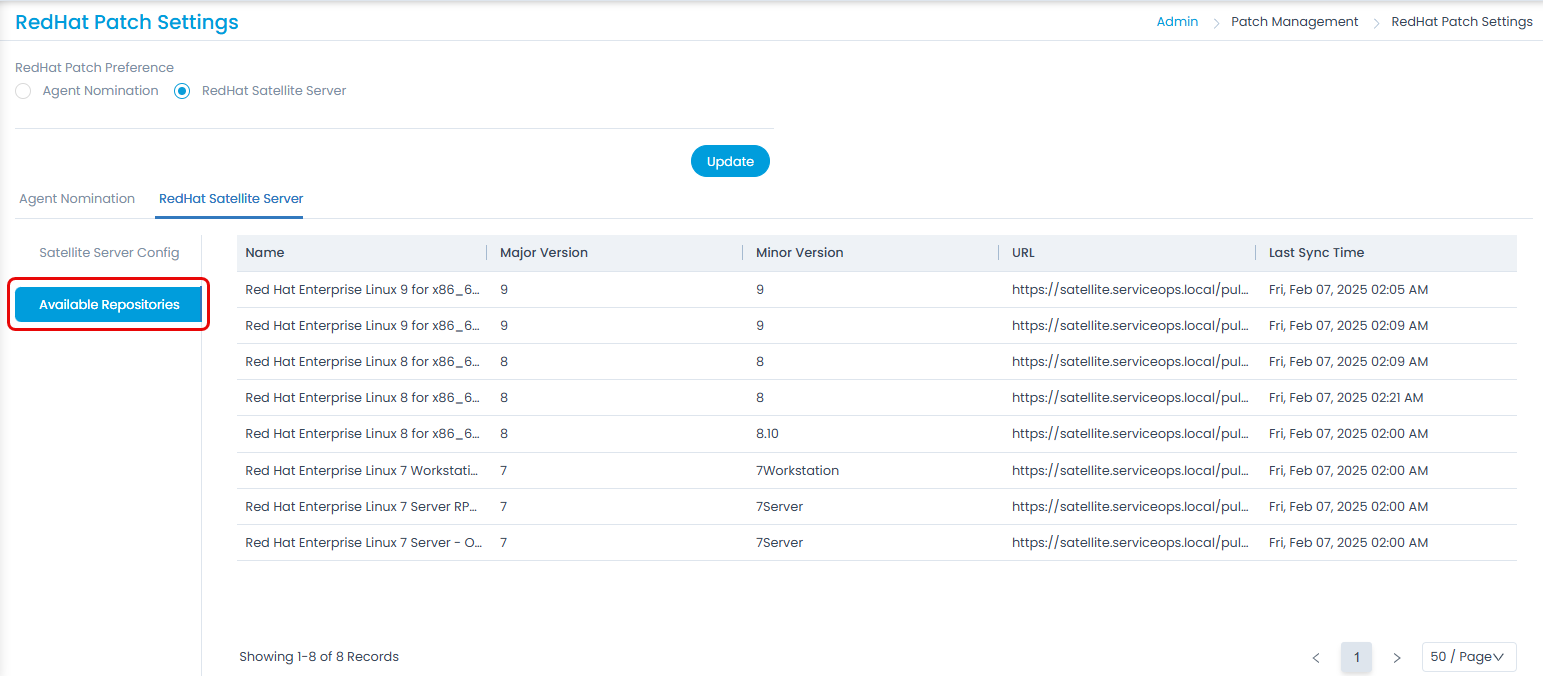
Next, click the Fetch Repos Now button to view the repositories. These will appear in the Available Repositories tab as shown below.