Active Directory Self Service
Effortlessly manage your Active Directory account by unlocking it or resetting your password without needing to contact IT support.
Active Directory (AD) Self Service empowers you to resolve common account issues independently. If your account is locked due to multiple failed login attempts or if you've forgotten your password, you can use the self-service portal to regain access quickly and securely.
Why Use AD Self Service?
- Immediate Access: No need to wait for a support technician. Unlock your account or reset your password in minutes.
- Available 24/7: Access the self-service tools anytime, anywhere, directly from the login page.
- Enhanced Security: The process is secured with security questions that only you know the answer to.
How is My Information Kept Secure?
When you reset your password or unlock your account, your information is protected using a secure protocol called LDAPS (Lightweight Directory Access Protocol Secure). This ensures that all communication between your browser and the Active Directory server is encrypted.
- SSL/TLS certificates must be installed on the AD server.
- LDAPS must be configured on both primary and backup servers in high-availability setups.
Here's a simplified overview of how it works:
- The LDAPS client sends a request to secure connection over port 636.
- The ServiceOps server verifies the certificate to ensure it is from a trusted source.
- Once validated, an encrypted session is established for secure data exchange.
- The user sends the authentication details.
- The AD server validates the credentials and process the requests like password reset and unlock account.
This process ensures that your sensitive account information remains completely private and secure.
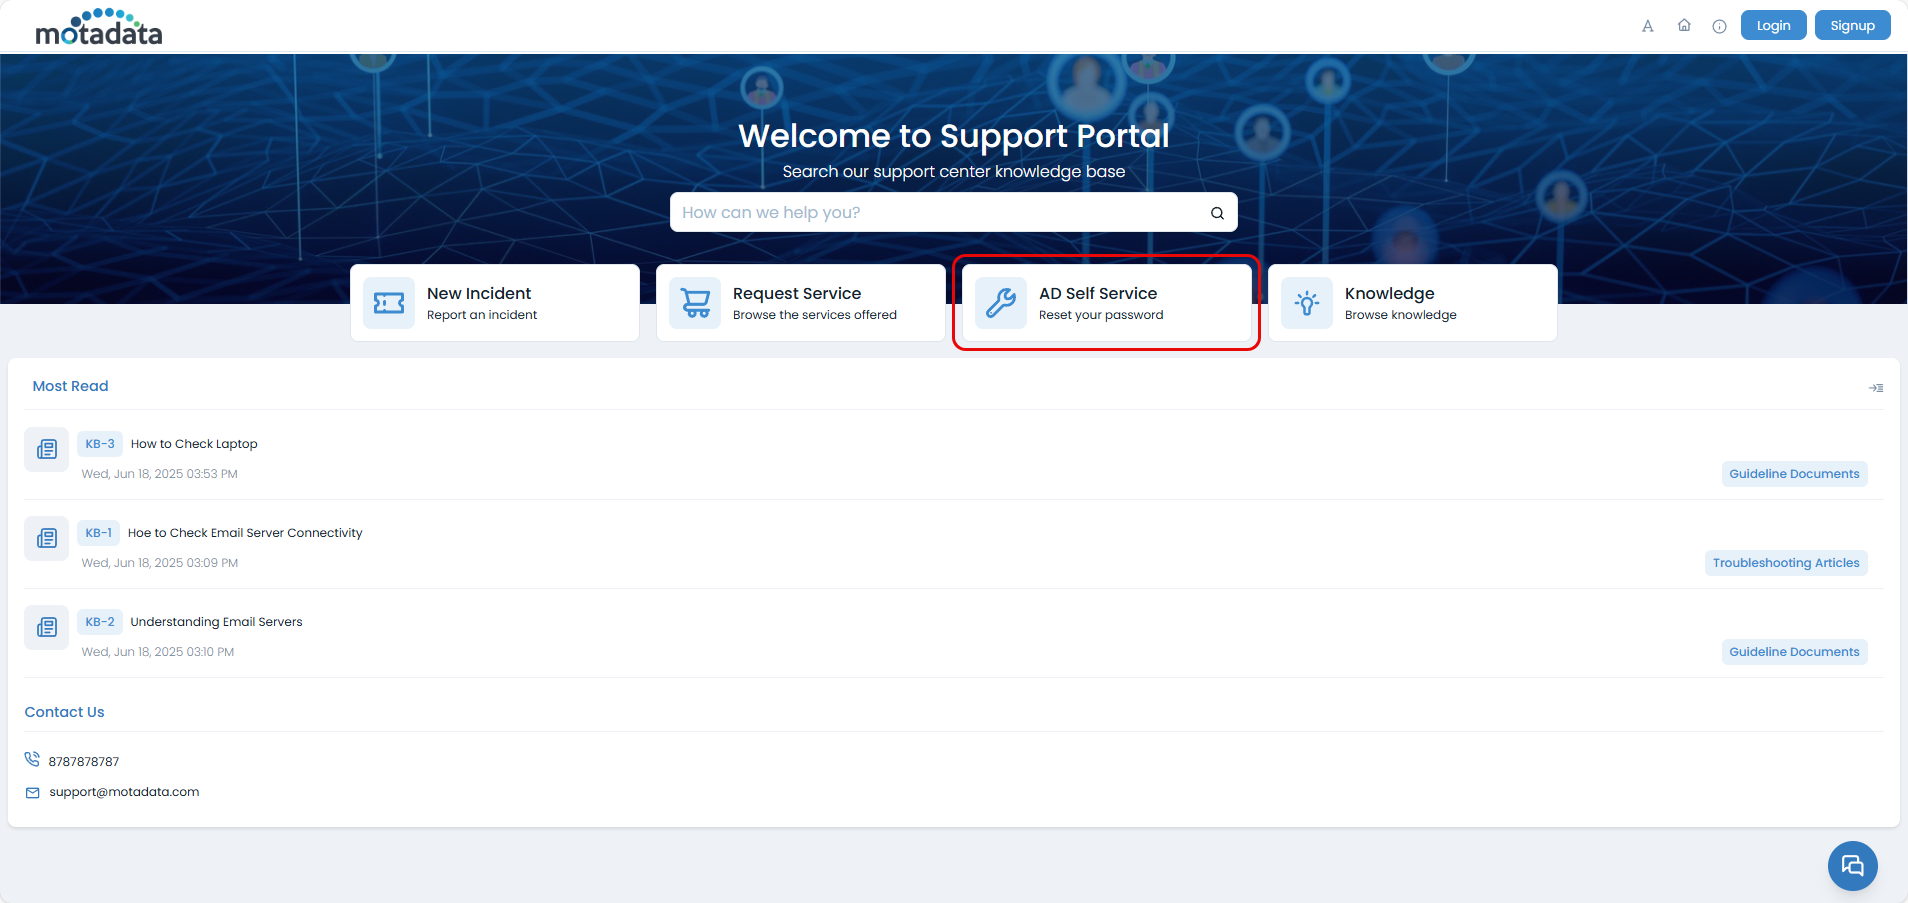
Accessing AD Self Service
You can find the AD Self Service options on the Support Portal login page.
The AD Self Service option is only available if the AD Self Service functionality is enabled in the Self Service Settings. For more details, refer to the Self Service Settings page.
How to Reset Your Password
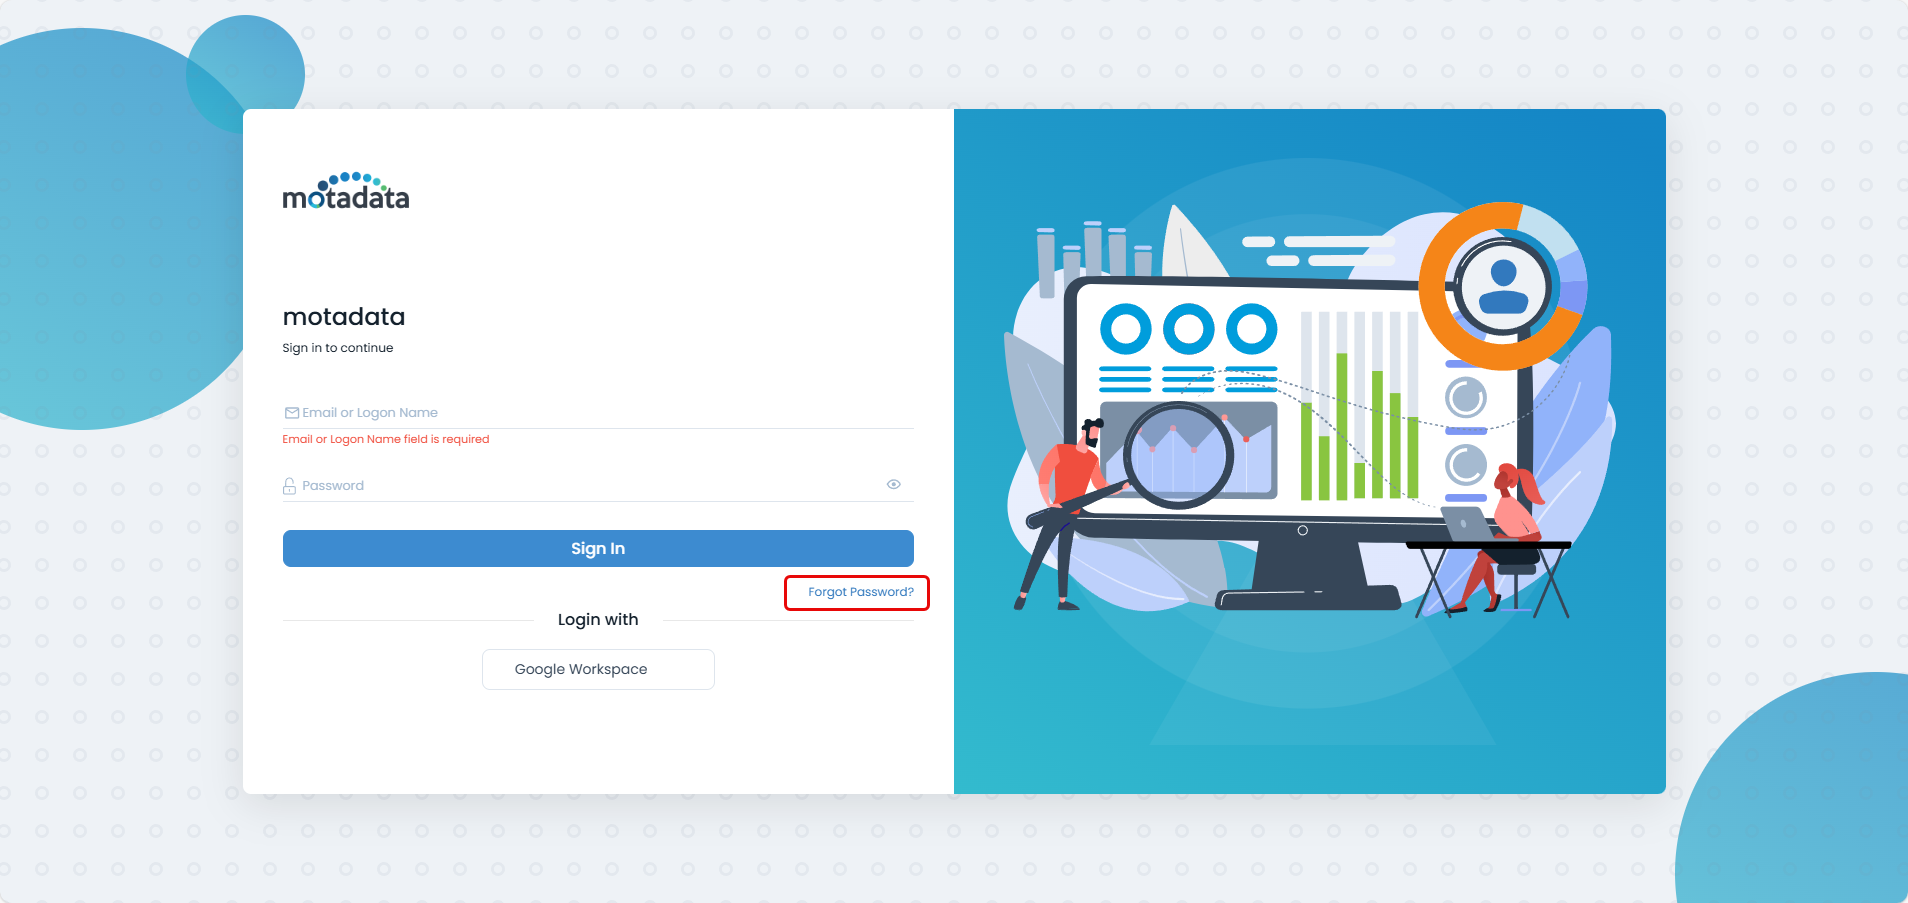
If you've forgotten your password, follow these steps to reset it:
- On the login page, click on Forgot Password?.
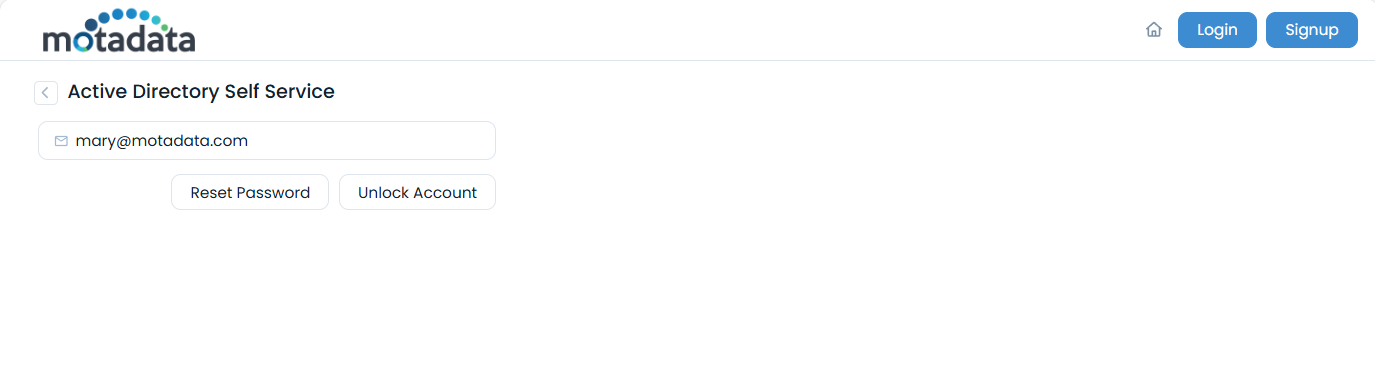
The self-service dialog will appear. Enter your Email ID or Logon Name and click on Reset Password.
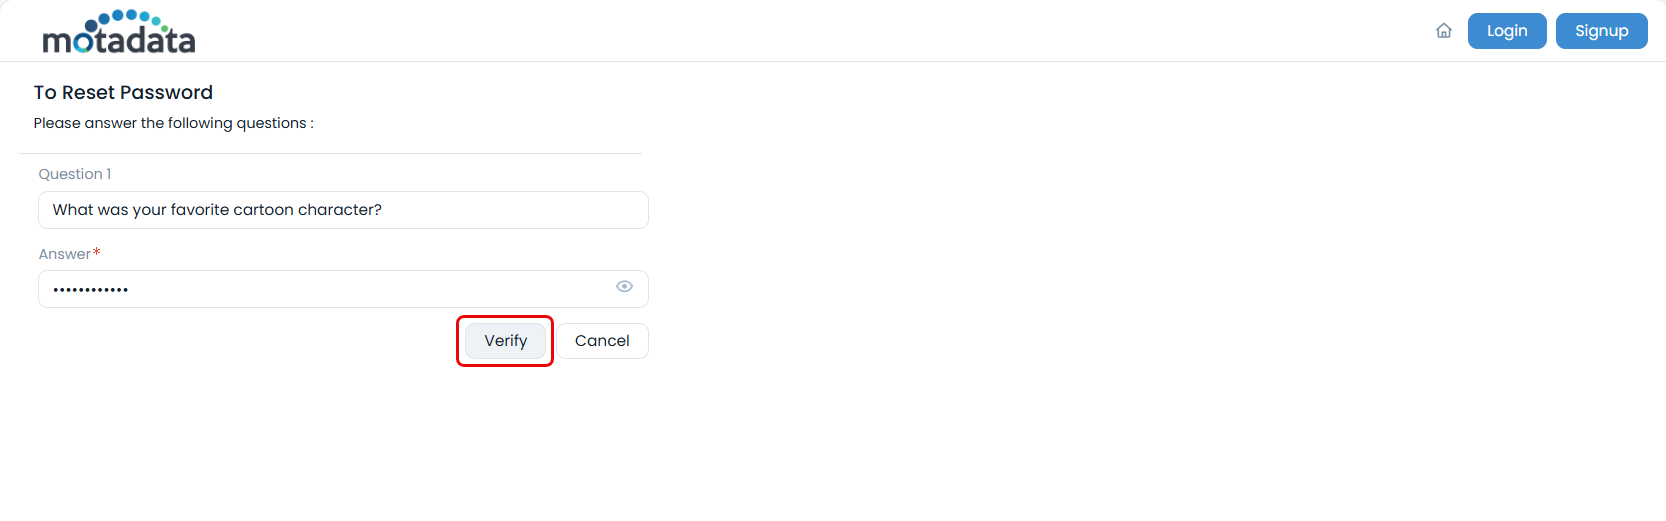
You will be prompted to answer a series of security questions. These are the questions you configured in your user profile.
- After successfully answering the security questions, you will be prompted to enter a new password.
- Enter your new password, confirm it, and click Submit. Your password will be updated in Active Directory, and you can now log in with your new credentials.
How to Unlock Your Account
If your account has been locked, the process to unlock it is very similar to resetting your password:
- On the login page, click on Forgot Password?.
- In the self-service dialog, enter your Email ID or Logon Name and click on Unlock Account.
- Answer the security questions to verify your identity.
- Once verified, your account will be unlocked, and you can proceed to log in with your existing password.
To use the AD Self Service features, you must have security questions configured for your account. You can set these up in your user profile after logging in.