Upgrade Guide for Disaster Recovery (DR) Deployment
A comprehensive guide for upgrading ServiceOps applications in Data Center-Disaster Recovery (DC-DR) environments to ensure business continuity and maintain data synchronization during version transitions.
DC-DR (Data Center-Disaster Recovery) upgrades require special consideration to maintain data synchronization and business continuity during the upgrade process. This guide covers the upgrade process for DC-DR environments, ensuring both DC and DR sites are upgraded successfully while maintaining continuous data replication.
Key Benefits of DC-DR Upgrades
- Business Continuity: Maintains service availability during upgrades
- Data Synchronization: Ensures continuous data replication between sites
- Disaster Recovery: Preserves disaster recovery capabilities during upgrades
- Rollback Capability: Provides recovery options if upgrade fails
- Synchronization Monitoring: Comprehensive data sync verification
Supported Operating Systems
- Ubuntu: 22, 24
- RedHat: 9.2, 9.4
Version Compatibility: From version v8.2, incremental upgrades are not required. You can upgrade directly from v8.2 to v8.6.0. Starting from v8.6.0, you can upgrade ServiceOps using a single common installer across supported operating systems.
Pre-Upgrade Requirements
Before initiating the DC-DR upgrade, complete the following checks and actions:
DC-DR Synchronization: Verify DC and DR servers are in sync.
Network Connectivity: Ensure a stable network connection exists between DC and DR sites.
Disk Space: Confirm there is sufficient space for upgrade packages and backups on both sites.
ServiceOps Version: Ensure the current version is compatible with the DC-DR environment.
Disable Crontab Jobs on DC Server: Before upgrading, it is critical to disable scheduled cron jobs on the DC server to prevent synchronization conflicts.
1. View Existing Crontab Entries
crontab -l
2. Edit the Crontab
crontab -e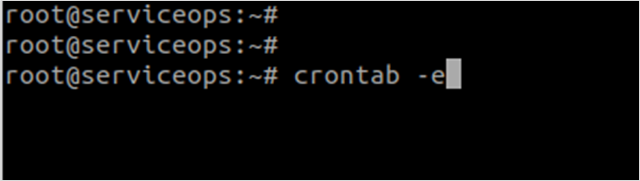
3. Comment Out Cron Jobs In the editor, add a
#at the beginning of each line for the DC-DR synchronization script. After commenting, it should look like this:

4. Save and Confirm Save the file, exit the editor, and verify the changes:
crontab -l
Application Backup: Backup the application and
filedbfolder on the DC server.Database Backup: Take a complete database backup from the DC server.
VM Snapshot: Take a snapshot of both DC and DR VMs for recovery.
Maintenance Window: Schedule the upgrade during low-usage periods.
Team Notification: Inform stakeholders about the planned upgrade.
Backup Requirements: Always perform complete backups before DC-DR upgrades. Refer to the Backup Procedure for detailed backup procedures.
Application Upgrade Steps
Step 1: Download the Release Build
Download the latest Common Installer build from the Download Links.
Step 2: Upgrade DC Application Instance
Prepare the Installer
Copy Installer: Copy the
MotadataServiceOpsCommonUpgradeinstaller to the DC machine.Login with Root Privileges:
sudo su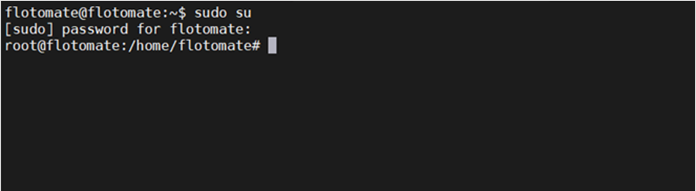
Stop Services: Stop the main server and analytics server services:
systemctl stop ft-main-server.service ft-analytics-server.service
Verify Service Status:
systemctl status ft-main-server.service ft-analytics-server.service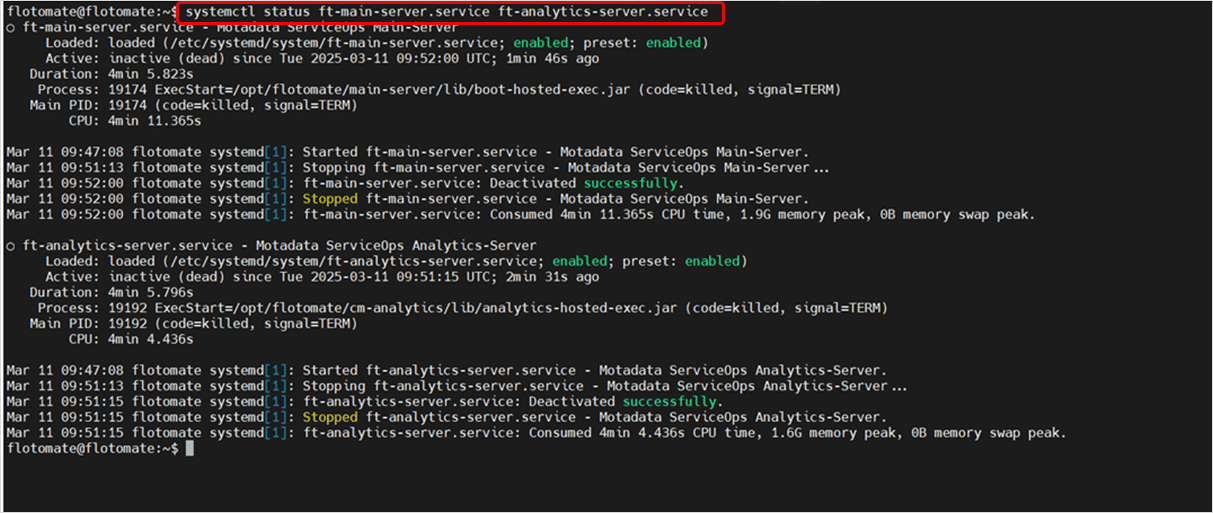
Grant Execute Permissions:
chmod 777 MotadataServiceOpsCommonUpgrade_V860
Run the Installer
Execute Upgrade: Run the upgrade installer:
./MotadataServiceOpsCommonUpgrade_V860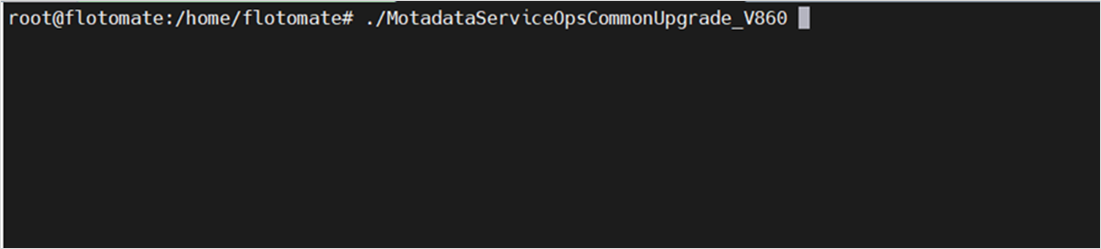
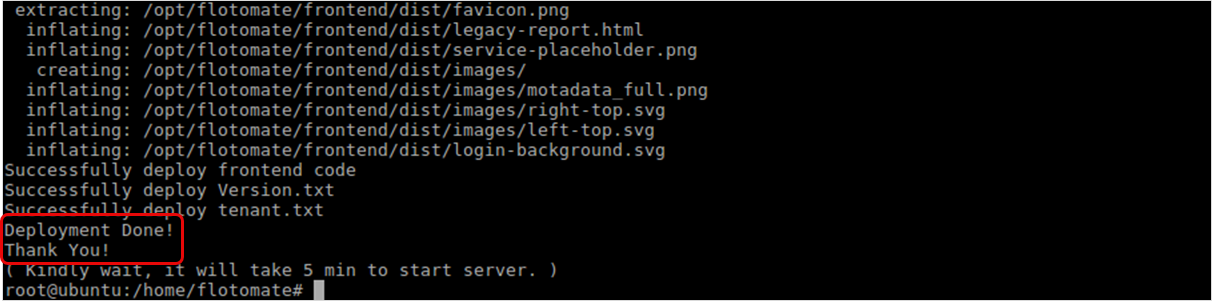
Monitor Upgrade Process: The upgrade process will begin automatically.
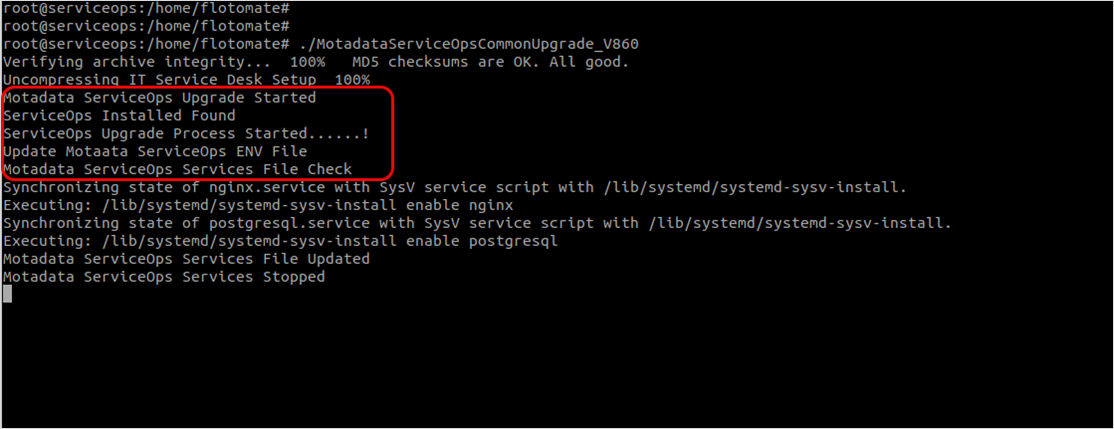
Verify Completion: Once the upgrade process is completed successfully, the completion screen will appear.
Step 3: Upgrade DR Application Instance
To upgrade the ServiceOps DR instance, repeat the same steps used for the DC instance:
- Prepare the Installer (same as DC procedure)
- Run the Installer (same as DC procedure)
- After the upgrade on the DR node is complete, ensure all application services (e.g.,
ft-main-server,ft-analytics-server) remain in a stopped state. - Ensure that the DC and DR servers are in sync. To verify synchronization, follow the steps outlined in the Check DC-DR Synchronization section.
- You do not need to disable crontab on the DR side.
Database Upgrade Steps (Optional)
Step 1: Stop All Services
Before initiating the upgrade, all services associated with the ServiceOps application must be stopped to avoid conflicts and ensure a clean upgrade process.
Command to stop services:
sudo systemctl stop ft-analytics-server.service ft-main-server.service ft-chat-server.service ft-ai-server.service ft-file-server.service ft-plugin-server.service meshcentral.service

Verify that all services are stopped:
sudo systemctl status ft-analytics-server.service ft-main-server.service ft-chat-server.service ft-ai-server.service ft-file-server.service ft-plugin-server.service meshcentral.service
If any service remains active, re-run the stop command until all are confirmed stopped.
Step 2: Upgrade DC Database Node
Refer to the Standalone PostgreSQL v17.5 Upgrade Guide and upgrade the DC node first. Complete the upgrade on the DC site before proceeding to the DR site.
Step 3: Upgrade DR Database Node
In a DC-DR setup, the DR node must be temporarily promoted to a master (DC) to be upgraded.
- Promote DR to DC:
- On the DR node, log in as root, extract the
CommonDCDR.zippackage, and execute the setup script:./Motadata_DC_Setup
- On the DR node, log in as root, extract the
- Upgrade the Node: Once the node is in DC mode, follow the same Standalone PostgreSQL v17.5 Upgrade Guide to upgrade it.
- Demote DR Node Back to DR:
- After the upgrade is complete, convert the site back to DR mode:
./Motadata_DR_Setup
- After the upgrade is complete, convert the site back to DR mode:
Step 4: Reconfigure DC-DR
Once both database nodes are upgraded, you must re-establish DC-DR replication. Refer to the Disaster Recovery (DR) Planning guide and follow the steps to reconfigure the setup.
Post-Upgrade Verification
Once the upgrade is completed on all nodes, follow these steps to finalize the process and verify the health of the DC-DR setup.
Step 1: Re-enable Crontab Jobs on DC Server
After completing the entire upgrade process and confirming synchronization, re-enable the crontab jobs on the DC server.
Open Crontab Editor:
crontab -e
Remove Comments: Remove the
#comments you previously added to re-enable the scheduled jobs.Save and Exit: Save the file and exit the editor.
Verify Changes: Verify the updated crontab:
crontab -l
Step 2: Check DC-DR Synchronization Health Status
Ensure the database and the filedb folder are properly synchronized.
Database Sync Check
Check if the DC and DR databases are in sync by comparing request counts:
sudo -u postgres psql -d flotoitsmdb -tAc "SELECT COUNT(*) FROM apolo.request;"

Create a test ticket on the DC server and confirm that the same record appears on the DR server to validate synchronization.
FileDB Sync Check
Verify File-Sync Service: Ensure the
file-sync.serviceis running on the DC and stopped on the DR.sudo systemctl status file-sync
Compare File Counts: Compare the number of files in the
filedbdirectory on both DC and DR:find /opt/flotomate/main-server/filedb -type f | wc -l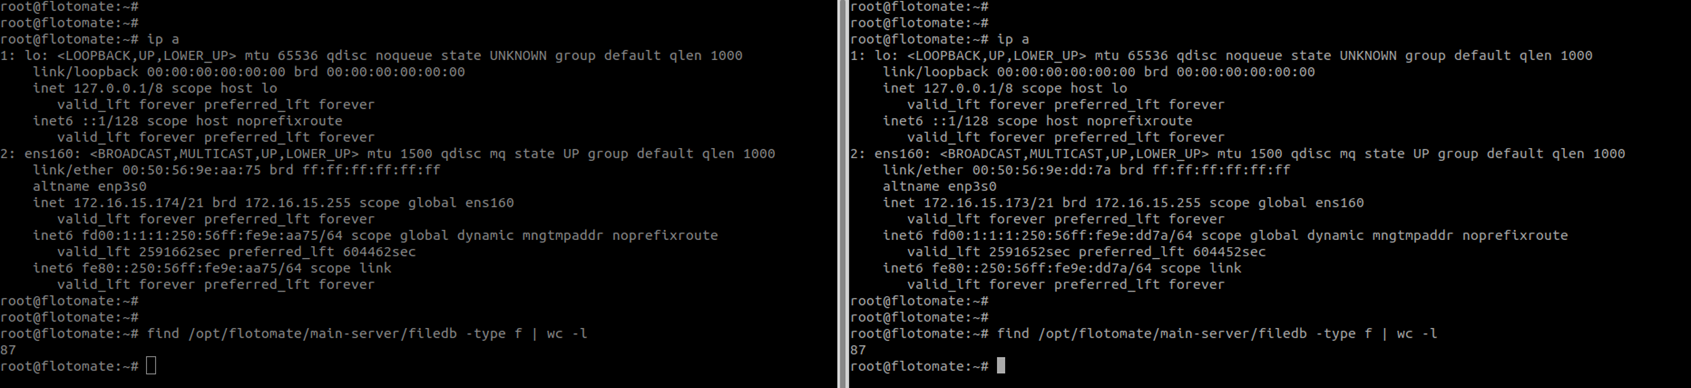
The file counts should be identical.
Test File Synchronization: Create a test file in the DC's
filedbfolder and confirm it appears on the DR node.
Step 3: Service Health Verification
Check All Services: Verify the status of all services on the DC node:
sudo systemctl status ft-main-server.service ft-analytics-server.service elasticsearch.service nginx.service postgresql.service file-sync.serviceApplication Access: Log in to the ServiceOps Portal and verify the application version from Admin > Organization > Account > License Details.

Sanity Checks: Test functionality and verify all features are working as expected.
Step 4: Performance Monitoring
- System Resources: Monitor CPU, memory, and disk usage on both nodes.
- Network Performance: Verify network connectivity between DC and DR sites.
- Service Response Times: Monitor application response times.
- Error Rates: Watch for any increased error rates in logs.
Troubleshooting
Common DC-DR Upgrade Issues
Crontab Job Issues
Symptoms: Crontab jobs fail to disable or re-enable properly
Resolution:
Check crontab status:
crontab -lVerify crontab file permissions
Restart cron service if needed:
systemctl restart cronManually edit crontab if automated process fails
Data Synchronization Problems
Symptoms: Data sync issues between DC and DR sites
Resolution:
- Check network connectivity between sites
- Verify file-sync service status:
systemctl status file-sync - Check database replication status
- Restart synchronization services if needed
Service Startup Failures
Symptoms: Services fail to start after upgrade
Resolution:
- Check service status:
systemctl status <service-name> - Review service logs:
journalctl -u <service-name> - Verify dependencies are installed
- Restart services in proper order
Network Connectivity Issues
Symptoms: Loss of connectivity between DC and DR sites
Resolution:
- Check network connectivity:
ping <remote-site-ip> - Verify firewall rules between sites
- Check VPN connectivity if applicable
- Test SSH connectivity between sites
Recovery Procedures
Rollback to Previous Version
If upgrade fails and you need to rollback:
- Stop Synchronization: Stop DC-DR synchronization jobs
- Restore from VM Snapshot: If available, restore from VM snapshot
- Restore from Backup: Restore ServiceOps from backup if needed
- Reinstall Previous Version: Install the previous ServiceOps version
- Restart Services: Restart all services in proper order
- Restart Synchronization: Re-enable DC-DR synchronization jobs
Site Recovery
If one site becomes unavailable:
- Verify Site Status: Check which site is operational
- Switch to DR Site: If DC is down, switch to DR site
- Restore Services: Start services on operational site
- Redirect Traffic: Redirect DNS traffic to operational site
- Monitor Synchronization: Monitor data synchronization when both sites are available
Log Analysis
Service Logs
Monitor ServiceOps service logs:
sudo tail -f /opt/flotomate/main-server/logs/common/error
Synchronization Logs
Check file synchronization logs:
journalctl -u file-sync.service
Crontab Logs
Check cron job execution logs:
tail -f /var/log/cron
Performance Optimization
Post-Upgrade Optimization
After successful DC-DR upgrade, consider these optimizations:
- Synchronization Optimization: Optimize data synchronization settings
- Network Optimization: Ensure optimal network connectivity between sites
- Service Optimization: Optimize service configurations for DC-DR environment
- Backup Optimization: Configure optimal backup and recovery settings
Monitoring and Maintenance
- Regular Health Checks: Schedule regular DC-DR health checks
- Performance Monitoring: Monitor system performance on both sites
- Synchronization Monitoring: Monitor data synchronization performance
- Backup Scheduling: Ensure regular backups are maintained
Security Considerations
DC-DR Security
- Network Security: Ensure secure communication between DC and DR sites
- Access Control: Verify proper access controls on both sites
- Data Encryption: Ensure data is encrypted during synchronization
- Firewall Configuration: Configure firewalls appropriately for DC-DR
Post-Upgrade Security
- Service Permissions: Verify service permissions are correct
- Database Security: Check database security settings
- File Permissions: Verify file permissions and ownership
- Network Security: Test network security between sites
Business Continuity Planning
Disaster Recovery Procedures
- DC Site Failure: Procedures for switching to DR site
- DR Site Failure: Procedures for maintaining DC site operations
- Network Failure: Procedures for handling connectivity issues
- Data Corruption: Procedures for data recovery and restoration
Maintenance Procedures
- Scheduled Maintenance: Procedures for planned maintenance windows
- Emergency Maintenance: Procedures for emergency maintenance
- Rollback Procedures: Procedures for rolling back upgrades
- Recovery Testing: Procedures for testing disaster recovery capabilities