SCIM Provisioning
Configuring SCIM for Automated User Provisioning
This section provides a step-by-step guide for IT Admins on how to configure System for Cross-domain Identity Management (SCIM) to automatically provision, update, and de-provision users and groups from a central Identity Provider into ServiceOps. While primarily an administrative task, IT Staff and Implementation Consultants can benefit from understanding how user accounts are managed at scale.
Understanding SCIM Provisioning
What is SCIM and Why is it Important?
System for Cross-domain Identity Management (SCIM) is an open standard that automates user provisioning. It provides a standardized protocol for linking your identity and access management solutions (like Azure AD, Okta, or OneLogin) with service providers like ServiceOps. By using SCIM, you create a single source of truth for user identity, ensuring that changes made in your primary directory are automatically reflected in connected applications.
How SCIM Works with ServiceOps
ServiceOps exposes a SCIM-compliant API endpoint. Your Identity Provider (IdP) sends standardized REST API requests to this endpoint to perform Create, Read, Update, and Delete (CRUD) operations for users and groups. This eliminates the need for manual data entry or custom integration scripts.
Key Benefits for Your Organization
- Automated User Lifecycle Management: When a new employee joins, their ServiceOps account is created automatically. When they change roles or leave the company, their access is updated or revoked in real-time.
- Enhanced Security Through Centralized Control: By managing access from a single IdP, you reduce the risk of orphaned accounts and unauthorized access. Deprovisioning is instant and reliable.
- Improved Data Accuracy and Compliance: User attributes are synchronized from a single source of truth, ensuring data consistency and helping to meet compliance requirements for user access reviews.
Before You Begin: Prerequisites
Before configuring SCIM, ensure you have the following:
- Internet Connectivity: A stable Internet connection is required in the ServiceOps Server to communicate with the SCIM IDPs.
- HTTPS Support: The SCIM server must be accessible over HTTPS (port 443). Plain HTTP is not supported for security reasons.
- Required Permissions: You must have the Administrator role within ServiceOps to access the SCIM configuration settings and generate the required token.
- Identity Provider Access: You need administrative access to your organization's Identity Provider (e.g., Azure AD, Okta) to configure the SCIM application and manage attribute mappings.
- Attribute Mapping Plan: Have a clear understanding of which attributes from your IdP (e.g.,
userName,givenName,department) will map to the corresponding fields in ServiceOps.
- Tenant Admin accounts are excluded from SCIM provisioning and will not be synced.
- Avoid manually modifying or deleting users or groups created through SCIM provisioning, as it may lead to data mismatches or inconsistencies.
Navigating to the SCIM Configuration Page
- Log in to ServiceOps portal as an Administrator.
- Navigate to the Admin > Users > SCIM Provisioning page.
This page displays a list of all existing SCIM configurations with their name, description, and status (enabled/disabled).
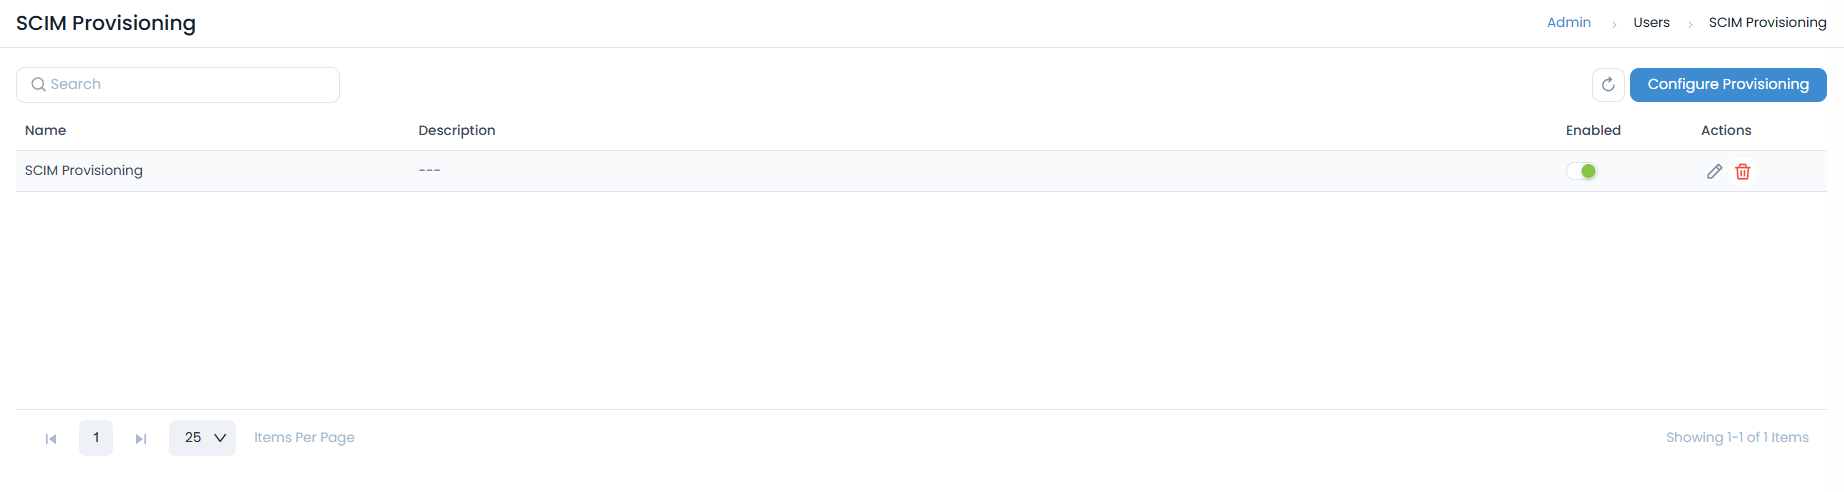
From this page, you can:
- Search for a specific configuration.
- Click Configure Provisioning to create a new one.
- Use the Actions icons to Edit or Delete an existing configuration.
On this page, you will find the critical details needed for the configuration in your IdP:
SCIM Base URL: This is the unique endpoint for your ServiceOps instance that your IdP will send requests to. It will look something likehttps://your-instance.serviceops.com/api/scim/v2.Authentication Token: This is the Bearer Token used to authorize requests from your IdP. You will need to generate this token.
Steps to Configure SCIM Provisioning
The process involves creating a configuration in ServiceOps to retrieve the endpoint URL and a unique token, which are then used to set up the connection in your Identity Provider (IdP).
Step 1: Add a New SCIM Configuration
- From the SCIM Provisioning landing page, click the Configure Provisioning button.

- The Add SCIM Provisioning drawer will open from the right.
- Enter a unique Name for your configuration (e.g., "Azure AD SCIM Provisioning").
- (Optional) Provide a Description for your reference.
- The SCIM Endpoint (your Base URL) is displayed in this drawer. Click the copy icon to copy this URL.
- Under Provisioning Type, enable the toggle for User, Group, or both, depending on what you intend to sync from your IdP.
- Click Add.
Step 2: Retrieve the Authentication Token
- After you add the configuration, the system generates a unique Bearer Token (Authentication token).
- This token is typically displayed upon successful creation or can be found by editing the configuration you just created from the list view.
- Important: Copy the generated token and store it securely. This token is a sensitive credential required by your IdP to authenticate its connection to ServiceOps.

Step 3: Configure the SCIM Connection in Your Identity Provider
- Log in to your Identity Provider's admin console (e.g., Azure Active Directory, Okta).
- To configure SCIM with Azure AD, refer to the SCIM Provisioning in Azure page.
- To configure SCIM with Okta, refer to the SCIM Provisioning in Okta page.
- Create a new application for ServiceOps or edit the existing one.
- In the provisioning settings for the application, paste the
SCIM Endpointand theBearer Tokenyou obtained from ServiceOps. - Save the connection settings and test the connection to ensure your IdP can successfully communicate with the ServiceOps SCIM endpoint.
Step 4: Configure Attribute Mappings
- Within your IdP's provisioning settings, navigate to the attribute mapping section.
- Map the standard SCIM attributes from your IdP to the corresponding fields in ServiceOps. Common mappings include:
userName->user_namegivenName->first_namefamilyName->last_nameemails[type eq "work"].value->email
- If you intend to synchronize groups, configure the group mapping settings.
- If you use custom attributes, ensure they are correctly mapped to the relevant custom fields in ServiceOps.
Step 5: Enabling Provisioning and Initiating the First Sync
- Once you have confirmed your attribute mappings, enable provisioning for the application in your IdP.
- Assign the relevant users and groups that you want to provision to ServiceOps.
- Start the initial provisioning cycle. The first sync may take some time depending on the number of users and groups.
Post-Configuration: What to Expect
- Verifying User and Group Synchronization: After the initial sync completes, navigate to the Users and Groups pages in ServiceOps to verify that the users and groups have been created or updated as expected.
- Monitoring Provisioning Logs: Regularly check the Provisioning Status & Logs section on the SCIM page in ServiceOps and the provisioning logs in your IdP to monitor for any synchronization errors.
- Managing Provisioned Users: Remember that once SCIM is active, user lifecycle management should be performed in your IdP. Manual edits to provisioned users in ServiceOps may be overwritten during the next sync cycle.