Windows Integration Connector Installation Guide
The Integration Connector acts as a secure bridge between ServiceOps and third-party applications like Active Directory, enabling seamless integration without the need for direct connectivity.
This section outlines the installation steps for the Motadata Integration Connector.
note
- The Integration Connector is supported from version 8.6.1 onward.
- Compatible with both Windows and Linux systems.
- Supports deployment on On-Premise and SaaS platforms.
Prerequisites
- Java should not be pre-installed.
- Fresh system without any existing Java application
- If the Integration Connector is used to connect with on-premise applications, it must have active Internet connectivity to the Main Server. You can verify this connectivity using the
pingcommand in the Command Prompt.
Installation Steps
- Download the MotadataIntegrationConnector file.
- Run the msi file with administrator rights.
- The User Access Control popup will appear. Click Yes and continue with the installation.
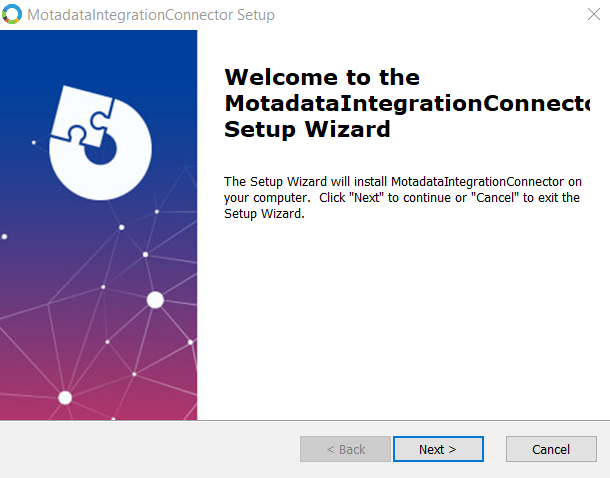
- The below wizard will appear. Click Next.
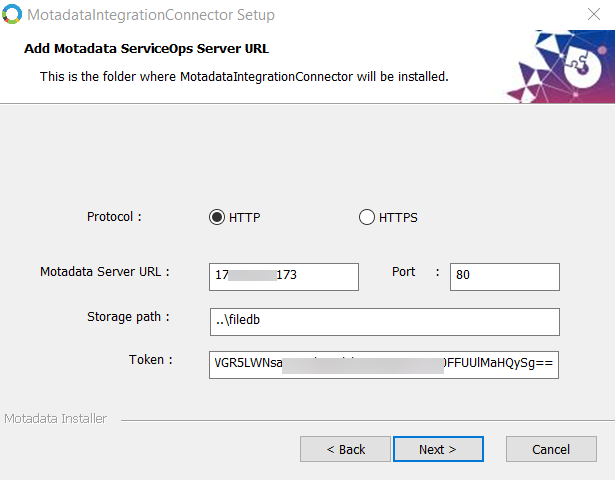
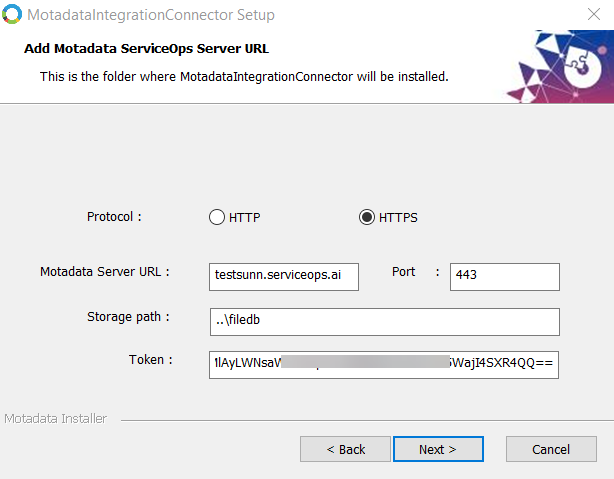
- Enter the following details:
Protocol: Select the protocol as HTTP or HTTPS.
Motadata Server URL: Enter the ServiceOps URL.
- For HTTP, enter the IP Address.
- For HTTPS, enter the domain URL.
Port: Specify the port number.
- HTTP - 80
- HTTPS - 443
Storage Path: Displays the default path, which can be modified if needed.
Token: Enter the Basic Authorization token copied from the Integration Connector Credential Profile.
For HTTP
For HTTPS
- Select the installation folder.
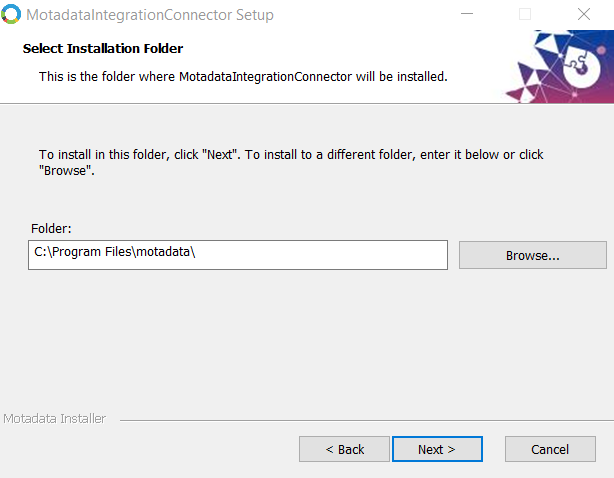
- Click Install and the process will begin.

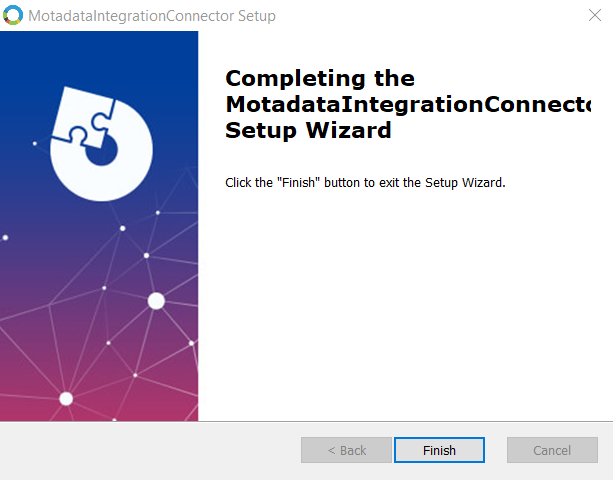
- Click Finish.
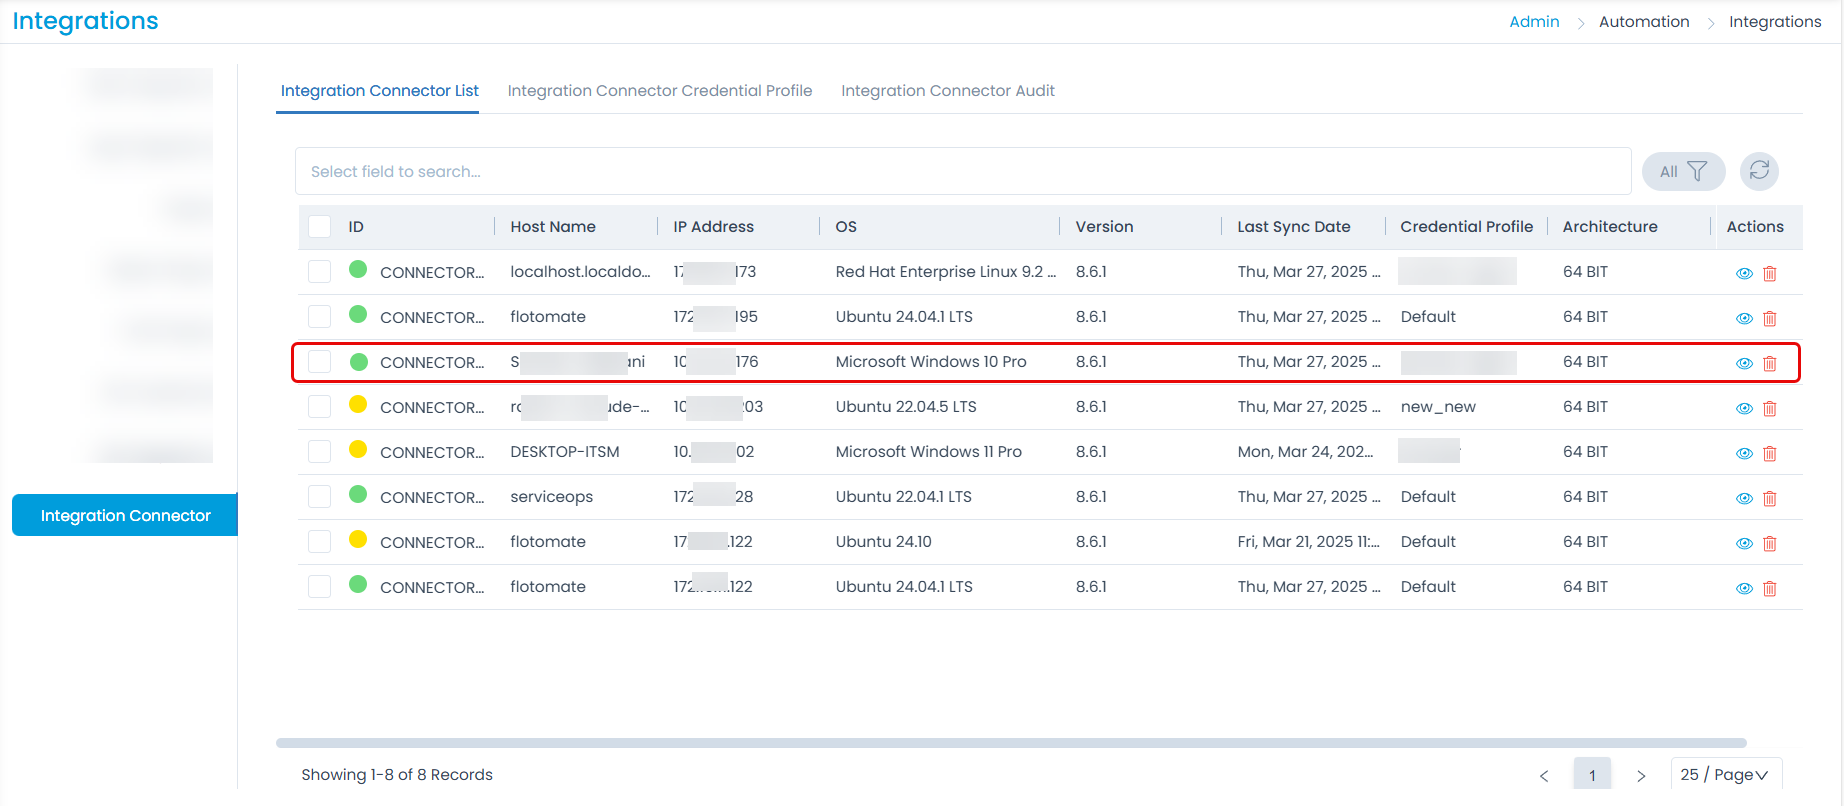
- Once installed, the Connector will appear on the Integration Connector List page as shown below.