Facebook Messenger App Config
Facebook Messenger is an instant messaging app for communicating on the go. Using it for incident creation and management will become easier if you integrate ServiceOps Virtual Agent within Facebook Messenger. Once added, you can generate or review requests from Facebook Messenger without signing-in to the ServiceOps Support Portal or accessing the chat agent from the portal.
What is a Virtual Agent?
A Virtual Agent is a bot that works based on the chat flows configured in ServiceOps. Using this, you can create and manage both incident and service requests. You can integrate a custom-built Facebook Messenger app that connects with your ServiceOps Portal, enabling the Virtual Agent to send responses to the requester over it.
Applicable Version
This functionality is applicable from version 7.9 onwards.
Prerequisites
- ServiceOps hosted on a public URL.
- SSL Certificate enabled.
- Chat functionality enabled.
- The Base URL in ServiceOps should be the same as the portal URL.
- Facebook account created.
- Once the app is created, submit it for App Review. For more details, refer to the Submission guide page.
Configuring the Facebook Messenger Virtual Agent
To create a Facebook Messenger Virtual Agent, follow the below steps:
Step 1: Create a Facebook Business account.
Step 2: Login to the account, click Get Started, and register on the Meta for Developers page.
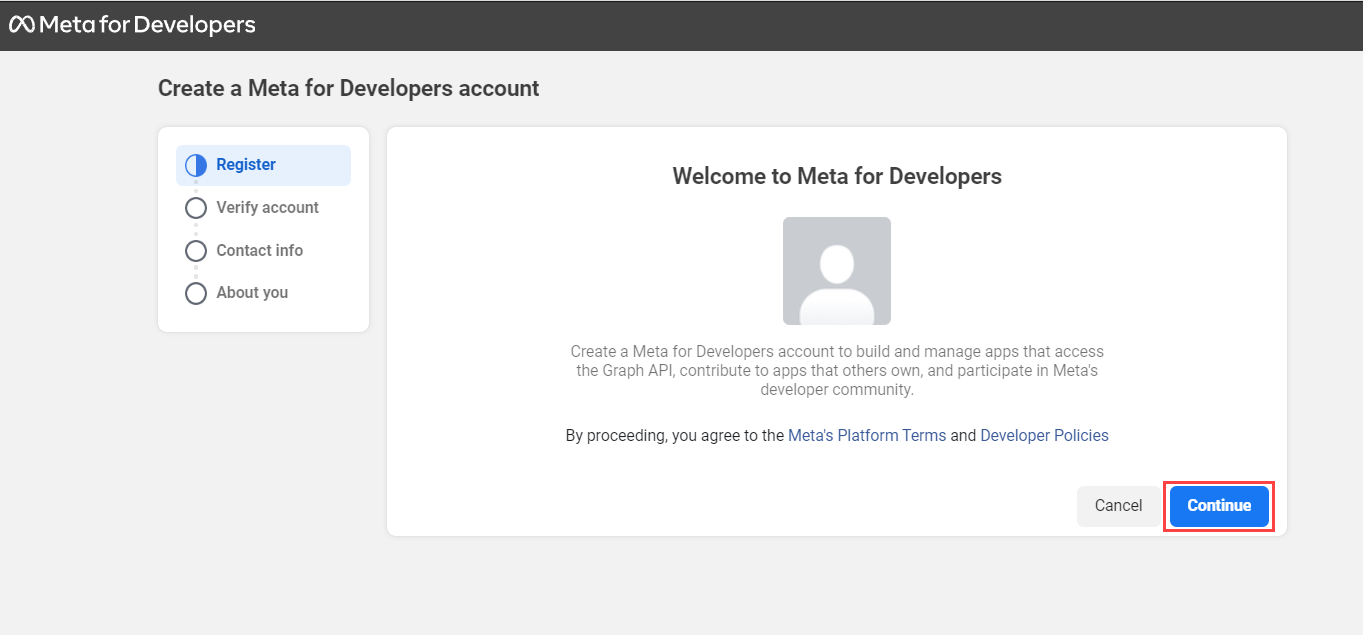
Click Continue.
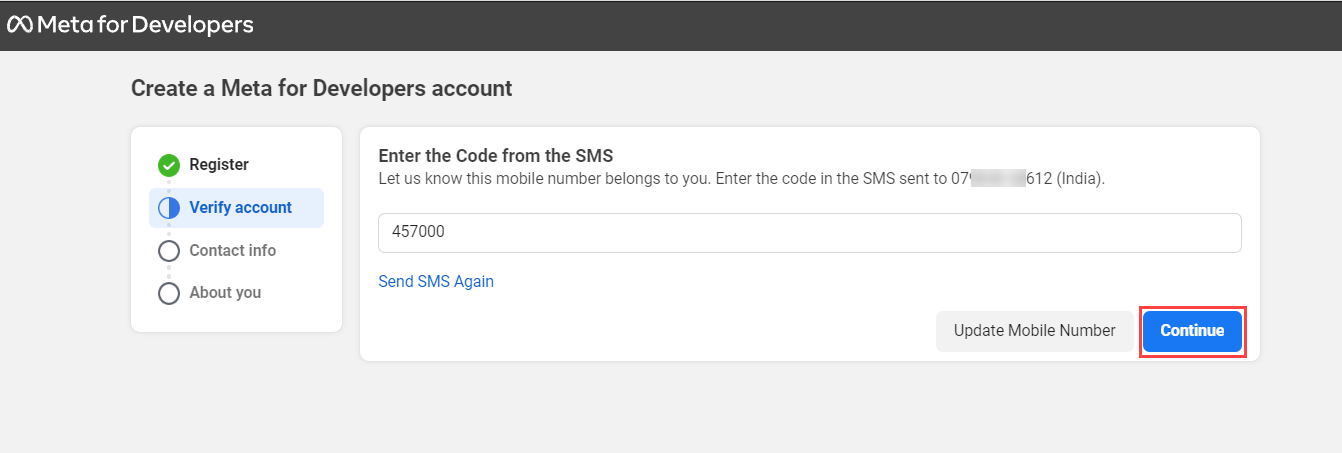
Step 3: Verify your account, a code will be sent to your number, enter it, and click Continue.
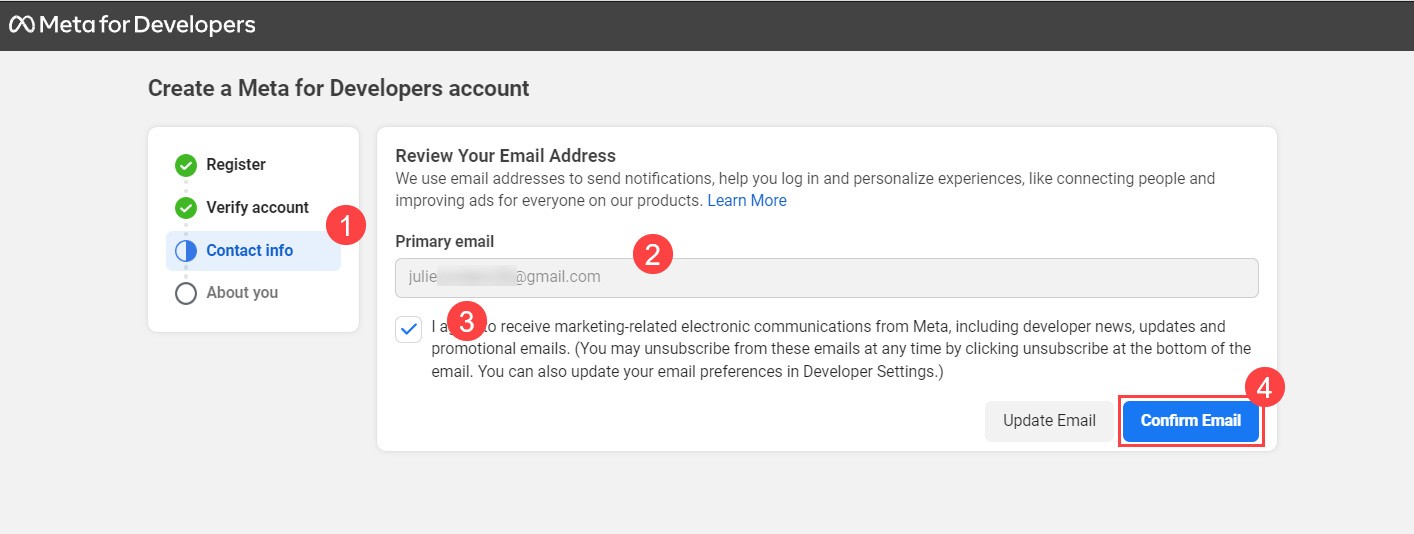
Step 4: In the Contact Info tab, enter your primary email address, and click Confirm Email.
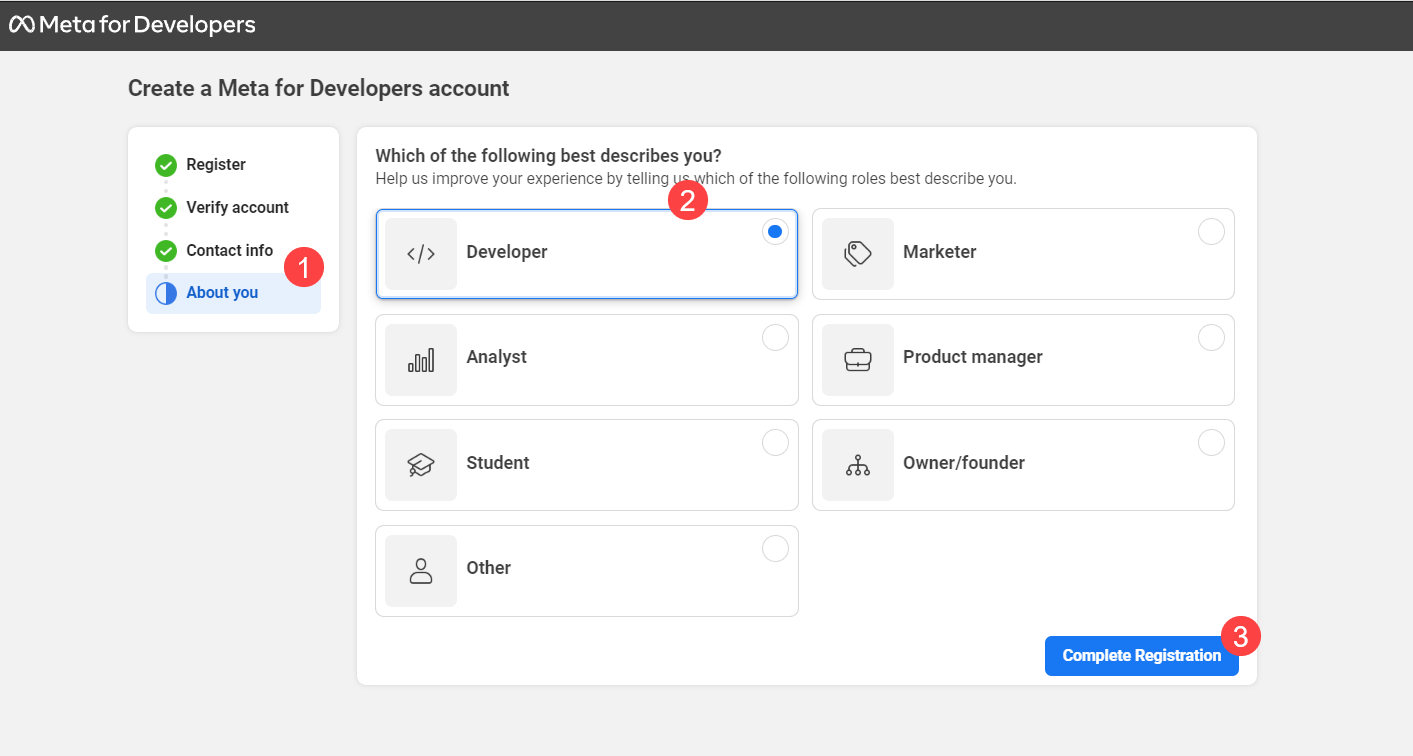
Step 5: In the About you tab, select the role as Developer, and click Complete Registration. The Developers account gets created.
Step 6: On the following page, create an application using the Create App button.

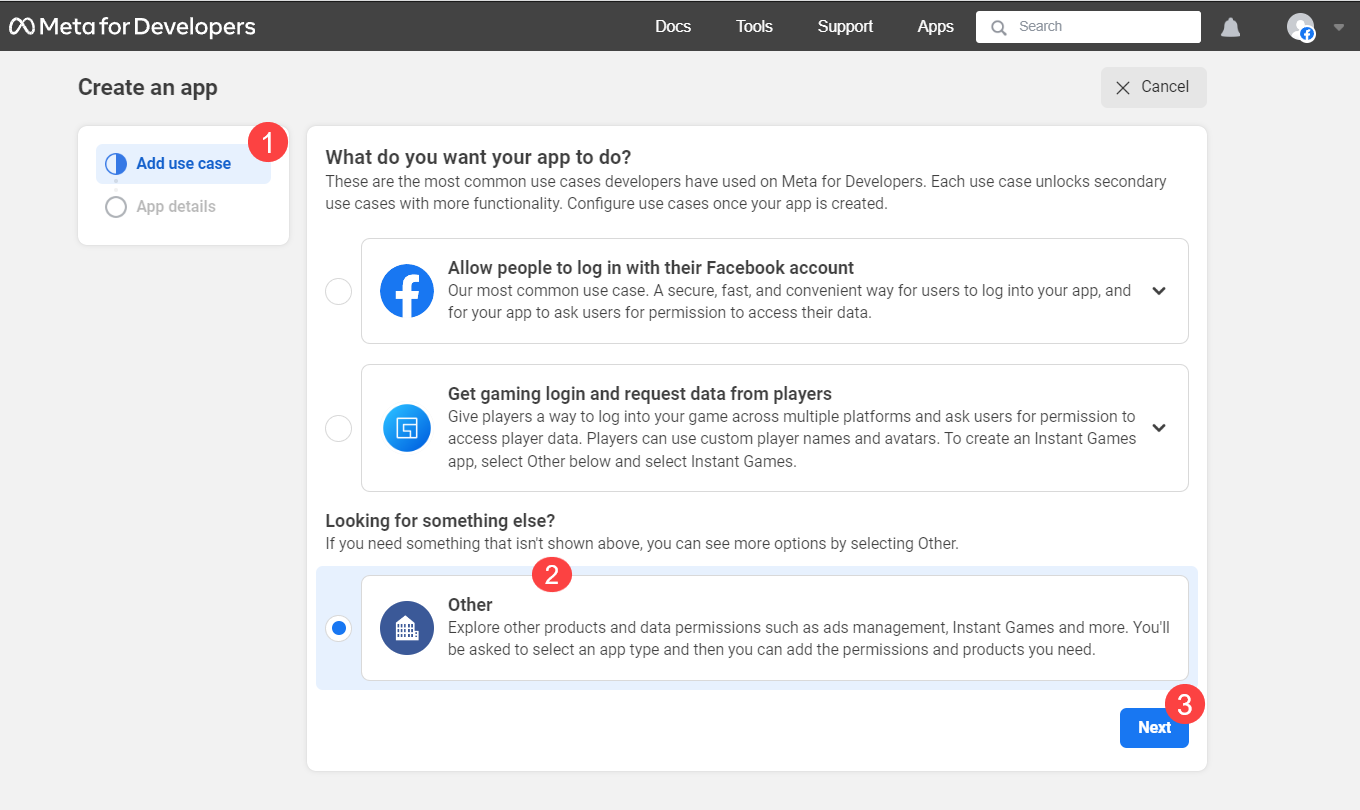
Step 7: Add use case by selecting Other option and clicking Next.
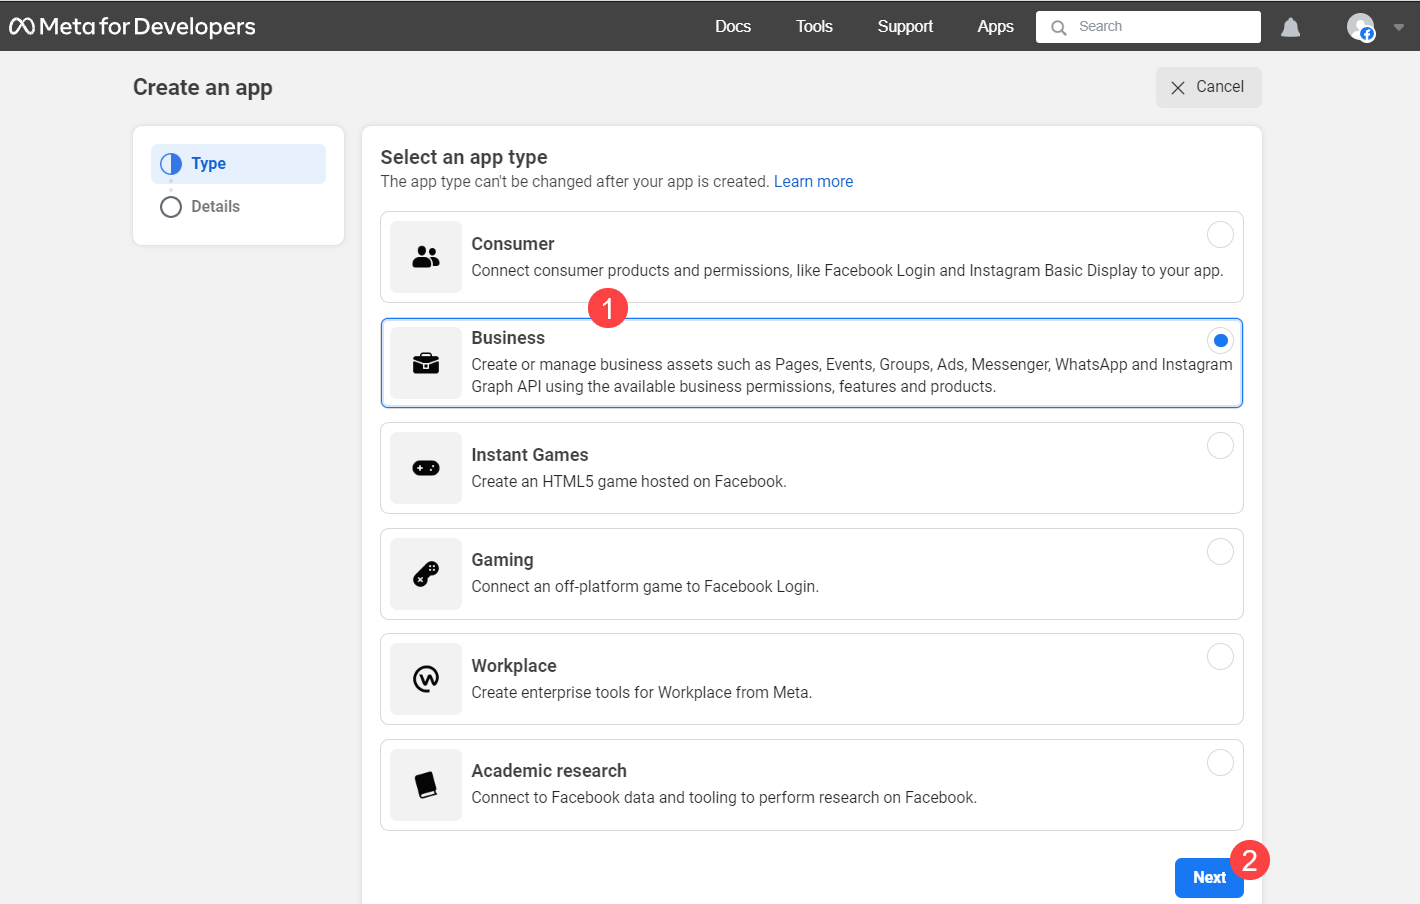
Step 8: Create a business app by selecting the App Type as Business and clicking Next.
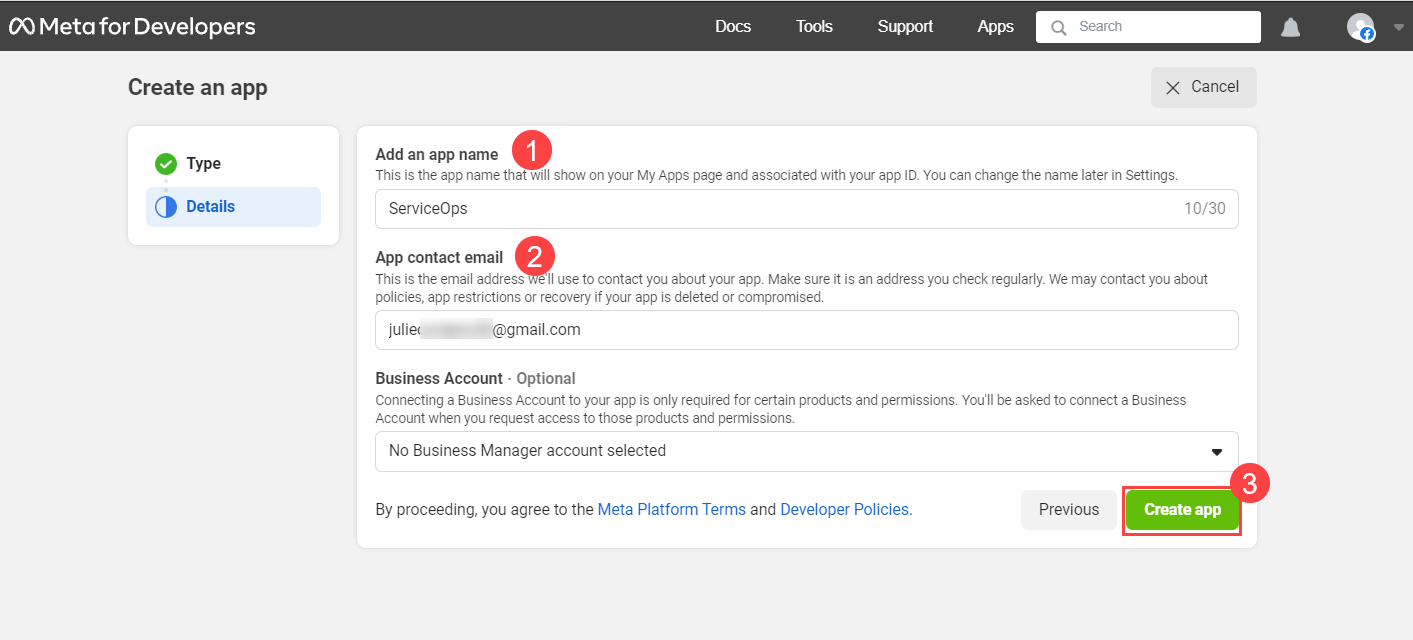
Step 9: Enter the basic details like the App name, App contact email, and click Create app.
Step 10: Re-enter the password of your account and click Submit.
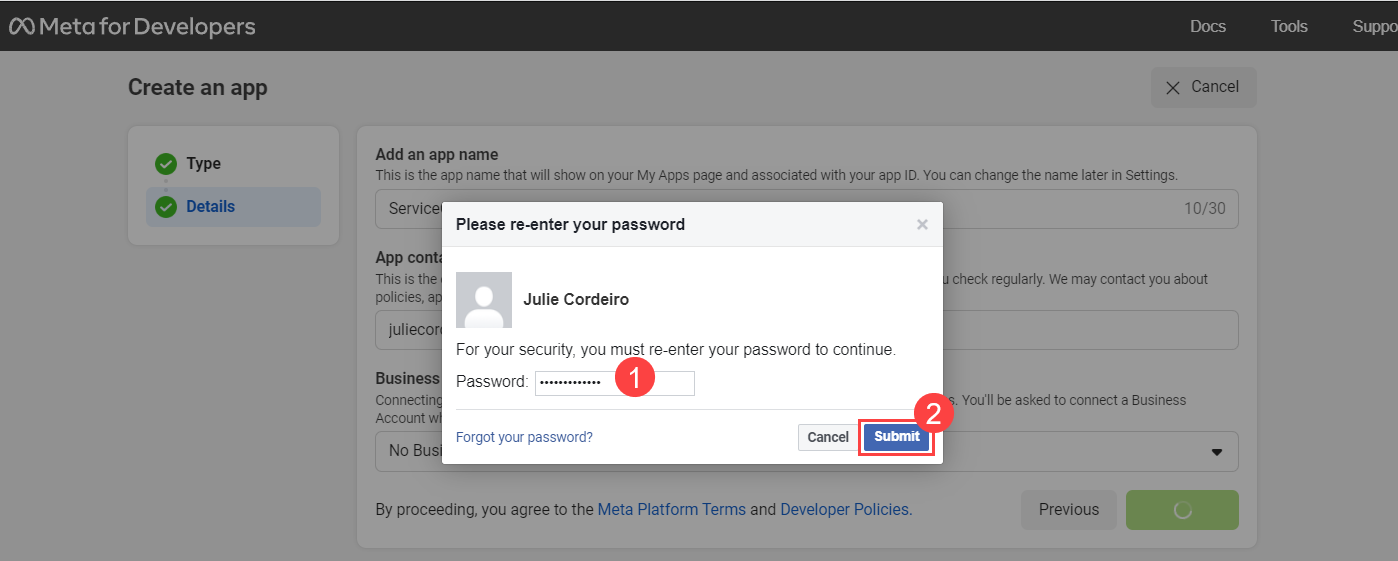
The app gets created, and its details page appears.
Step 11: On the left-side menu, click the Add Product link, select the Messenger App from the list, and click Set up.

Step 12: In the menu, navigate to Messenger > Messenger API Settings and the below page appears. If there are no FB pages available, first create them.

Step 13: To create a FB page, go to your Facebook account, click the Options button, and select Page.
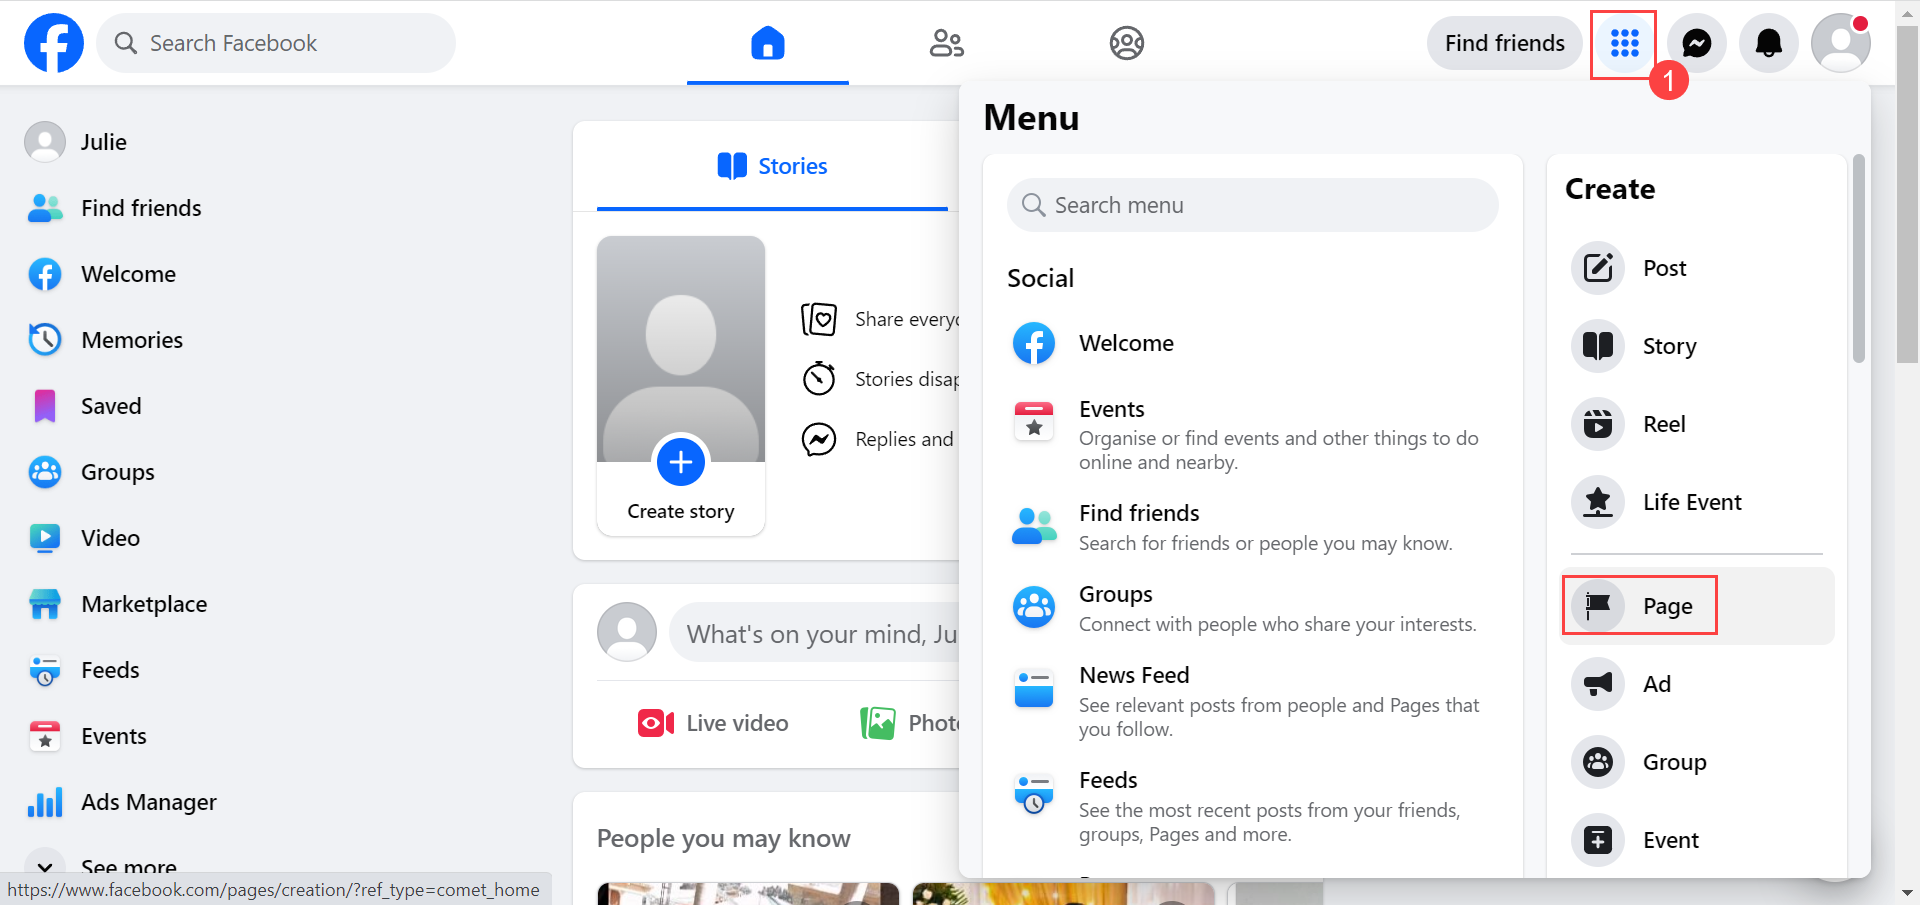
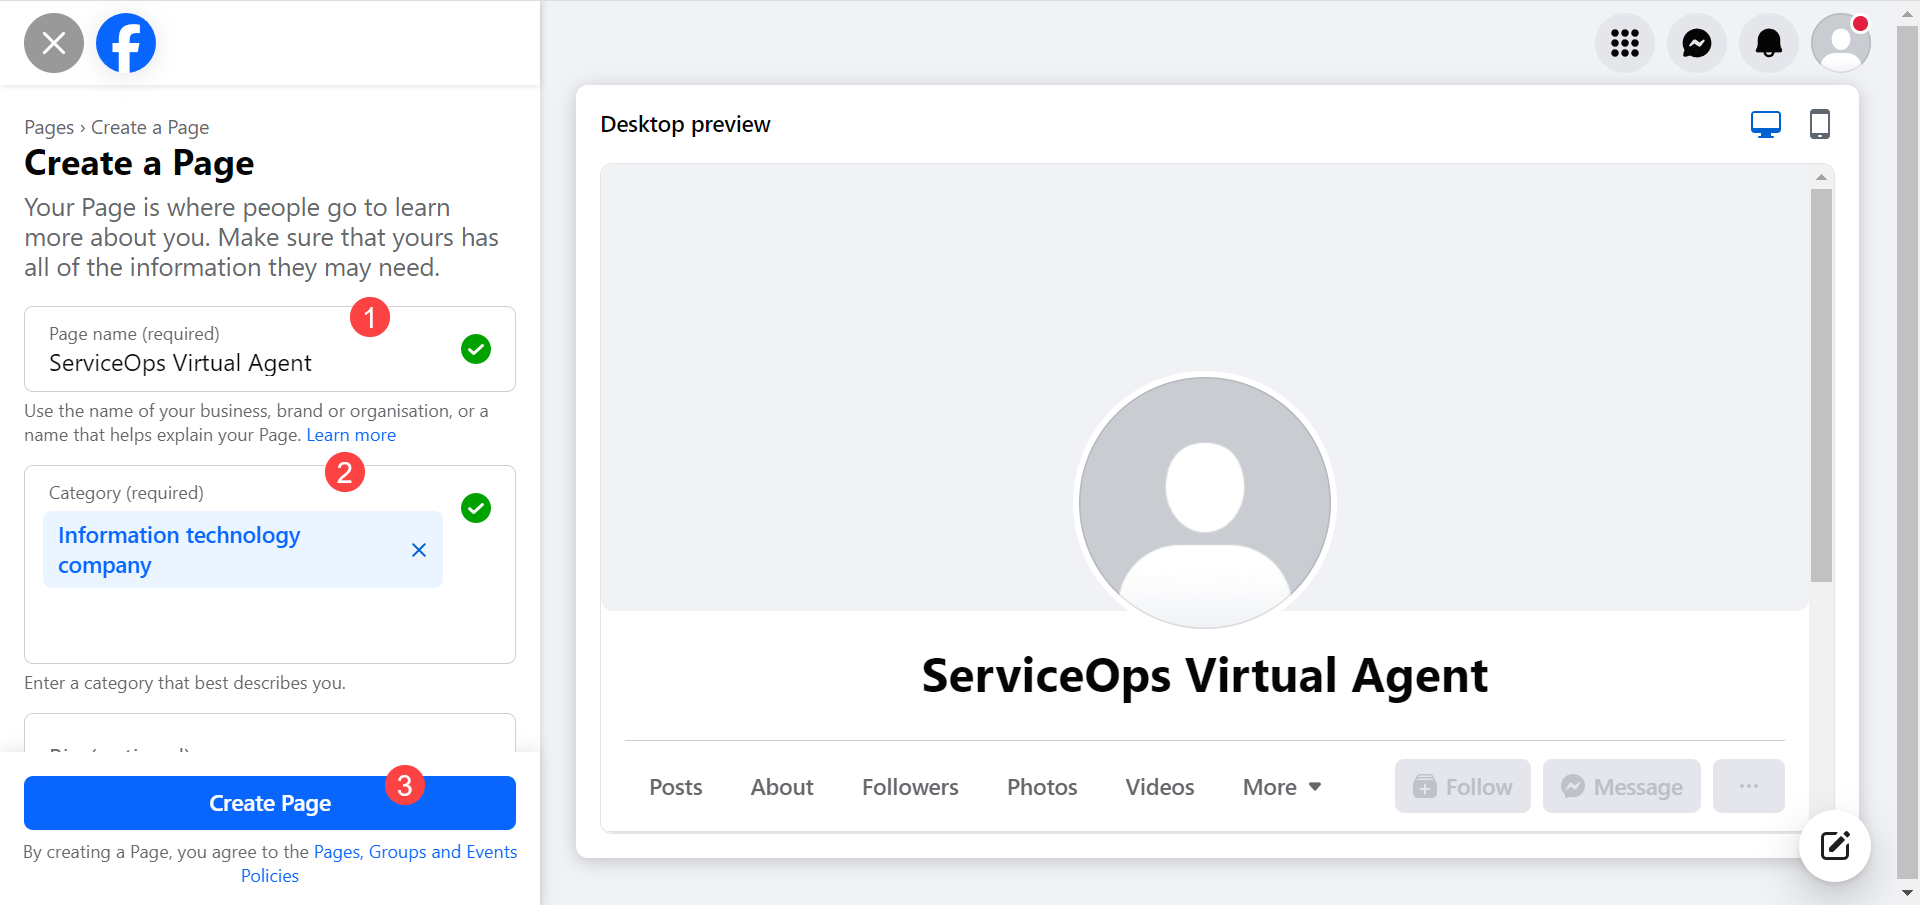
The Create Page appears. Enter the following details:
- Page Name: Name of the page.
- Category: Select the category from the list.
- Bio(Optional): Enter a short description of the page. Once done, click Create Page.
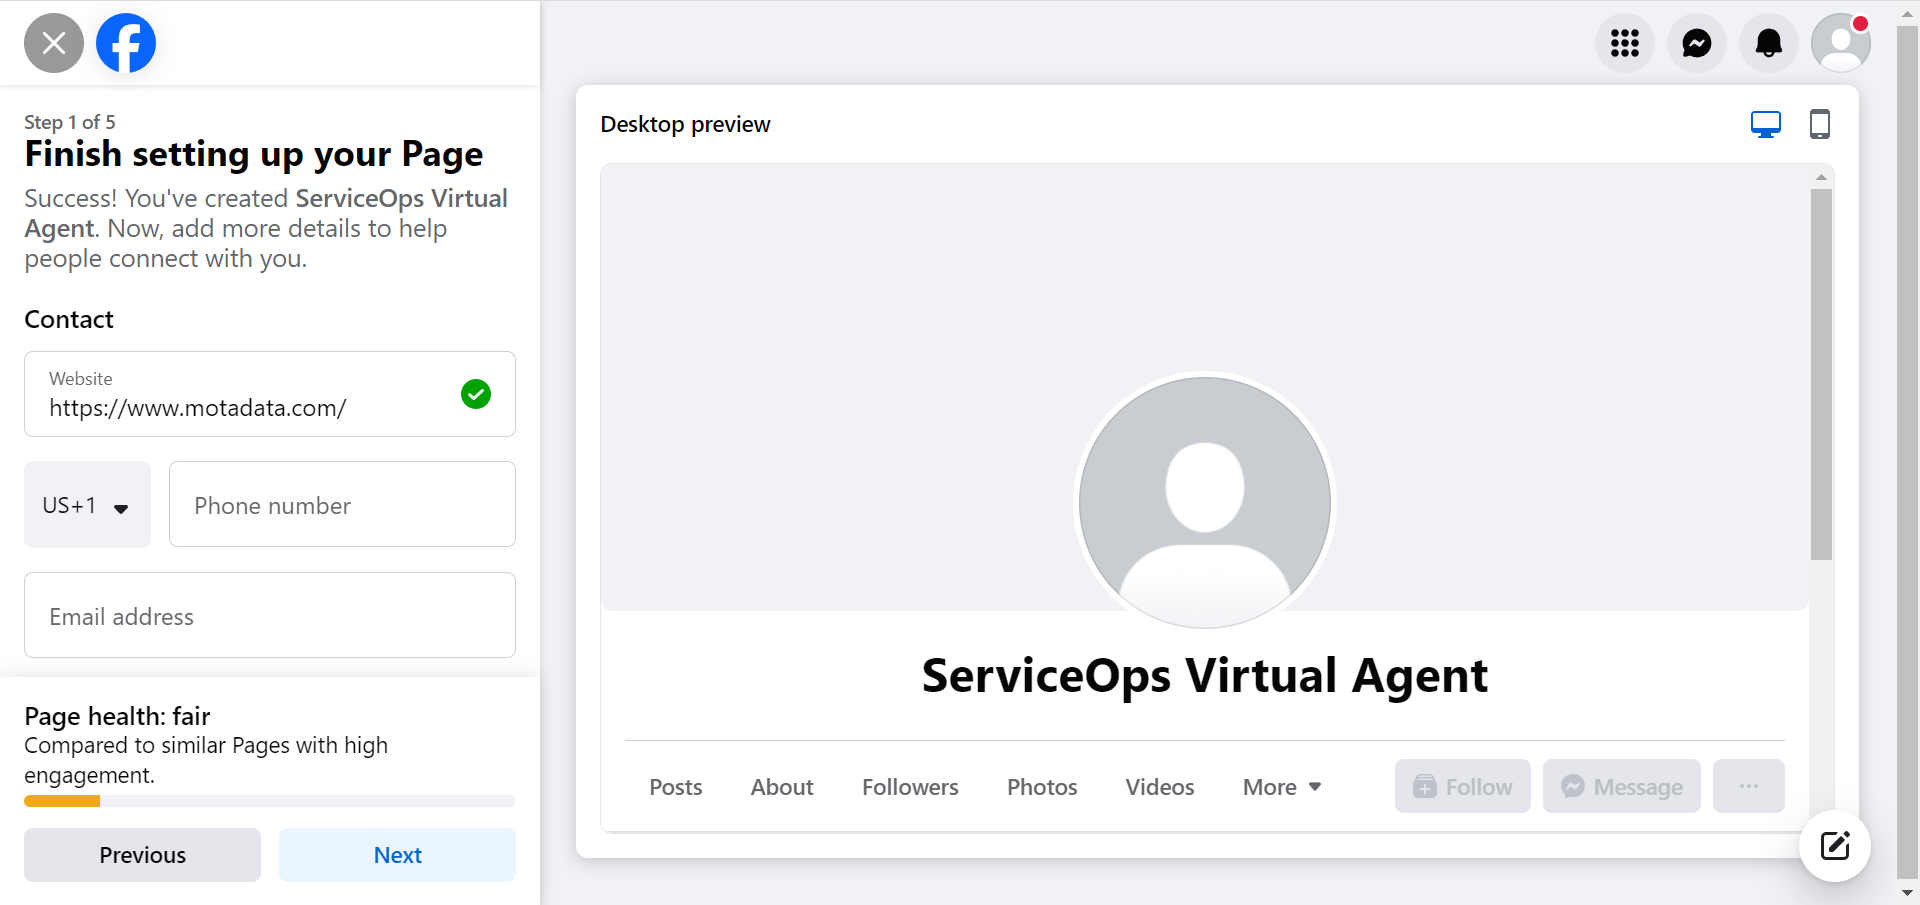
Step 14: Set up the page by entering the required additional optional details and clicking Done.
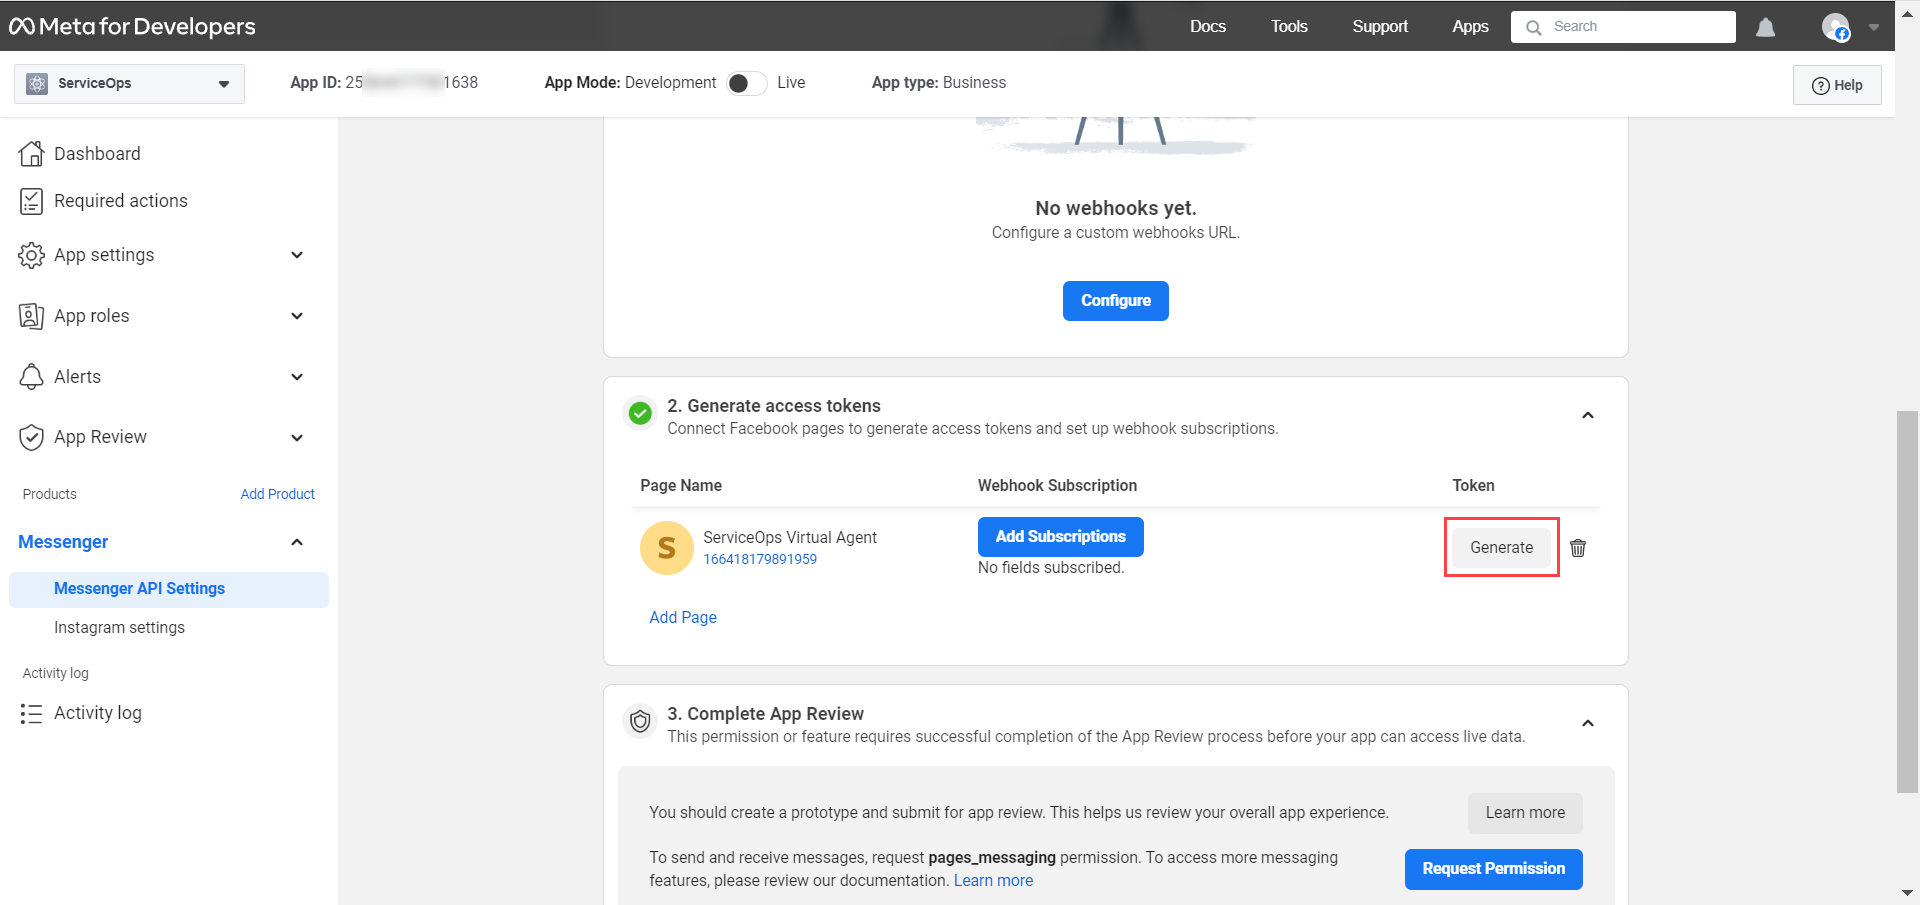
Once the page is created, return to Meta for Developers page, and it will appear in the Generate Access Tokens section.
Step 15: Generate the token for the created page by clicking the Generate button next to the required page.
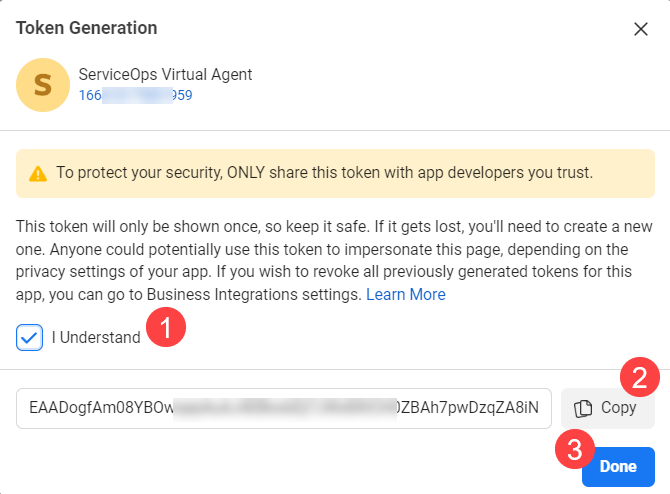
Step 16: Select the "I Understand" flag, copy the generated token, and click Done. You need to paste this token in Callback URL and the ServiceOps Portal (Client ID).
Step 17: In the Configure webhooks section, click Configure.
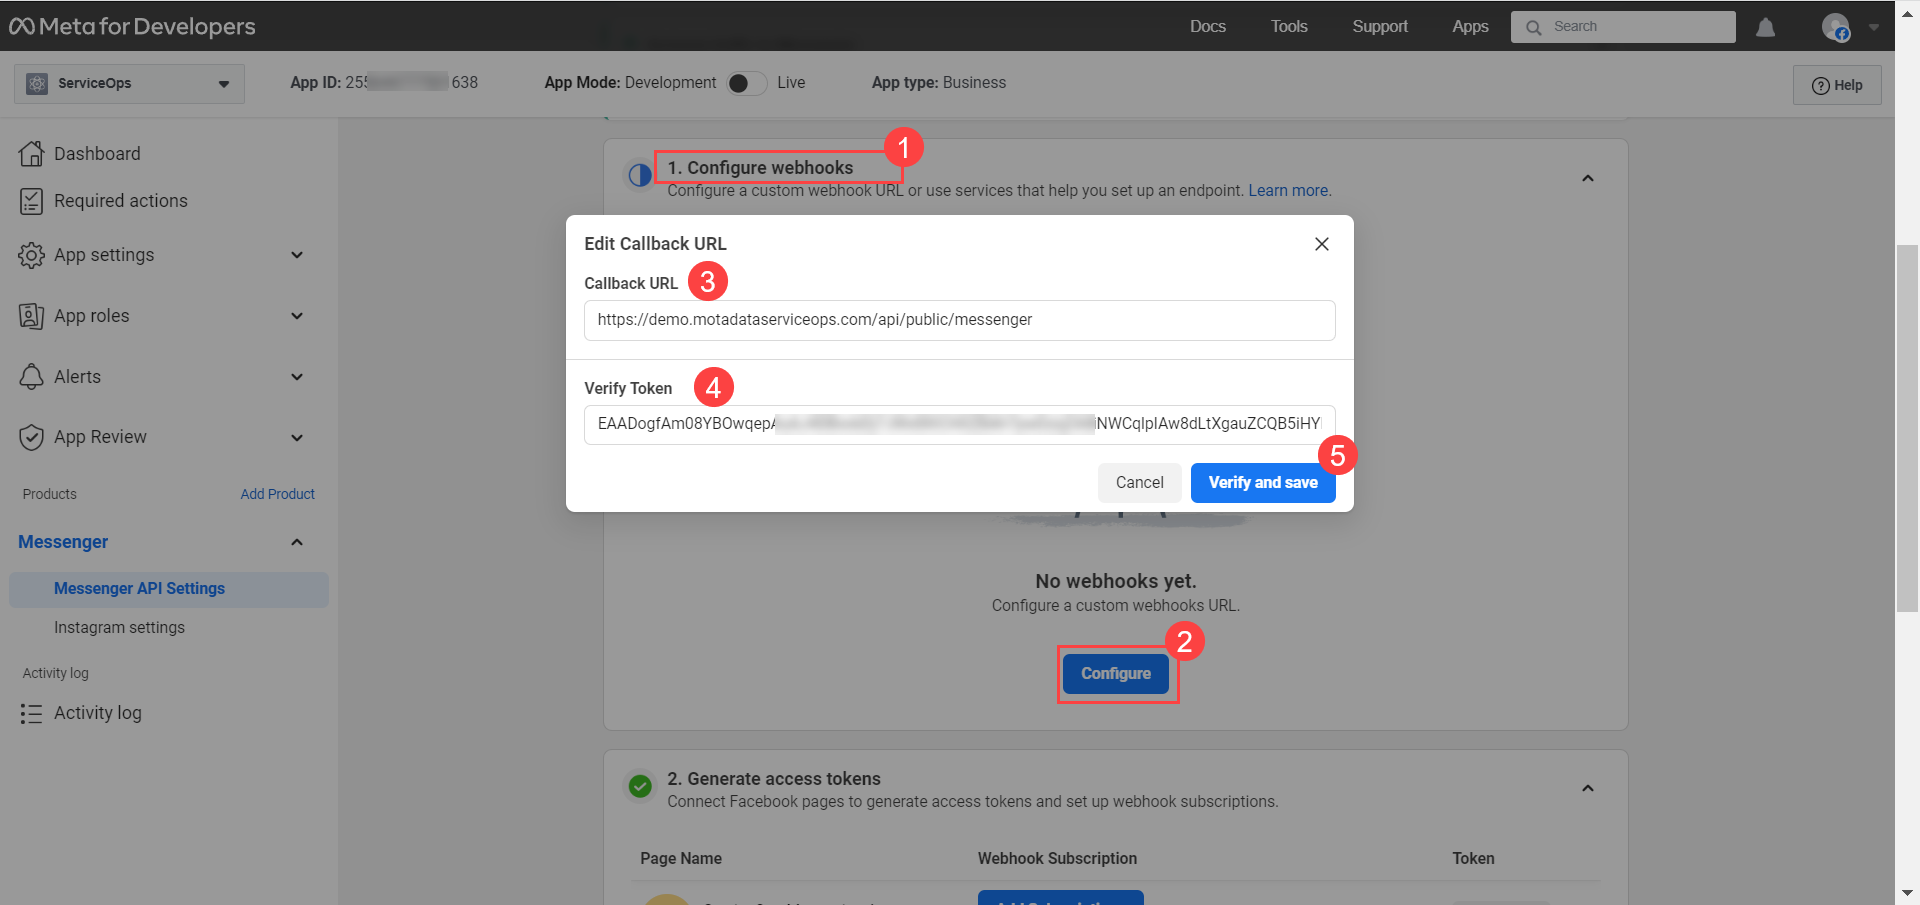
The Edit Callback URL popup appears. Enter the following:
Callback URL: Enter the URL of the ServiceOps Portal using the below format.
Verify Token: Paste the token generated and copied in step 16.
Once done, click Verify and Save.
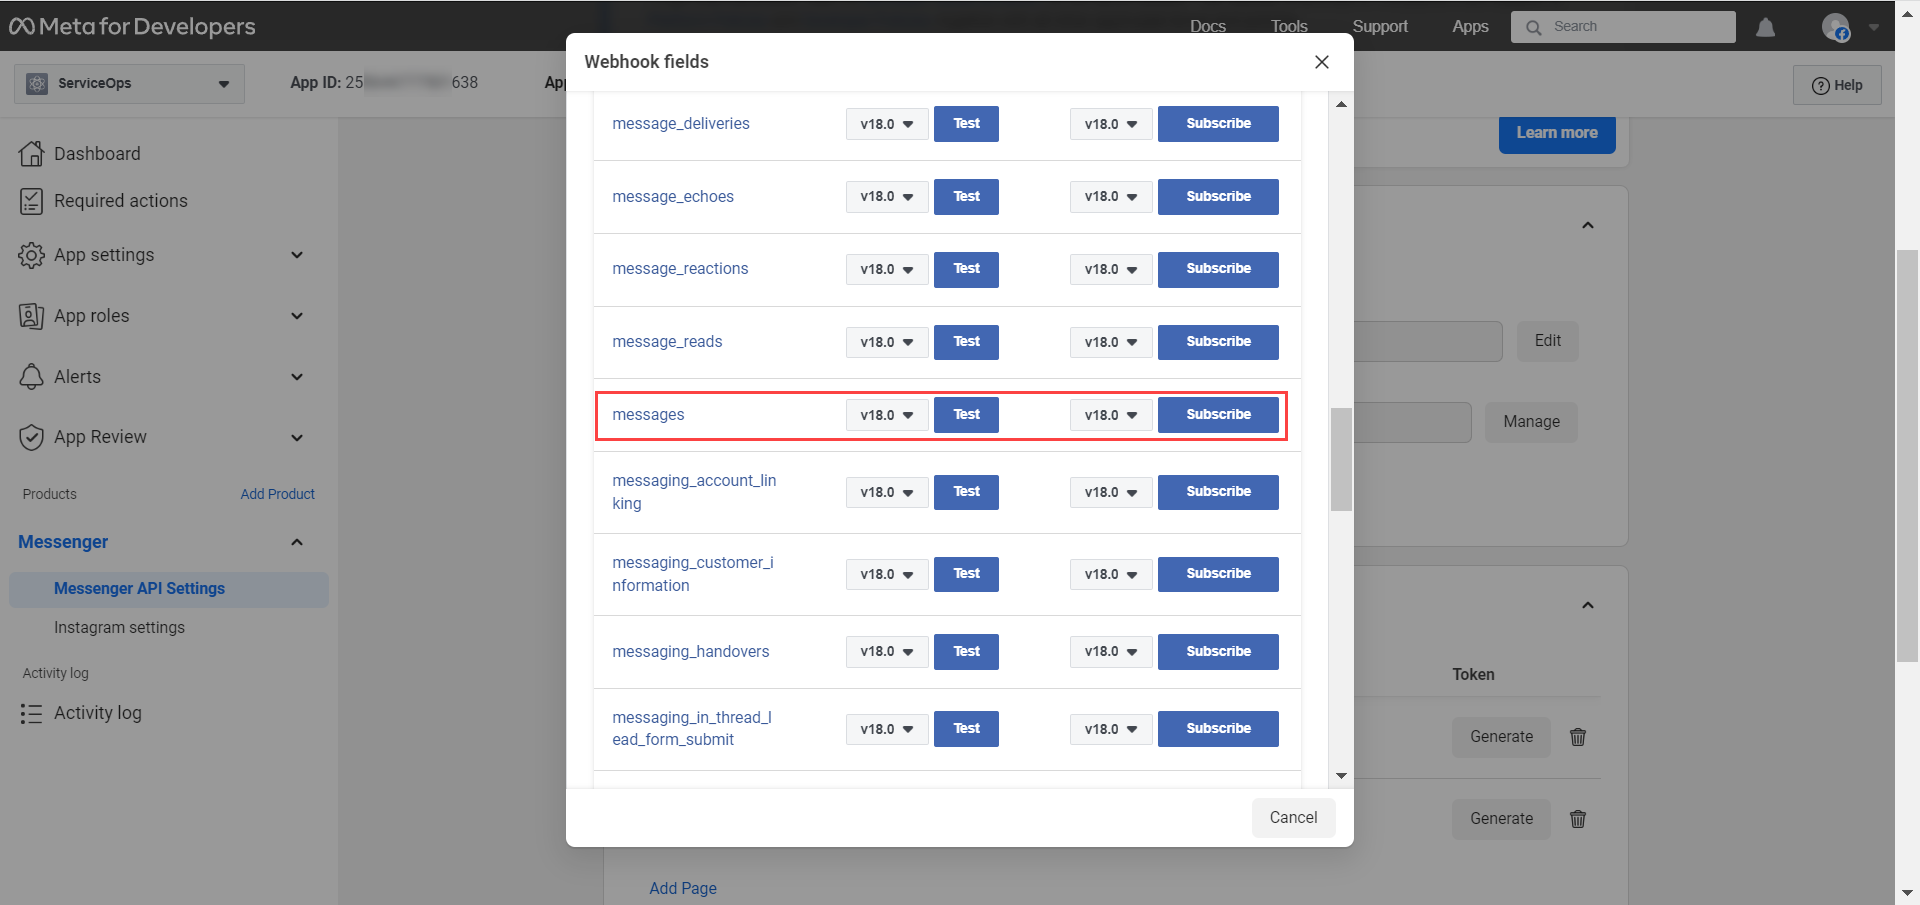
Step 18: Add Webhook Field by clicking the Manage button.
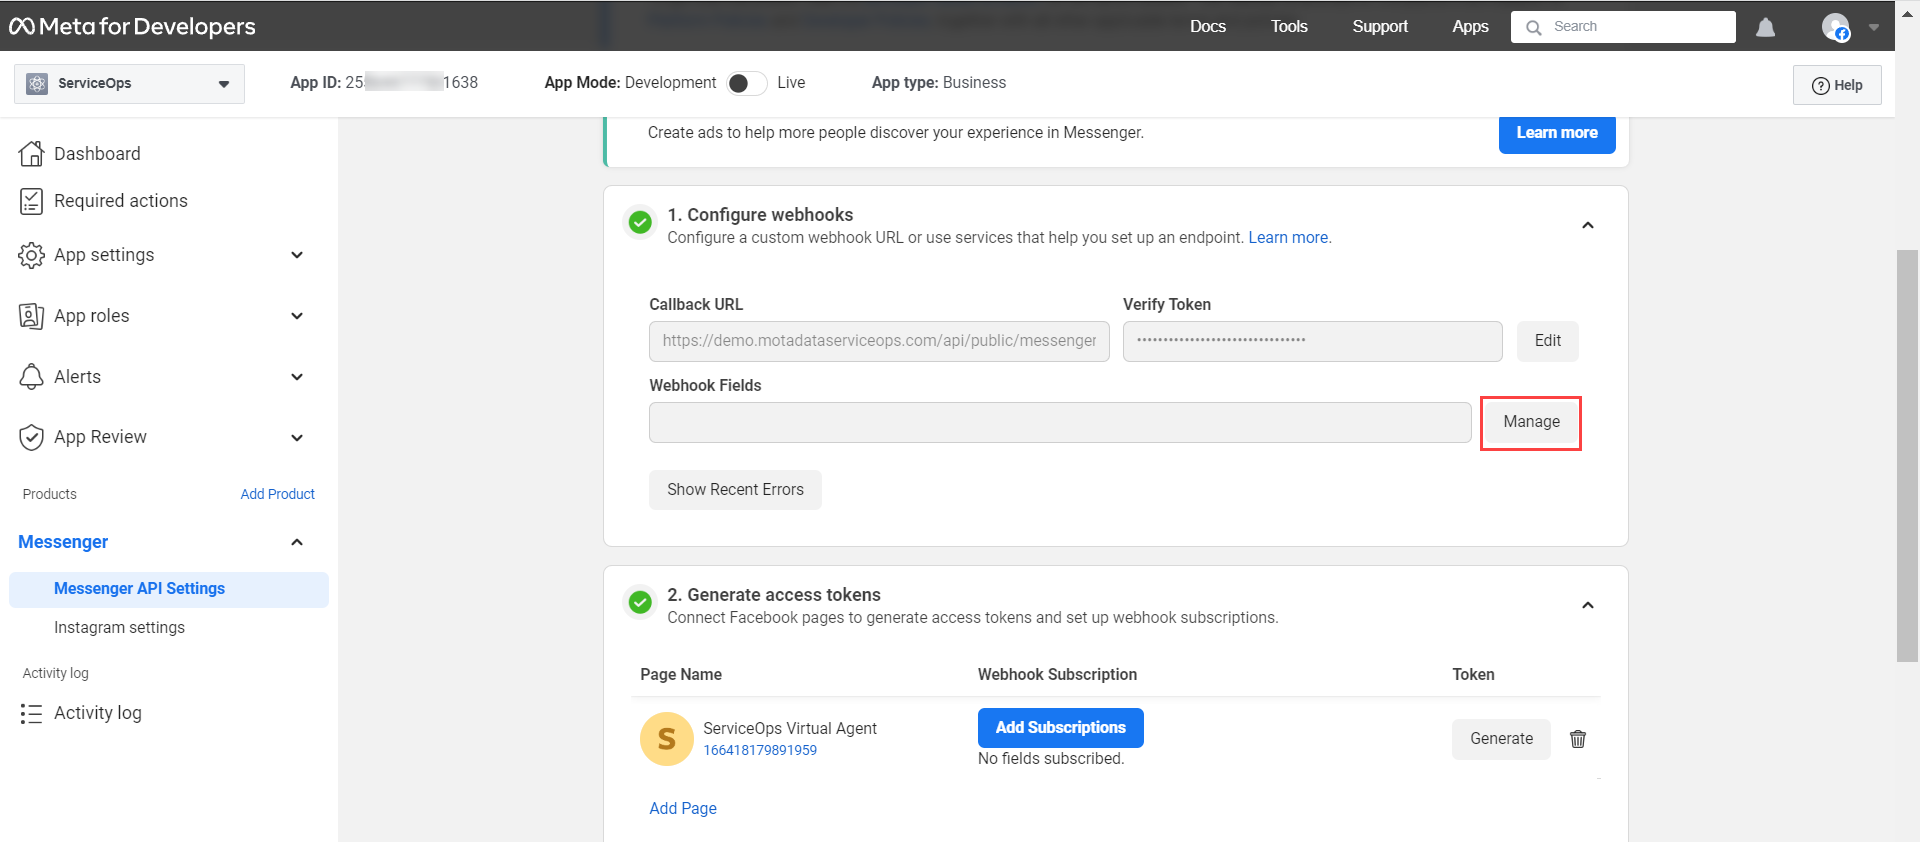
Step 19: In the Webhook fields popup, search for messages and subscribe it.
Step 20: Next, in the Generate access token section, click Add Subscriptions, select messages option, and click Confirm.

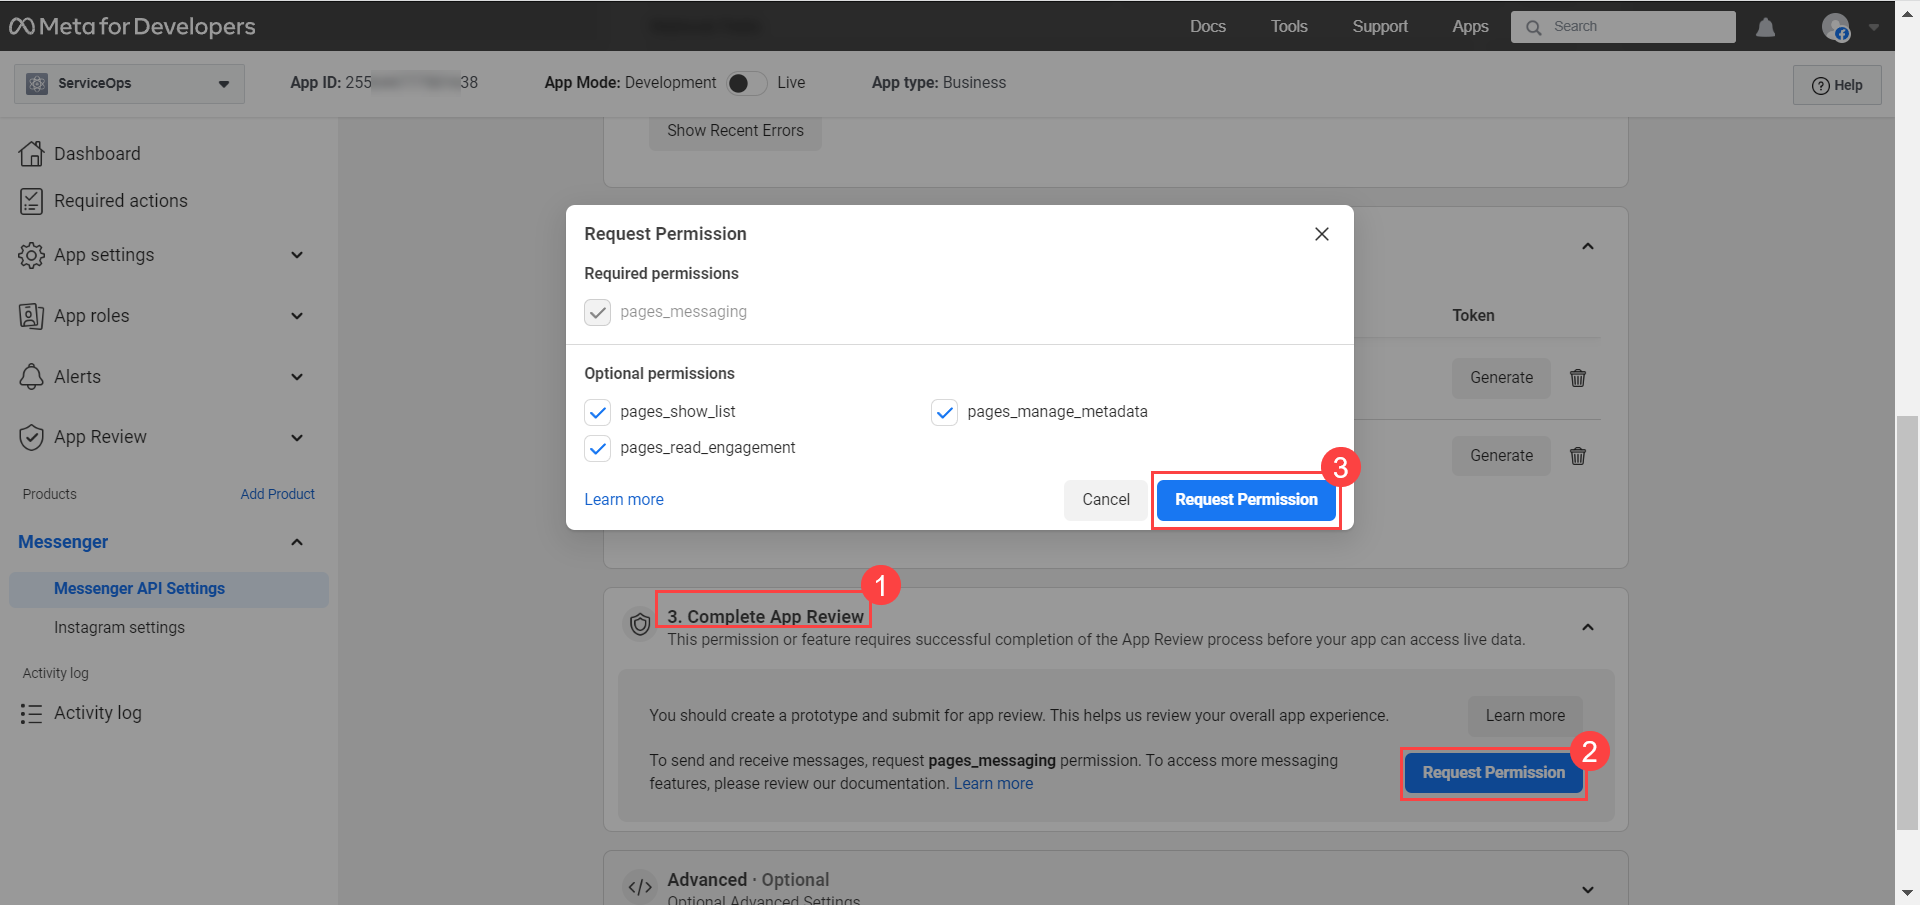
Step 21: In the Complete App Review section, click Request Permission to request the “pages_messaging” permission.
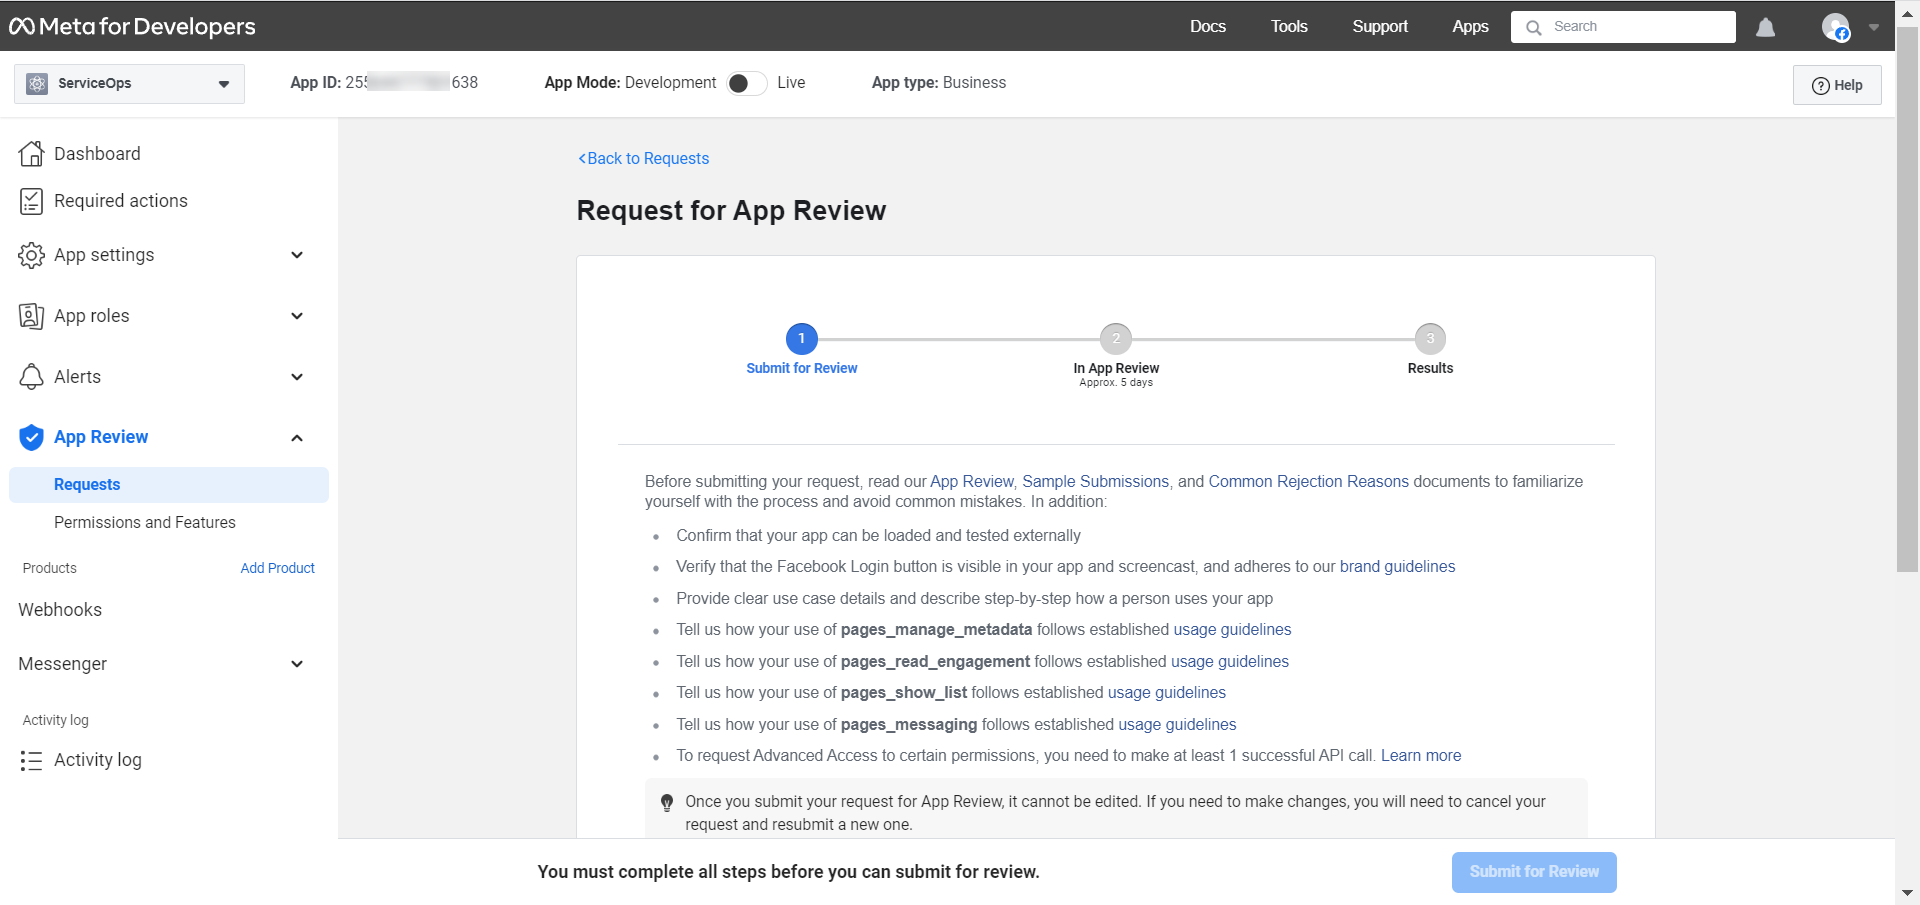
Step 22: Once done, submit your app for review. Before submitting, fulfill the required prerequisites. For more details, refer to the Submission guide page.
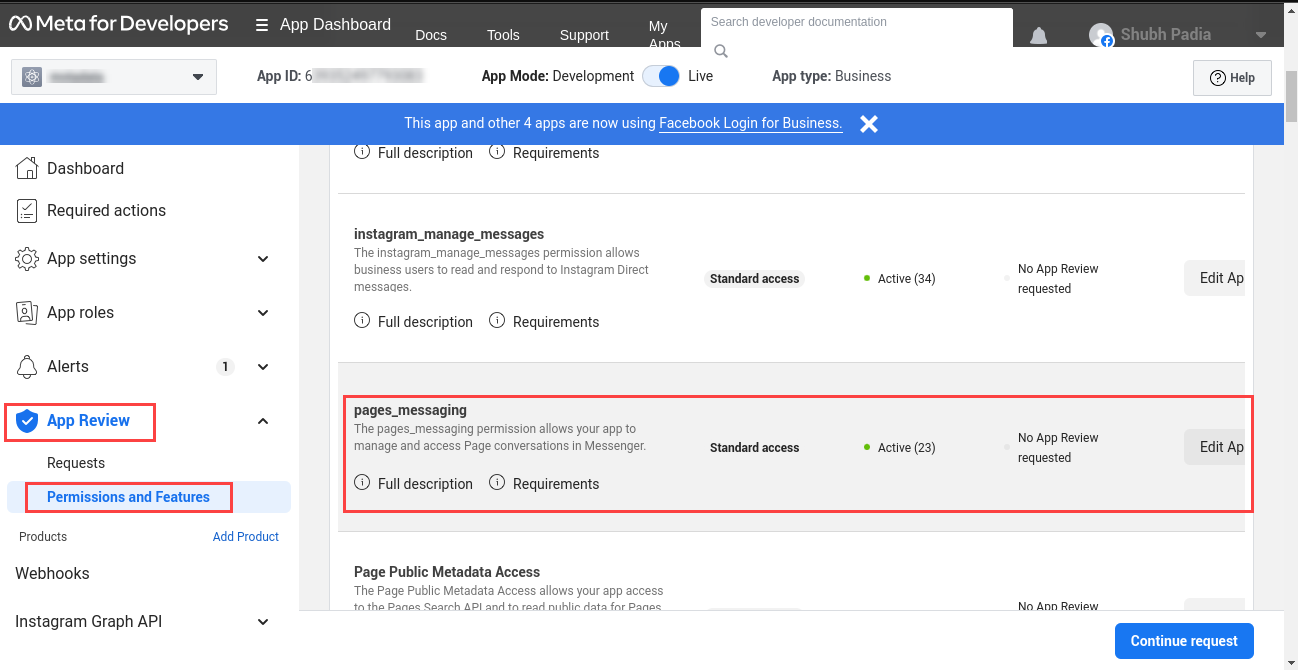
Step 23: In the App Review > Permissions and Features tab, search for the pages_messaging permission and request for the Advanced Access.
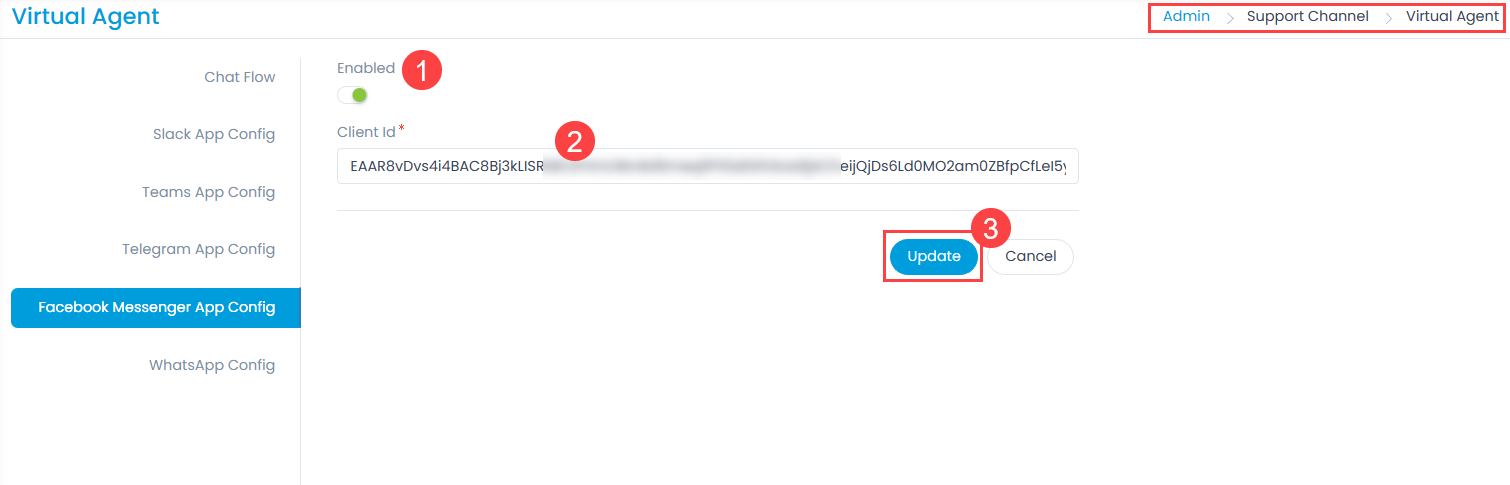
Step 24: In the ServiceOps Portal, navigate to the Admin > Support Channel > Virtual Agent > Facebook Messenger App Config tab.
- Enable the functionality.
- Paste the Client ID (token) copied from the Meta for Developers page in Step 16.
- Click Update.
Step 25: Open your Facebook Messenger and search for the ServiceOps Virtual Agent. The chat page appears. Guest users can also use the Facebook Messenger to raise their requests. In the beginning it prompts to select the email id or contact no. option using which the communication can take place with ServiceOps.

Once selected, you can begin your conversation by selecting the options or typing the desired question.
