11.20.3. Infrastructure Setup
Setting up the Infrastructure is the first step before Asset Discovery. This step is prerequisite for Agentless Discovery of Assets, but not for the Agent Application.
Note
Setting up the Infrastructure requires Administrative rights.
The Infrastructure Setup consists of three broad sections:
DNS Configuration:
Credential Library:
Networks:
11.20.3.1. DNS Configuration:
The DNS configuration helps the product in resolving hostnames of Assets against their IPs from the DNS. A DNS is useful especially when the network protocol is DHCP.
In DHCP protocol, the IPs of Assets keep on changing, so the hostname of a machine is taken as the unique identifier. The DNS maps all the hostnames of the Assets with their IP addresses. Motadata connects with the DNS using the information provided by an administrator in the DNS Configuration page.
Note
DNS configuration requires you to have administrative rights.
Configuring DNS
Log in to your Dashboard and head to Admin from the Navigation Tabs. Use search, or you can find the DNS Configuration in IT Infrastructure.
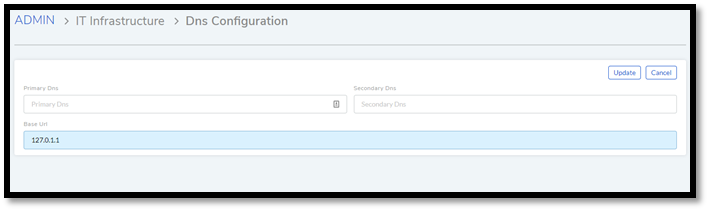
The DNS Configuration page opens. Click on Edit to make the fields editable.
Enter your primary DNS address in the primary field and your backup DNS address in the secondary field.
The Base URL field is the domain name of Motadata hosted on your server. Enter the name and hit Update to save your changes.
You can later edit your DNS configuration in the DNS Configuration page.
11.20.3.2. Credential Library
Motadata provides an interface to upload all your credentials, so our product can authenticate for an authorized access to a network.
A repository stores all Credentials, which we call a library where you can manage (add, edit and delete) them.
We provide four easy Discovery Types to choose from:
WMI
SSH
SNMP
SNMP V3
Note
Managing credentials requires administrative rights.
Adding Credential
Go to Admin (One of the Navigation Tabs)>> Credential Library (under IT Infrastructure). The Credentials page opens where you can view all existing credentials.
Click the Add Credential situated in the top right corner of the page. The Add Credential dialog box opens.
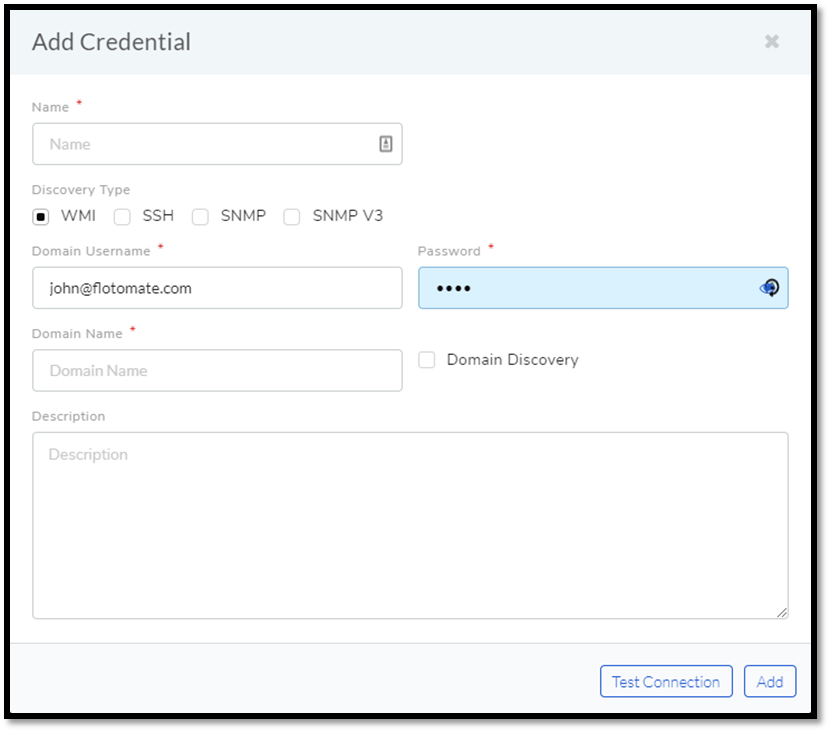
Add a Name to the credential and select a Discovery Type which determines the authentication parameters. Now let’s understand the available Discovery Types:
WMI (Windows Management Instrumentation):
Note
Please refer to
amf-157.This protocol is used to scan for data in Windows-based systems within a Domain or Workgroup.
Domain Username & Password: These are credentials of the Administrator Account that has access to all the nodes in the domain.
Domain Name: The part of a network address which identifies it as belonging to a particular domain.
Domain Discovery: Enabling this marks the credential as discoverable. It means that the credential is for Discovery.
SSH (Secure Shell):
The SSH protocol is used to discover UNIX based machines.
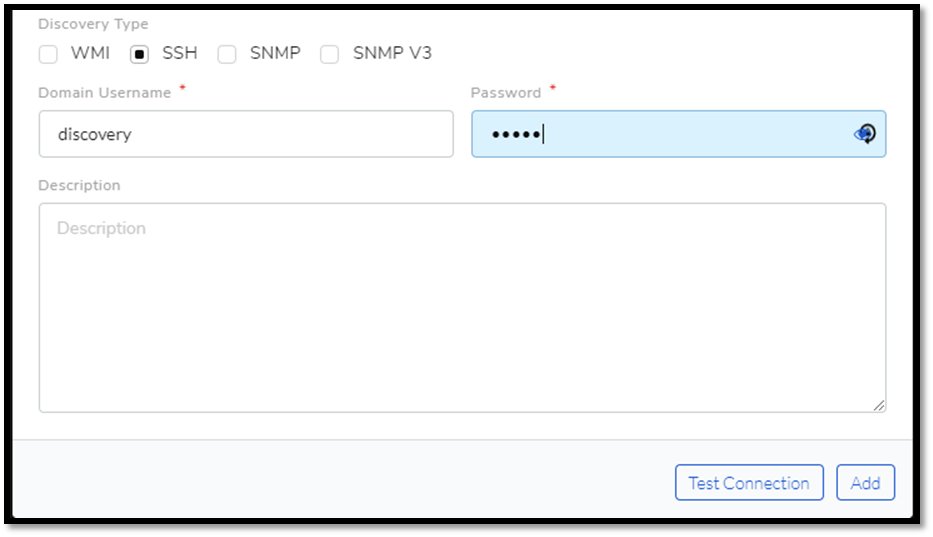
Domain Username & Password: These are the credentials for the user account specific to the Asset that we are going to discover. In case there are multiple machines, a common user can be created (with root access) in all the machines to make discovery easy; else, each different account would require a separate SSH credential.
SNMP (Simple Network Management Protocol)
Motadata uses this application-layer protocol to scan devices with the SNMP agent in a managed network.
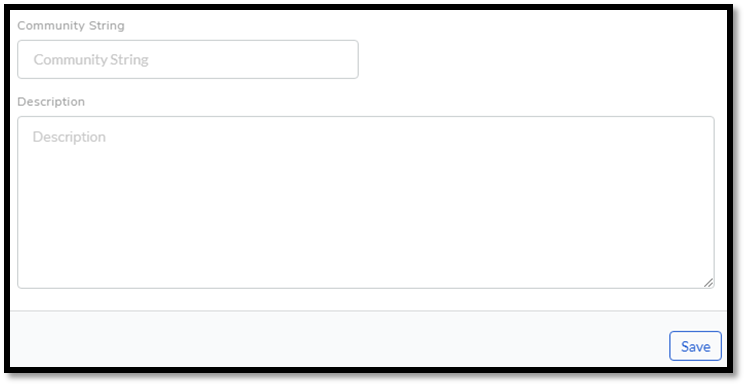
Community String: The Community String acts as a password in a managed network. It is sent along with each SNMP Get-Request to gain access to an SNMP enabled device’s data. If the community string is correct, the get request fetches the data.
SNMP V3 (Simple Network Management Protocol Version 3):
It is a secure version of SNMP with user-based authentication.
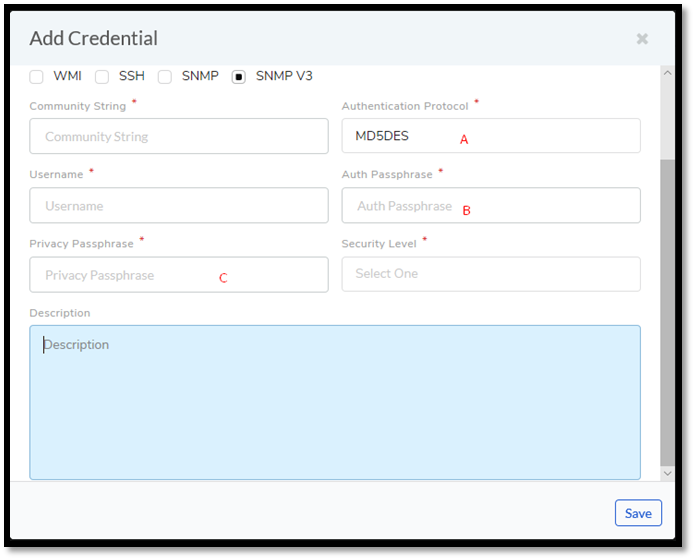
Community String: It is like a password which is used for authentication.
Authentication Protocol: Use the protocol that you want to use (we support both MD5 and SHA) in field-A (
amf-160).Username: Enter your username.
Auth Passphrase: This is the Auth password
Privacy Passphrase: This is the Privacy password.
Security Level: Choose an appropriate security level from the following options:
Private Authentication: Uses protocols like SHA for authentication and protocols like AES for privacy.
No Private Authentication: only use authentication protocol.
No Private No Authentication: Data transfer with authentication and privacy.
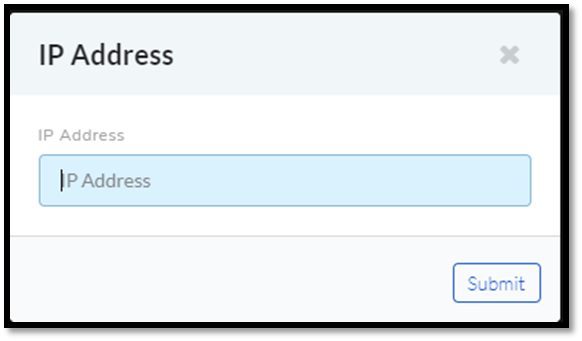
Testing Connection
You can test the credential by connecting with a computer (works for WMI and SSH credentials). Click on Test Connection next to Save. A dialog box opens asking for the IP of the machine. Submitting an IP starts a process that tells whether a successful connection was established or not.
Editing/Deleting Credentials
Go to Admin >> Credential Library (under IT Infrastructure).

Click the edit icon adjacent to the credential you want to edit. You see the Edit Credential dialog box. Make your changes and hit Update.
You can delete any credential by clicking the Delete icon adjacent to a credential.
11.20.3.3. Network
Adding a network to Motadata is an essential task for you to perform asset Discovery and monitoring. We support Domain networks and IP Range Networks.
Note
Managing Networks requires administrative rights.
Adding a Network
Log in to your Dashboard and head to Admin >> Networks (under IT Infrastructure).
Click the Create a Network button situated in the top right corner of the page. A dialog box opens.
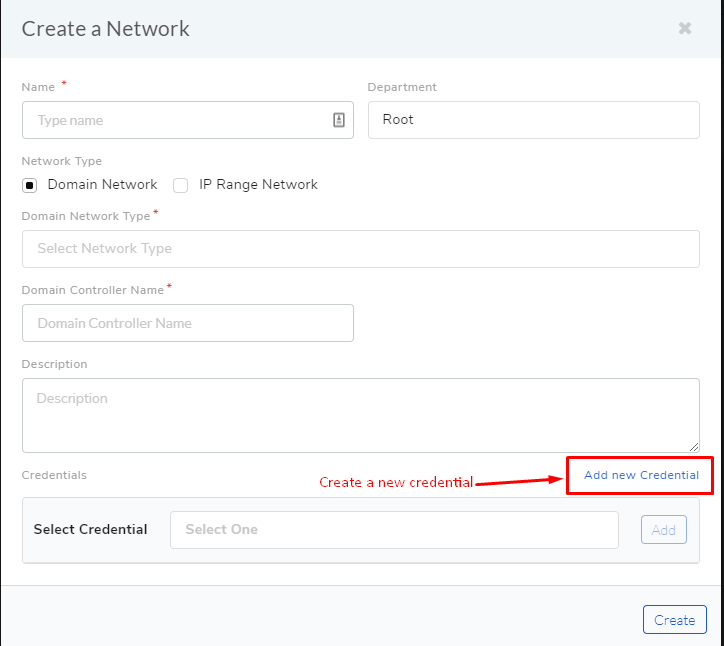
Give a name to the network.
Add a Domain Network Type:
We have two Domain Network Types to select from:
Domain Network:
Windows Domain Controller
Windows Workgroup
It is a form of a computer network in which all user accounts, computers, printers and other security principals, are registered with a Domain Controller
Type the Domain Controller Name, something like company.com.
Select the appropriate credential from the Credential list.
It is a peer-to-peer network of computers running Windows OS.
Type in the common name of the Workgroup.
Select the credential of a remote computer in the network from the Credential list.
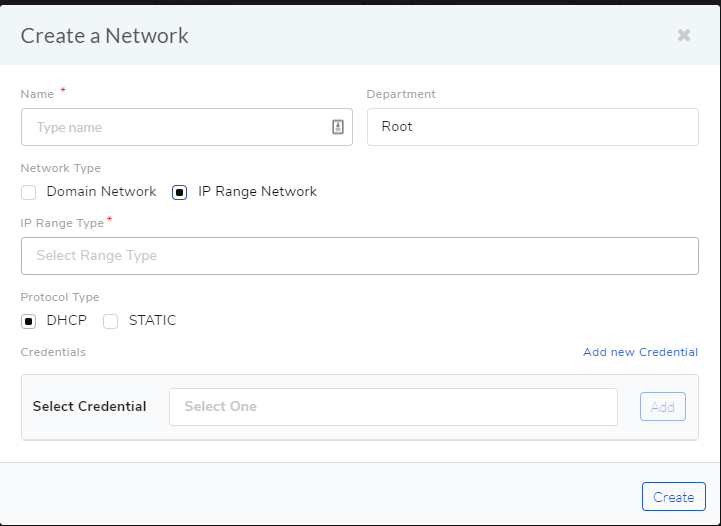
IP Range Network:
Entire Network
This option uniquely identifies an entire network with IP Range Start (example: 192.168.27.0) and Subnet Mask (example: 255.255.255.0).
Specific Range
You can specify an IP Range with a start and end IP, and a Subnet Mask.
Comma Separate IP List
As the name suggests, you can add a comma-separated list of all the IPs.
Type in a description and protocol type (if IP Range is selected). We have two protocols to select from:
DHCP
STATIC
In this protocol, IP is centrally allocated and resolved in your network.
You have to configure your DNS for asset Discovery to work.
It uses static IP addresses to identify devices in the network.
Add the necessary credentials from the credential list, or you can create new credentials using the Add New Credential option in
amf-163. When you are done hit Create.
Editing/Deleting Network
Log in to your Dashboard and head to Admin >> Networks (under IT Infrastructure).

This section lists all existing networks. Click the Edit Icon adjacent to the network that you want to edit.
Edit the network in the Edit Network dialog box and save your changes before exiting.
You can delete any network by clicking the Delete icon adjacent to the network that you want to delete.