11.20.6. Use Case
Now we discuss a scenario where we discover Assets in a network using three types of agent-less Discovery. We create two Probes in the process; one uses an IP Range Network and other, Domain Network. The Probe using the IP Range Network can discover all types of Assets, but the other Probe can discover only Windows machines. The use case gives you an overview of the entire process involved in setting up Discovery in Motadata.
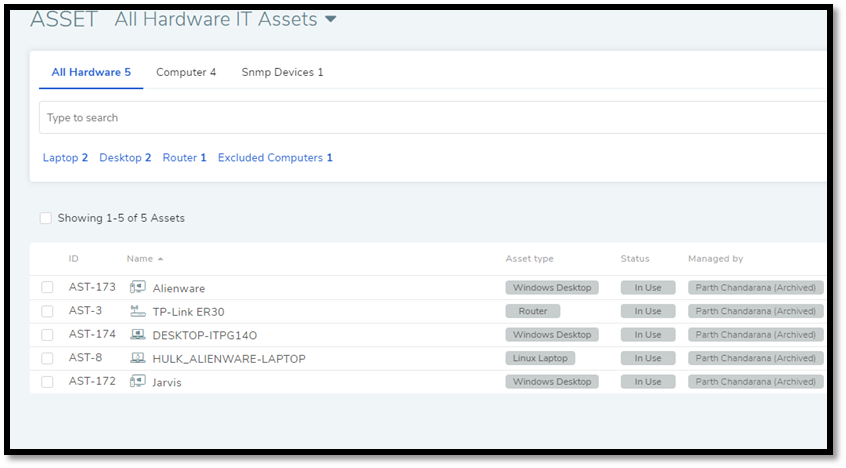
We have the following Assets in the network that we want to discover:
Three Windows workstations in a domain.
One Ubuntu 16.04 workstation.
An SNMP enabled router.
11.20.6.1. IP Range Network Discovery Probe
We now create a Discovery Probe that uses WMI, SSH, and SNMP protocols to discover Assets in a network. We start by configuring the Infrastructure.
Adding Credentials:
Credentials help us to get access to nodes so that we can fetch the necessary data. We have the following credentials to add:
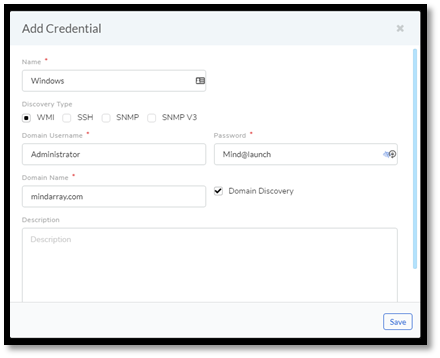
Windows Machines:
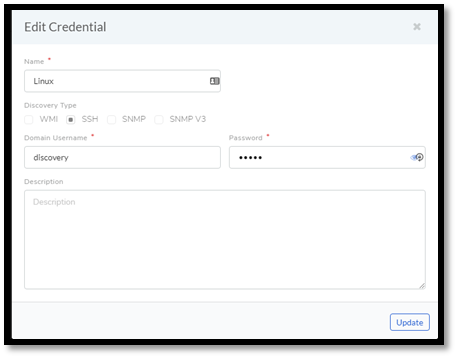
Ubuntu Linux Machine:
Domain Username = discovery
Password = admin
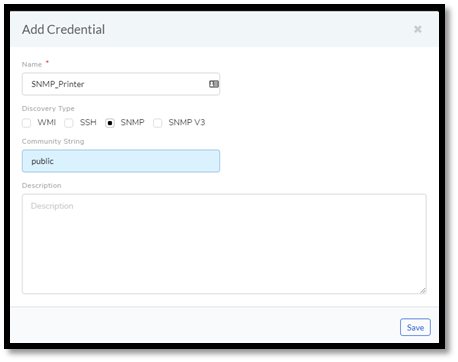
SNMP Enabled Router:
Community String = public
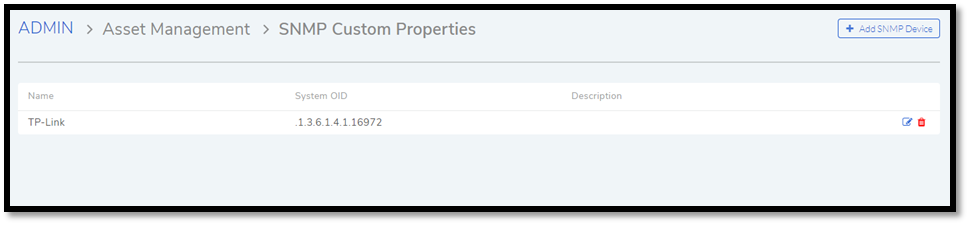
System OID = .1.3.6.1.4.1.16972
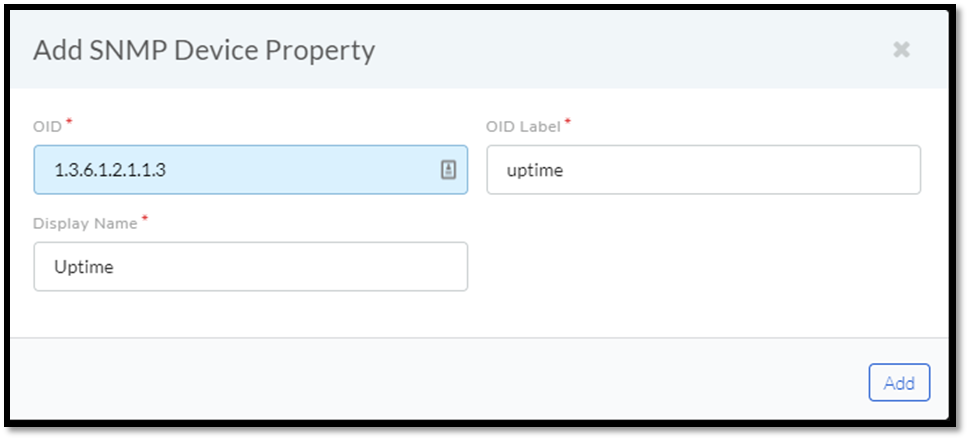
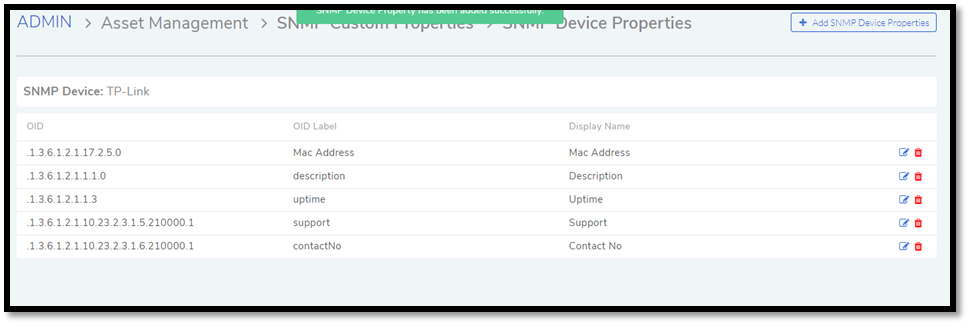
SNMP Device Properties:
Mac Address: .1.3.6.1.2.1.17.2.5.0
Description: .1.3.6.1.2.1.1.1.0
Uptime: .1.3.6.1.2.1.1.3
Support: .1.3.6.1.2.1.10.23.2.3.1.5.210000.1
ContactNo: .1.3.6.1.2.1.10.23.2.3.1.6.210000.1
We have to create the following Discovery types to incorporate the above credentials:
WMI for Windows machines
SSH for the Ubuntu Linux machine
SNMP for the router.
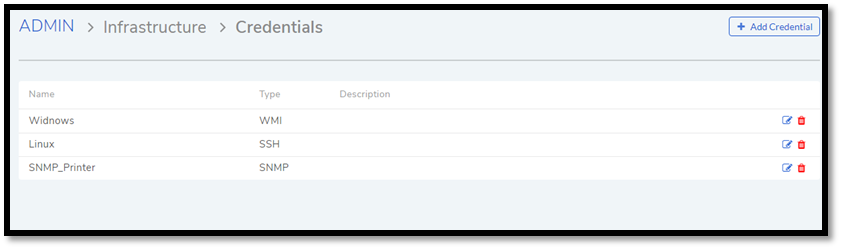
Now we add the credentials:
Go to Admin (one of the Navigation Tabs) >> Credential Library (Under IT Infrastructure).
We add the credentials using the Add Credential dialog box. Learn how to add credentials: Credential Library.
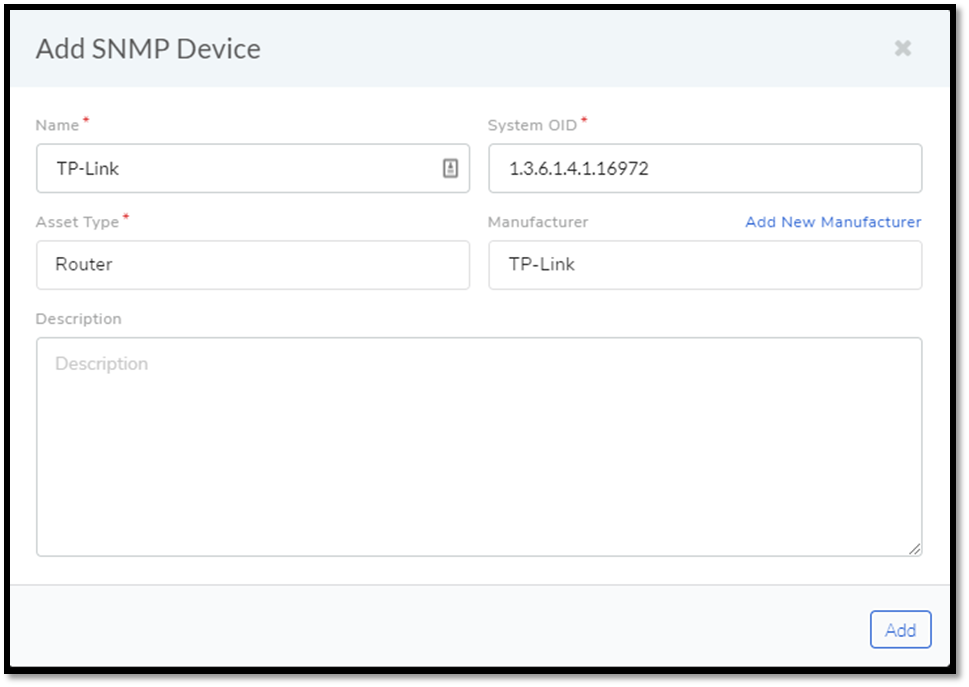
Adding Custom SNMP Properties
SNMP Custom Properties allow us to fetch specific property values of the SNMP router. The values are located using OIDs (Object IDs). An OID is an address to identify a device and its statuses. For example, we can know the temperature reading coming from a sensor at a remote facility.
Before fetching any properties of an SNMP device, the product has to identify the device (Asset type) and this happens using the sysOID. A sysOID is a series of numbers that uniquely identifies an SNMP device. It is included when adding an SNMP device in the SNMP Custom Properties section. Once an SNMP device is added then the OIDs for the custom properties are added.
The sysOID also helps in fetching manufacturer details of a device. If manufacturer records have sysOIDs then this is possible. You can also add a manufacturer when adding an SNMP device in SNMP Custom Properties.
Related Topic:
SNMP Properties
Adding Manufacturer.
Adding a Network:
Now that we have added the credentials, It is time to add a Network that would utilize the credentials to communicate with the nodes.
Go to Admin >> Networks (under IT Infrastructure).
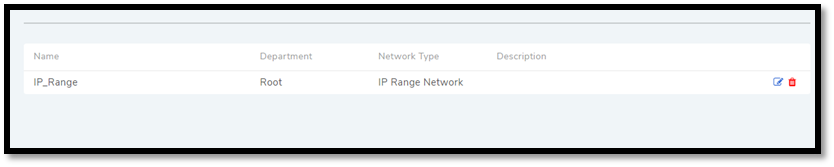
We use the Add Network dialog box to add a Network called IP_Range.
Now we are going to see what Network information we have entered and what options we have selected.
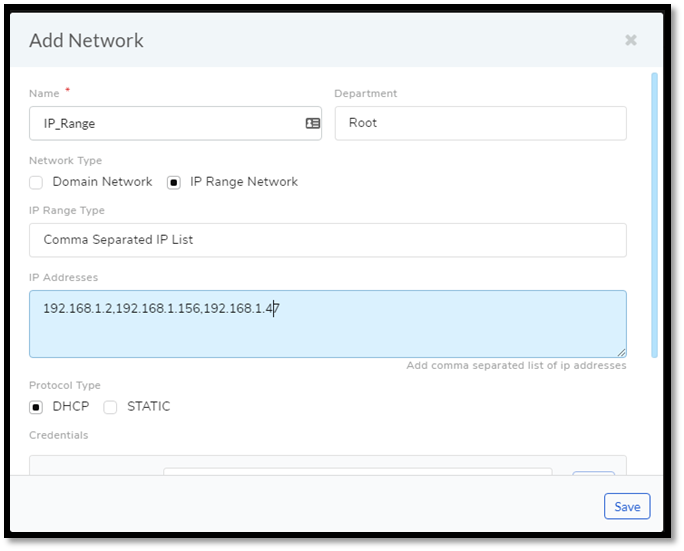
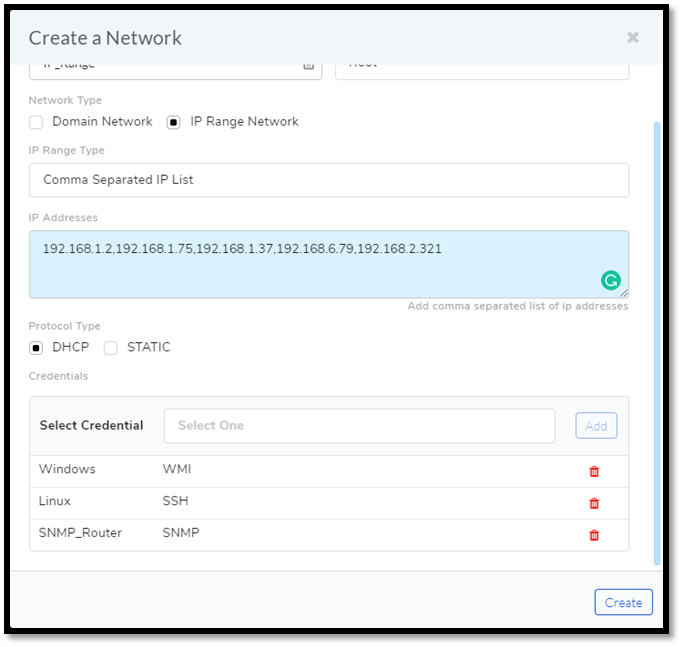
We have entered the IP addresses of every machine/device as a comma-separated list. We do not know whether their IP addresses are static or not, so we have gone with the DHCP. Finally, we have added the credentials that we created earlier.
Configuring DNS:
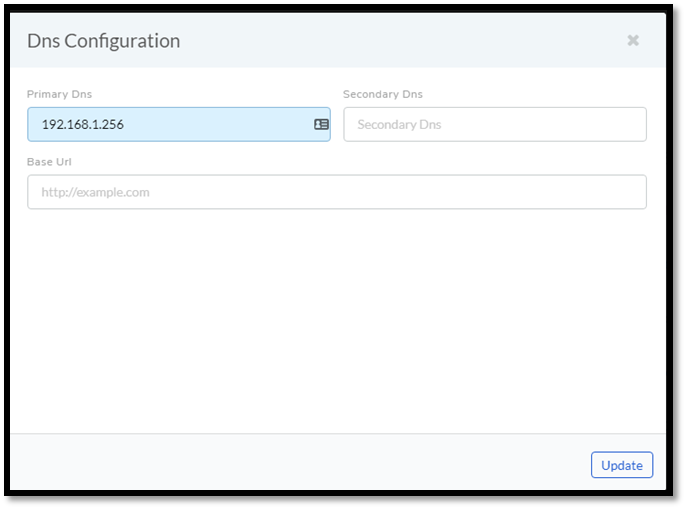
Since we have selected the Protocol Type as DHCP, we need to configure the DNS settings. Learn more about DNS Configuration:
We go to Admin >> DNS Configuration (Under IT Infrastructure).
The DNS Configurations page opens. We add the Primary DNS and Update the settings.
Creating a Discovery Probe:
Now we create the Discovery Probe that performs the discovery in the network.
We go to Asset (one of the Navigation Tabs) >> Discovery Probe.
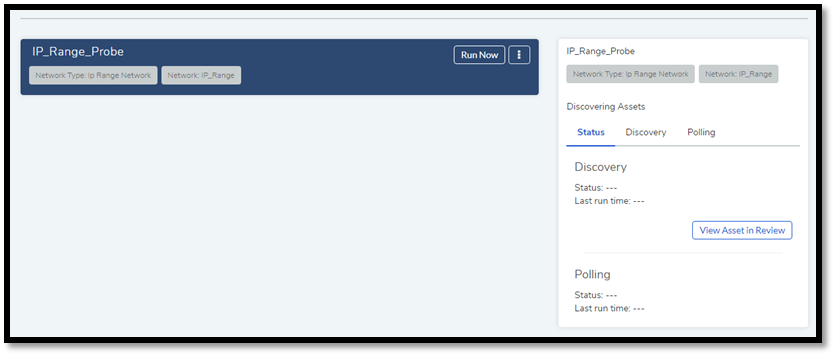
We create a Probe called IP_Range_Probe using the Network that we have created. Learn how to create a Probe.
Our first Discovery Operation:
Running our first discovery operation:
We go to Assets >> Discovery Probe.
We select IP_Range_Probe and click on Scan New Assets. We select automatic addition of Assets. The Discovery operation starts and populates the CMDB. We can view the Assets in the Asset List View.
11.20.6.2. Domain Network Discovery Probe
We create another Probe which uses a Domain Network. We already have the necessary credential in the Library. We just need to add a new Network.
Adding a Network:
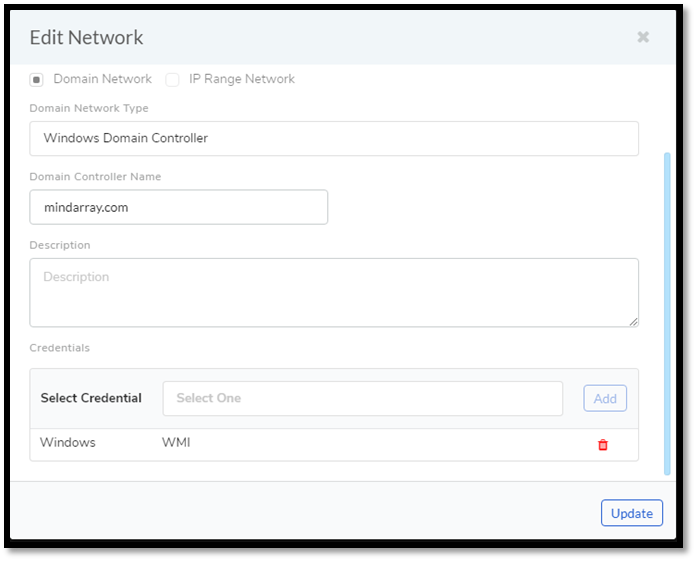
We add a new Network called Domain_Net almost following the same steps as we did while adding the IP_Range. The difference is that here the Network Type is a Domain Network and Domain Network Type is Windows Domain Controller.
Domain Controller Name can be an IP Address or a domain name. If IP Address is there, then you must configure DNS.
Creating a Discovery Probe:
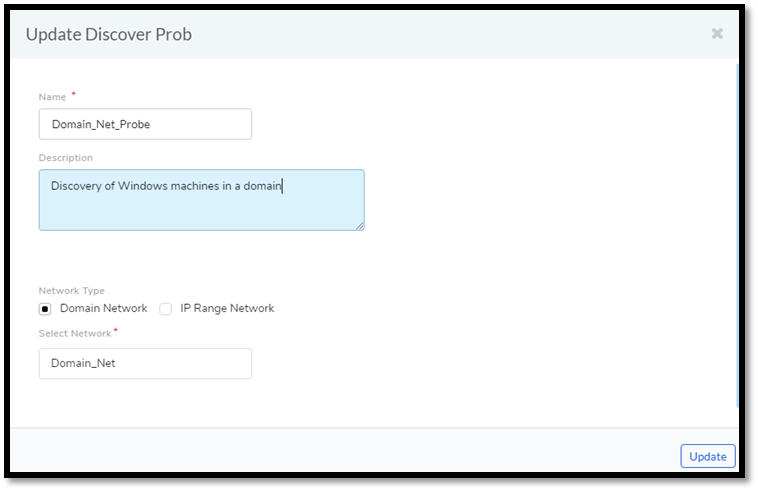
We create another Probe that uses a Domain Network to discovery Windows machines. As we did with IP_Range_Probe, we use the Create Discovery Probe dialog box.to create Domain_Net_Probe.
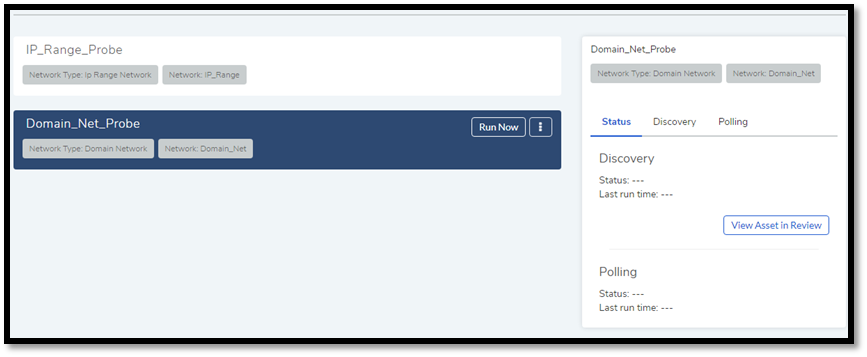
Discovery of Assets:
We have cleared the Asset List View so we can perform another Discovery using the new Probe. We are going to run the Domain_Net_Probe by clicking on Scan New Assets from the Discovery Probe page. We select the auto-addition option and the discovered Assets are automatically added to the CMDB.