Google Chat Config
Integrate ServiceOps with Google Chat to enable a conversational virtual agent and deliver real-time notifications directly to your users.
This guide provides step-by-step instructions for integrating Motadata ServiceOps with Google Chat. This integration allows your users to interact with a ServiceOps virtual agent and receive real-time notifications directly within their Google Chat conversations, streamlining support and communication. This document is intended for IT Administrators responsible for configuring both Google Workspace and ServiceOps.
Prerequisites
Before you begin the integration, ensure you have the following:
- A Google Workspace account with a "Business" or "Enterprise" plan.
- An account with administrator privileges for both the Google Admin console and the associated Google Cloud project.
- Your Motadata ServiceOps base URL. You can get this from Admin > Organization > System Preference > Application Settings.
- Valid SSL certificate
- Internet connectivity
- Requester created in ServiceOps
Part 1: Google Workspace and Cloud Platform Configuration
This section covers the necessary setup within your Google environment to allow ServiceOps to connect securely.
Step 1: Allow Chat Apps in Google Workspace
As a Google Workspace administrator, you must first permit Chat apps to be installed for your users.
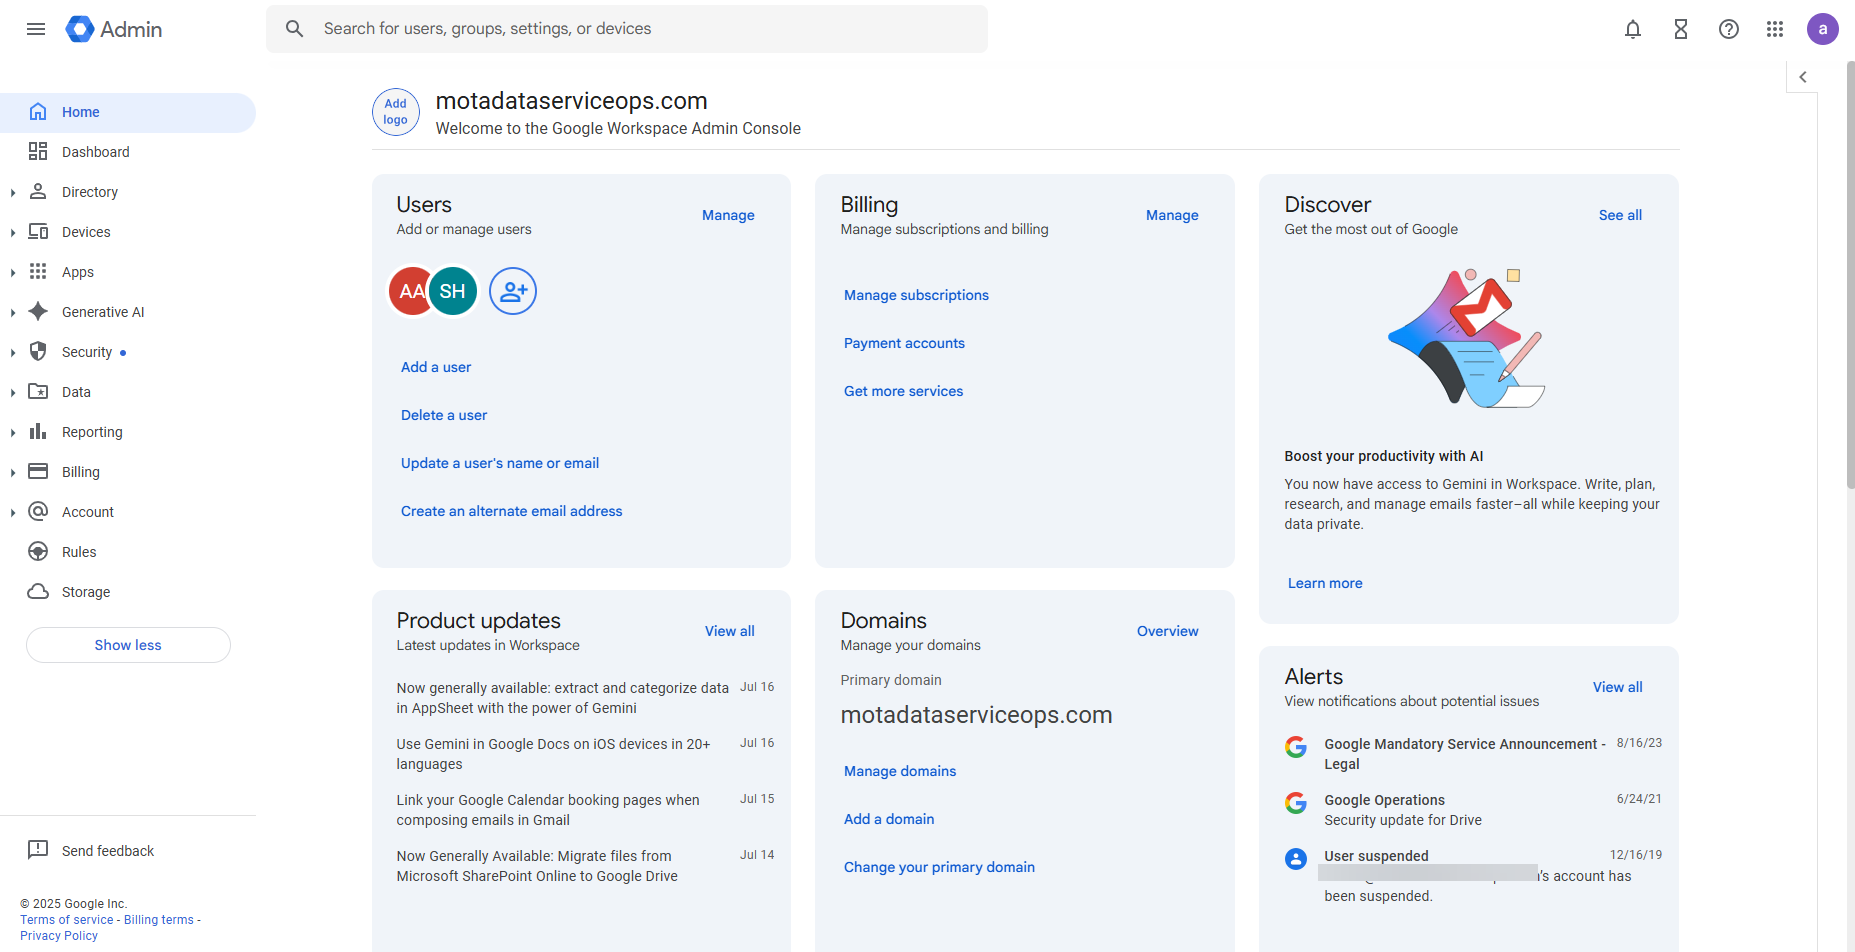
- Sign in to the Google Admin console at
admin.google.com.
- Navigate to Menu > Apps > Google Workspace > Google Chat.
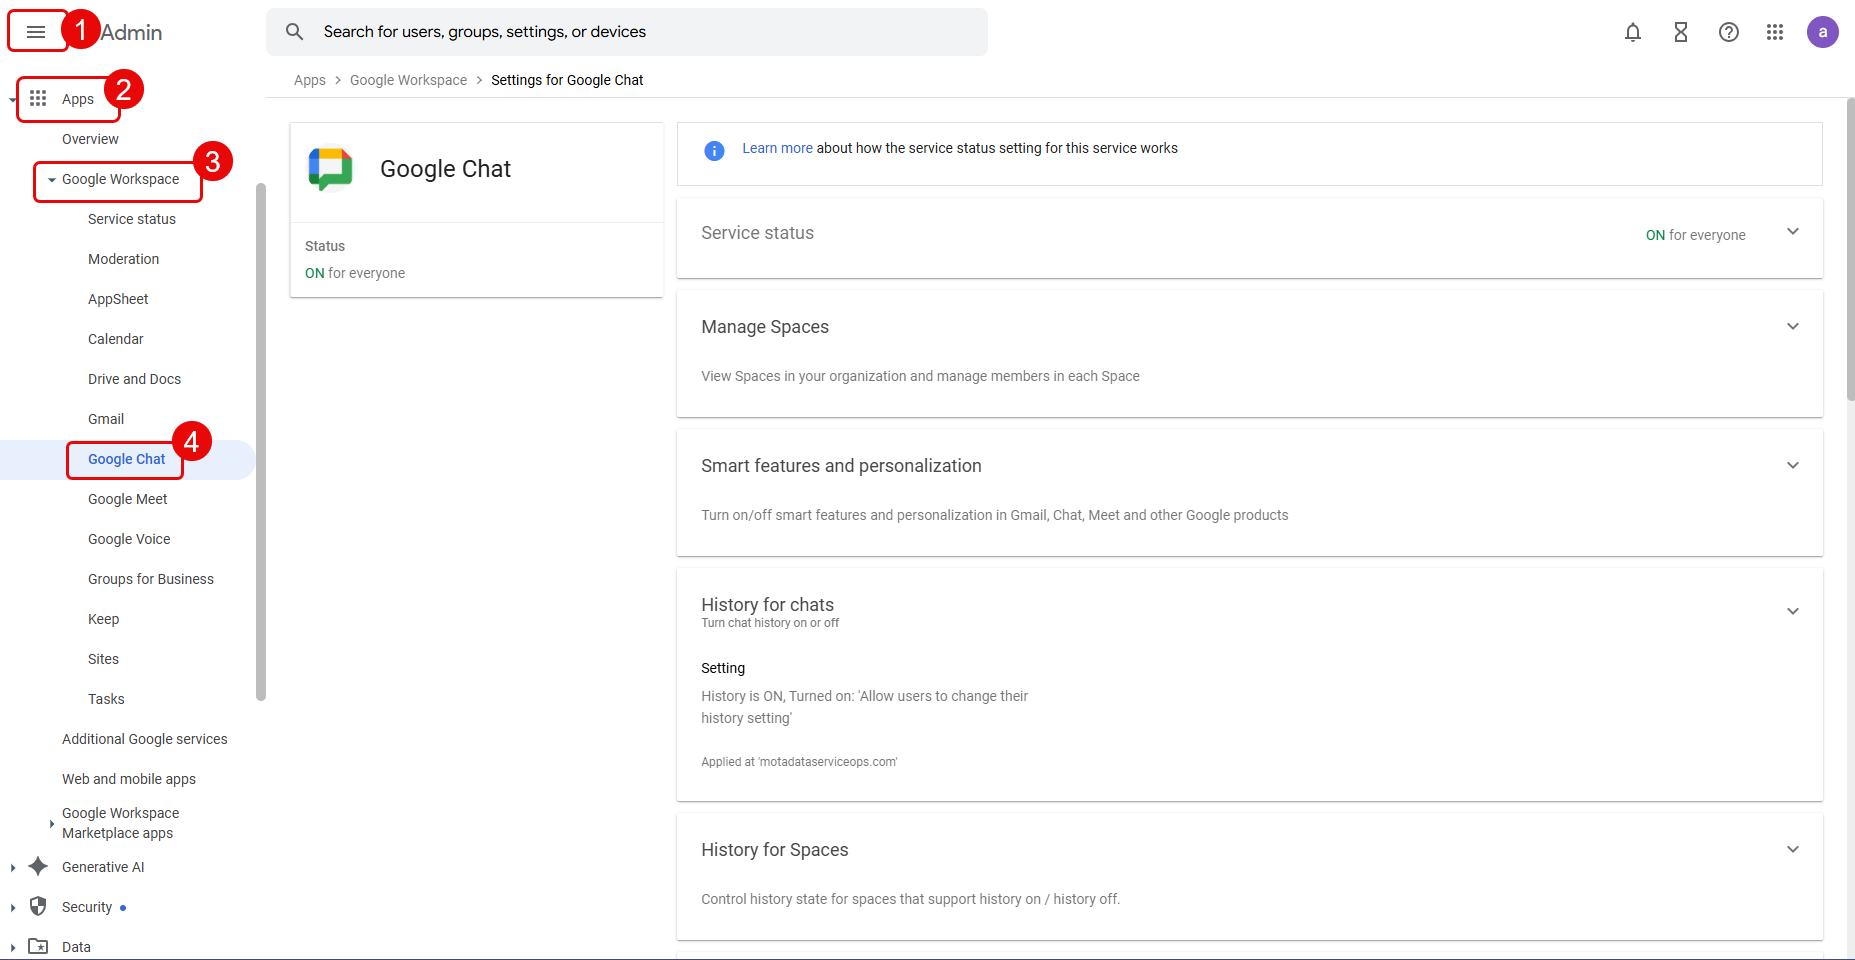
- Click on Chat apps.
- Ensure the desired organizational unit is selected on the left. For the integration to work reliably, it is highly recommended to select the top-level organizational unit.
- In the Service Settings, select ON for everyone.
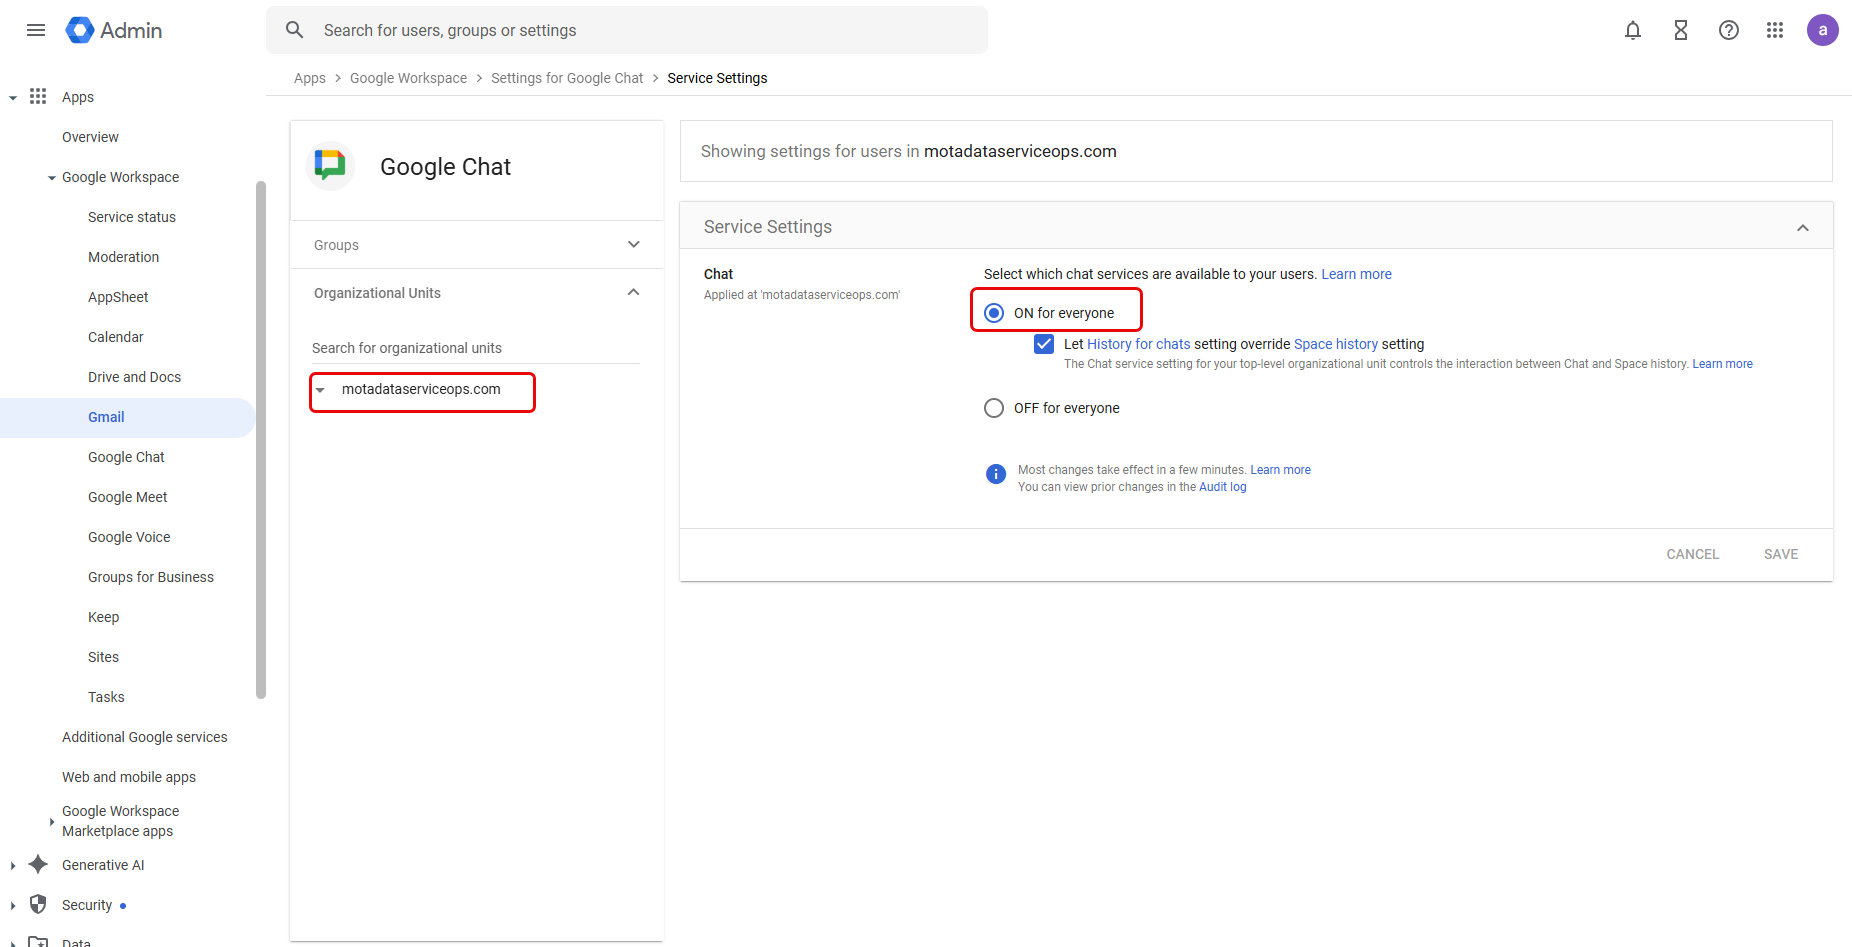
- Click Save.
Step 2: Create a Google Cloud Project
Every Chat app requires its own Google Cloud project.
- Go to the Google Cloud console.
- Create a new project.
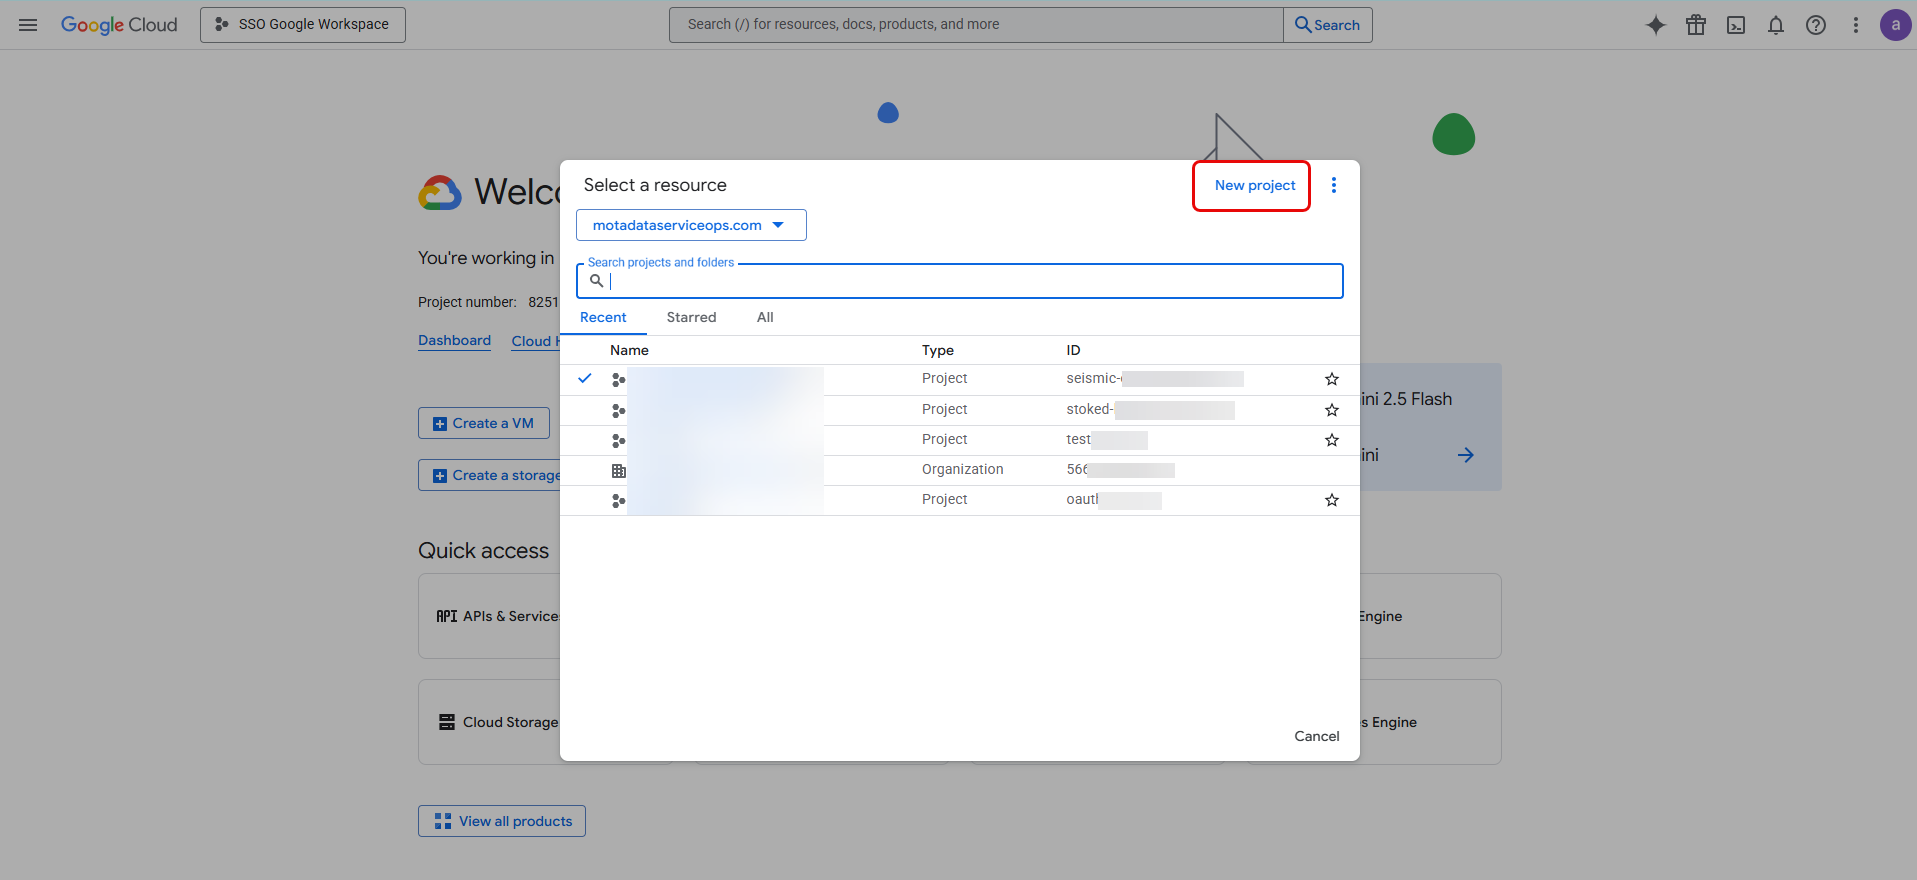
Give it a descriptive name like "Motadata Virtual Agent". Select the Organization, Location, and click Create.

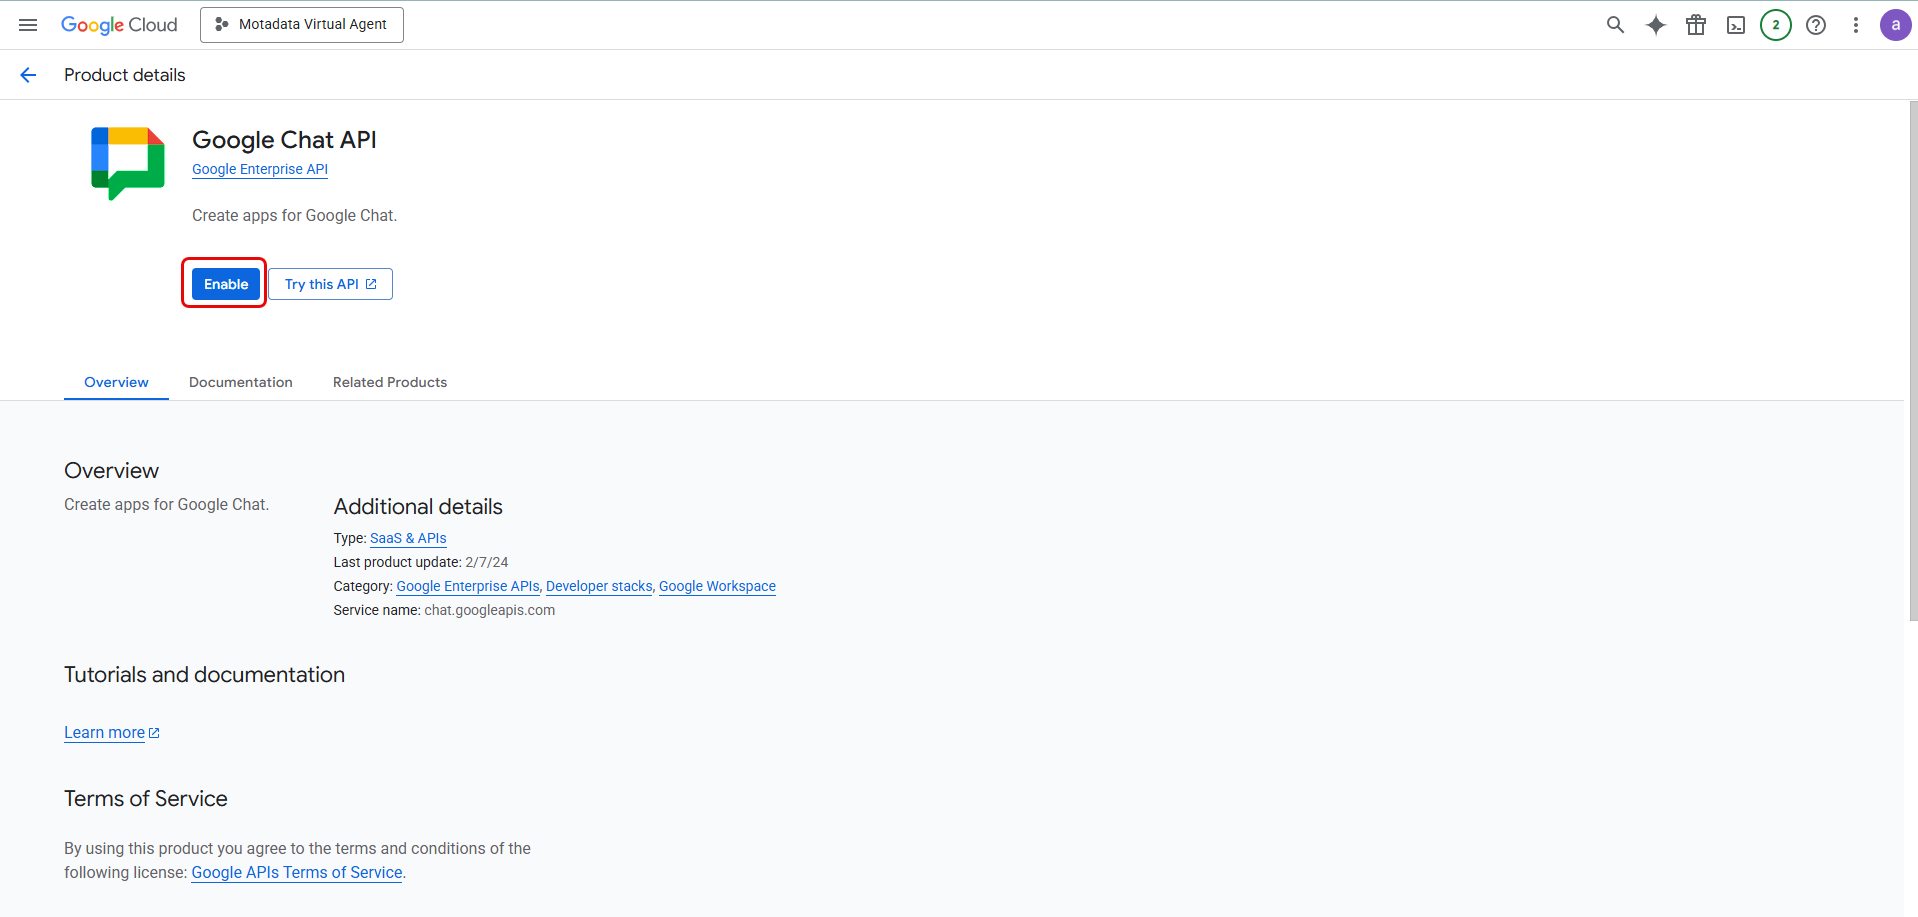
Step 3: Enable the Google Chat API
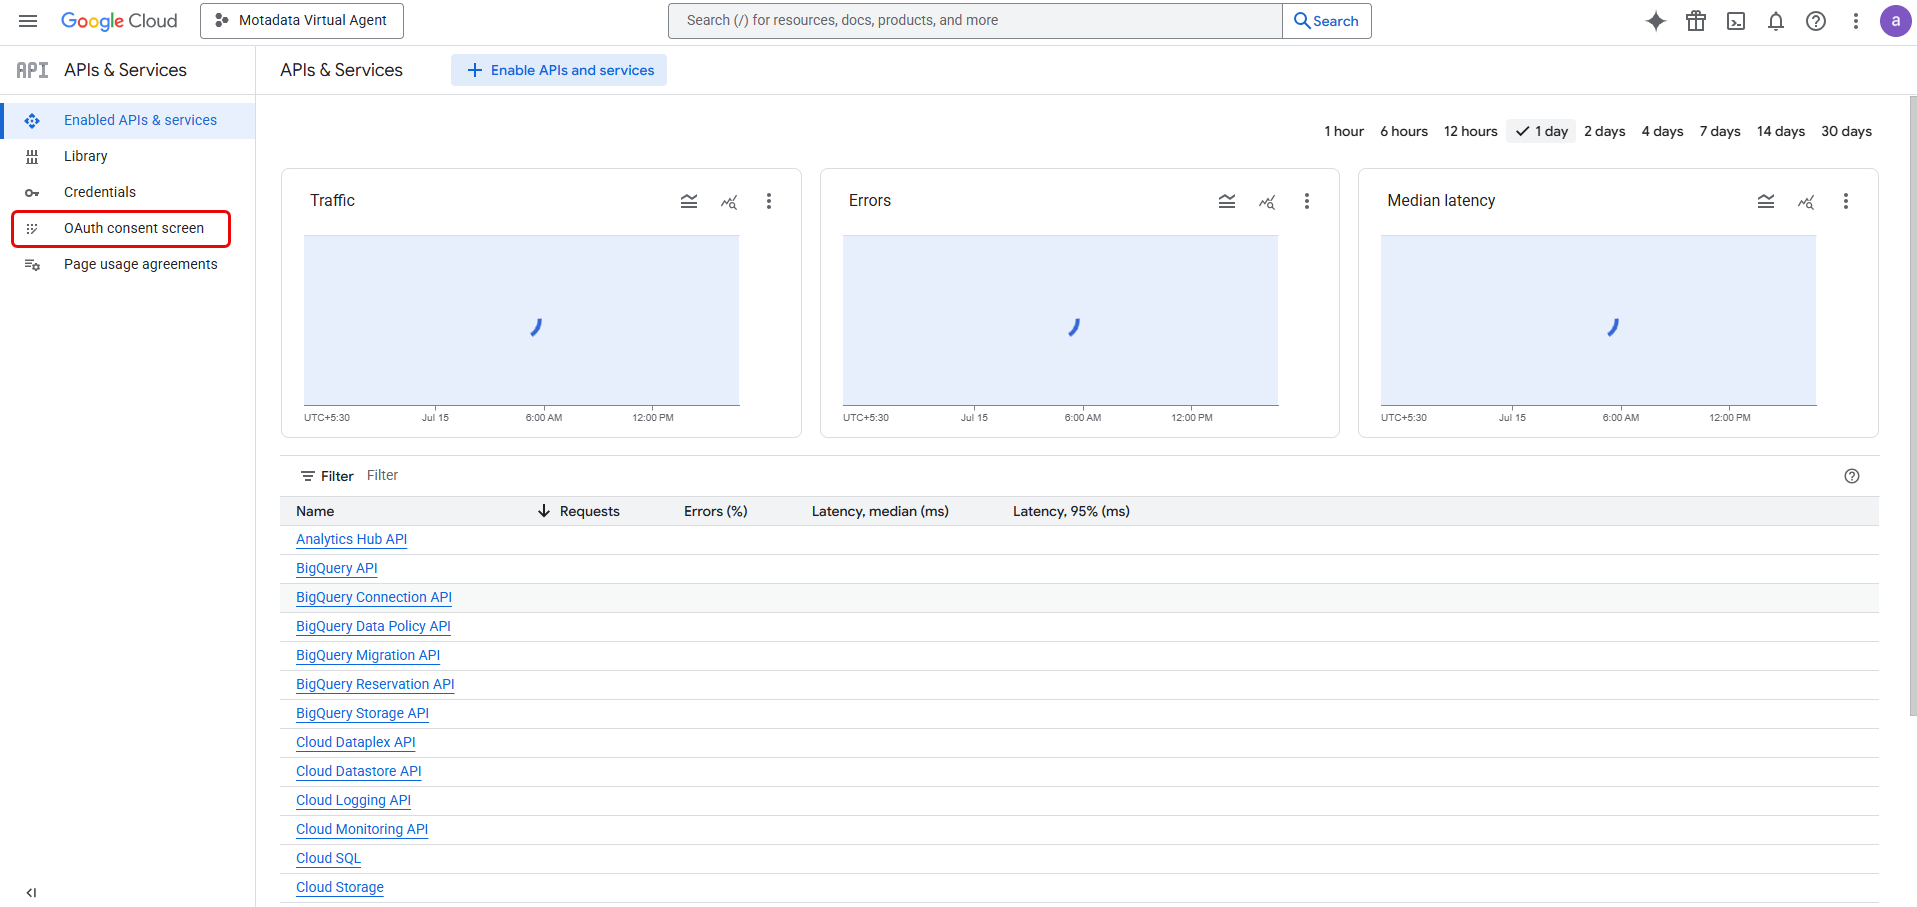
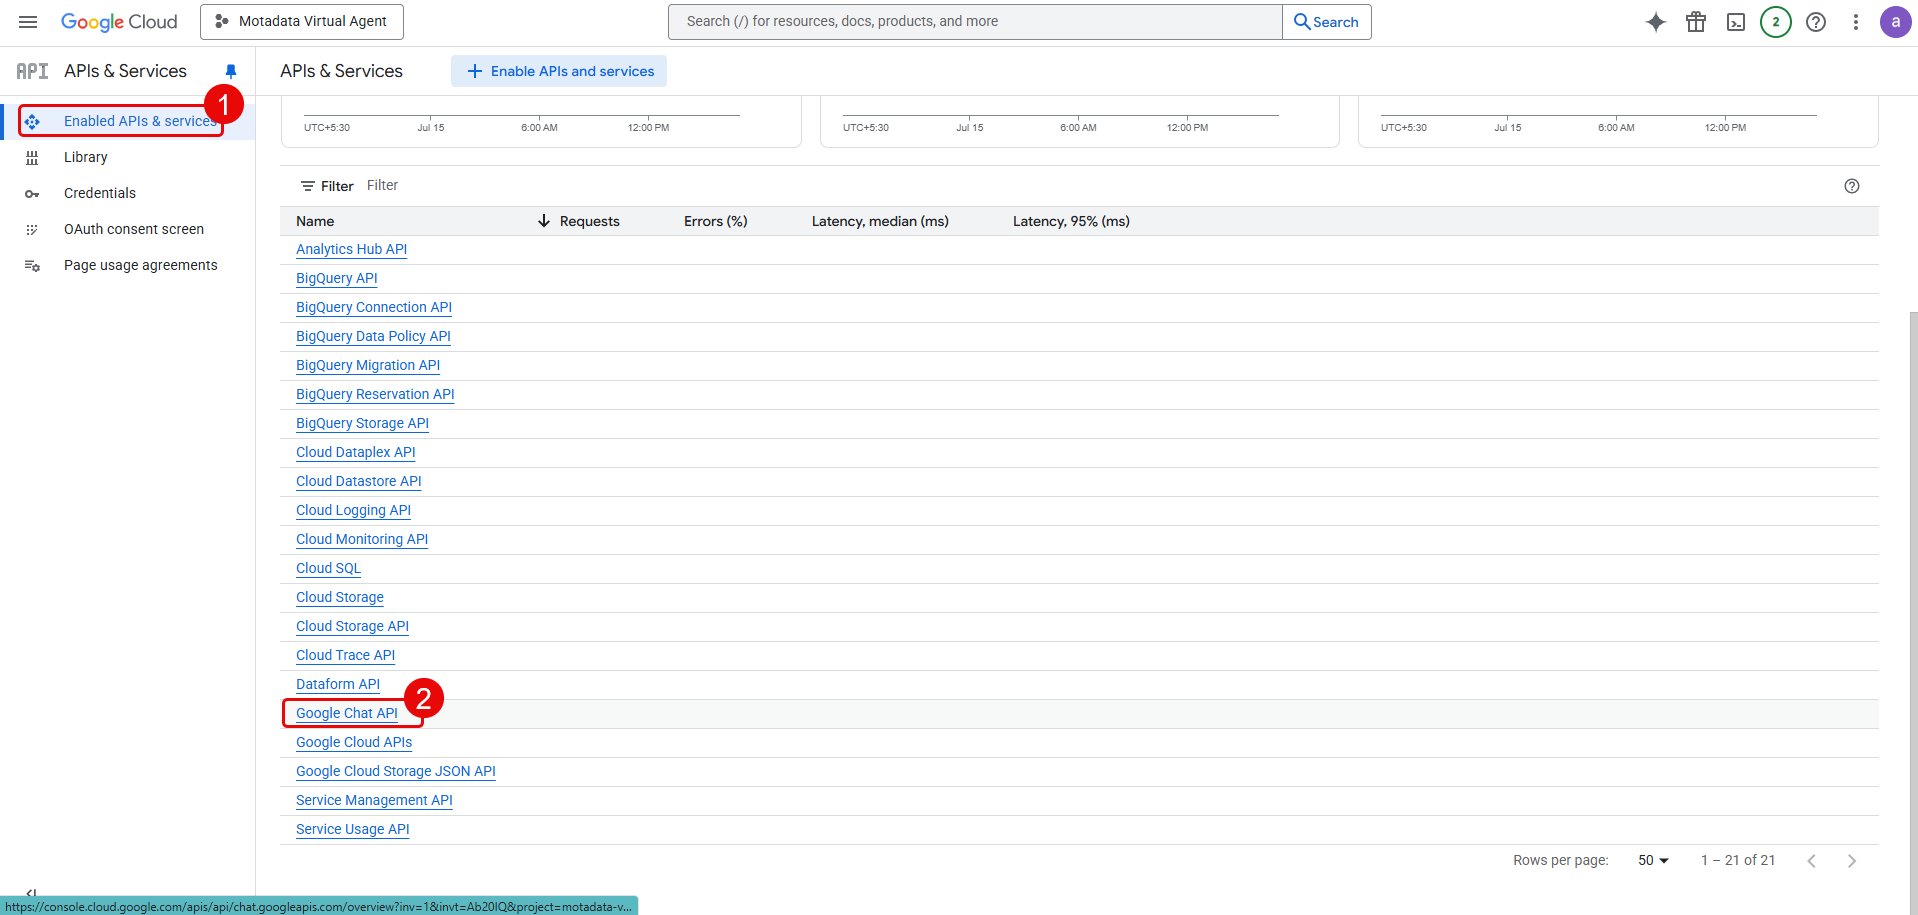
With your new project selected, open the menu, navigate to the APIs and Services > Enabled APIs & services page.
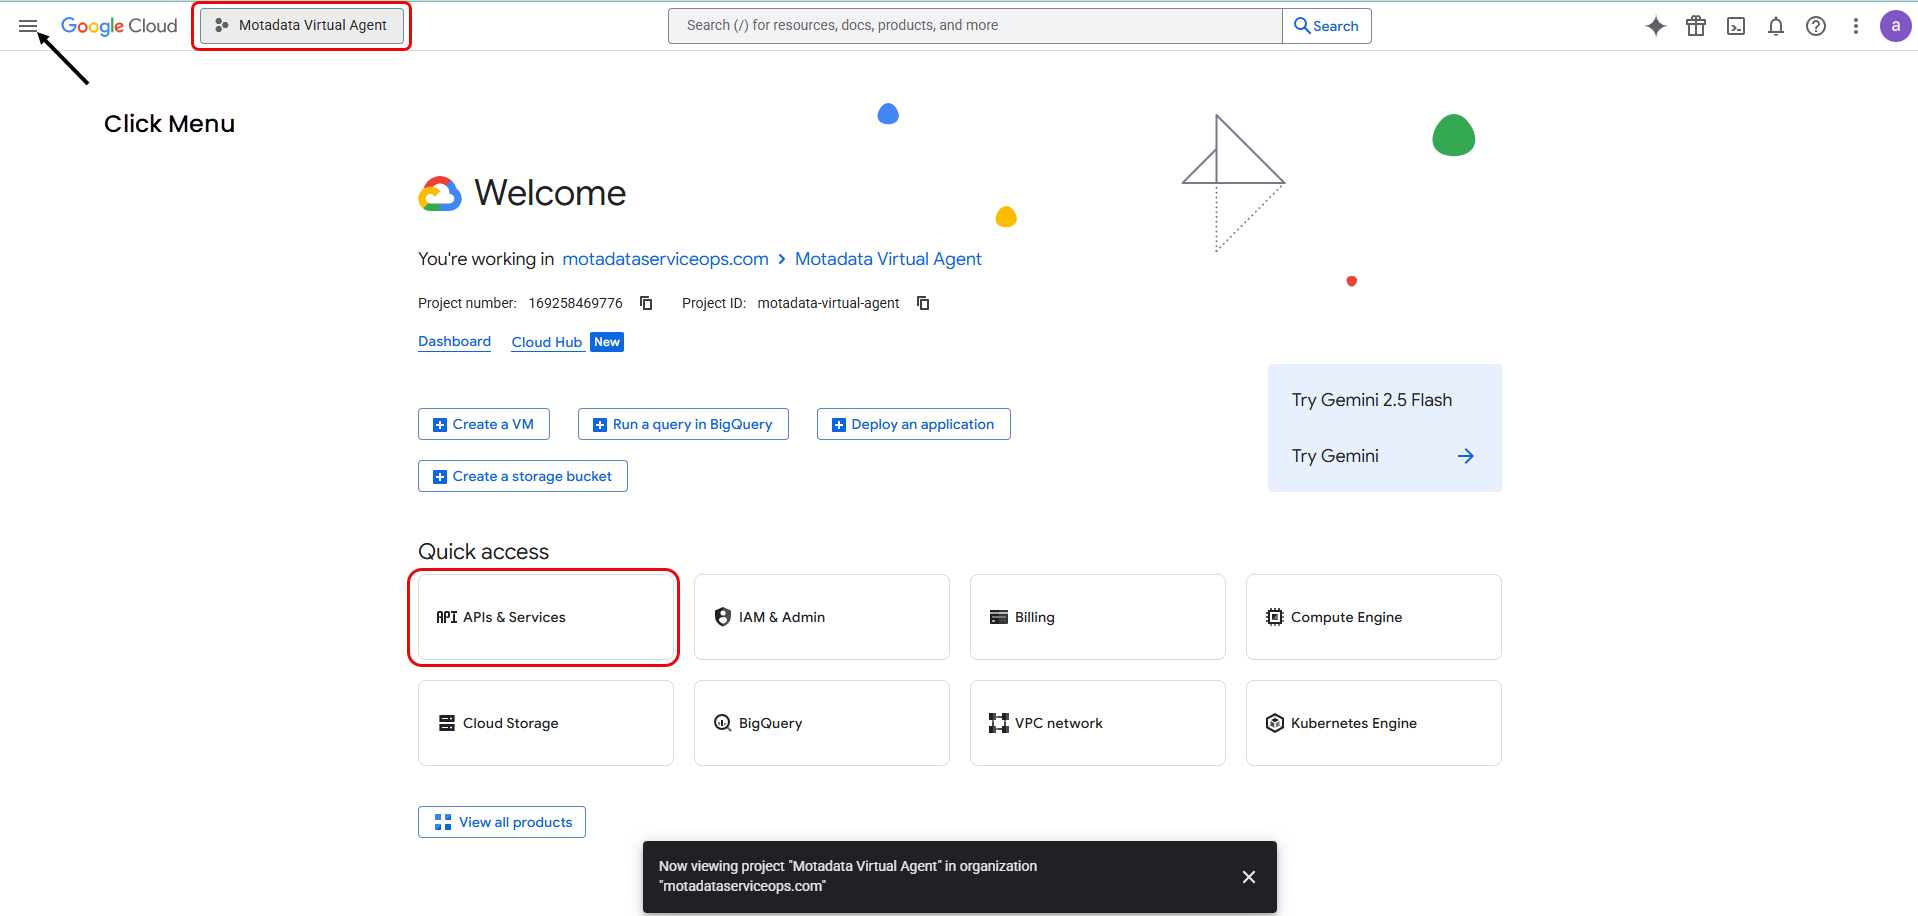
Click + ENABLE APIs and services.
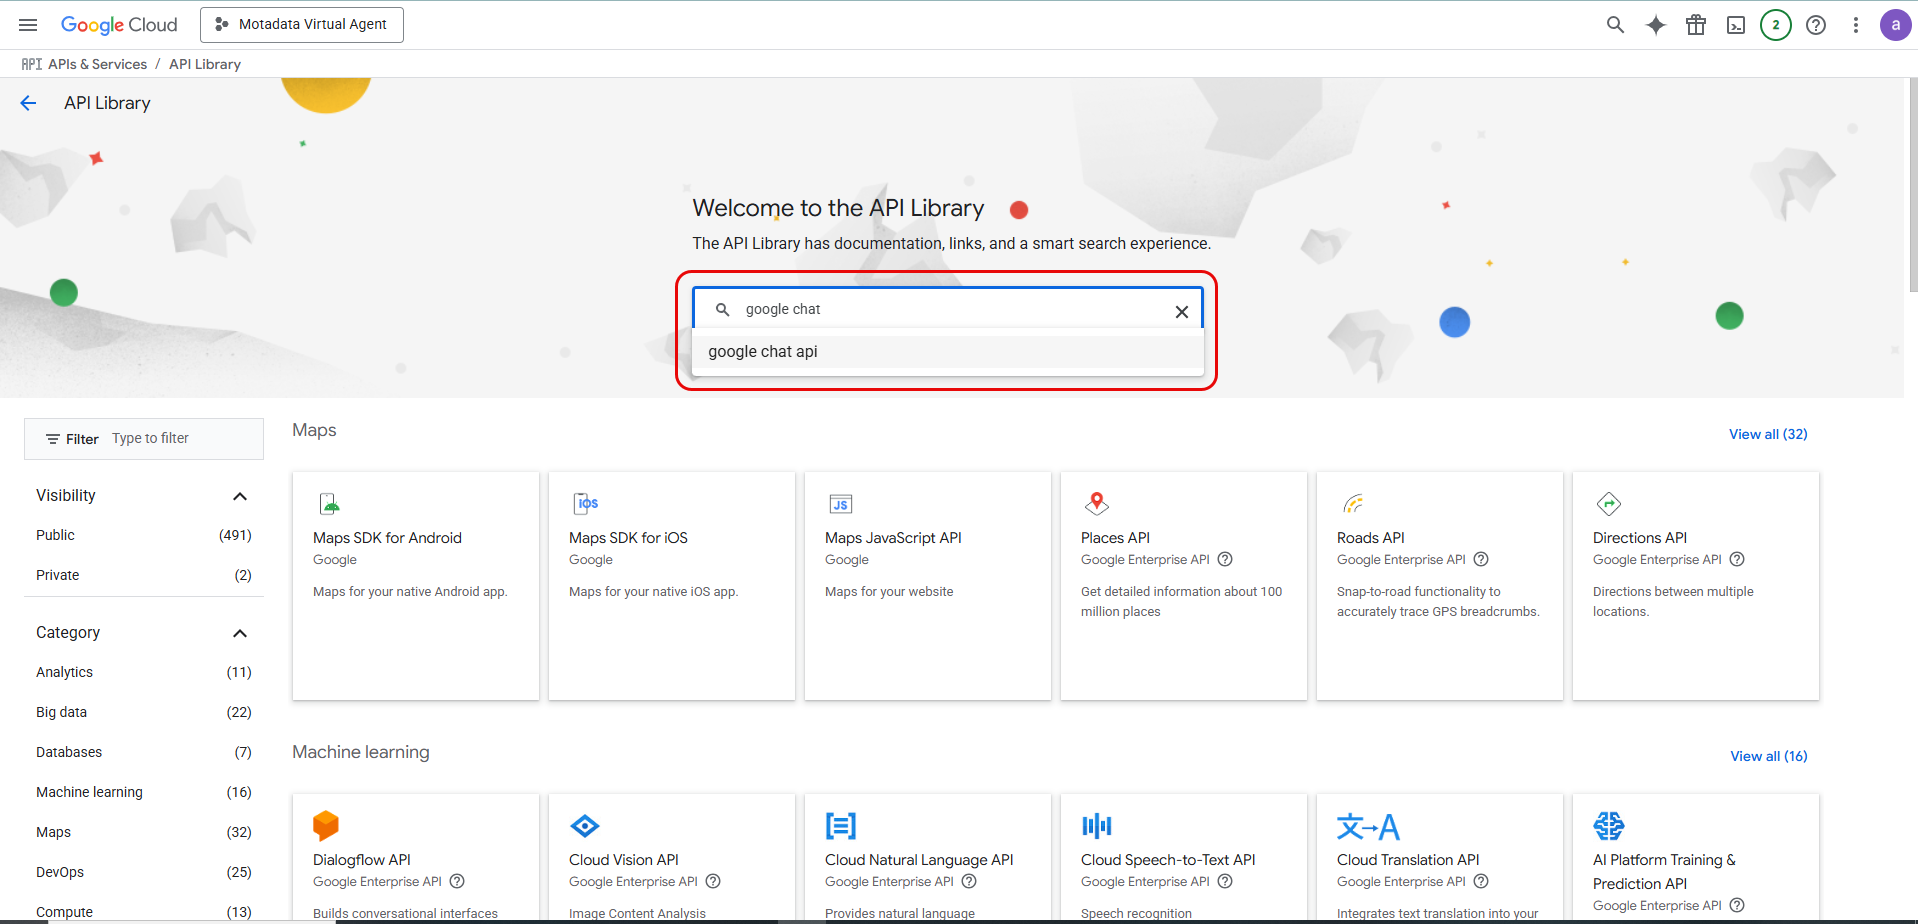
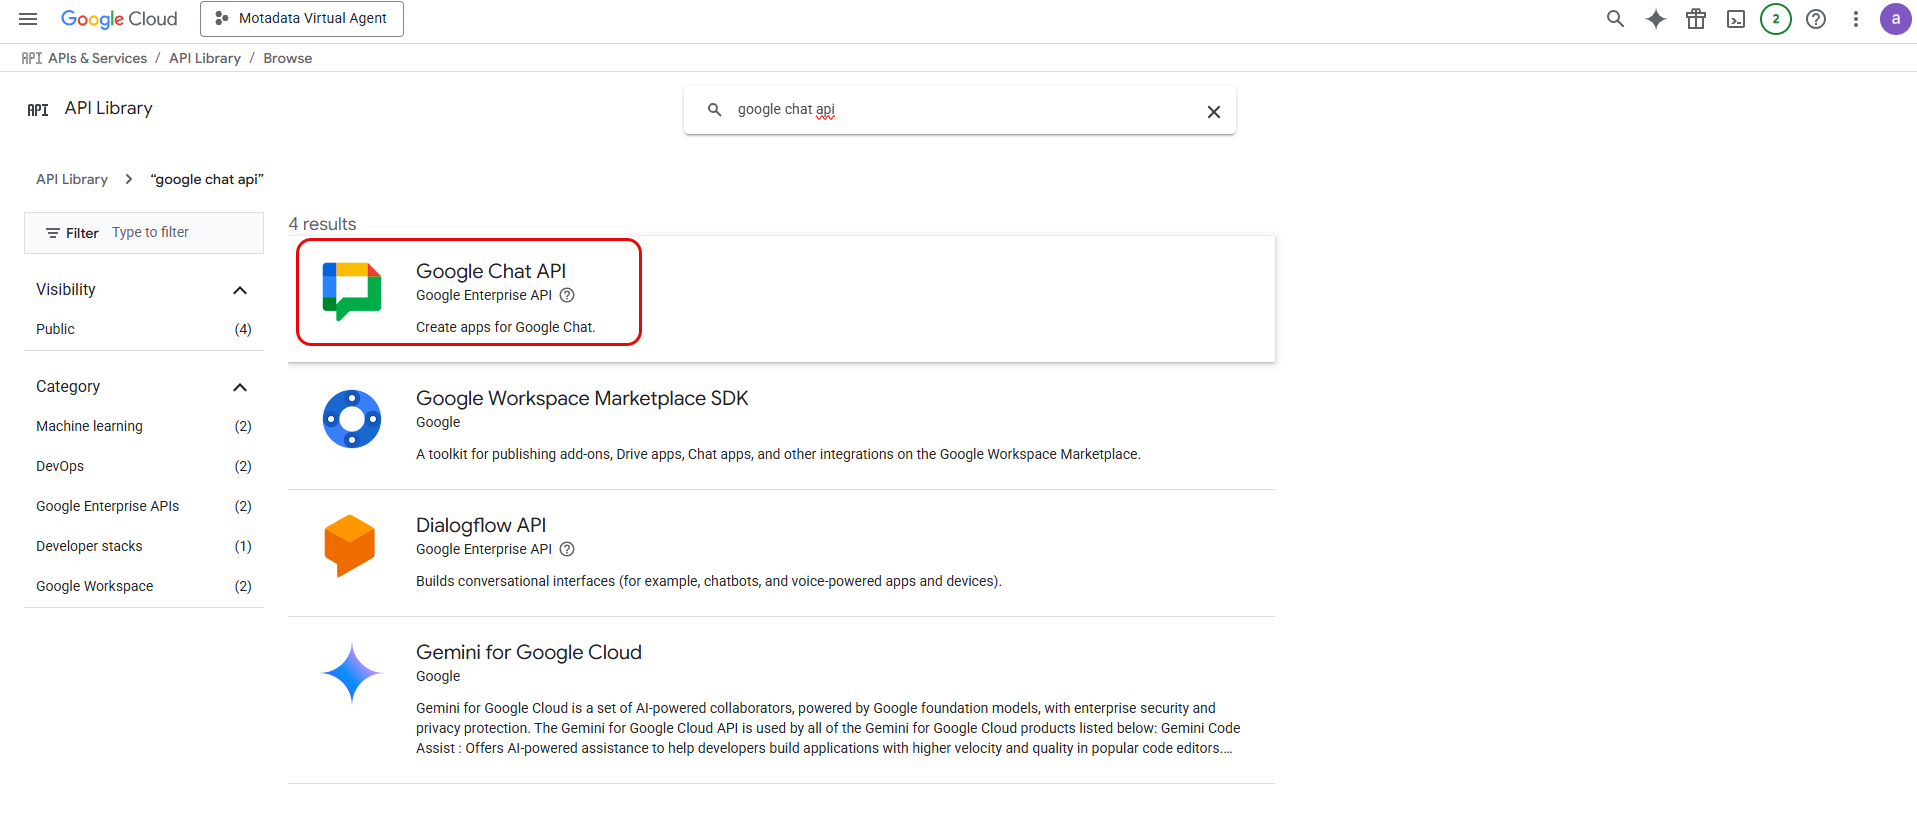
Search for "Google Chat API" and enable it for your project.
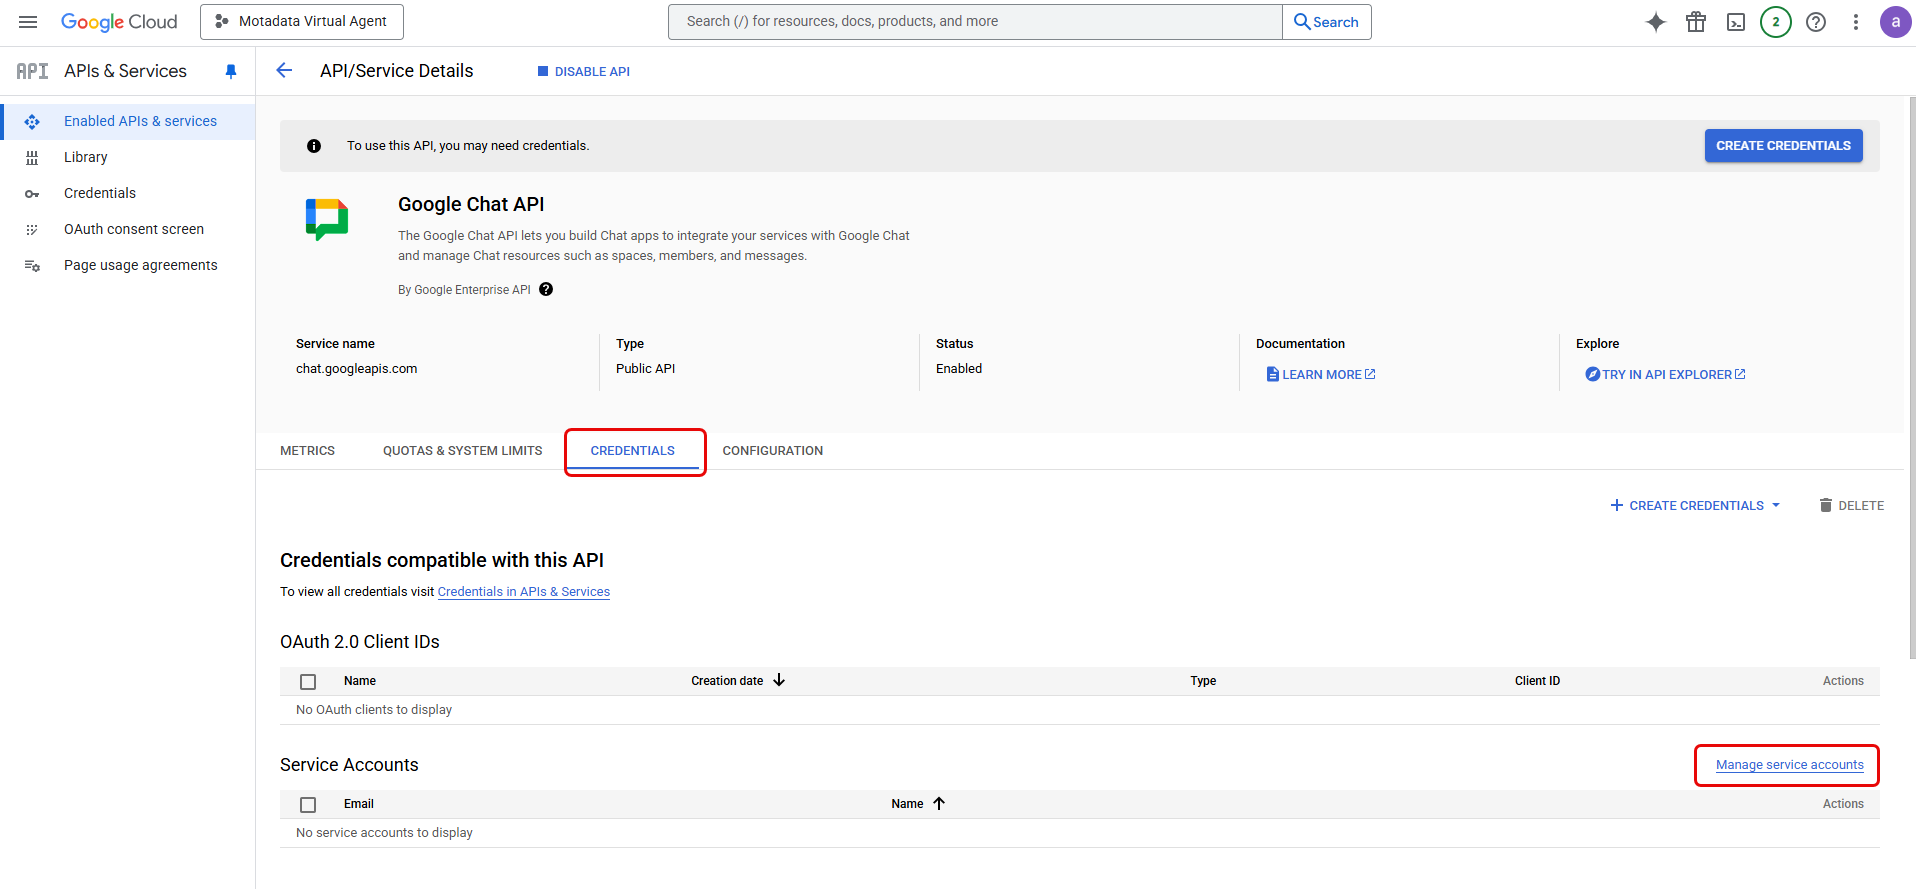
Next, create a Service Account. You can do so either by using the Manage service accounts link from the Google Chat API > Credentials tab, under the Service Accounts section or from menu > IAM & Admin > Service Accounts.
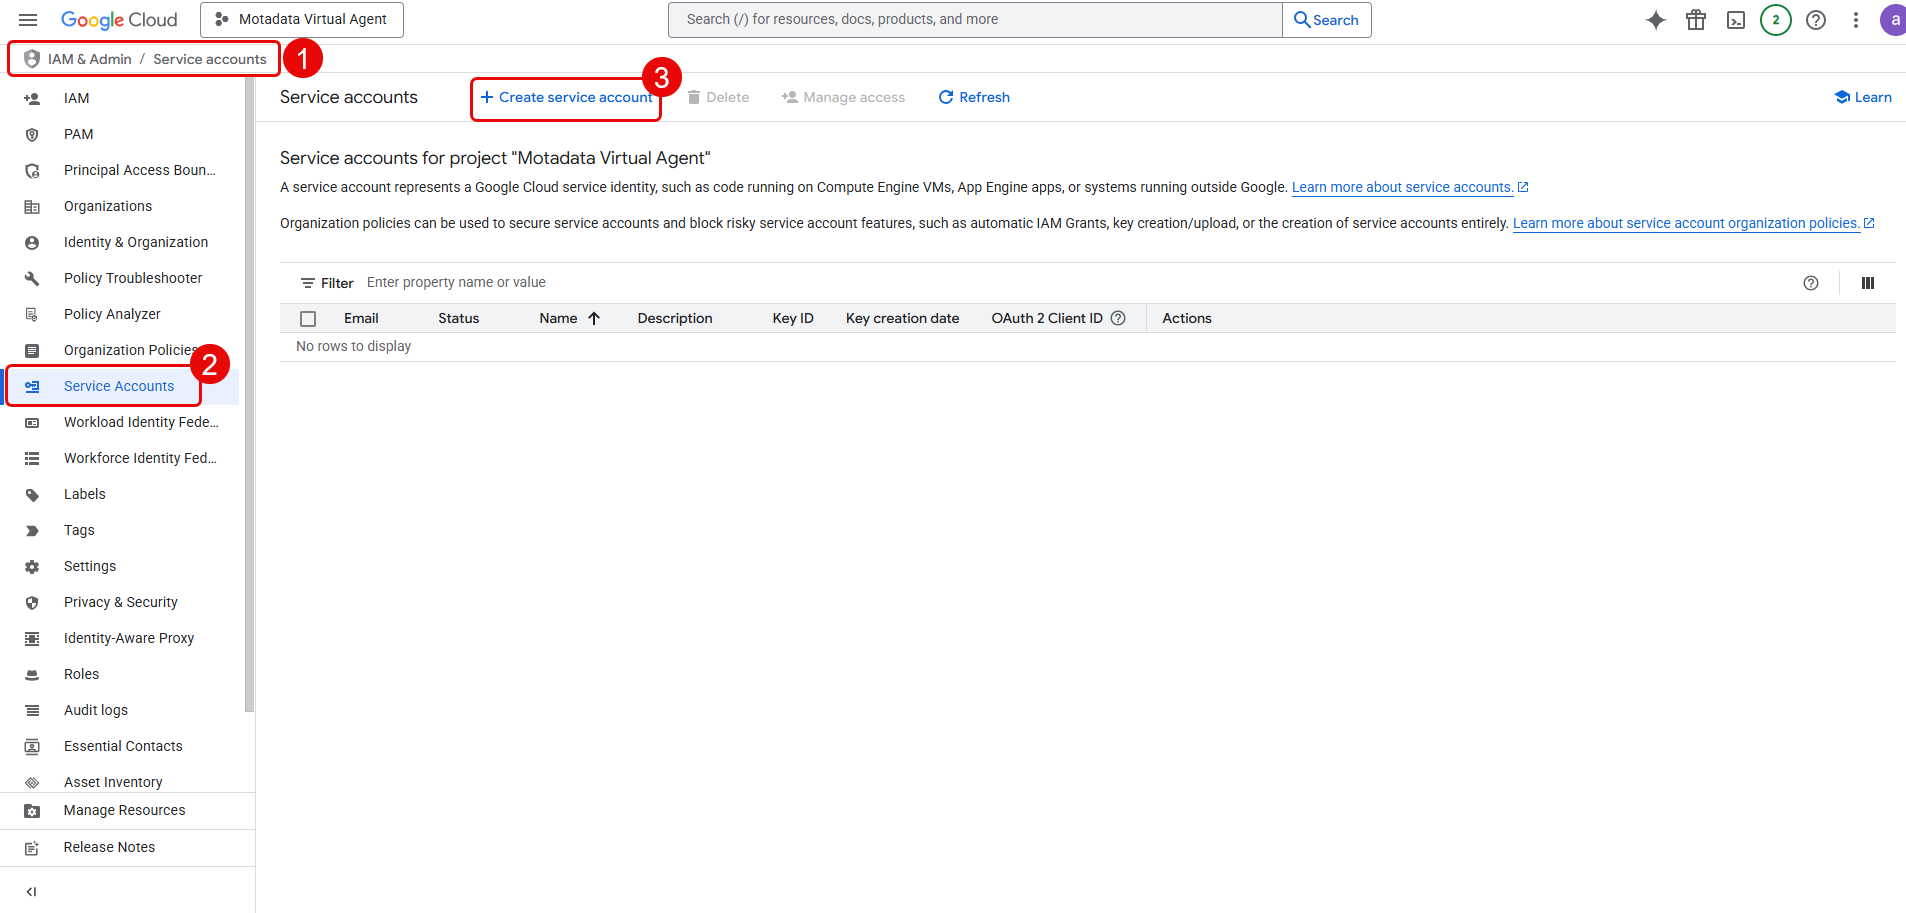
Step 4: Create and Configure a Service Account
A service account allows ServiceOps to make authorized API calls to Google.
In the Google Cloud console, navigate to menu > IAM & Admin > Service Accounts and click Create service account.
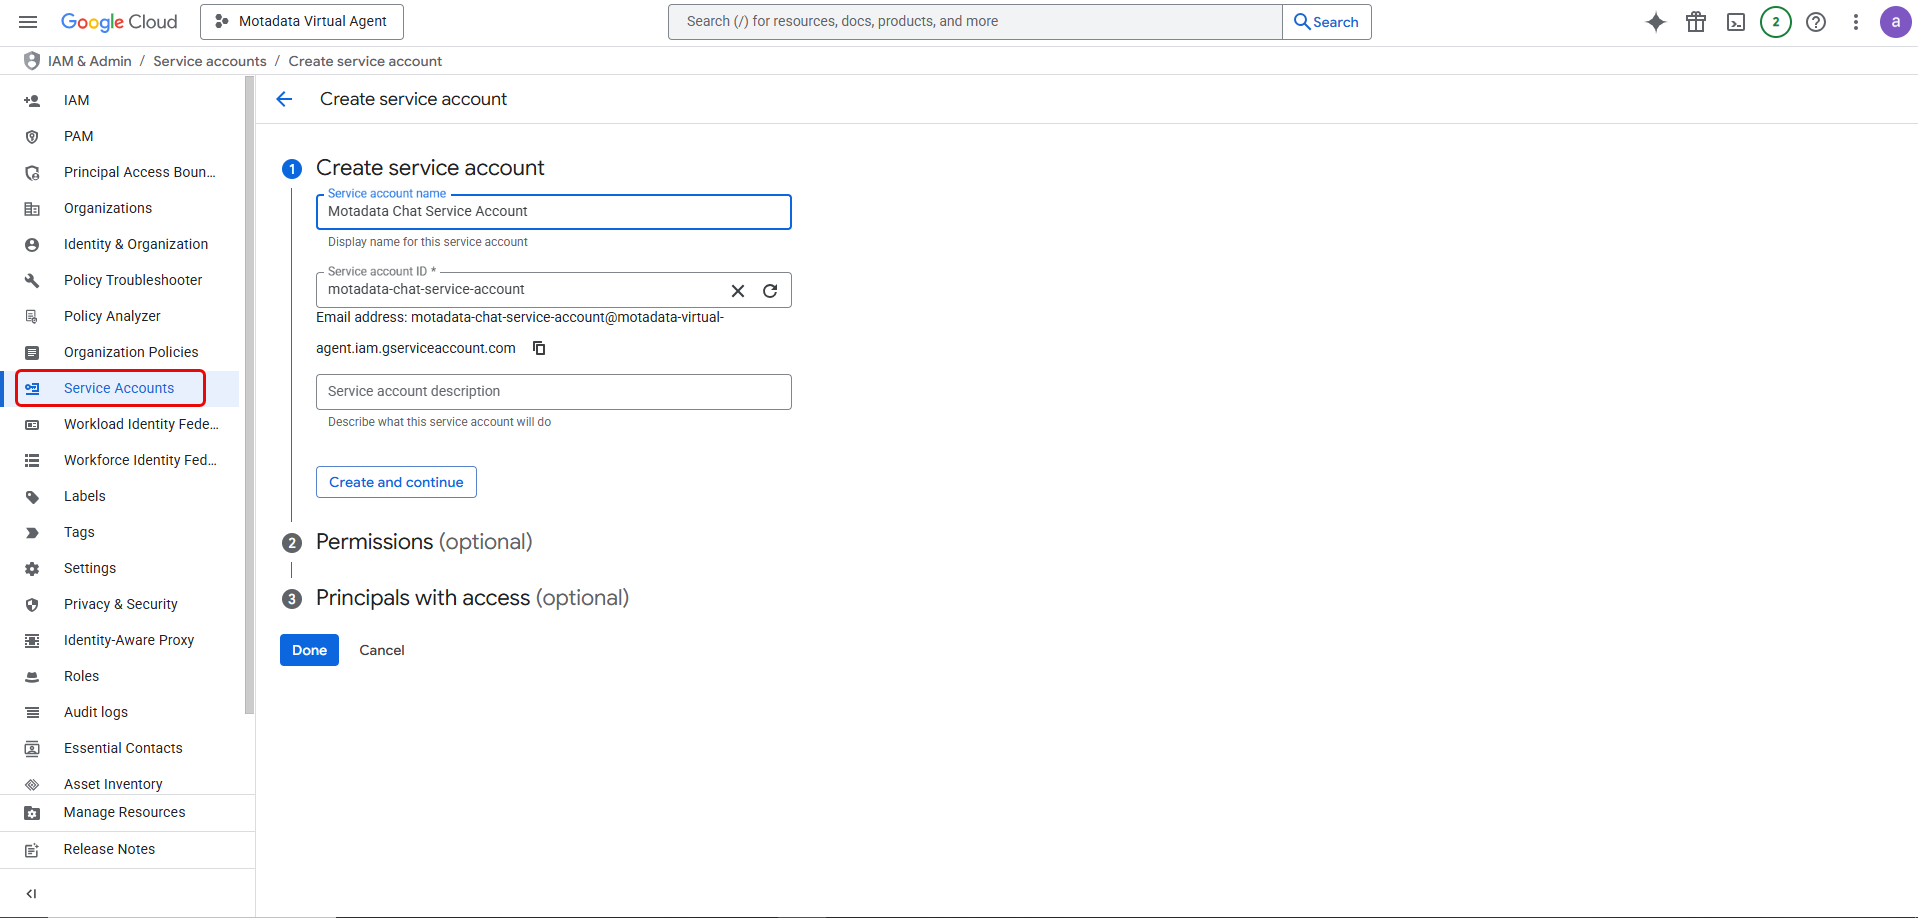
Provide a service account name (e.g., "Motadata Chat Service Account") and a description. Click Create and continue.
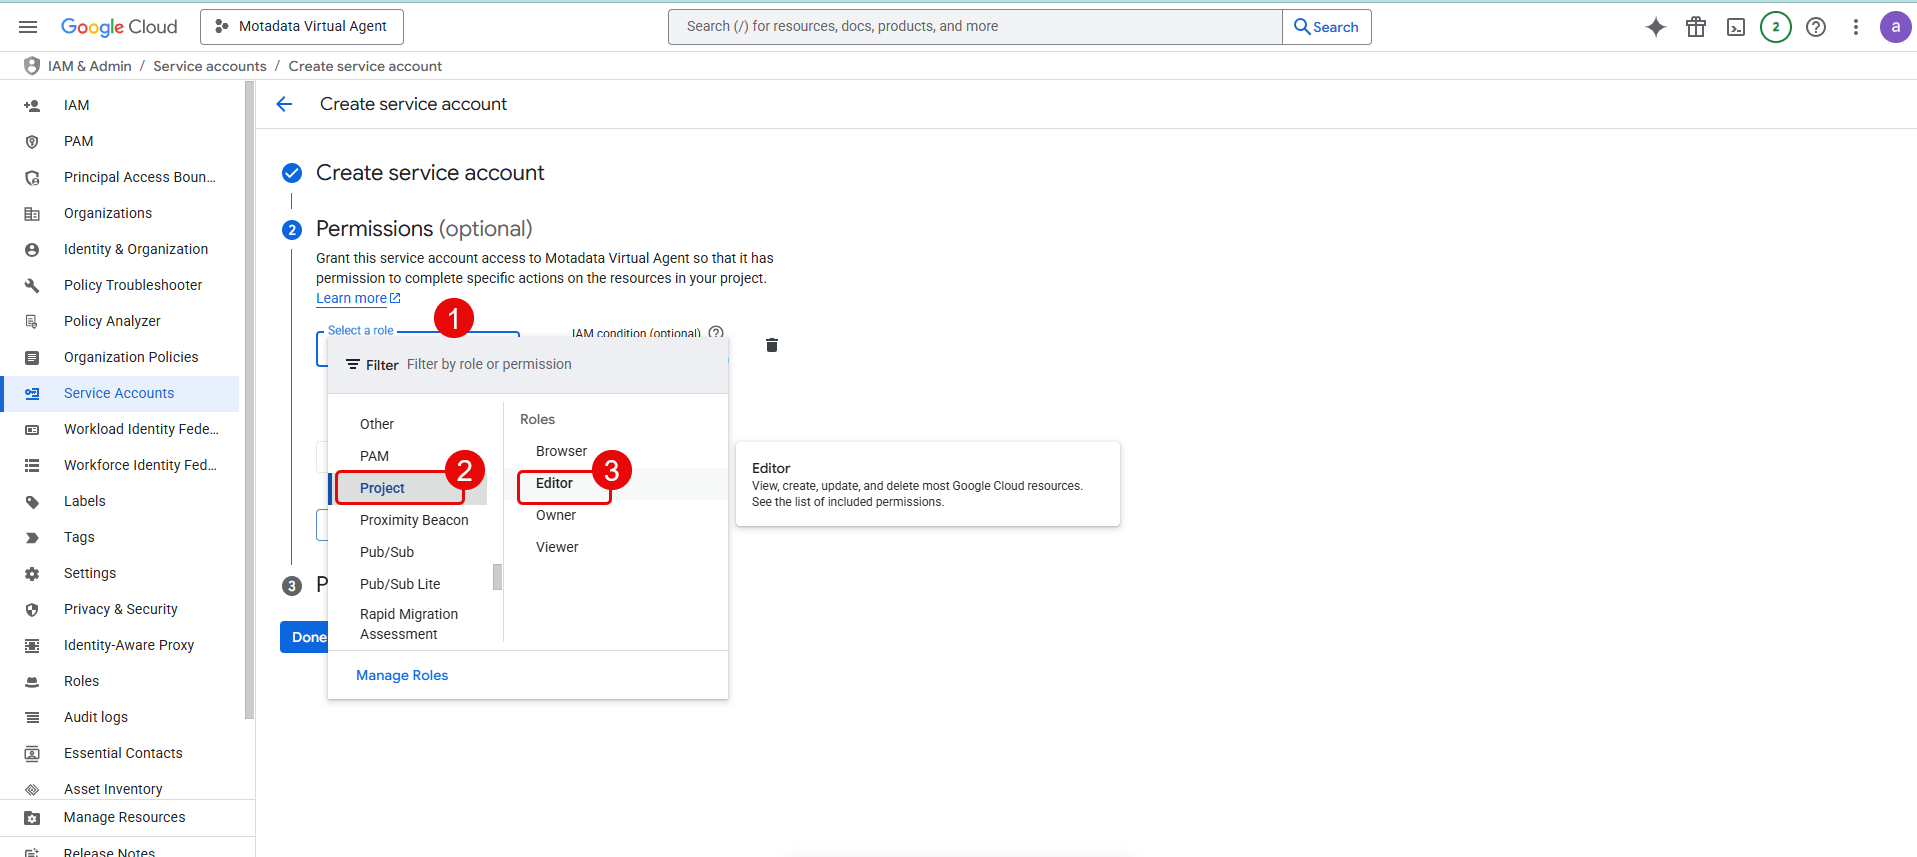
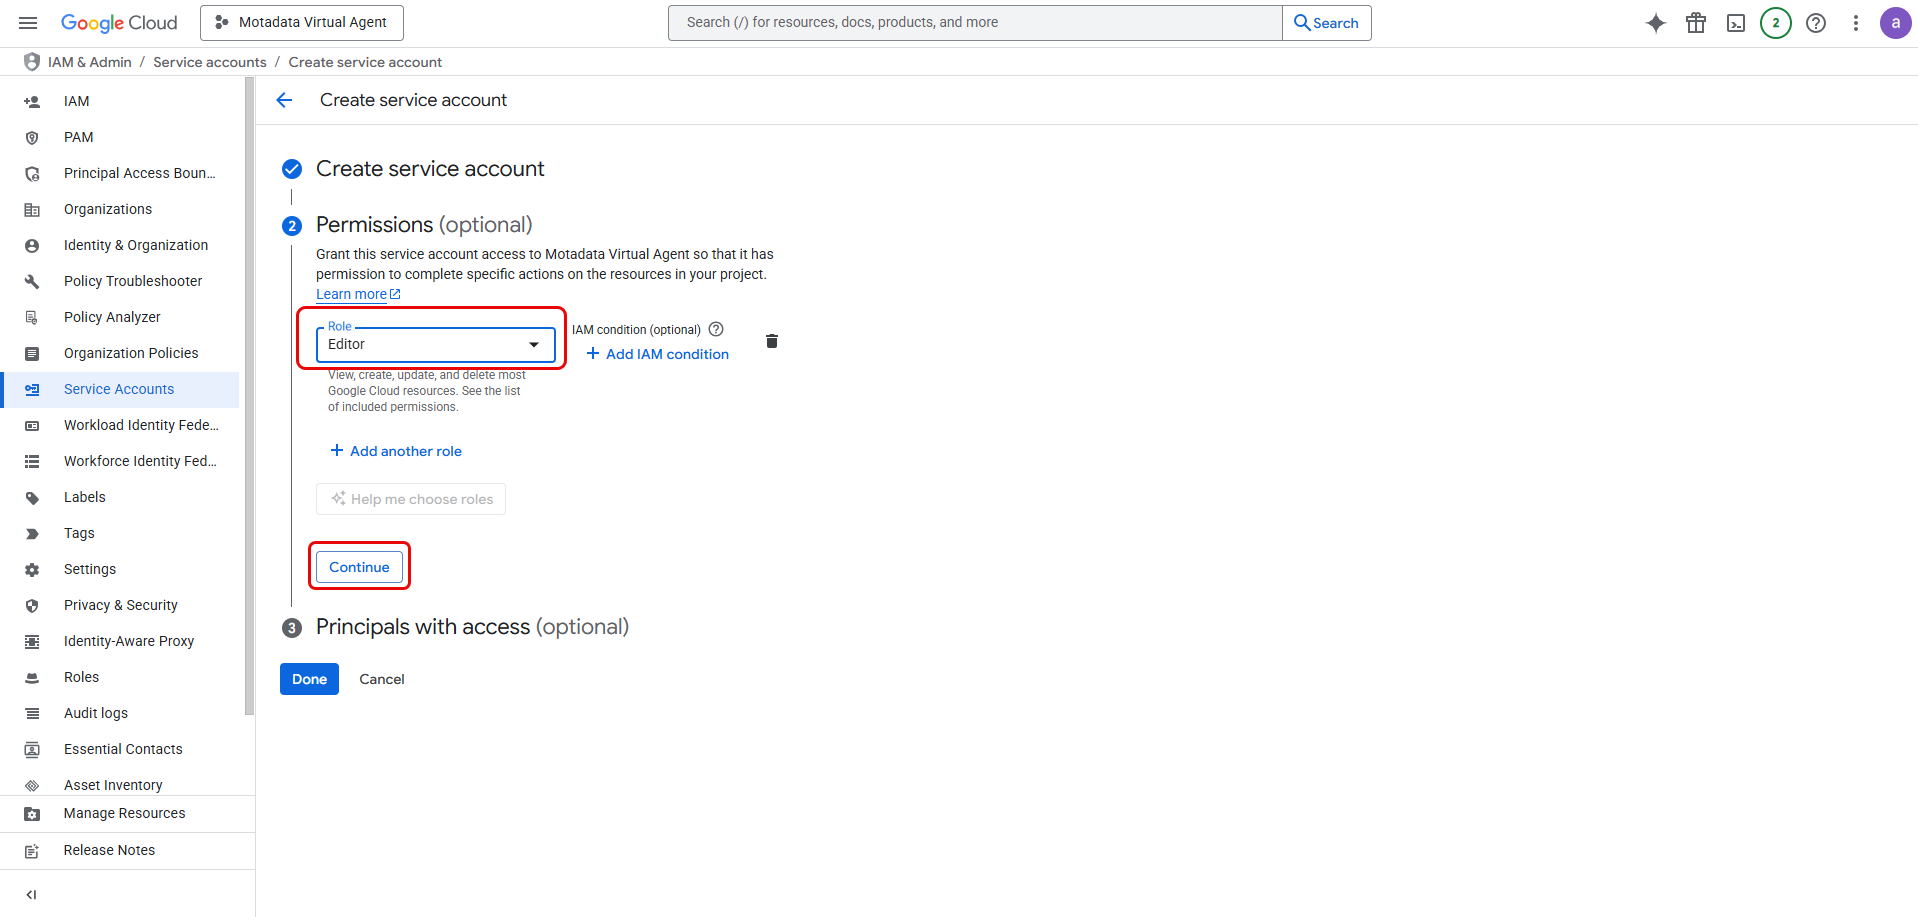
Grant the service account a role. While
Project > Editoris sufficient for initial setup, for stricter security, you should create a custom role with only the necessary permissions. Click CONTINUE.
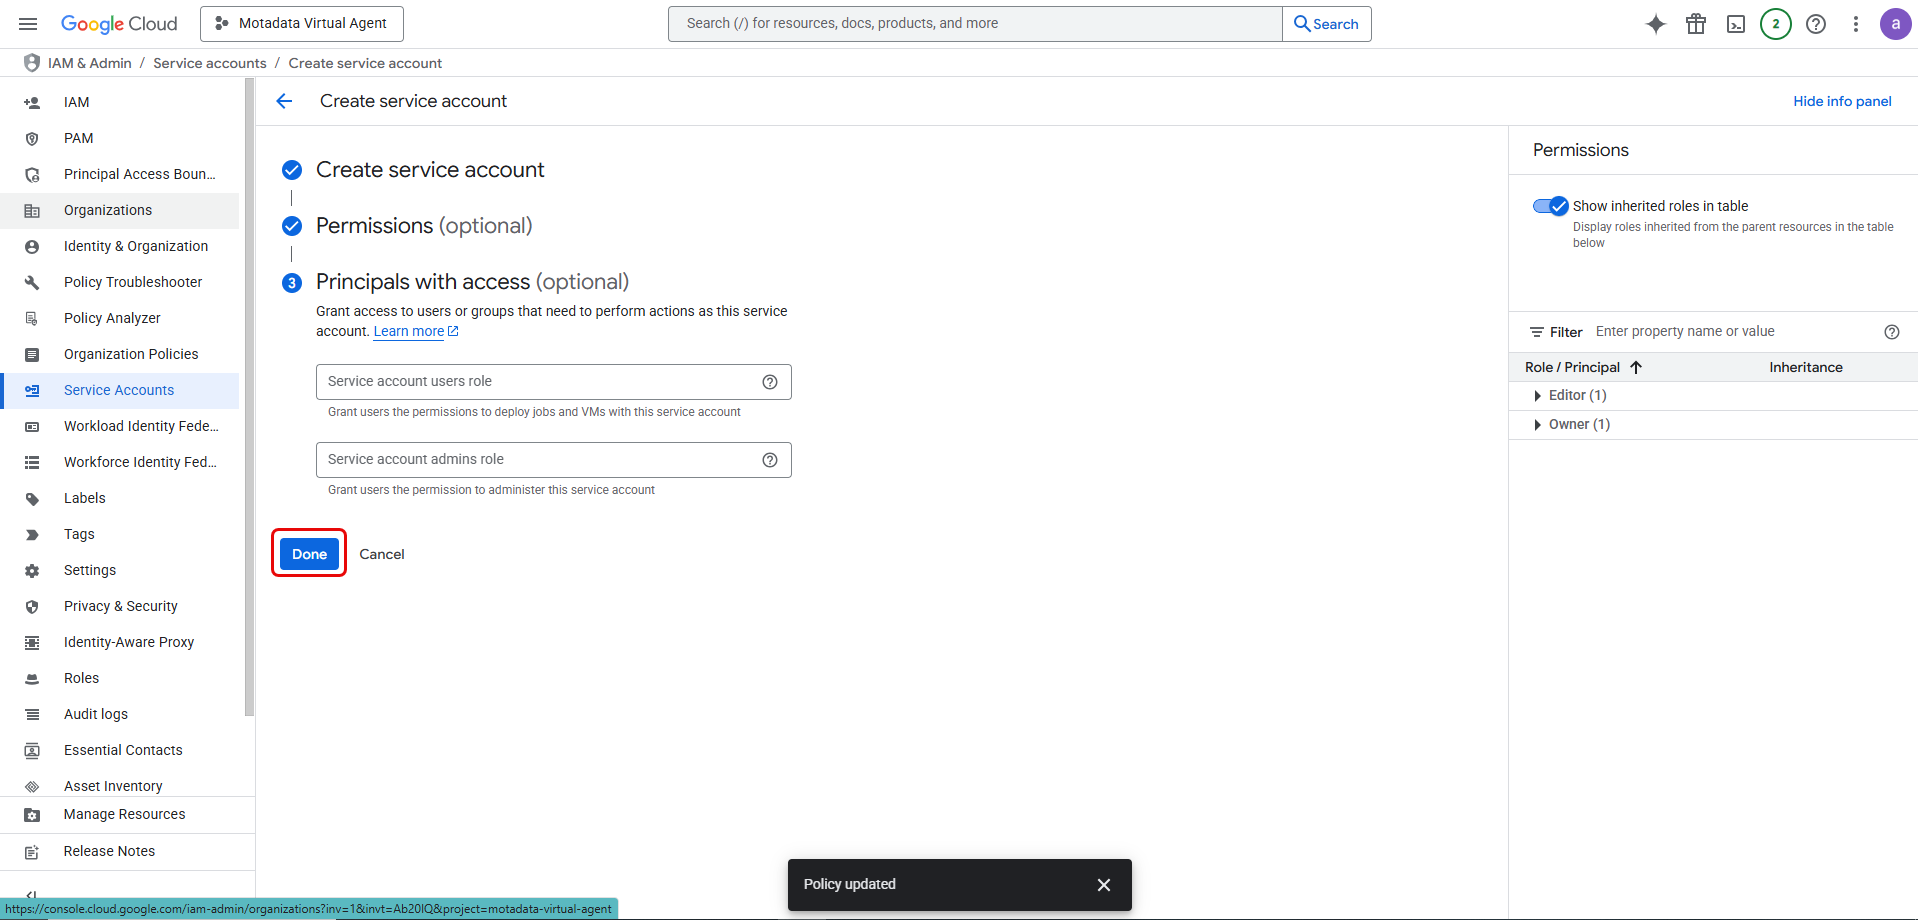
- Skip the "Grant users access to this service account" step and click Done.
- Find the service account you just created. Click the three-dot menu under Actions and select Manage keys.
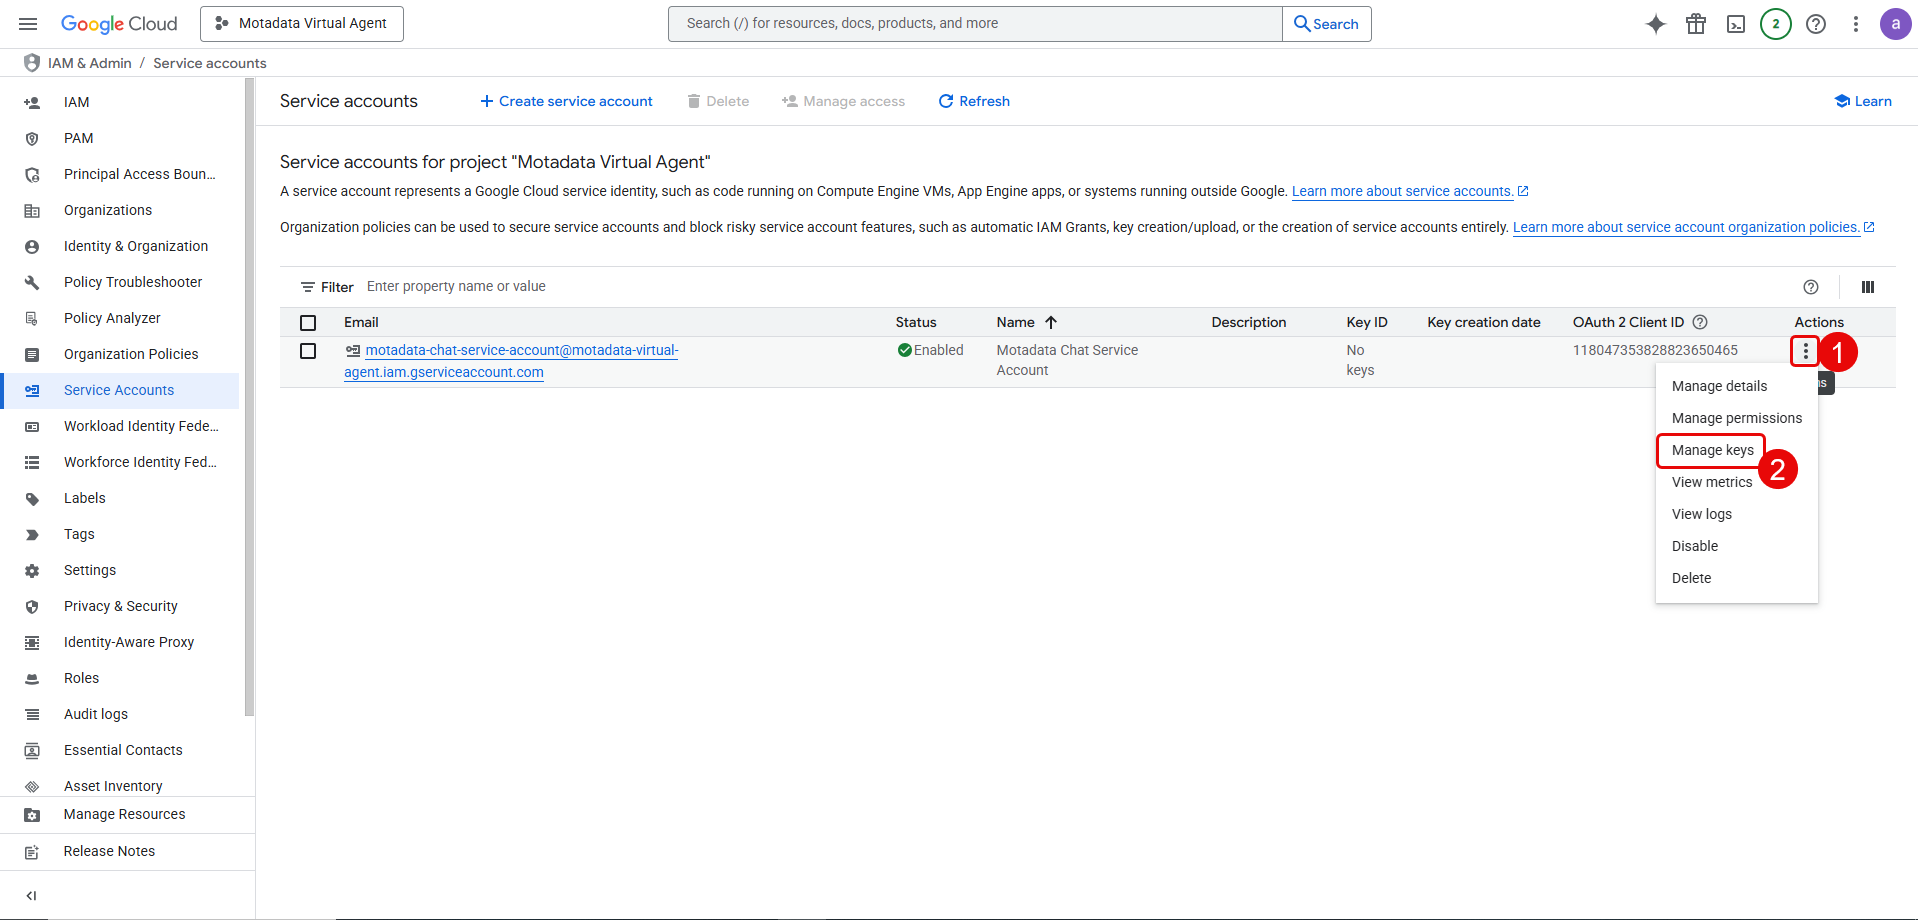
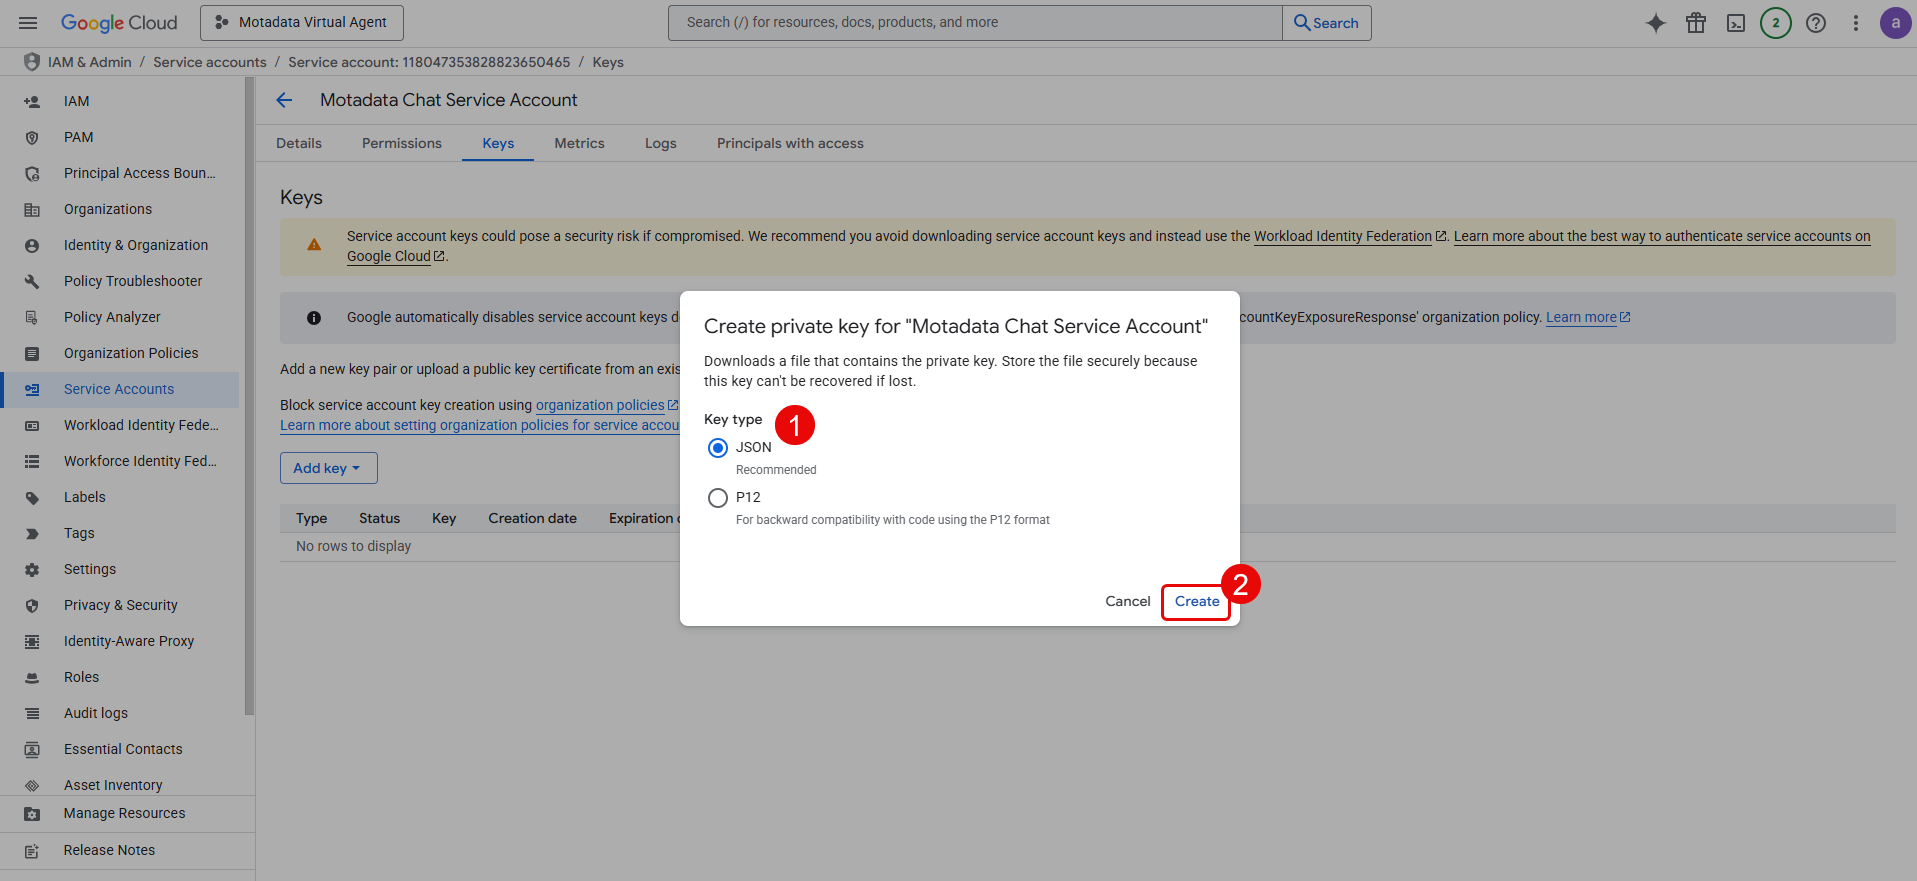
Click ADD KEY > Create new key.

Select JSON as the key type and click CREATE. A JSON file containing the service account's private key will be downloaded.
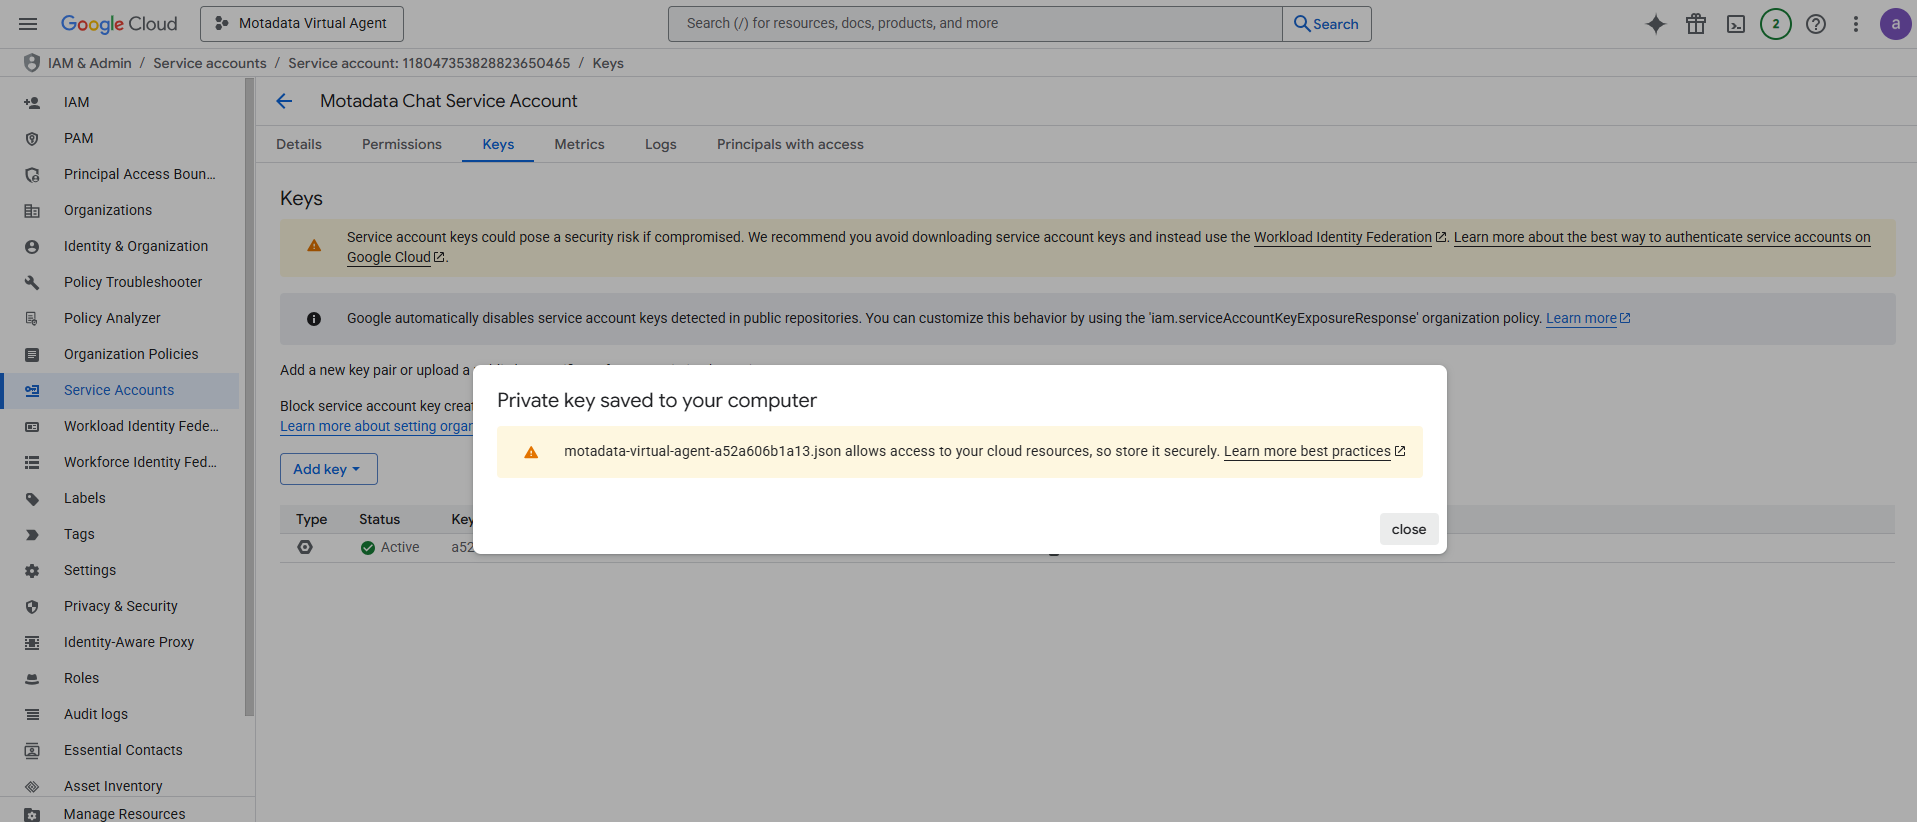
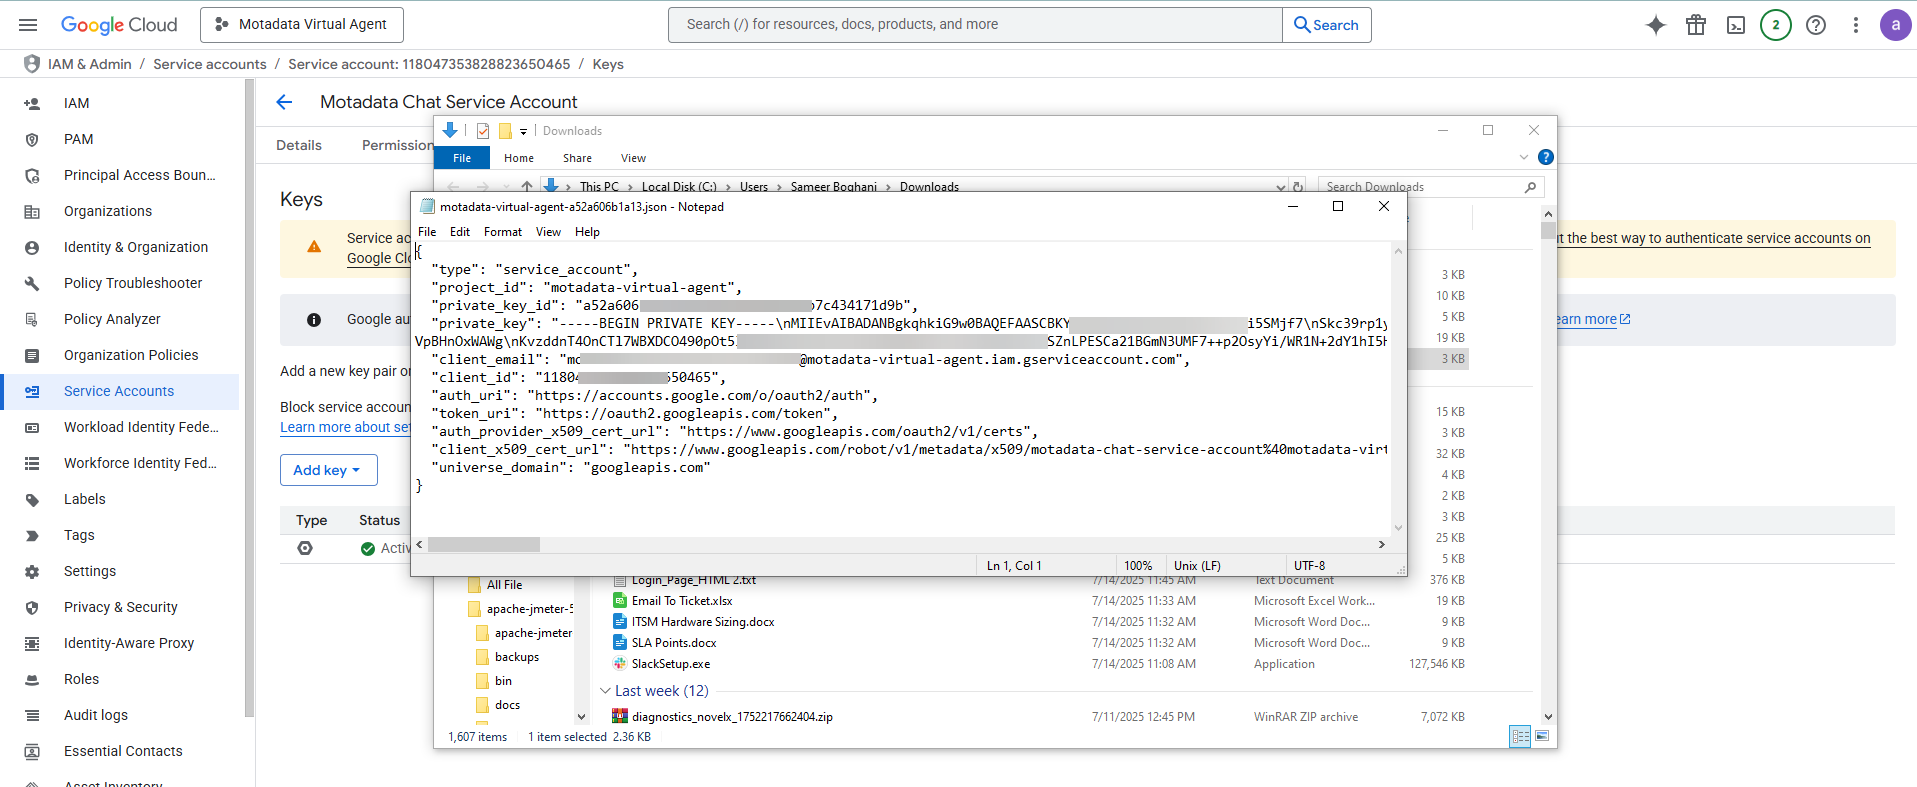
Treat the downloaded JSON key file like a password; it is highly sensitive. You will need the contents of this file for the ServiceOps configuration in Part 2.
Step 5: Configure the OAuth Consent Screen
This screen must be configured even for internal applications.
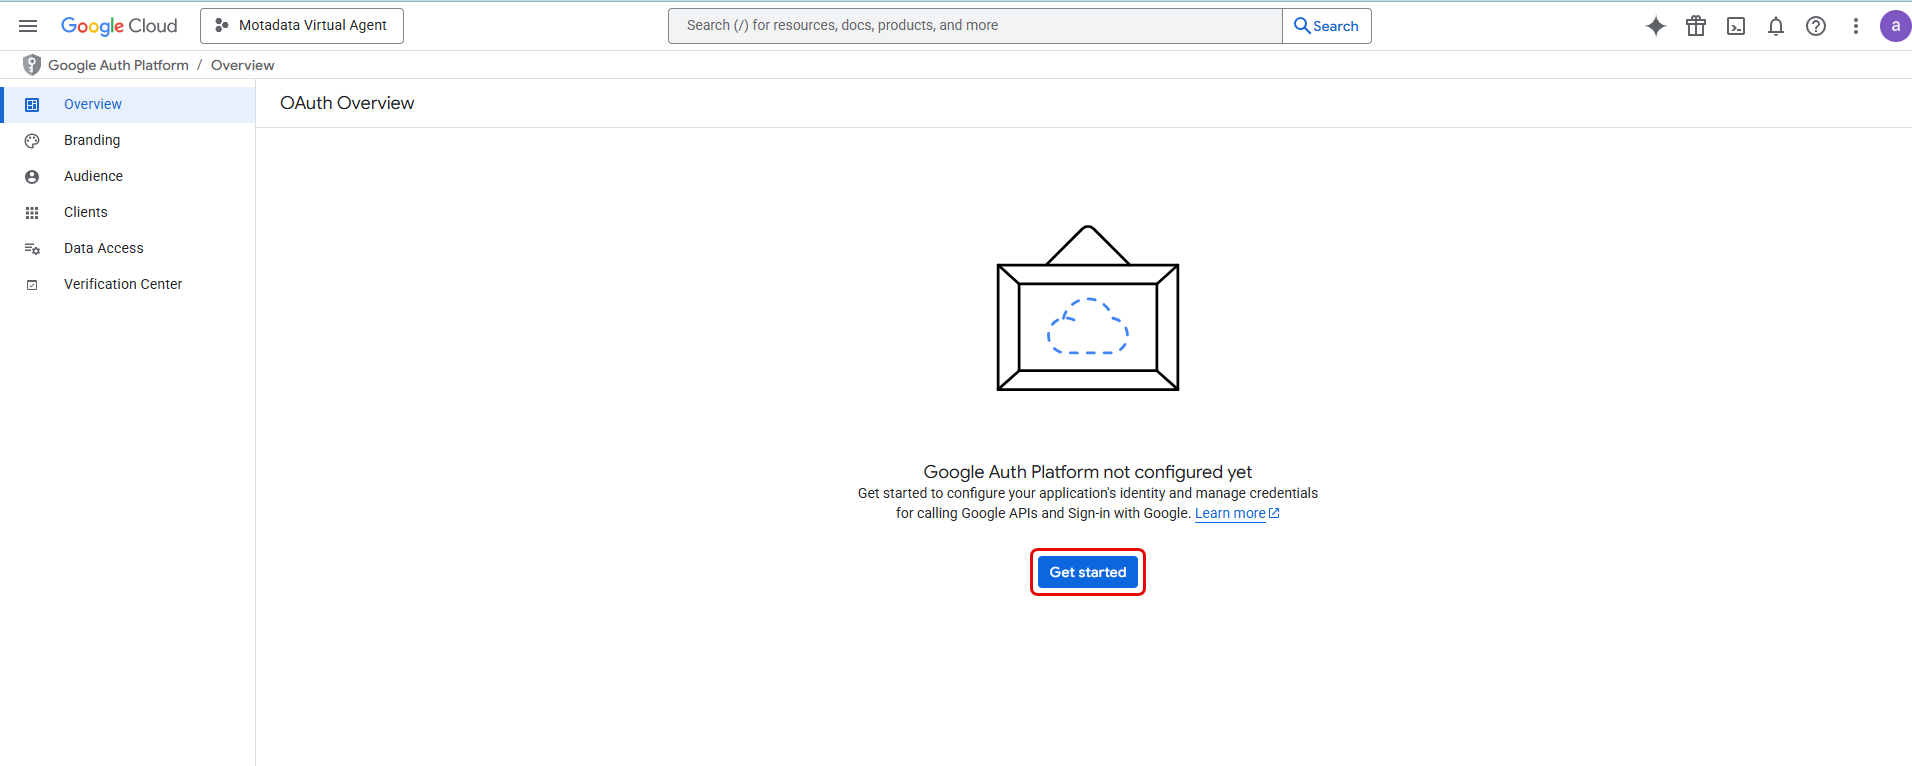
In the Google Cloud console, go to APIs & Services > OAuth consent screen.
Click Get Started.
In the App Information section, fill in the required App details:
- App name: Motadata ServiceOps Virtual Agent
- User support email: Select an appropriate admin or support email address.
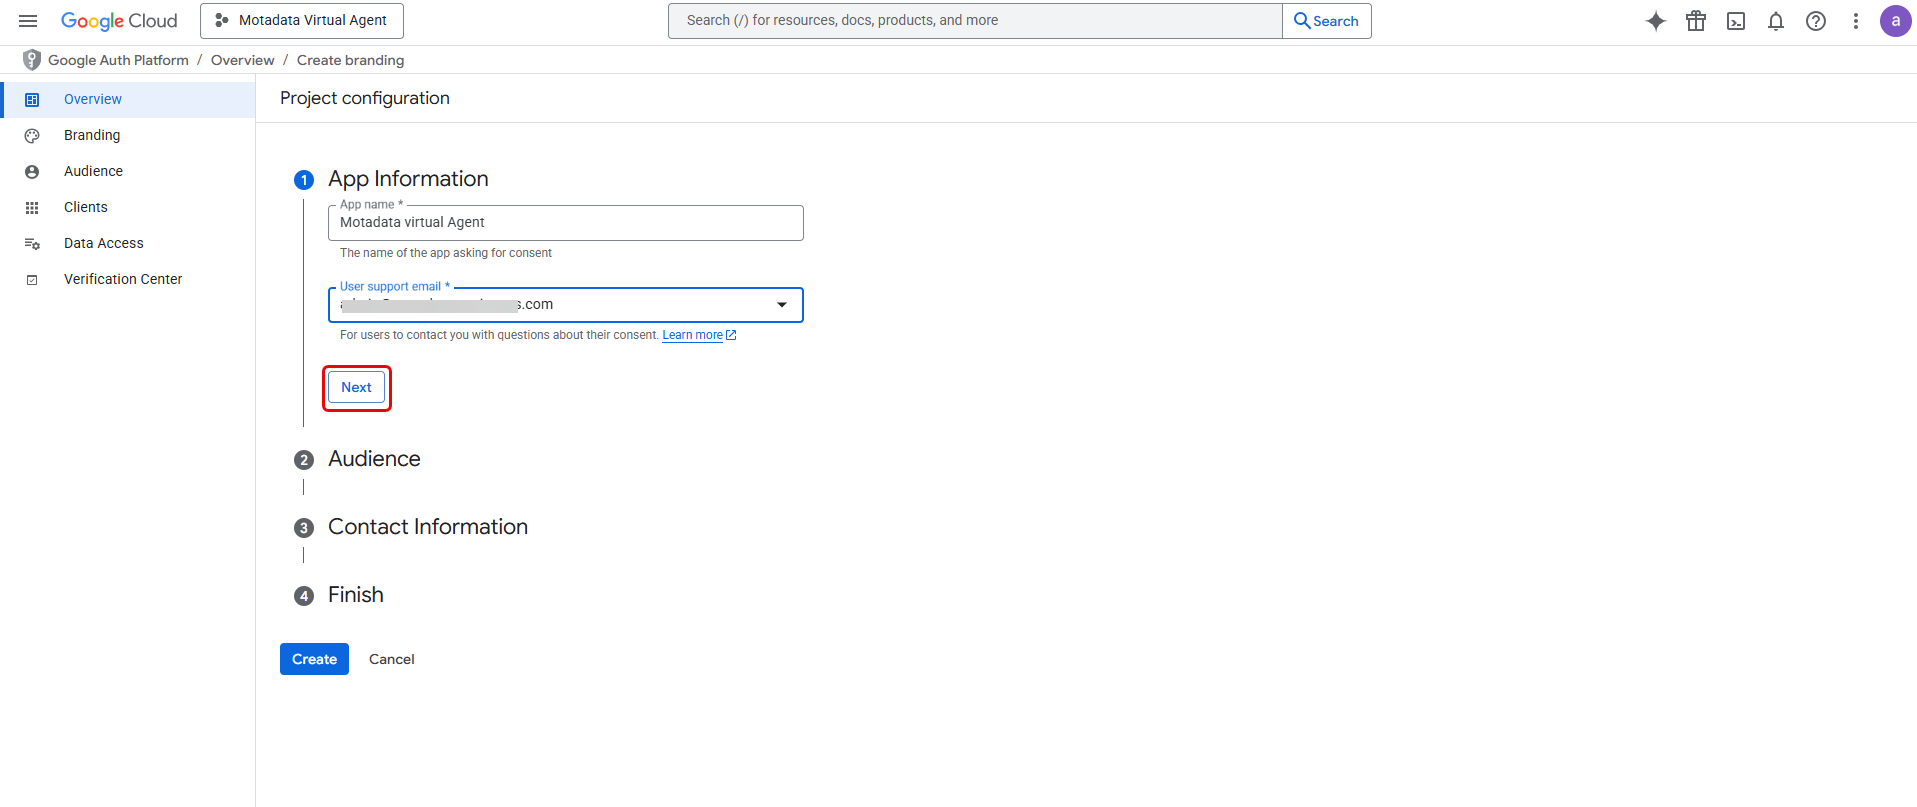
Click Next.
In the Audience section,
Select Internal to make the app available only to the users within the organization.

In the Contact Information,
Enter the Email Address to receive notifications.
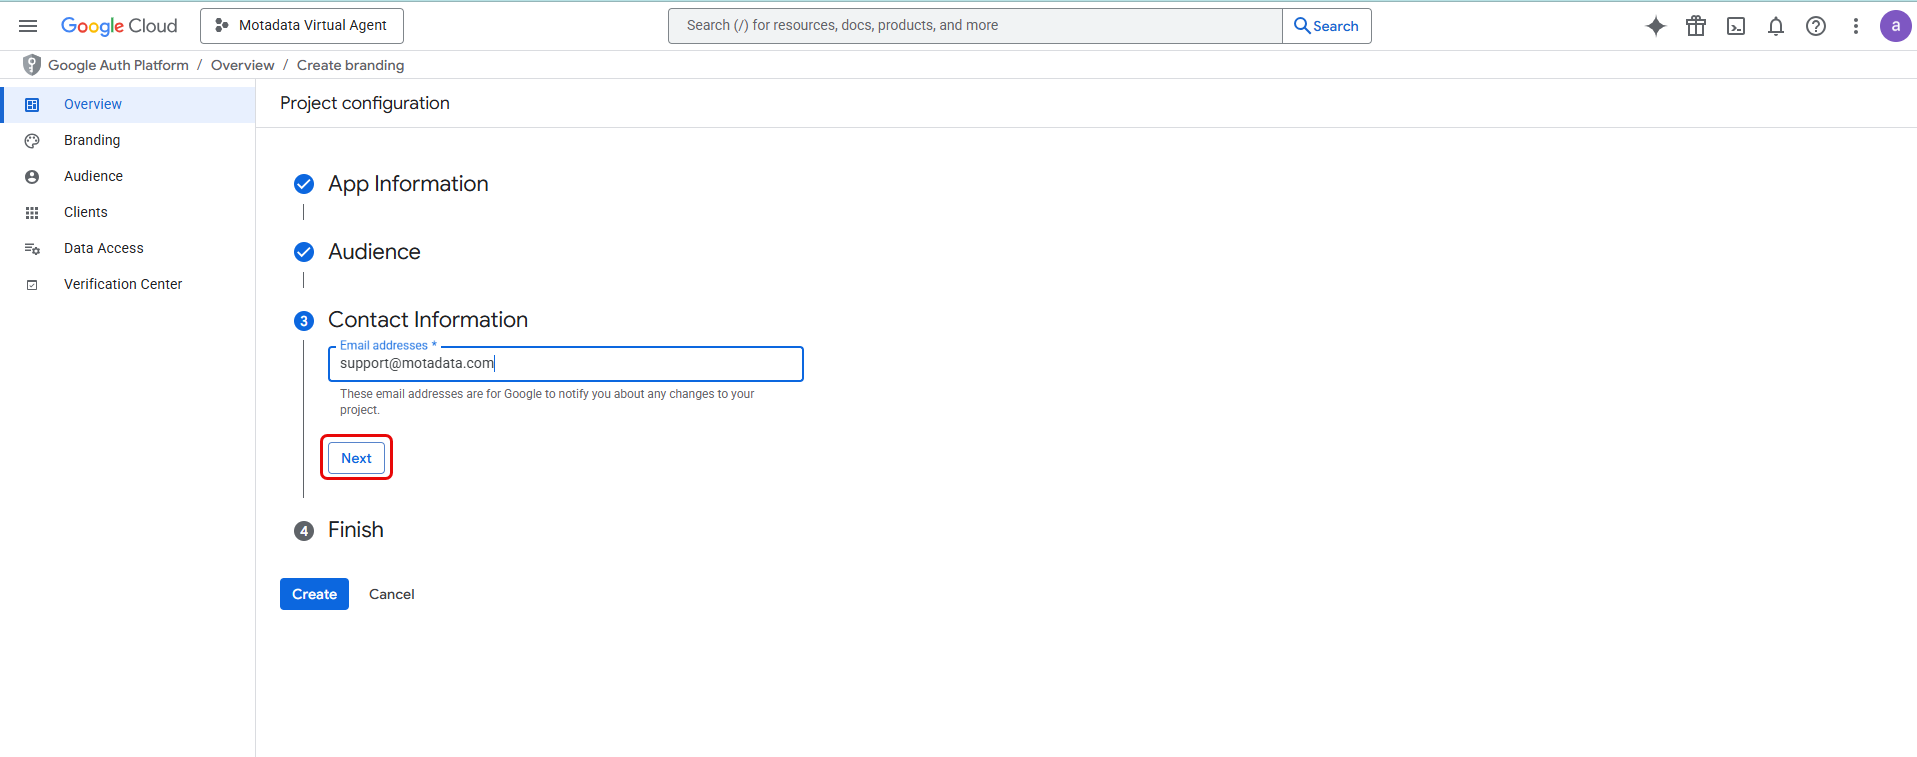
Click Next.
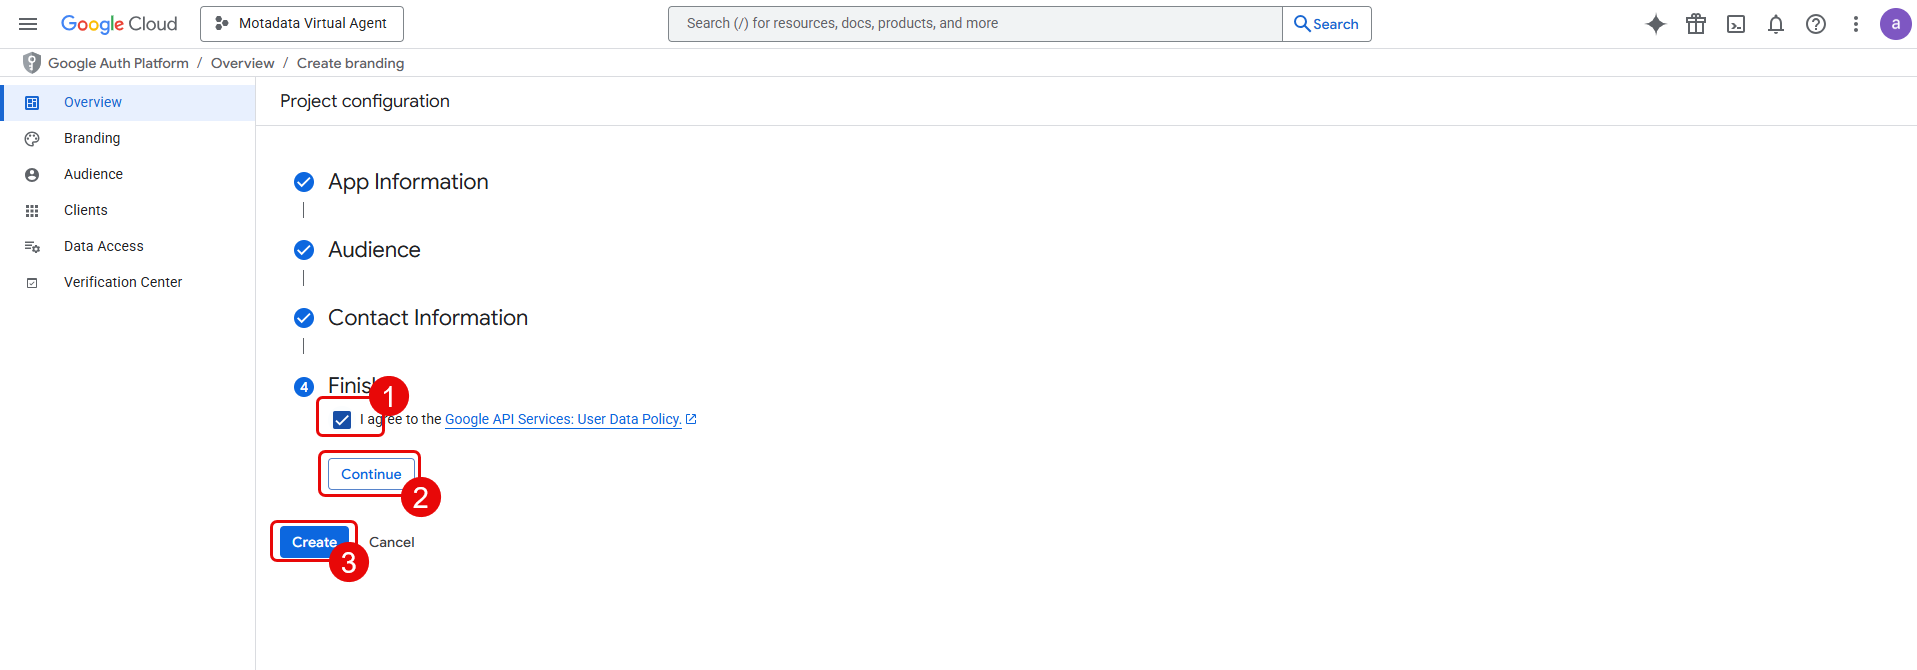
Finish,
- Click I agree to the Google API Services: User Data Policy.
- Click Continue and Create.
Step 6: Configure the Chat App
This step defines how your virtual agent will appear and behave in Google Chat.
In the Google Cloud console, navigate to the Google Chat API configuration page (you can search for "Google Chat API" and select the Configuration tab).
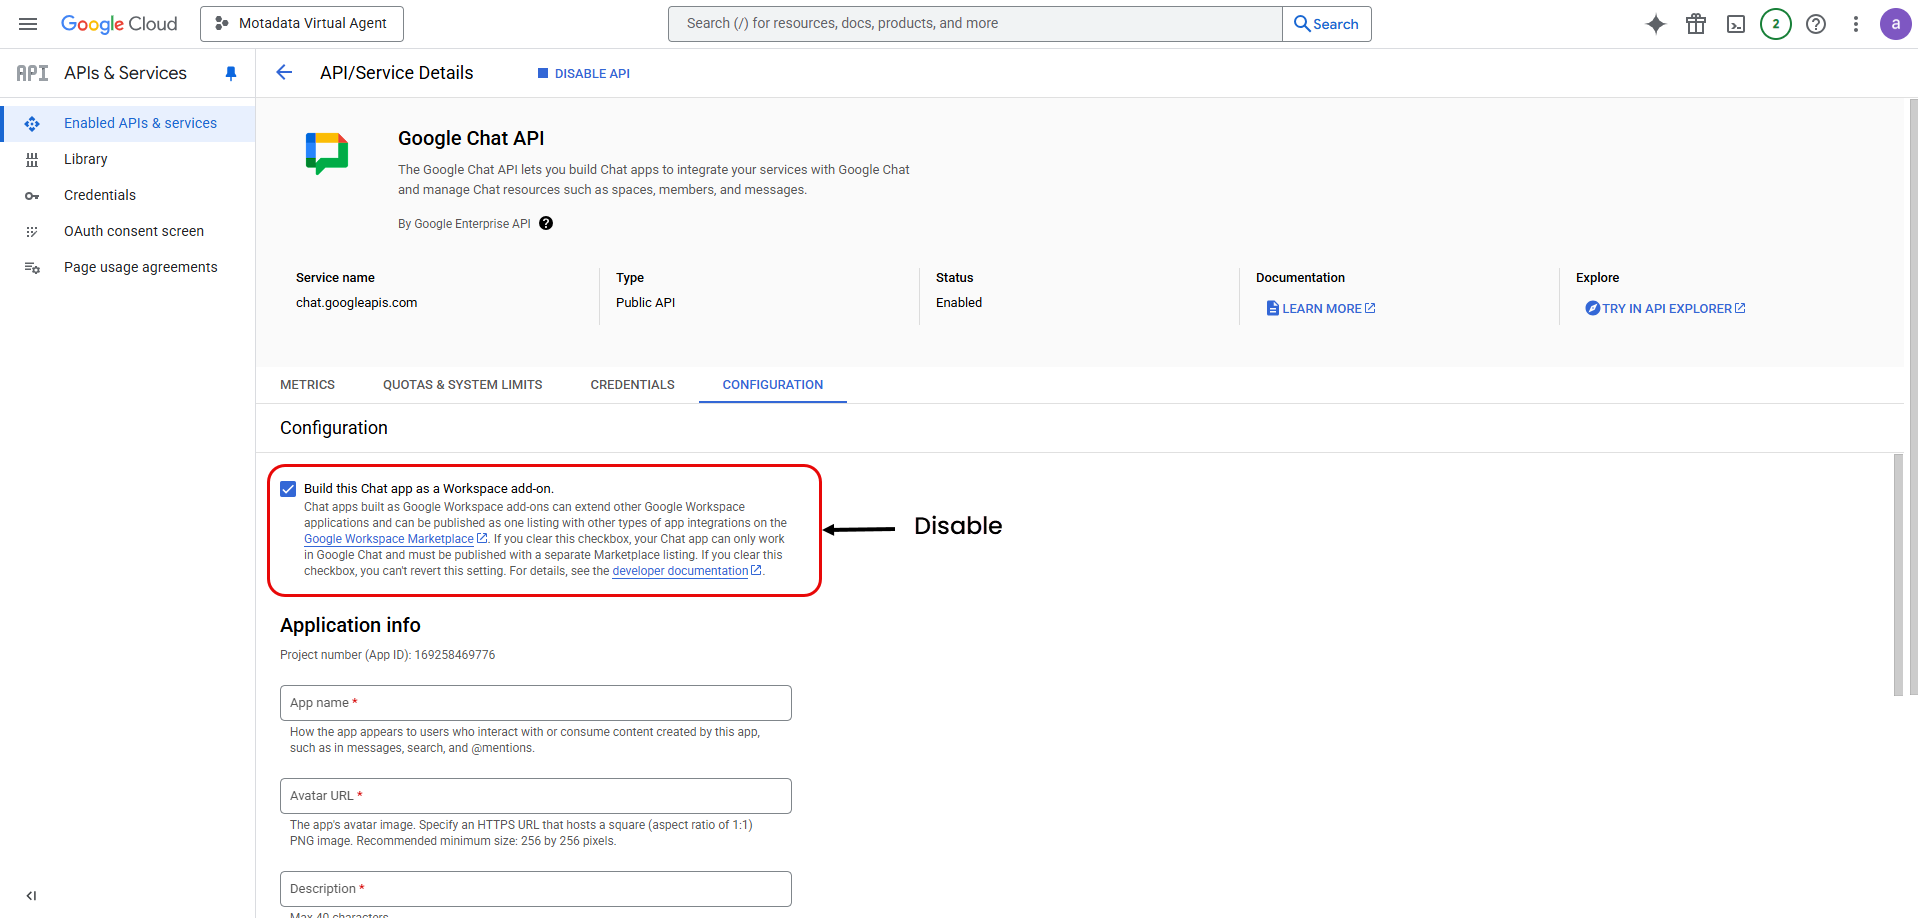
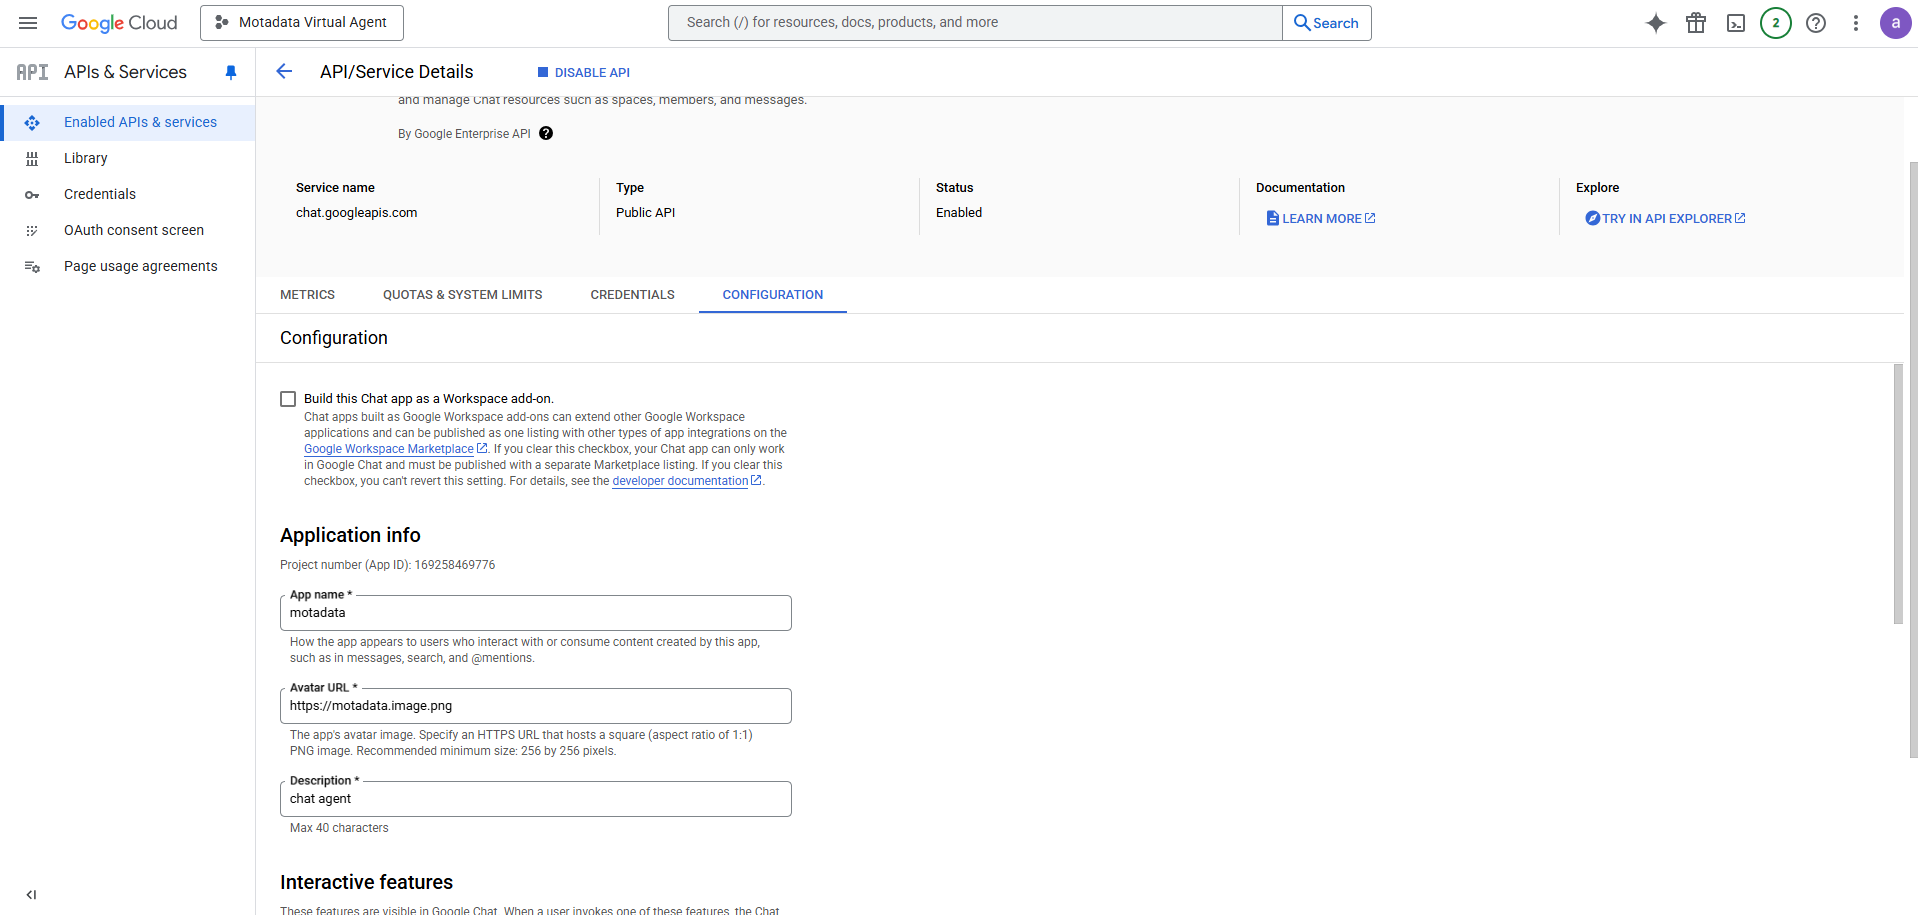
In the Configuration tab, disable the Build this Chat app as a Workspace add-on option. By default, it is enabled.
Fill out the Application info:
- App name: Motadata ServiceOps Virtual Agent
- Avatar URL: An HTTPS link to a square icon (256x256 or larger recommended).
- Description: A short description, e.g., "chat agent"
Under Interactive features, toggle to Enable interactive features.
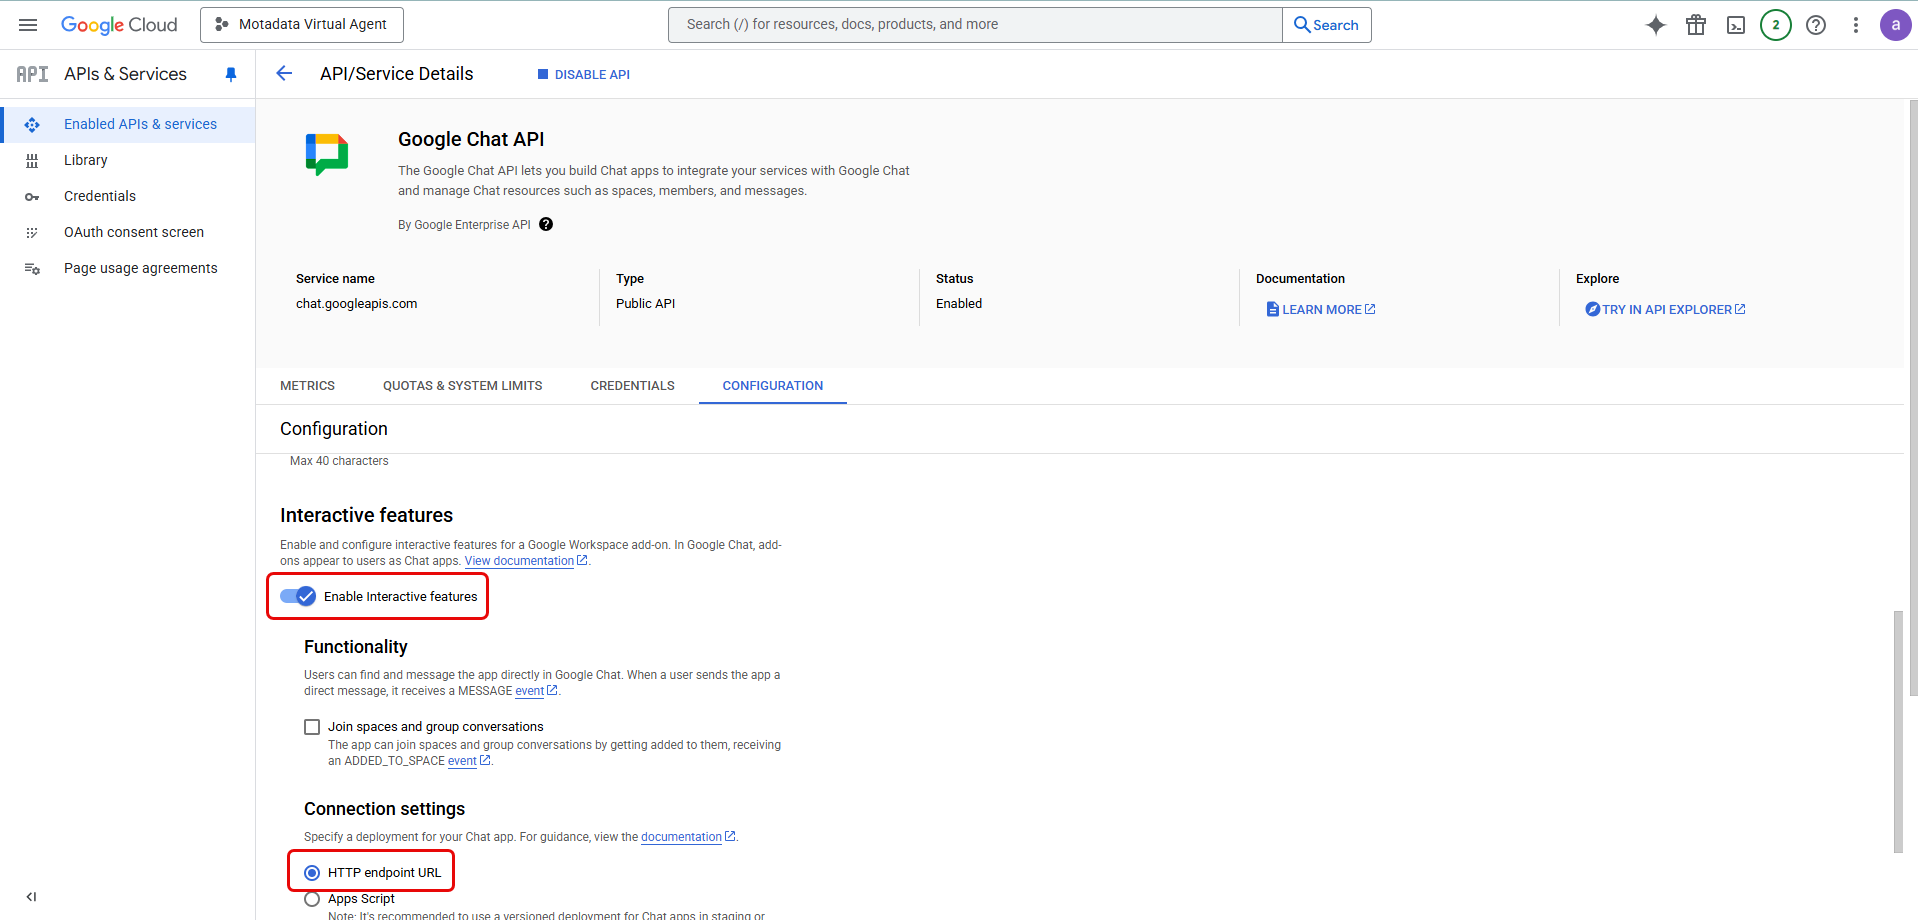
For Connection settings, select HTTP endpoint URL.
- HTTP endpoint URL:
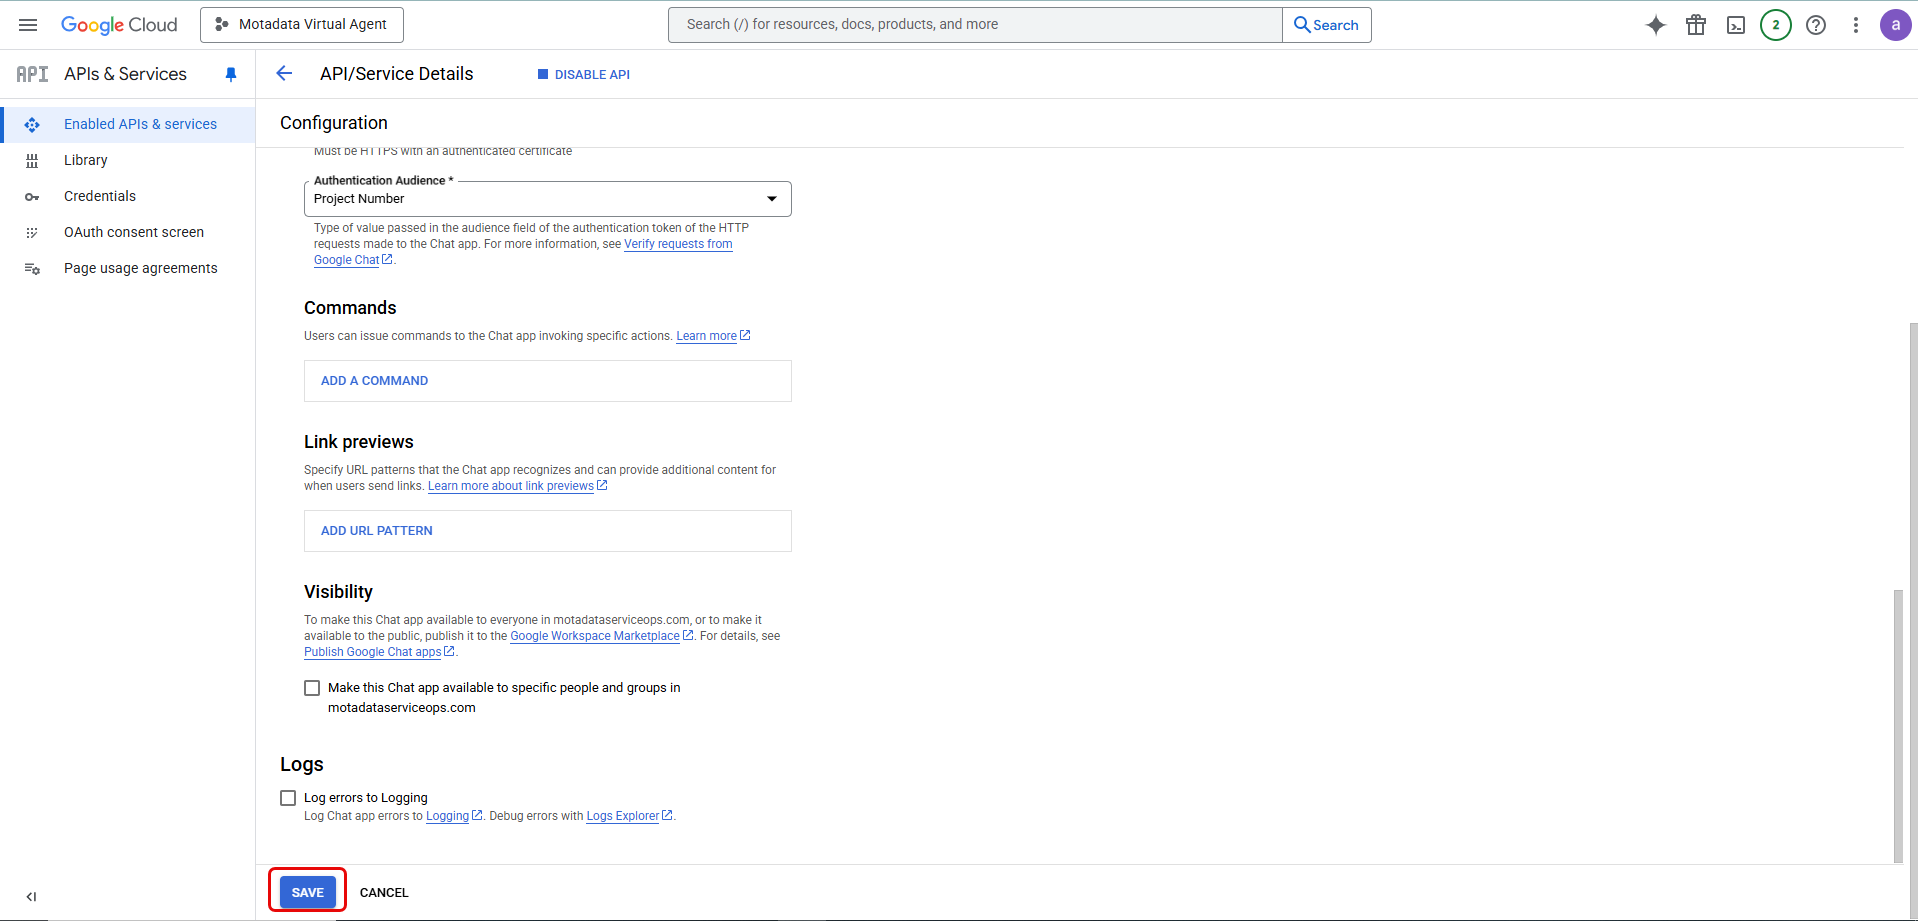
<<Base URL>>/api/public/googlechat/readMessage(Replace<<Base URL>>with your ServiceOps instance URL). - Authentication Audience: Select Project Number.

- HTTP endpoint URL:
Click Save.
Step 7: Publish the App
To make the app available to your organization, you must publish it privately.
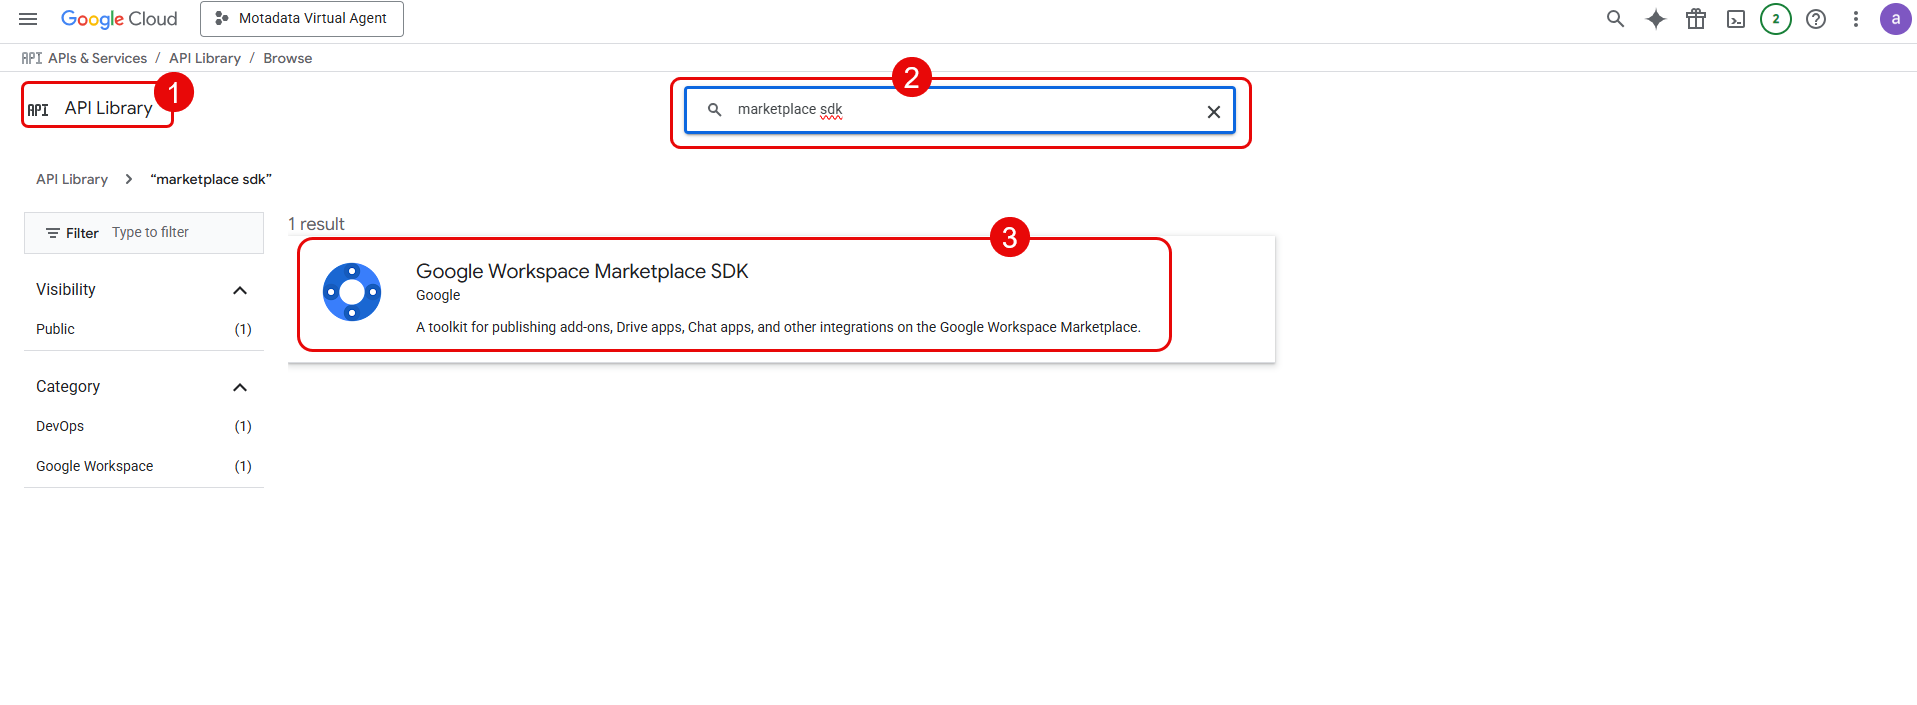
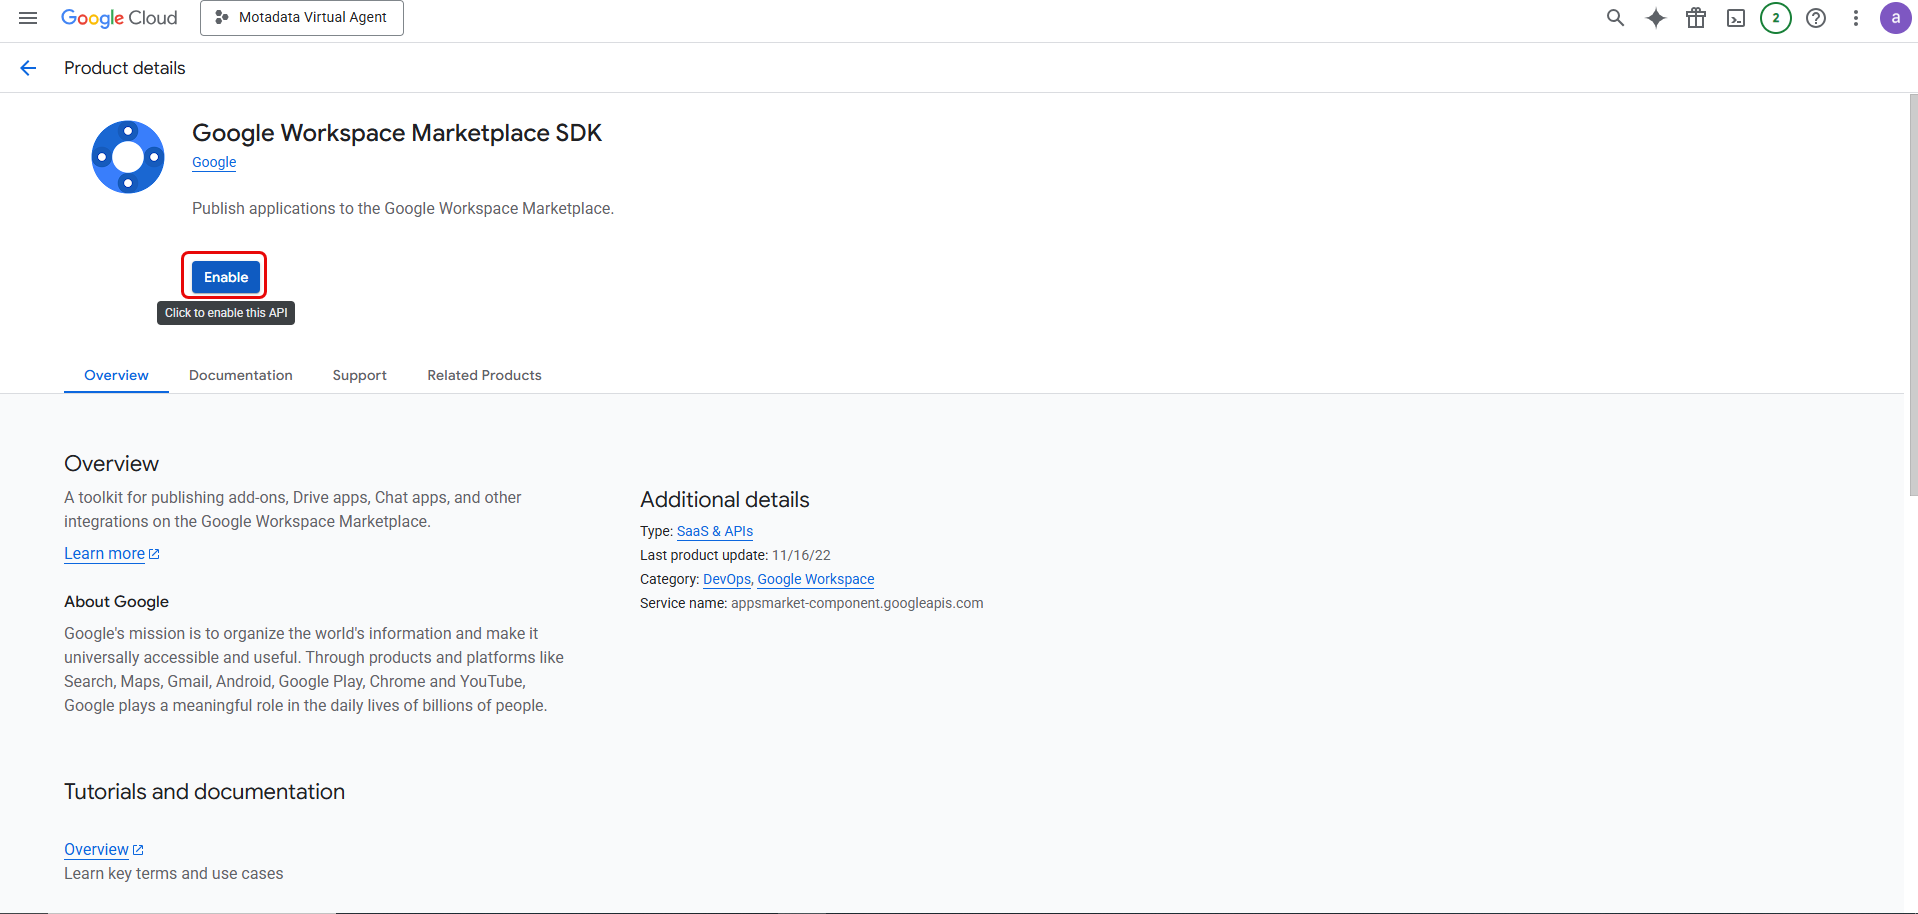
- In the Google Cloud console, search for and enable the Google Workspace Marketplace SDK.
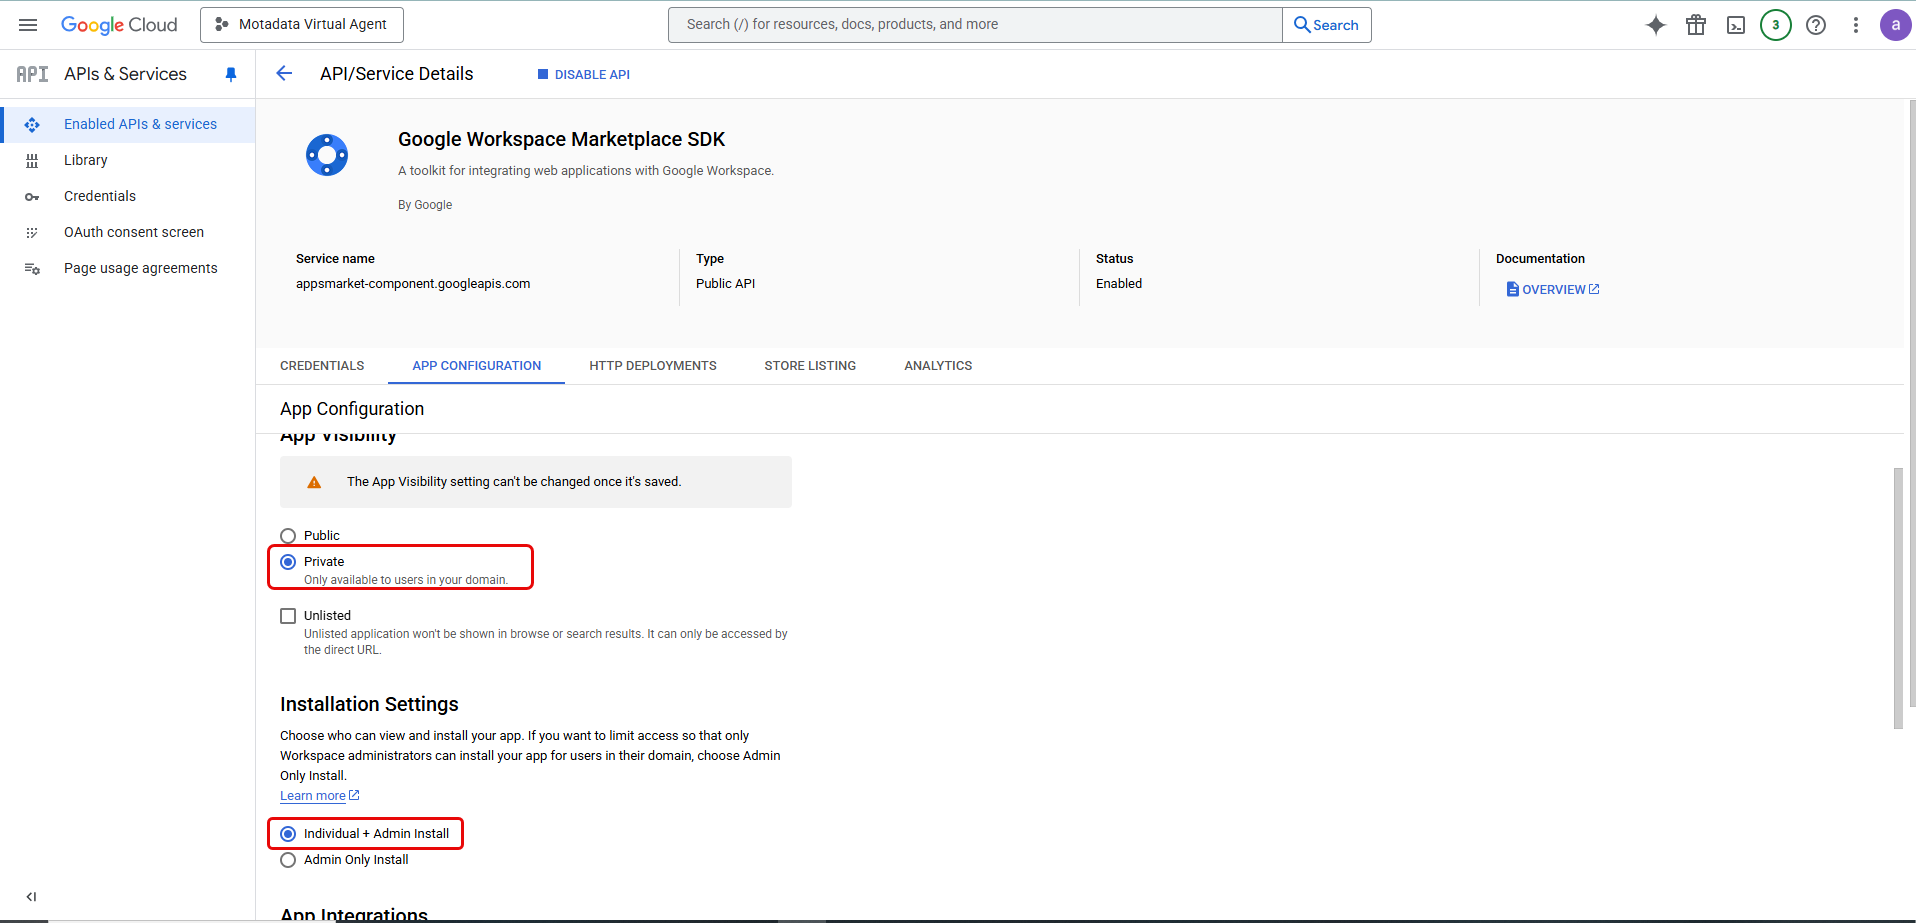
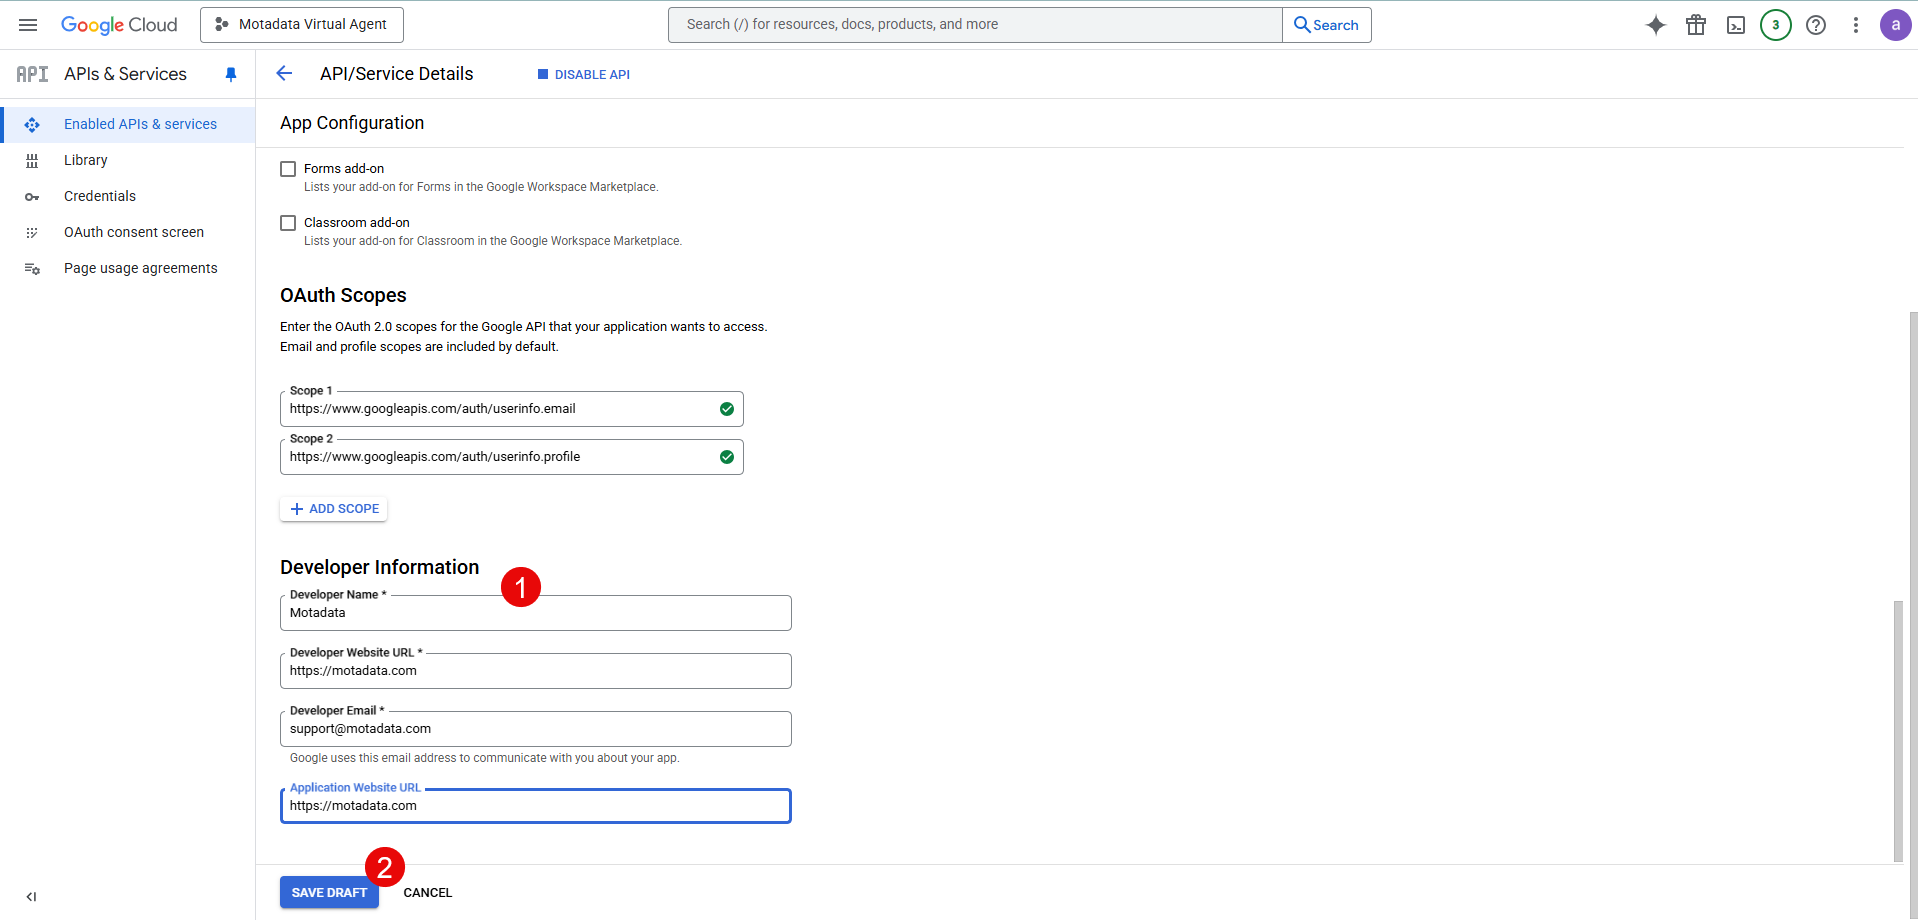
- Go to the SDK's App Configuration page and fill out the required listing details. For App Visibility, you must select Private to make it available only to your domain.
- Complete the required fields and submit. The app will become available for users in your organization to find and use in Google Chat.
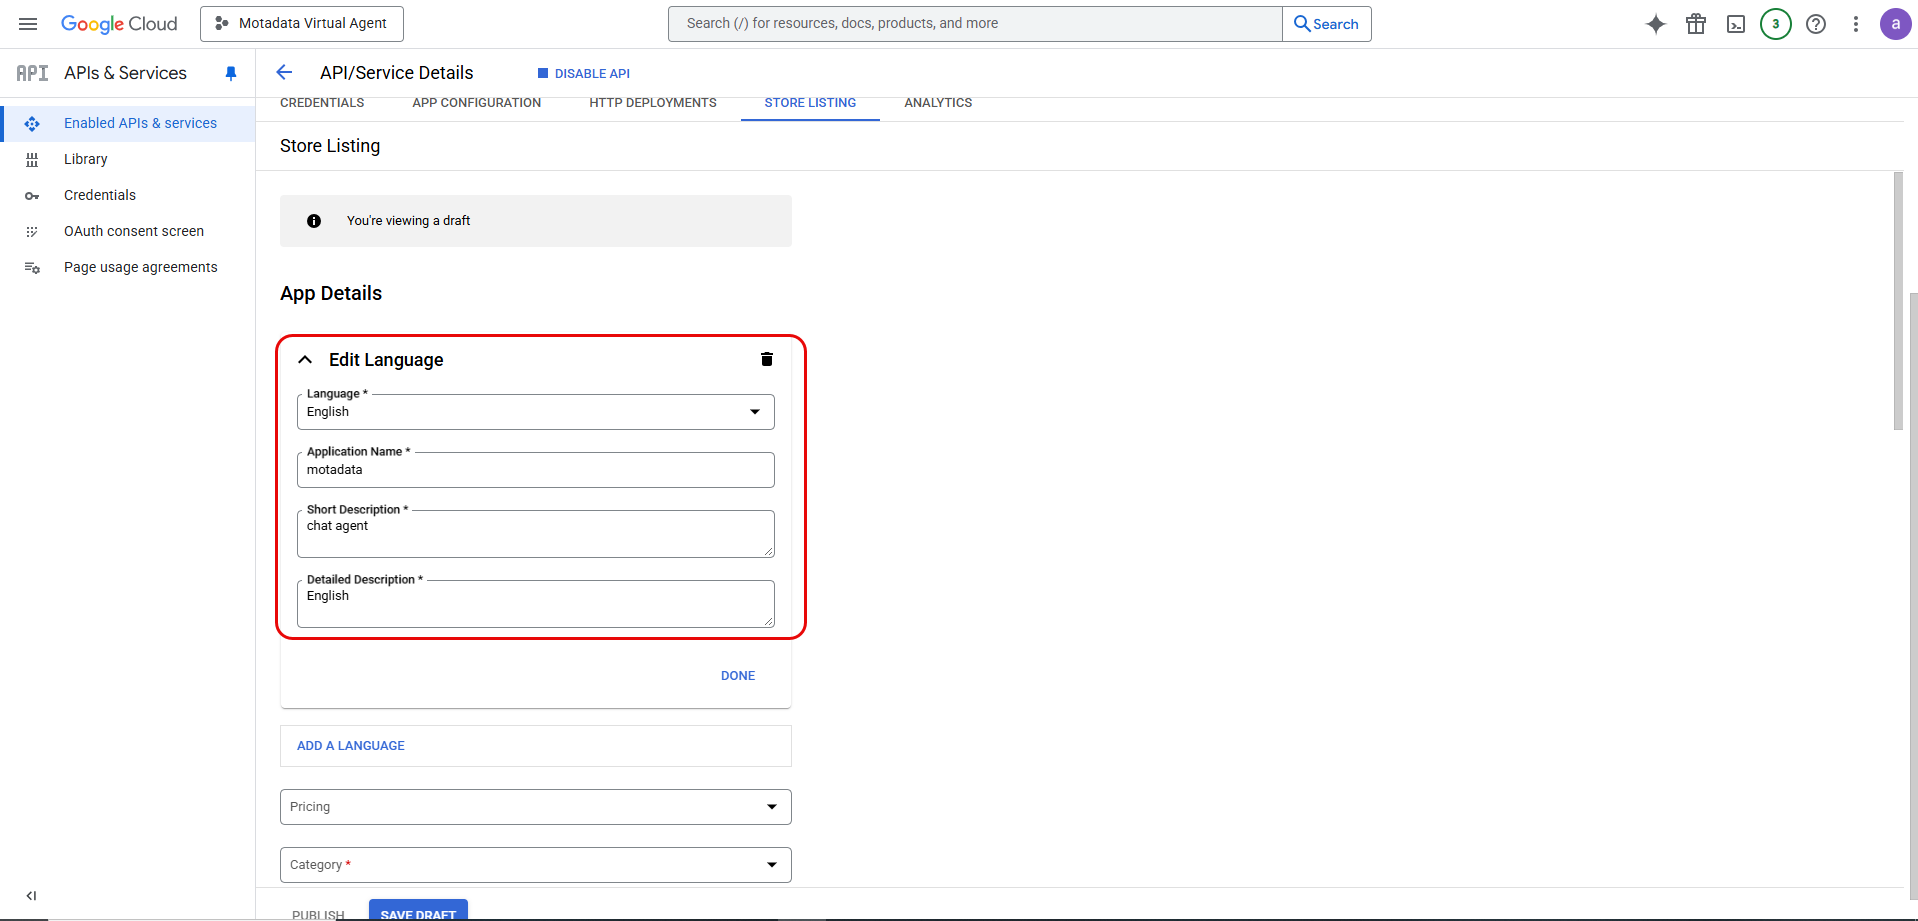
- In the Store Listing tab, enter the following App details:
Select the desired Language.
Enter the Application Name.
Enter a Short Description about the app.
Enter a Detailed Description about the app.
Pricing: Select the "Free of charge" option.
Category: Select Utilities.
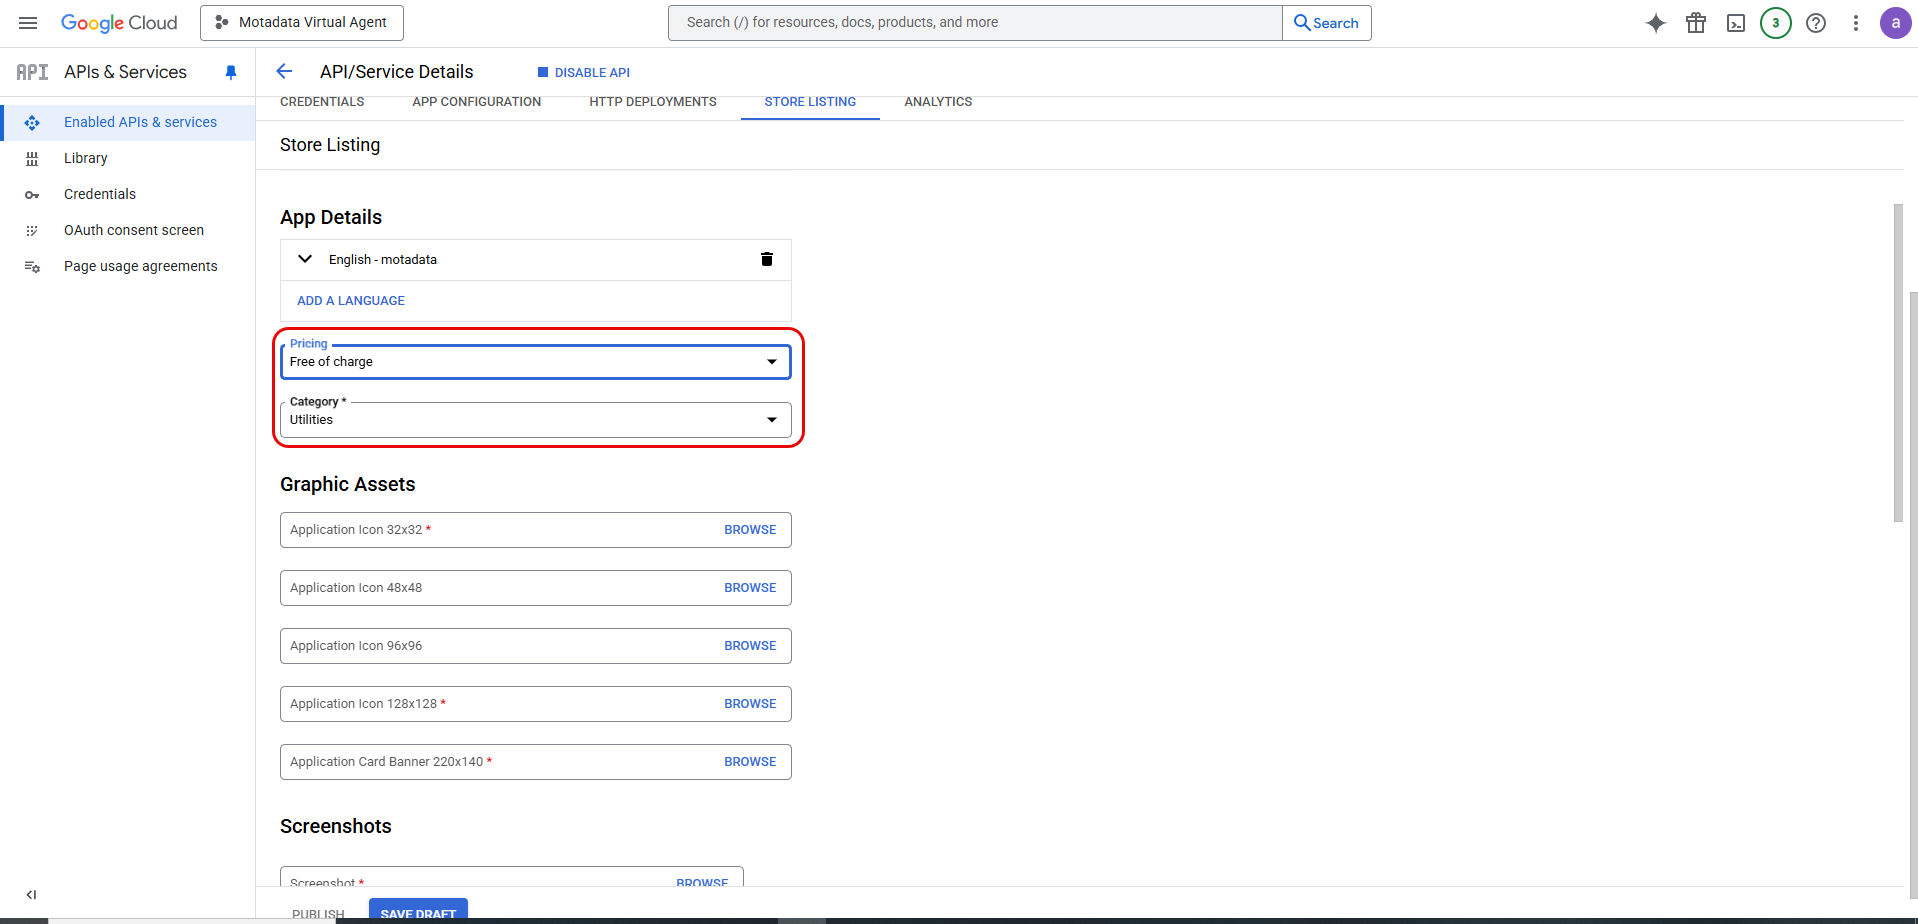
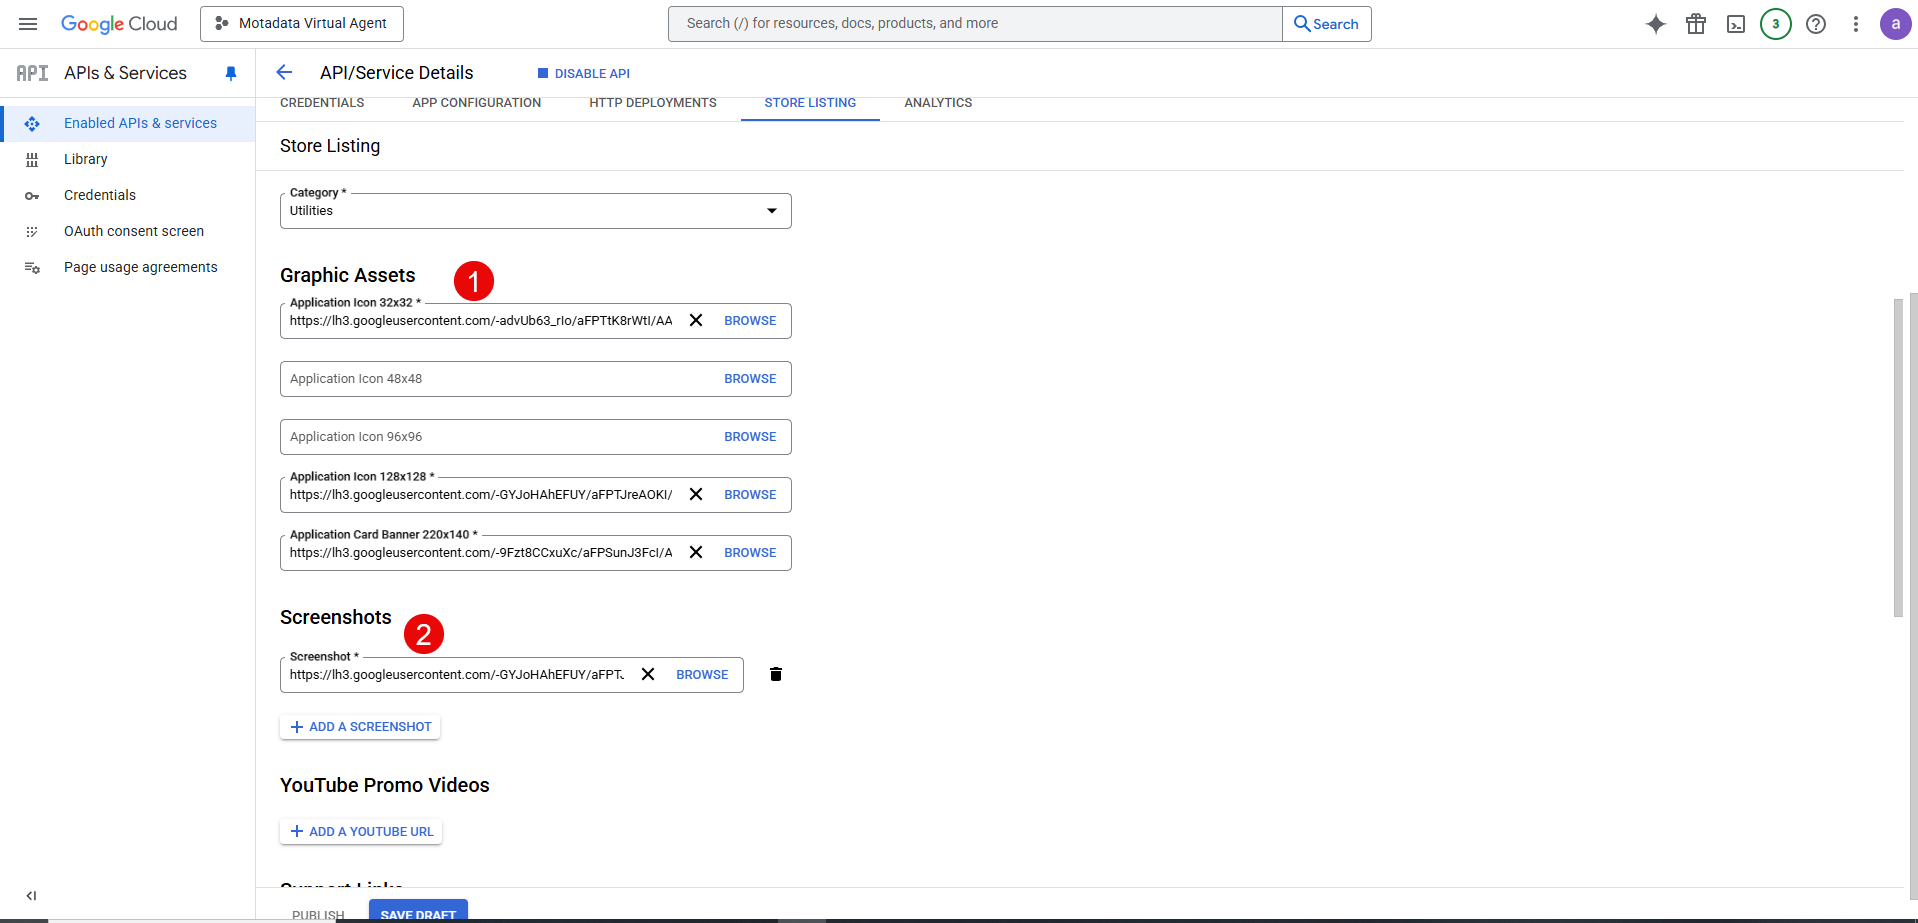
Graphic Assets: This will be available in the app store while searching for the app.
Screenshots: Upload the screenshots displaying the features of the app.
Support Links: Provide the support links like terms of service URL, privacy policy url, and support url.
Distribution: Enable the All Regions option.
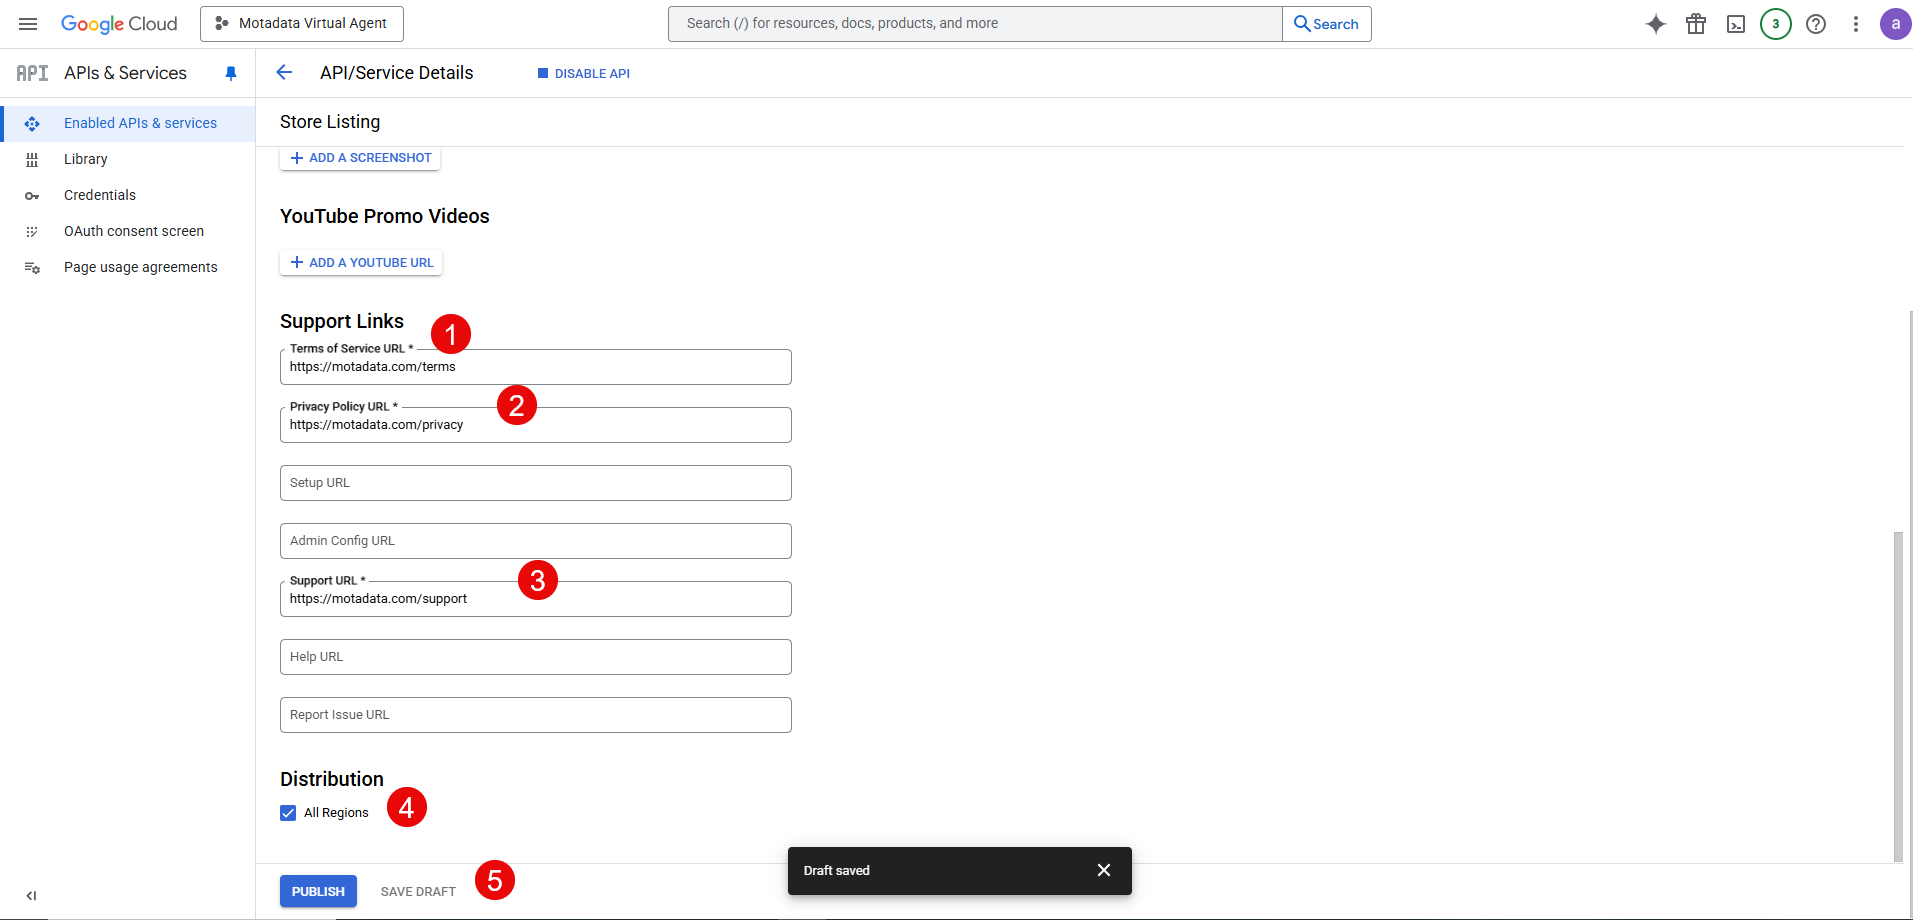
Once all the details are provided, save the draft, and click Publish.
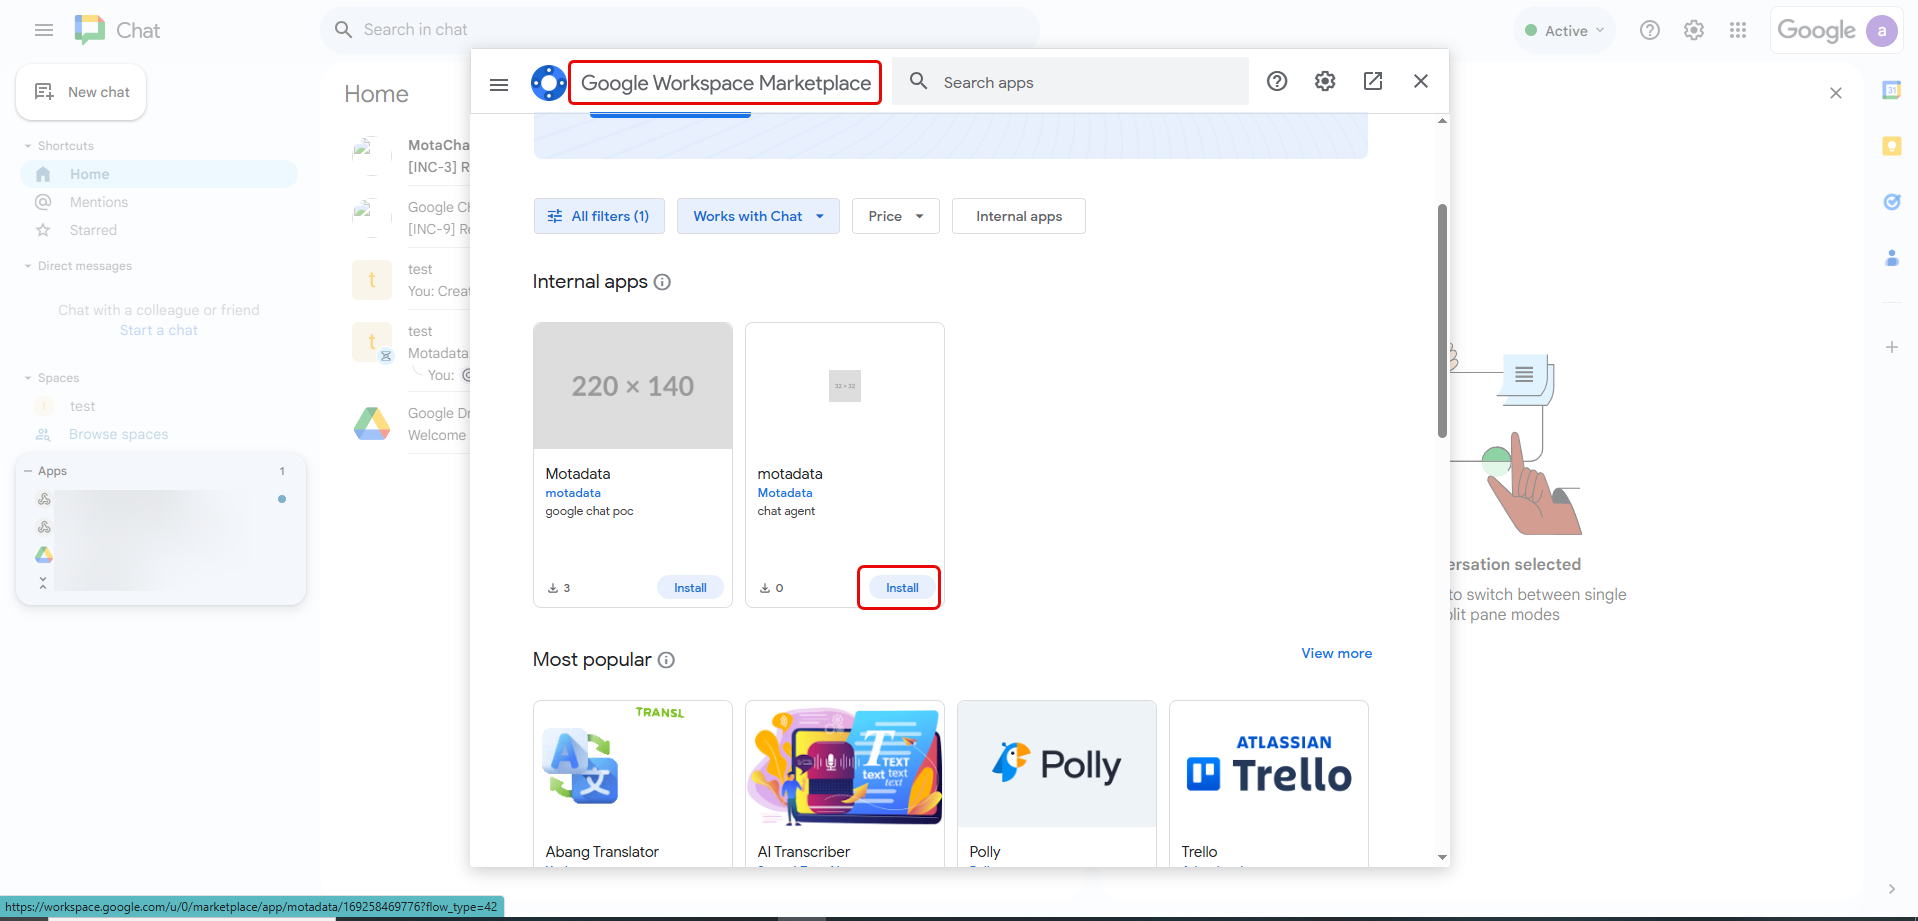
Open the Google Chat in browser and find the app.
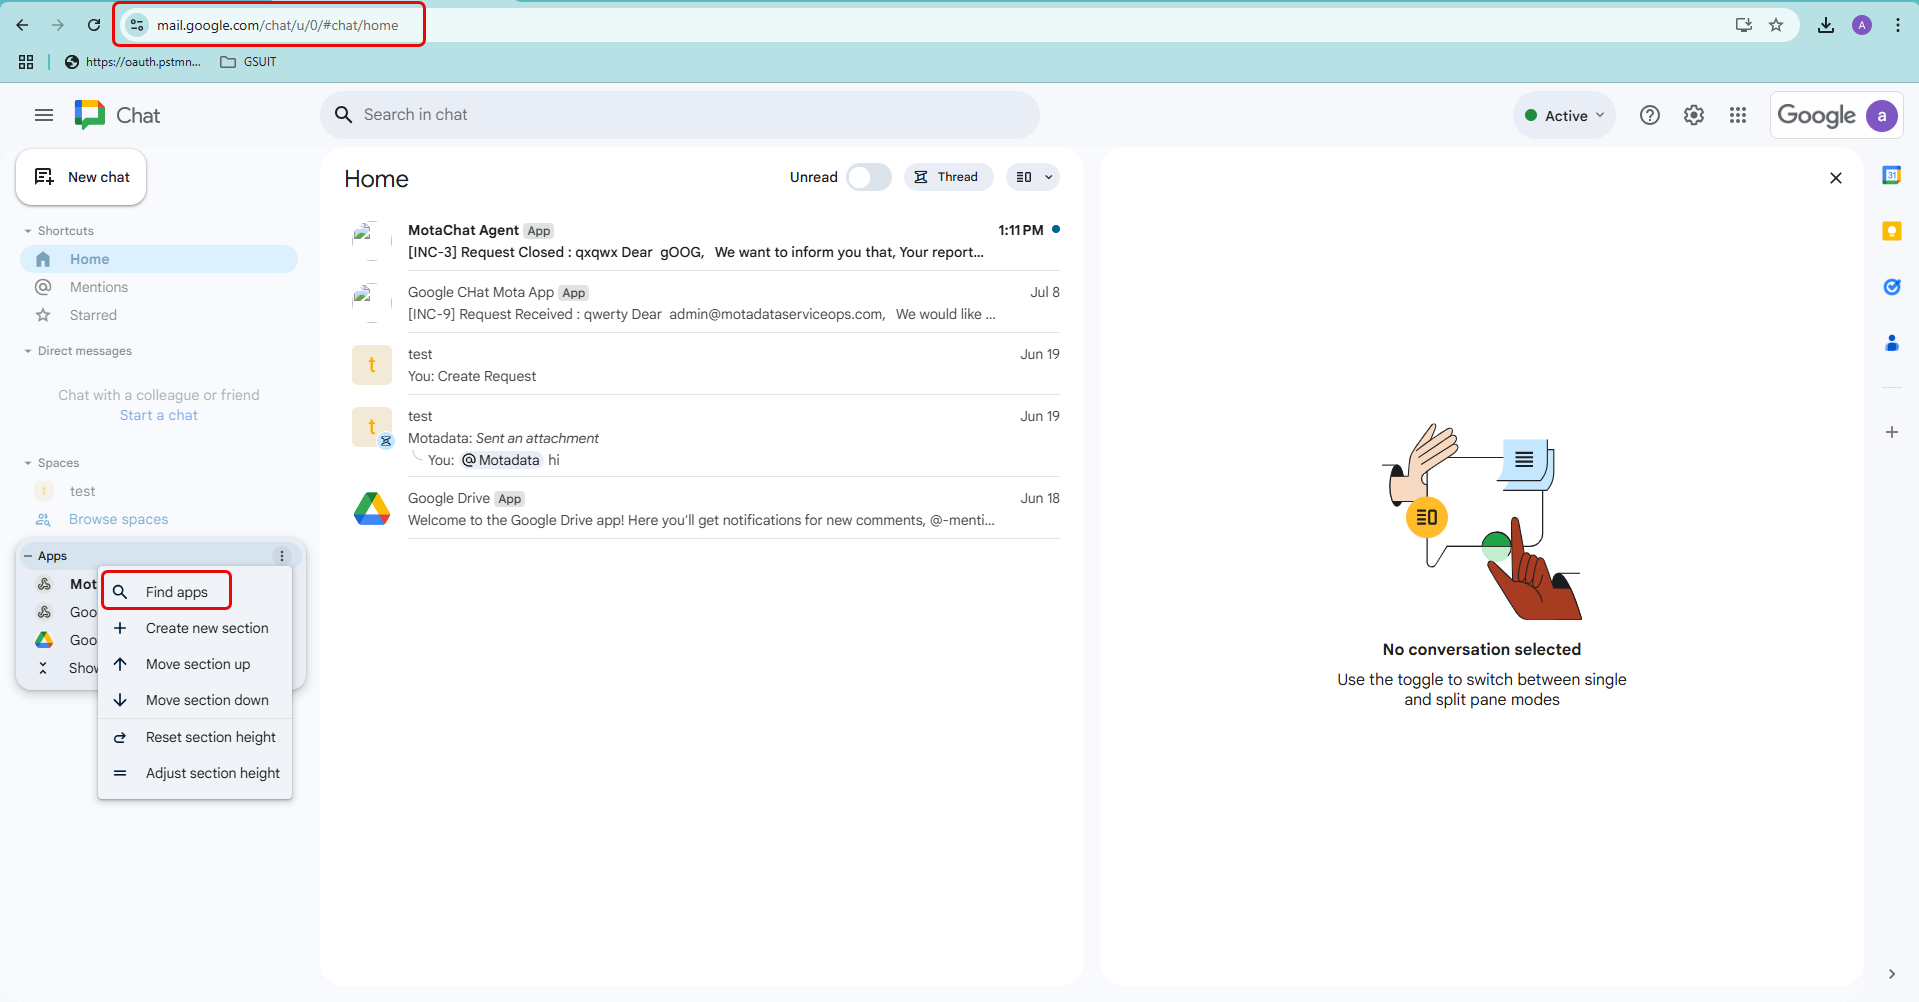
- In the Google Workspace Marketplace, search for the app and Install it. Here, motadata app is used.
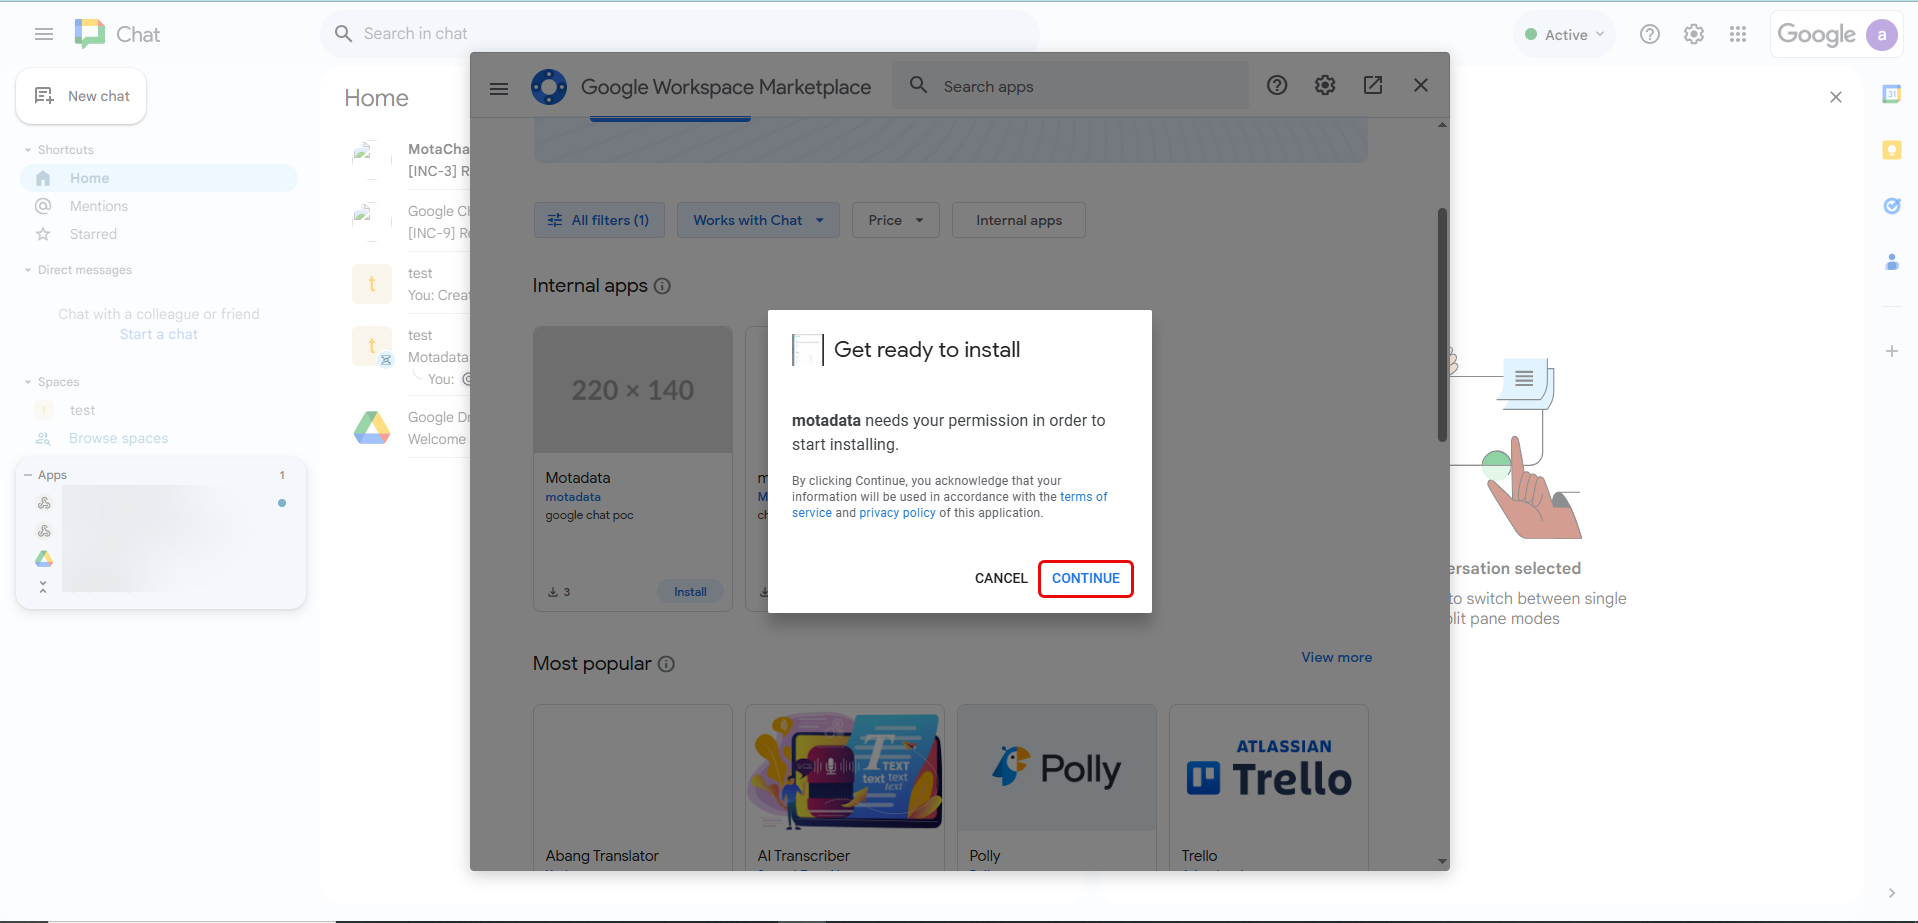
- Click Continue.
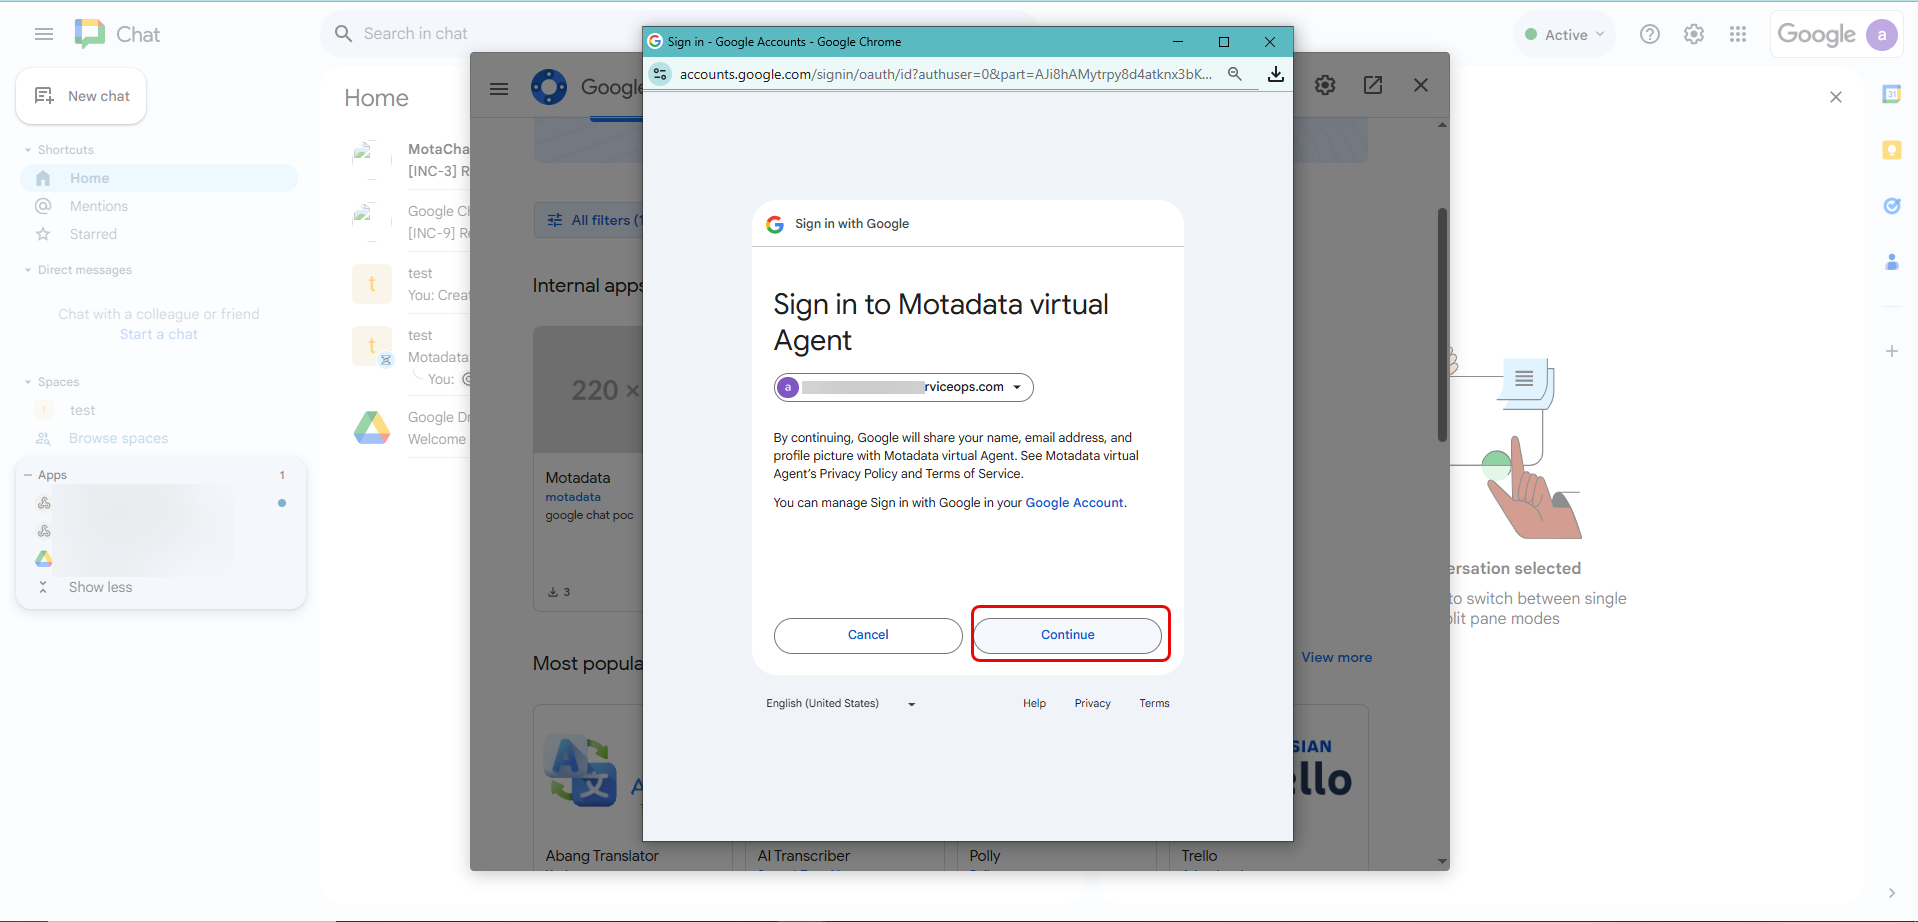
- The following sign-in page appears. Select the account to sign-in to Google Chat and click Continue.
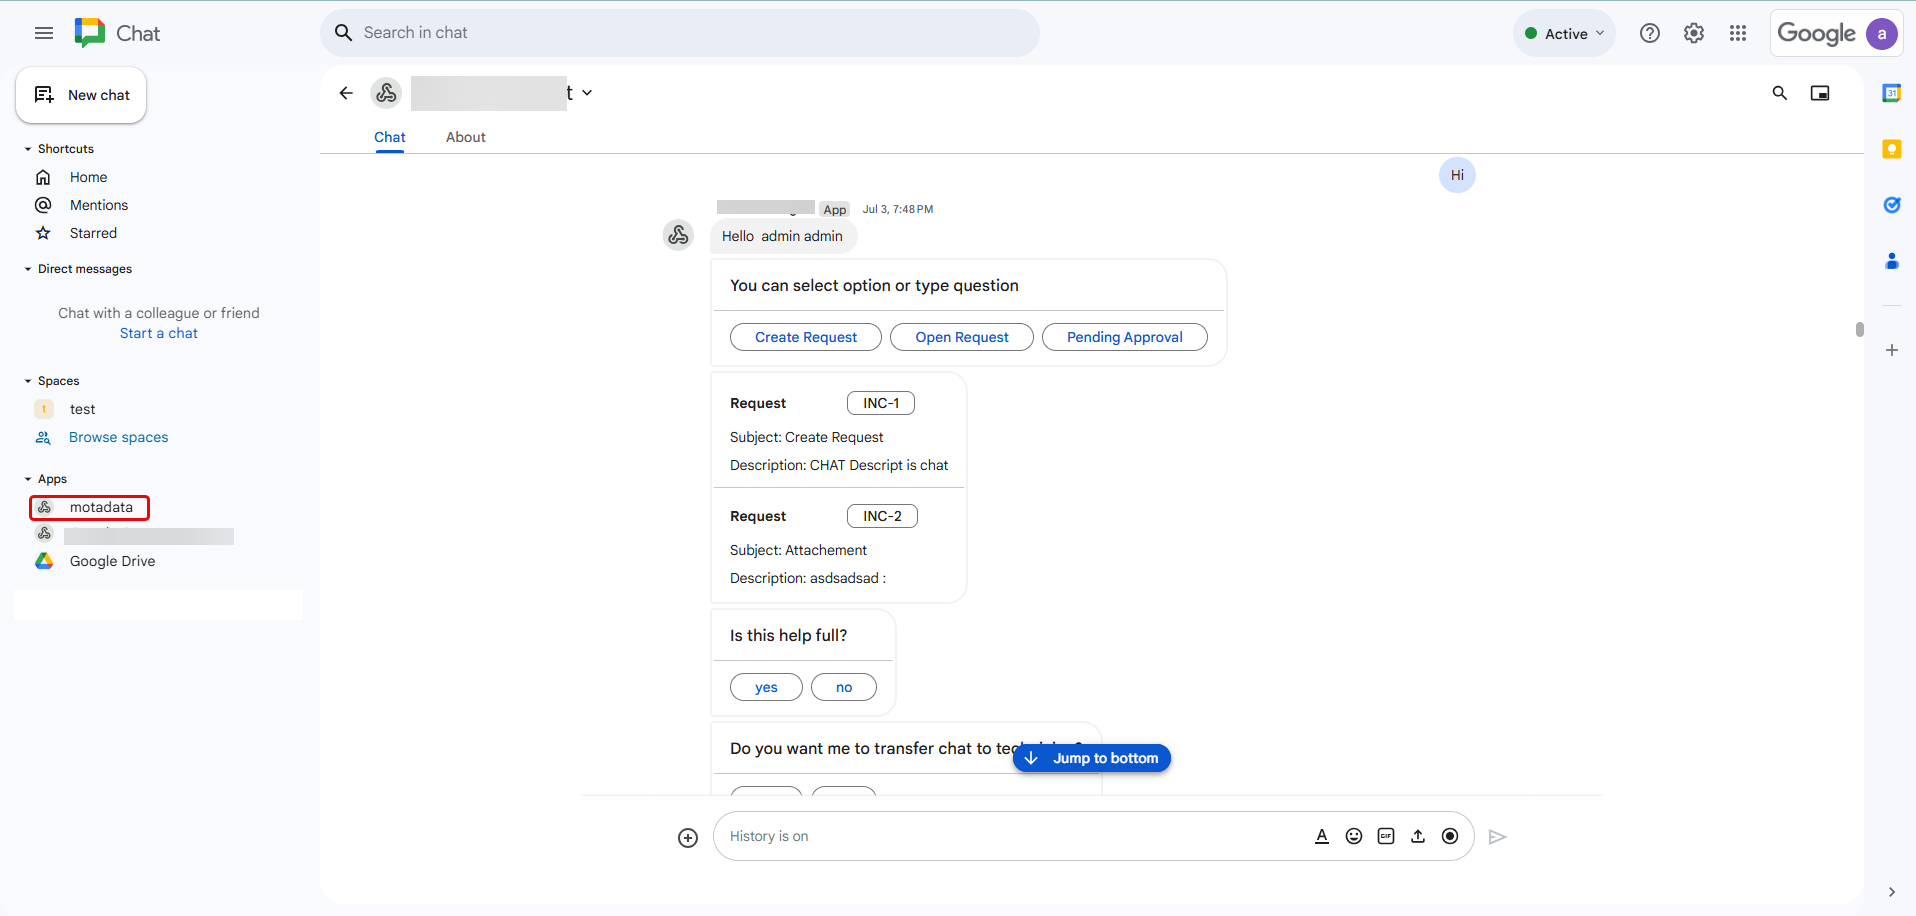
- The chat window appears as shown below.
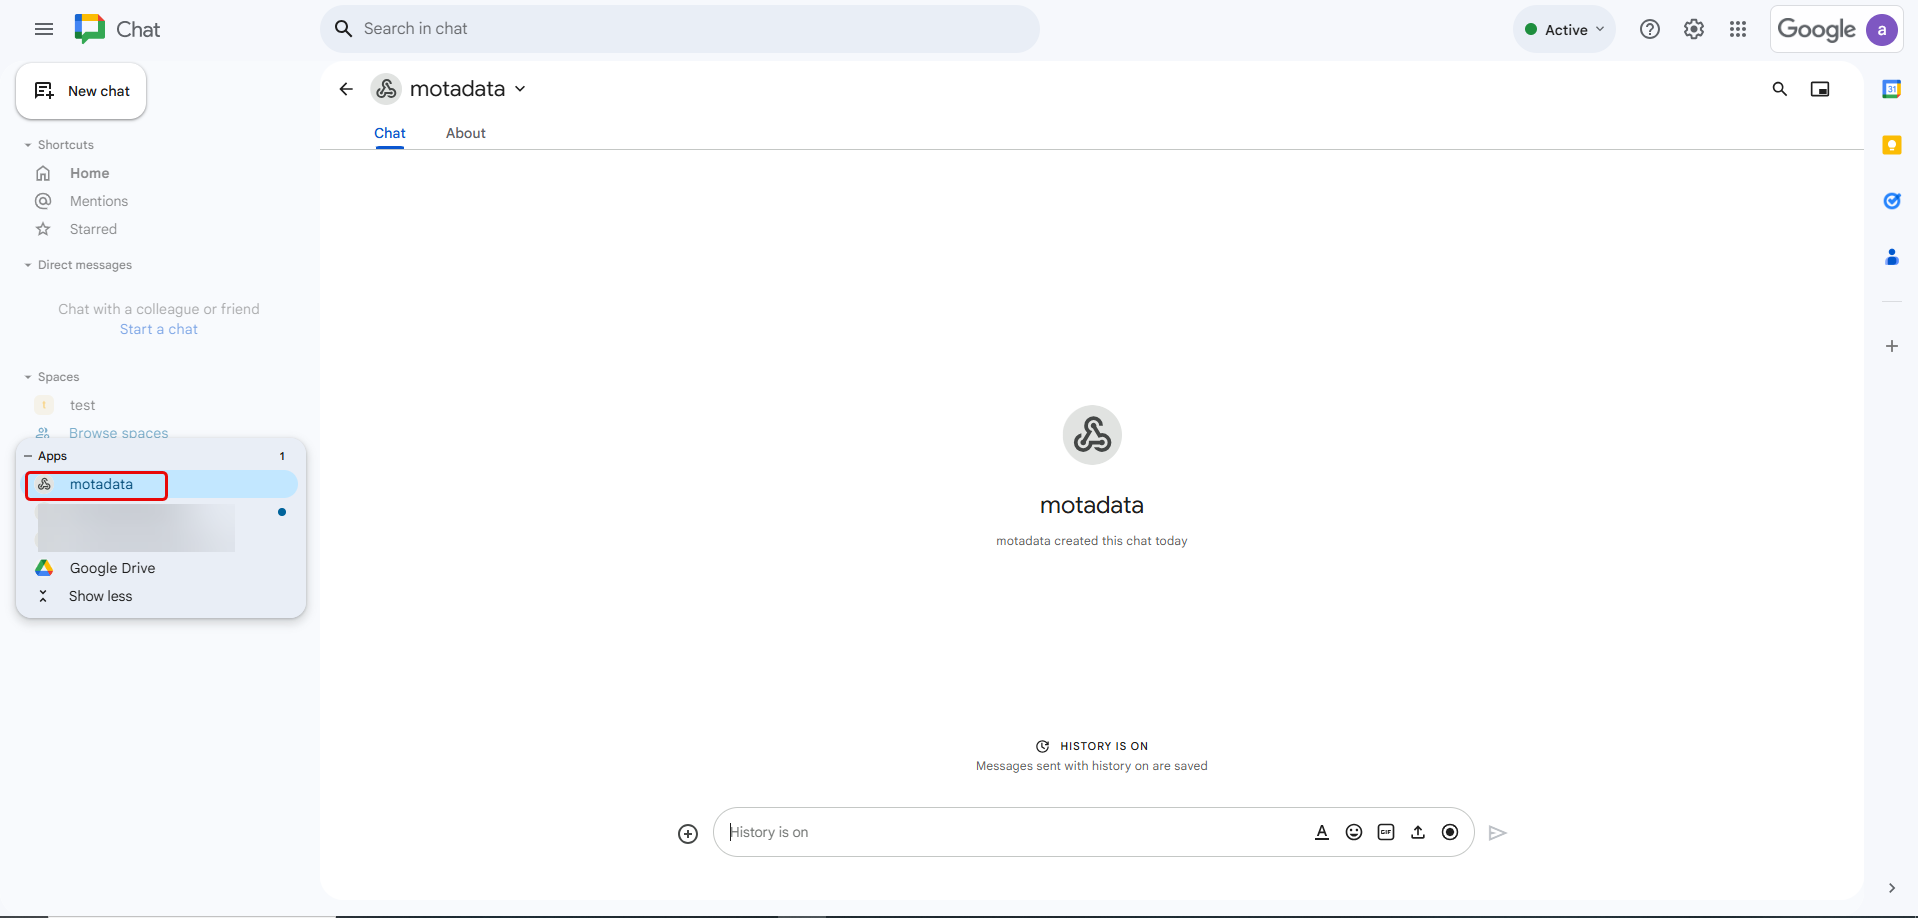
- You can now type hi and begin the conversation as shown below.
Part 2: ServiceOps Configuration
After setting up the Google side, you need to configure ServiceOps to connect to your new Chat app.
Step 1: Configure Virtual Agent Channel
In ServiceOps, navigate to Admin > Support Channel > Virtual Agent > Google Chat App Config tab.
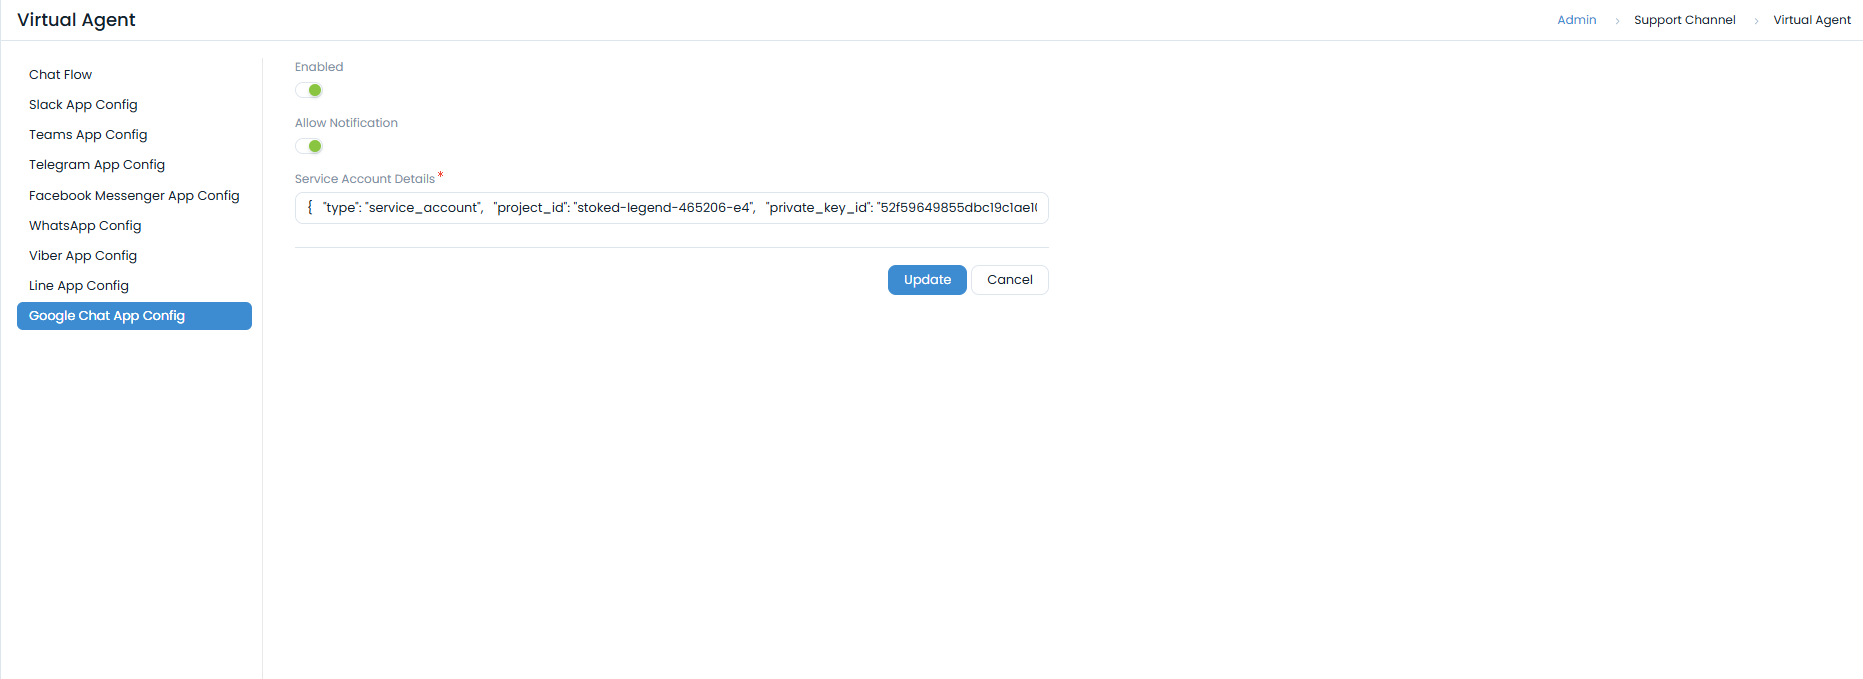
Click the toggle to Enable the channel.
Enable the Allow Notification flag if you want ServiceOps to send notifications to Google Chat.
In the Service Account Details field, paste the entire content of the JSON key file you downloaded in Part 1, Step 4.
- Click Update to save the details.
Step 2: Configure Event Notifications
You can control which ServiceOps events trigger a notification in Google Chat.
- Navigate to Admin > Automation > Event Notifications > App notifications tab and click Edit.
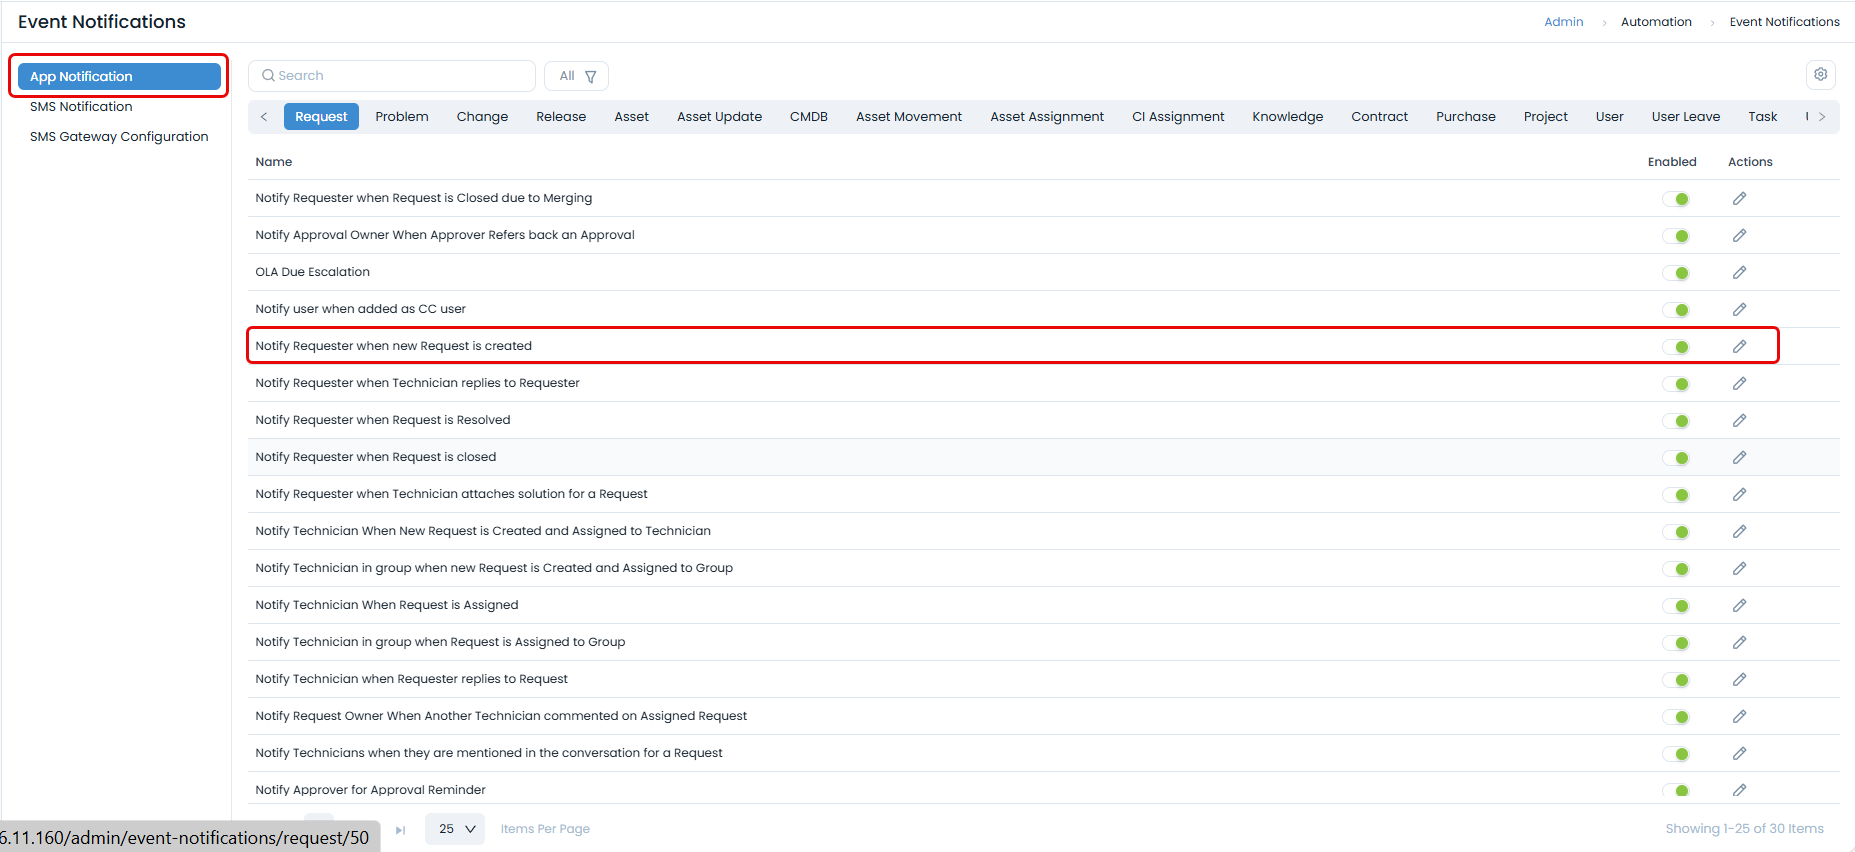
- In the new Google Chat section, enable the specific notifications you want to be sent.
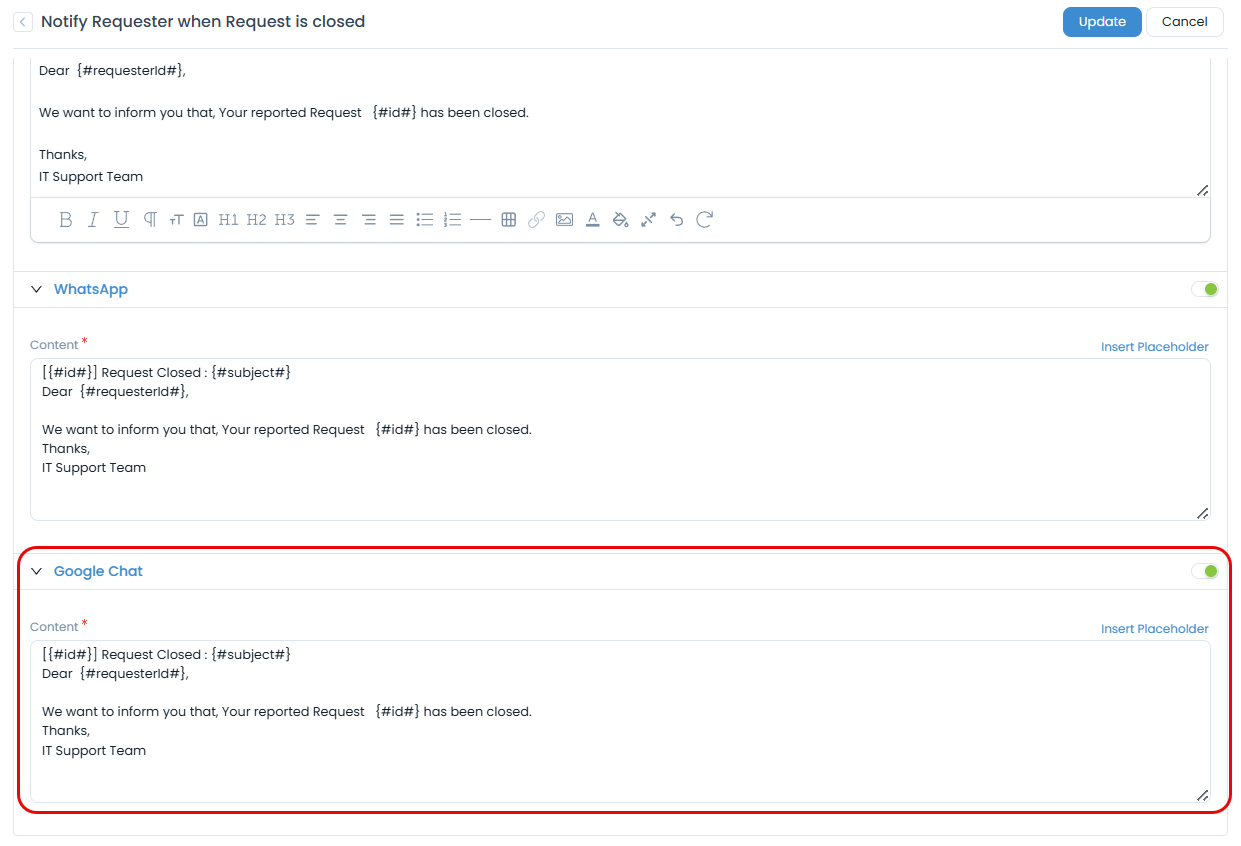
This section is only available if Allow Notifications is enabled in the Virtual Agent settings (Part 2, Step 1).
Step 3: Configure Workflow Notifications
You can also send notifications as part of a workflow.
- Navigate to a Workflow and add a new App Action.
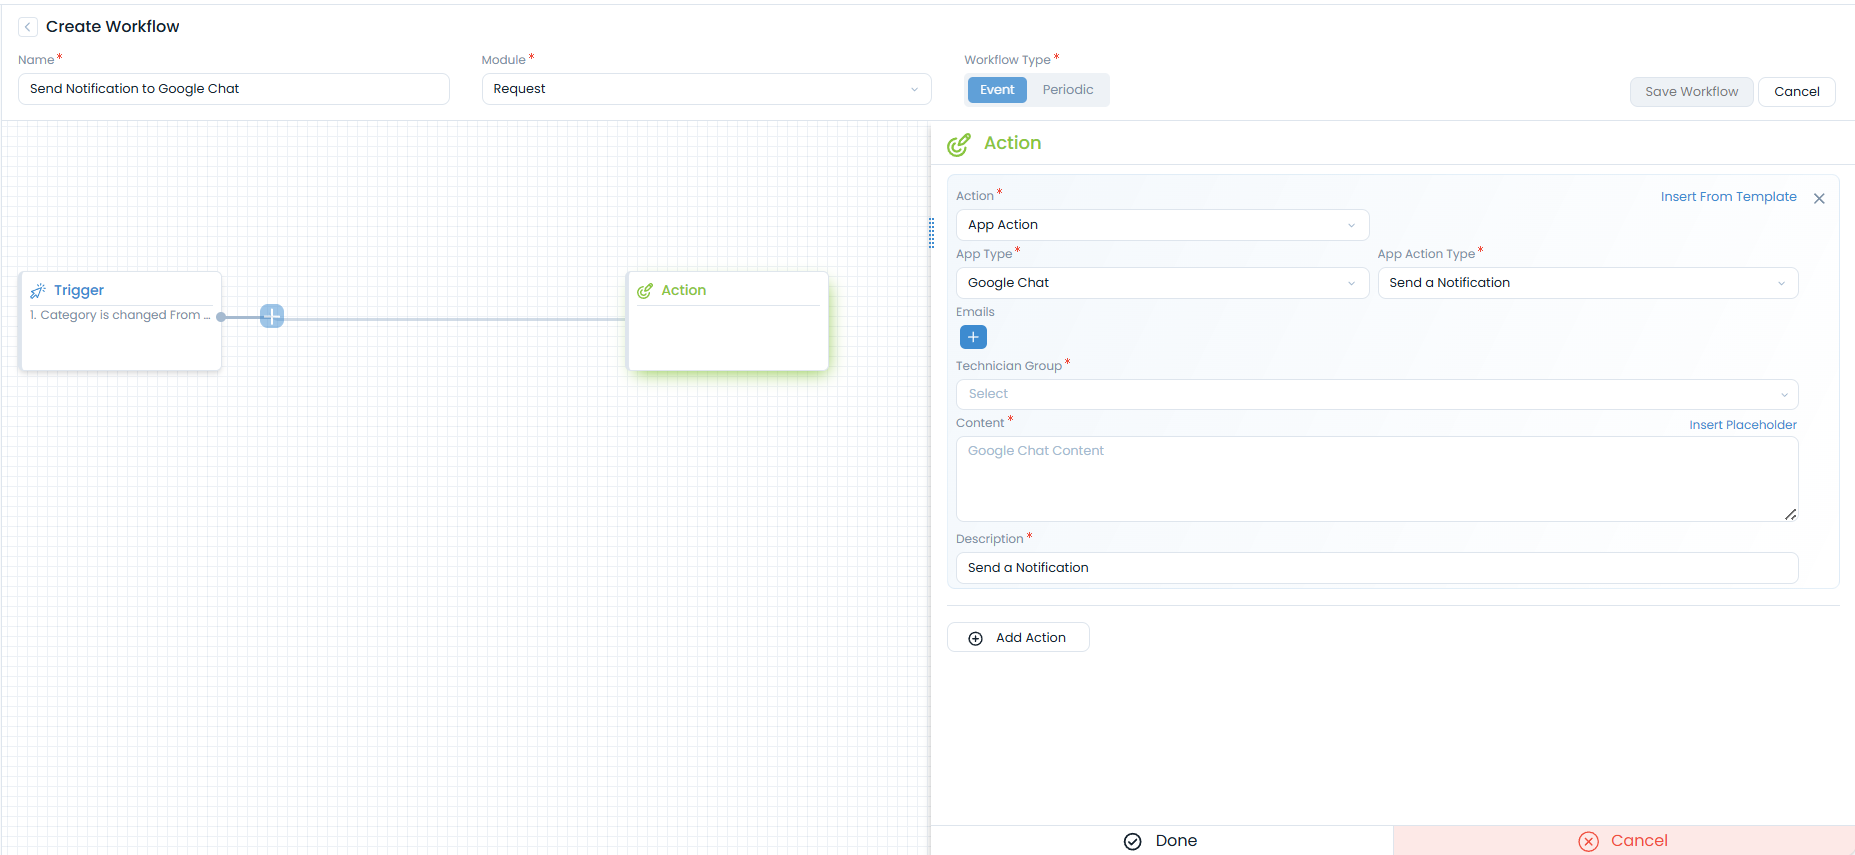
Select the App Type as Google Chat and Send a Notification as App Action Type.
If the action is Send a Notification, you will need to provide the user's email address.
Additional Information
Chat Flow and Console
- Chat Flow: In Admin > Virtual Agent > Chat flow settings, you can enable or disable specific chat flows for the Google Chat channel.

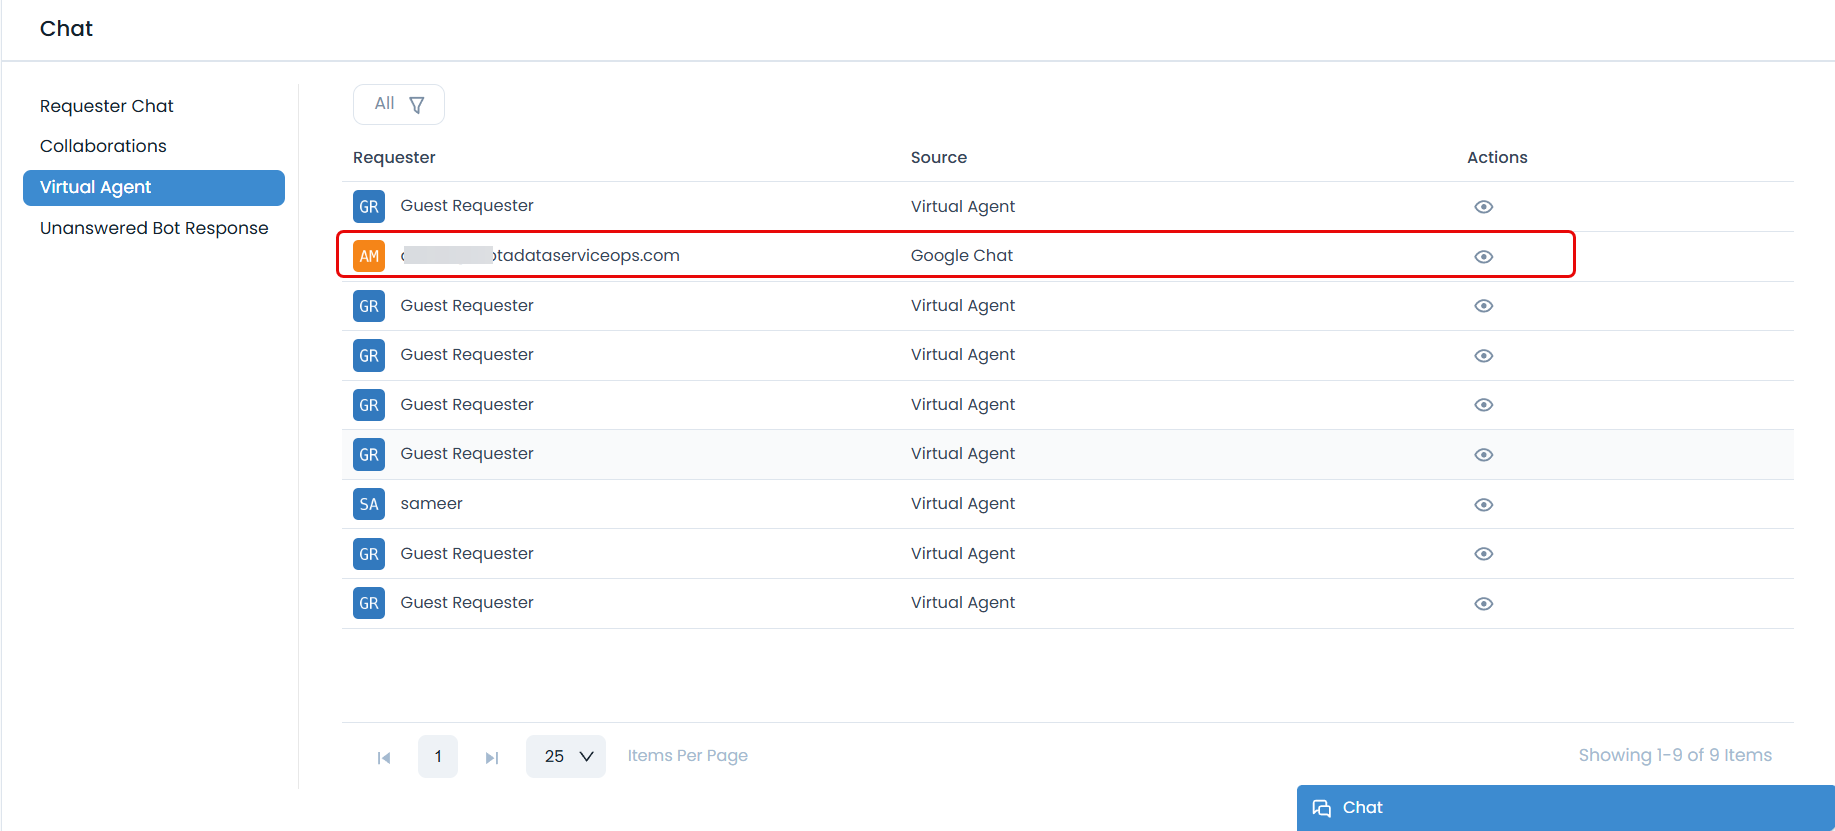
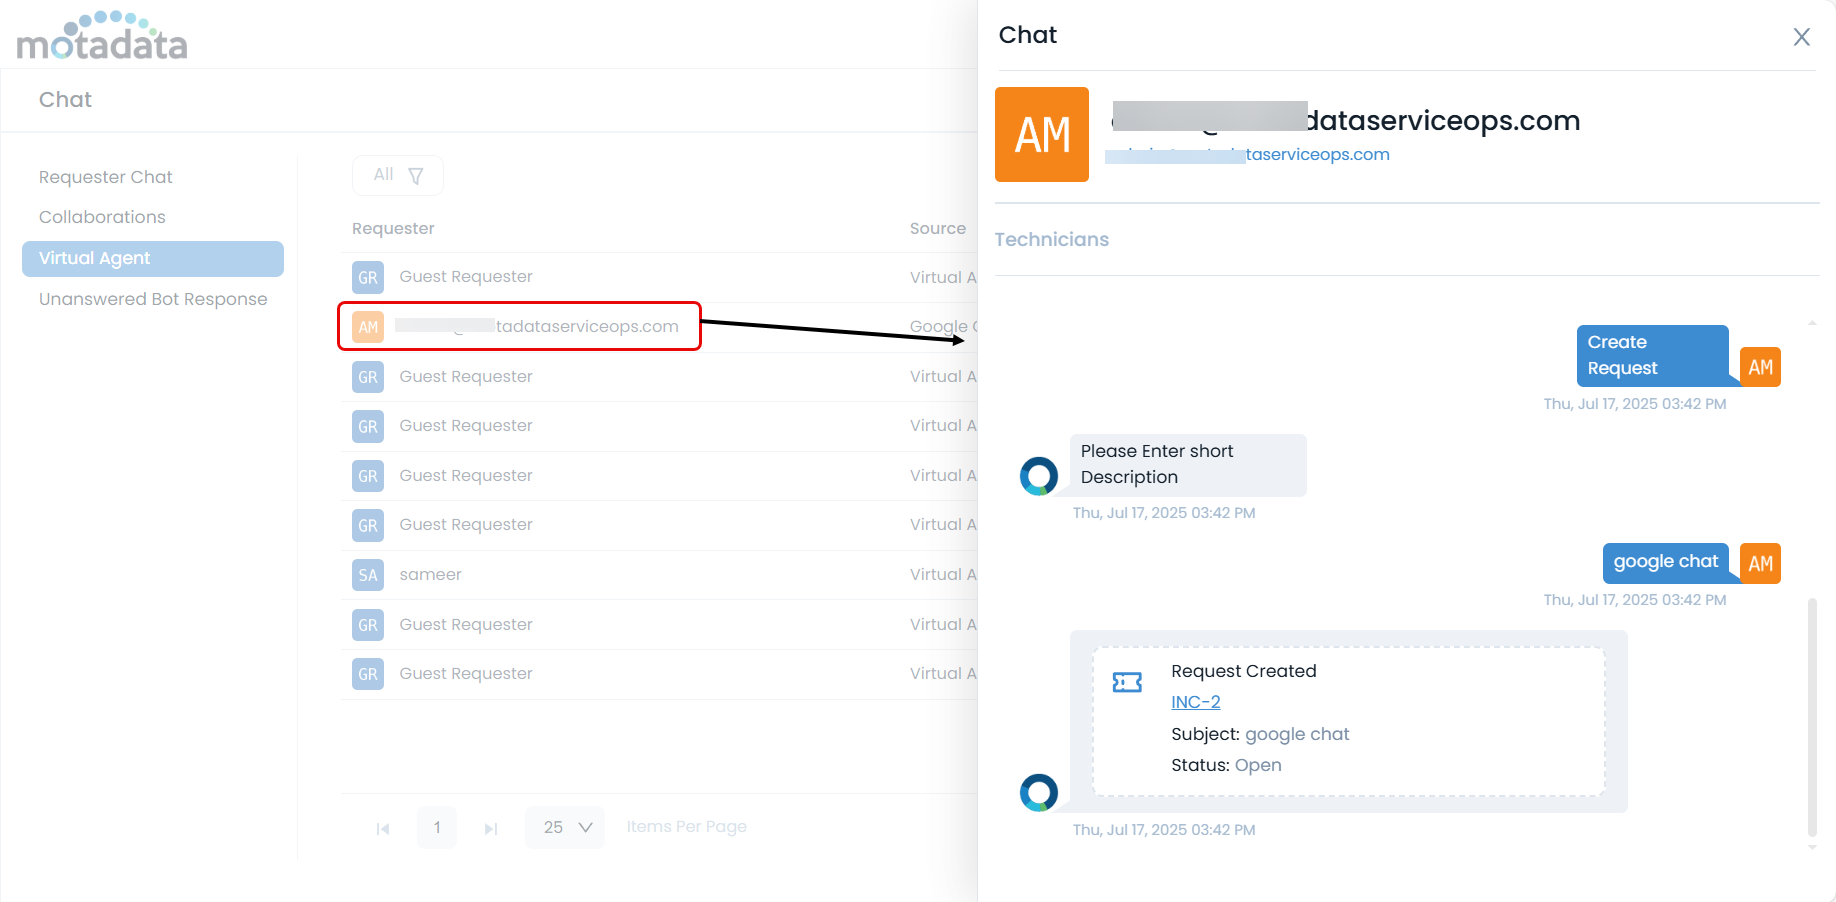
- Chat History: The chat history for interactions via Google Chat is available in the Chat Console > Virtual Agent.
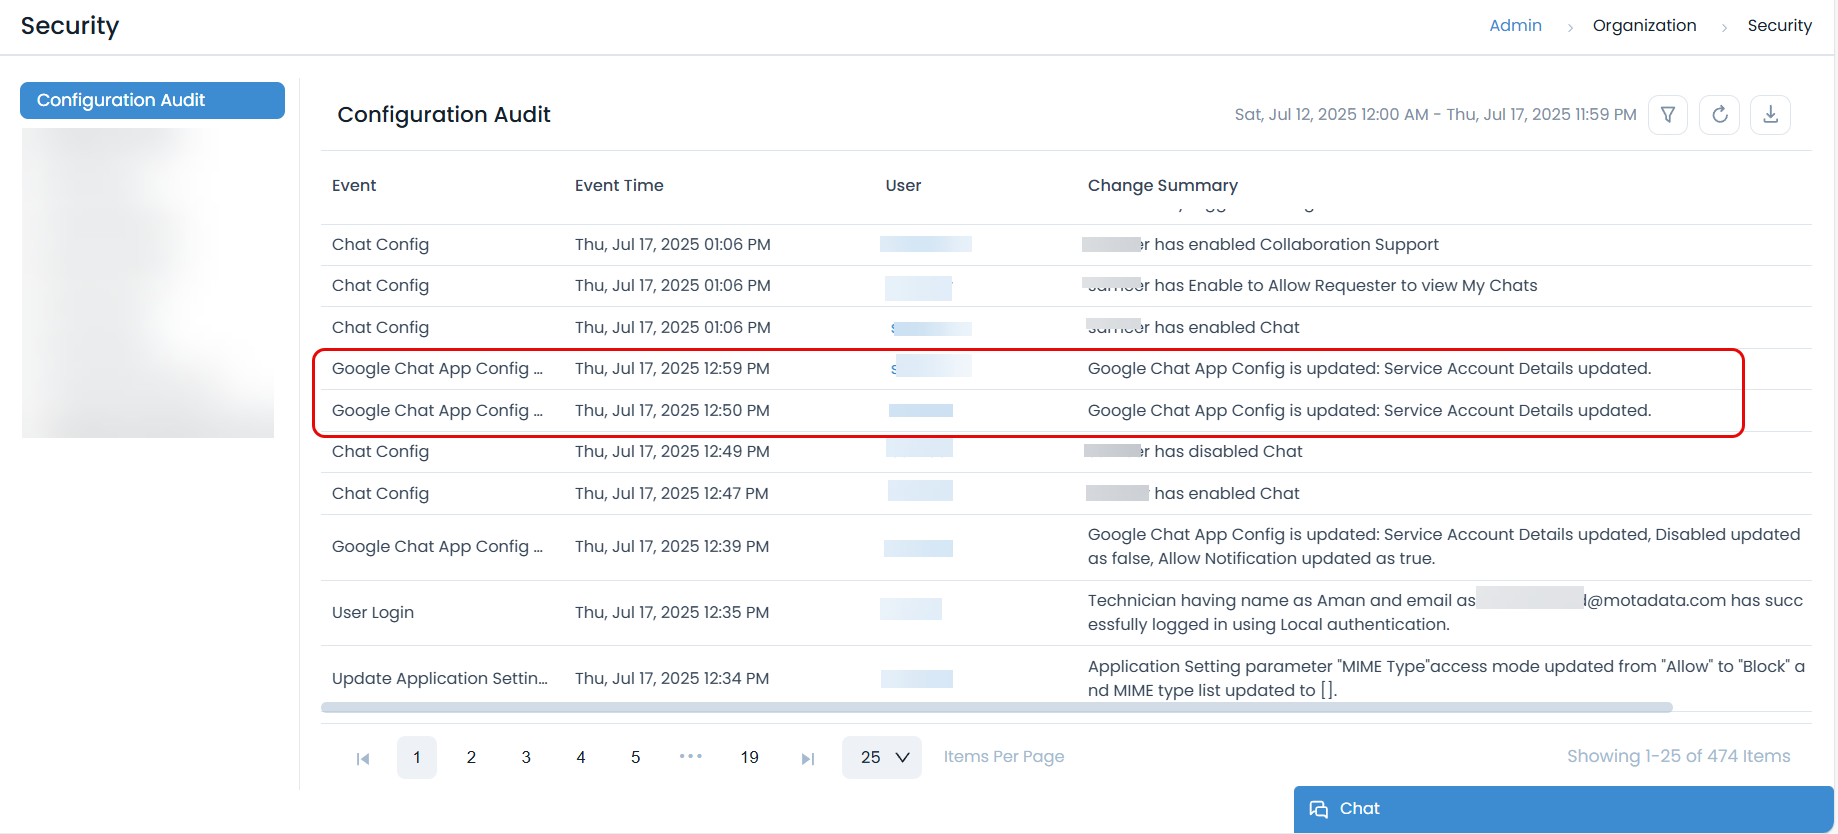
Configuration Auditing
All configuration changes made in the Admin settings described above will be logged in the Configuration Audit log.
Current Limitations
Please be aware of the following limitations in the current release:
- Attachments: Receiving attachments is not supported.
- Confirmation Messages: "Confirm message" steps within a chat flow are not currently supported.