OKTA
ServiceOps offers support for SAML 2.0, which facilitates integration for Single Sign-On. ServiceOps acts as the Service Provider (SP) and it integrates with Identity Providers (IDP) using SAML 2.0. The integration basically involves supplying details about SP to IDP and vice-versa. Once you integrate ServiceOps with an IDP, the users simply have to sign-in to IDP and then, they can automatically sign-in to ServiceOps from the respective identity provider’s GUI without having to provide credentials again. ServiceOps supports integration with OKTA.
To configure SSO with the OKTA service, follow the below steps:
Step 1: Sign-in to the ServiceOps portal as a Technician.
Step 2: Navigate to Settings > Admin > Organization > System Preference > Application Settings tab. Verify that the Base URL is the same as the portal URL. If it has the default IP Address, update it.
Step 3: Navigate to Settings > Admin > Users > SSO Configuration > Identity Providers and click Add Identity Provider. The following popup appears.

Step 4: Provide the following details. In this, the IDP details of the Okta portal are to be configured in the ServiceOps while the SP details in the Okta.
| Parameter | Description |
|---|---|
| Name | Enter the name of the identity provider. |
| Primary | Enable if you want to set this provider as the primary SSO. |
| Auto Create User | Enable if the user is to be created automatically, if not available in the system. By default, disabled. |
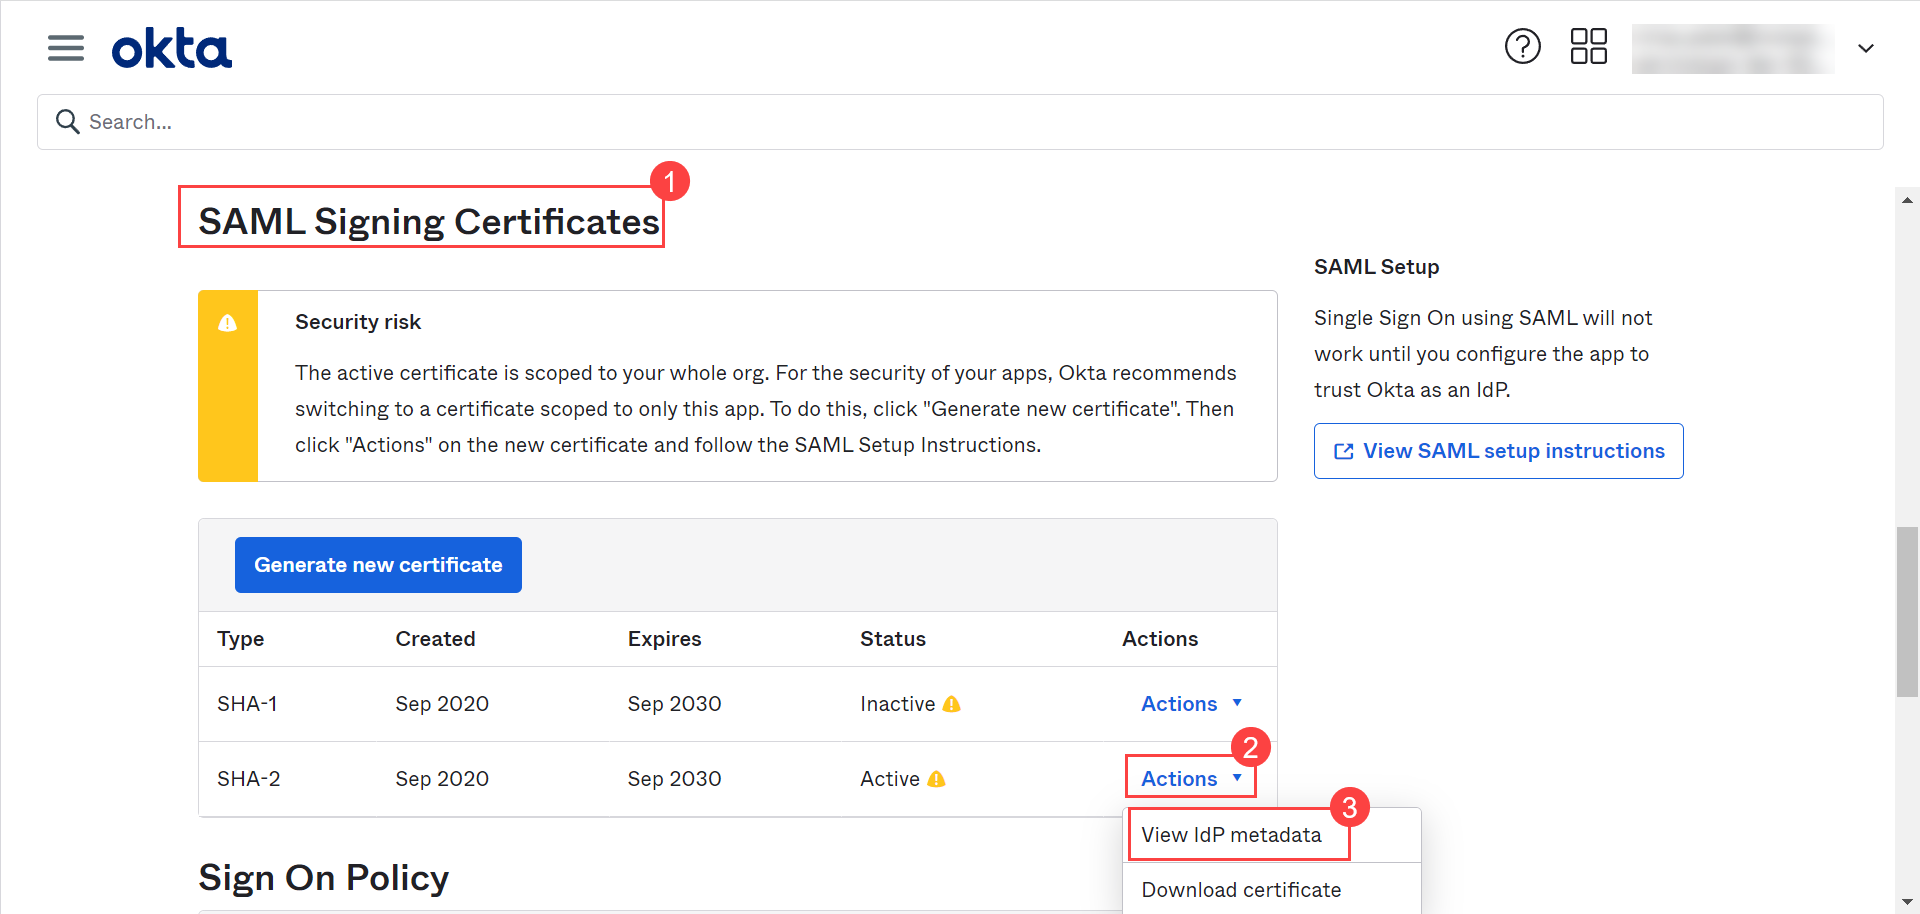
| IDP Entity ID | Enter the Entity ID of the IDP from the Okta portal. It is a mandatory field. You can get these details from Okta portal > App details > Sign On > SAML Signing Certificates as shown in the figure below. |
| IDP Login URL | Enter the login URL of the IDP on which the user will get redirected. It is a mandatory field. You can get this from the Okta portal. |
| IDP Logout URL | Enter the logout URL of the IDP on which the user will be redirected once signing-out from the ServiceOps portal. If not provided, the user will remain on the same page. This field is optional. |
| IDP Security Certificate | Enter the certificate that IDP provides for integration. The response sent by the IDP is validated using it. |
| SP Entity ID | It displays the entity ID of the Service Provider. You have to configure this in the Okta portal. |
| Assertion Consumer URL | It displays the endpoint of the ServiceOps application where the IDP posts the SAML responses. You have to configure this in the Okta portal. |
| SP Single Logout URL | It displays the URL to which the user gets redirected after sign-out. You have to configure this in the Okta portal. |
| SP Public Key | It is provided by the Service Provider. |
| SP Private Key | It is provided by the Service Provider. |
| Mappings | Map additional fields required for more details. Using this, whenever the values of the mapped fields are changed in the respective provider, they will automatically get updated in ServiceOps. Note: Field Mapping is unsupported for Multi-Select Drop Down, Checkbox, Date Field, and Dependent (Custom Type) field types. |
Step 5: Click Add, and the provider will be displayed on the list page.
Step 6: In OKTA, navigate to Applications > Applications > Browse App Catalog > General tab, and the following page will appear:

Step 7: Edit the SAML Settings and navigate to Configure SAML tab, as shown below:

Configure the following details:
- Single sign on URL
- Audience URI (SP Entity ID)
- Attribute Statements (optional): Configure attributes for mapping fields.
You can access these details from ServiceOps Home page > Admin > Users > SSO Configuration page.

Once configured, click Next, and Finish. The SSO is now configured.
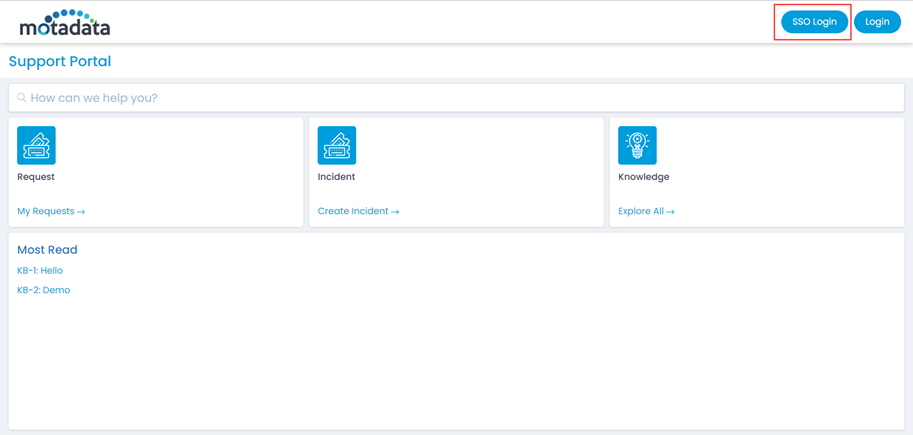
Step 8: You can verify this, by opening the ServiceOps Portal, and signing-in using the SSO Login button as shown below.
Step 9: You will be redirected to the OKTA sign-in page, as shown below:
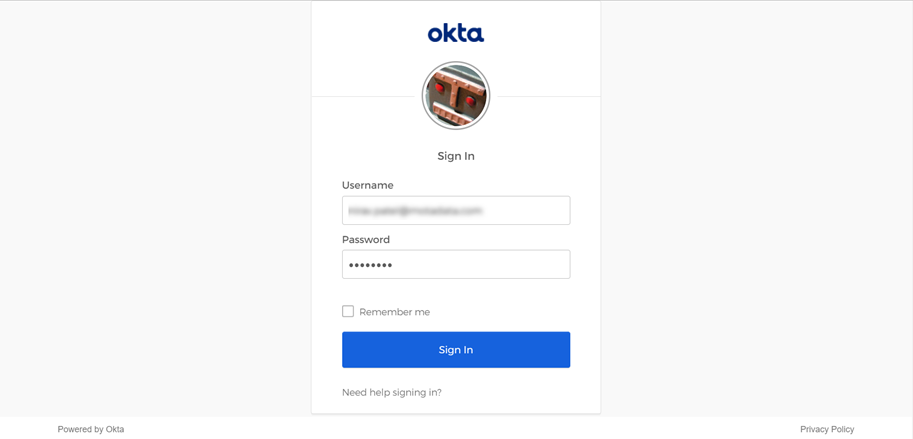
Step 10: Sign-in to OKTA, and you will be redirected to the ServiceOps portal as shown below:
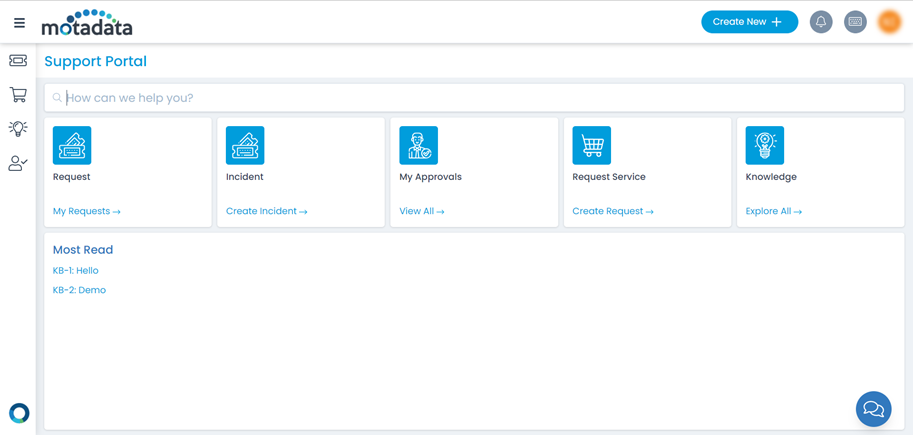
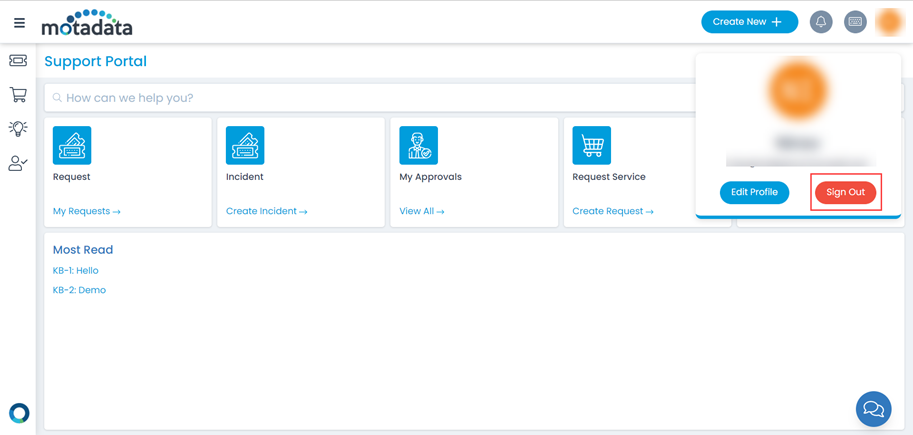
Step 11: To sign-out, click on the username and click Sign-Out. You will be redirected to the OKTA page again or remain on the portal as per the configured SAML logout URL.
