11.5. Barcode
Doing business with Barcodes is efficient. Businesses can track and store information about their physical Assets, from individual items to large stocks of thousands or even millions of items.
You can assign a barcode to every Asset in the CMDB. With barcodes you can perform the following operations:
Note
Currently barcode feature is available for the Hardware Assets.
11.5.1. Adding Barcode to an Asset
You can add an existing barcode to an Asset or generate a new one and then add.
Go to the Details View of the Asset where you want to add a barcode.
Click on Add Barcode from the Action menu next to the Assign button (situated in the top right corner).
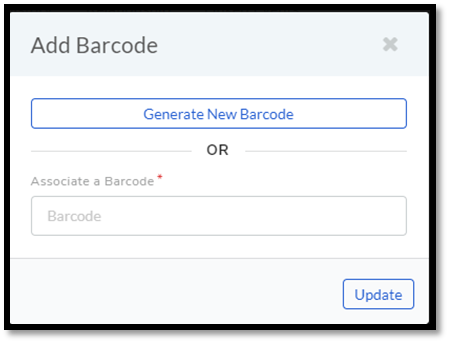
A dialog box opens where you have two options:
Generate new barcode and add that to the Asset.
Add an existing barcode to the Asset. Type the barcode in Associate a Barcode field.
Select an option and hit Update.
11.5.1.1. Changing an Asset’s Barcode
Go to the Details View of the Asset.
Click on the barcode situated in the top right corner of the page.
Click on Change Barcode from the pop menu.
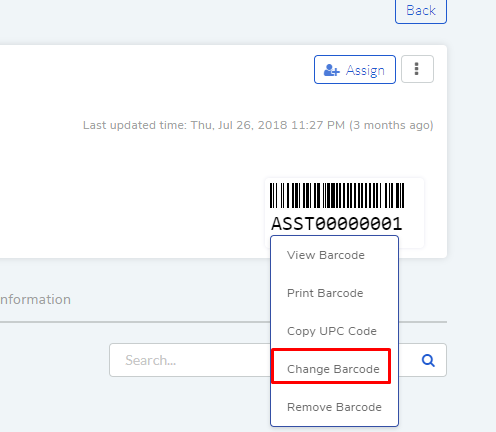
A dialog box opens similar to the one for adding a barcode. You have two options:
Generate new barcode and add that to the Asset.
Add an existing barcode to the Asset. Type the barcode in Associate a Barcode field.
Select an option and hit Update.
11.5.2. Copying an Asset Barcode to the Clipboard
You can copy the barcode of an Asset to the clipboard in the following way:
Go to the Details View of the Asset.
Click on the barcode situated in the top right corner of page.
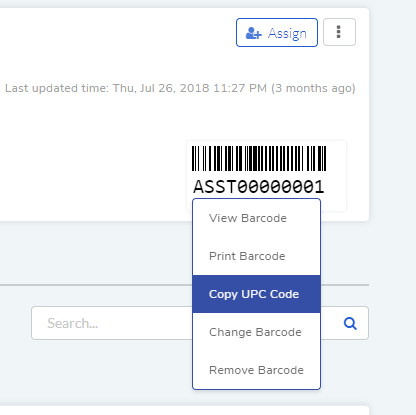
Select Copy UPC Code to copy of the barcode to the clipboard.
11.5.3. Print Asset Barcode
You can print the barcodes of Assets on a single click. There are two ways to print barcodes:
From Asset List View:
Go to the List View of Hardware Assets.
Select one or more Assets. The Generate Barcodes button appear above the pane.

Clicking on Generate Barcodes button opens the browser’s print dialog box. Where you can print the barcodes of the selected Assets.
From Asset Details View:
Go to the Details View of an Hardware Asset.
Click on the barcode in the top right corner of the page.
Select Print Barcode from the pop-up menu.
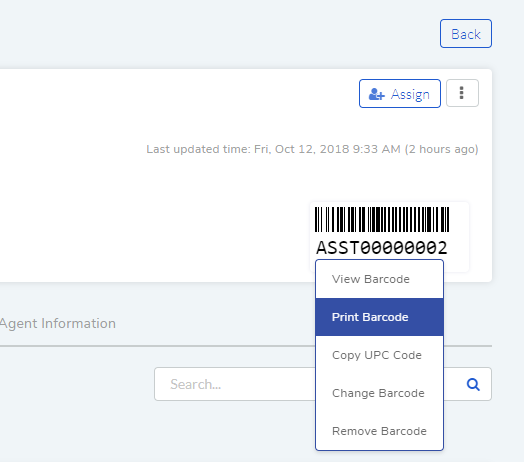
Browser’s print dialog box opens. Where you can print the barcode.
11.5.4. View Barcode of an Asset
You can view the barcode of an Asset in a separate dialog box for scanning purpose from Details View.
Go to the Details View of an Asset with a barcode.
Click on the barcode and select View Barcode.
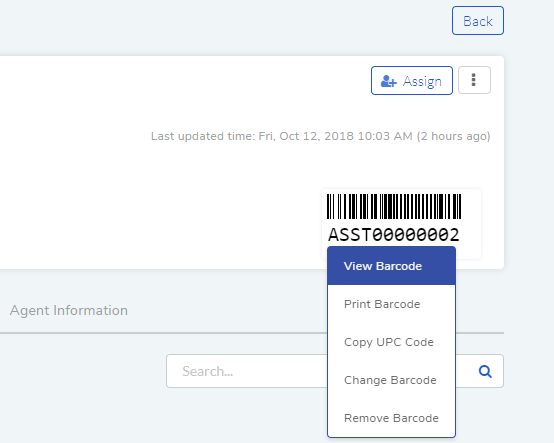
A dialog box opens where the barcode is visible with a larger font.

11.5.5. Remove a Barcode
You can remove a barcode of an Asset from its Details View.
Go to the Details View of an Asset with a barcode.
Click on the barcode and select Remove Barcode.
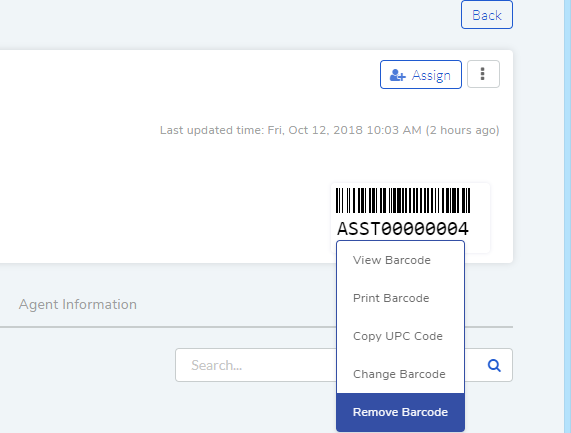
11.5.6. Generate Barcodes
A technician can generate a series of barcodes that are not relates to any asset from the asset list view.
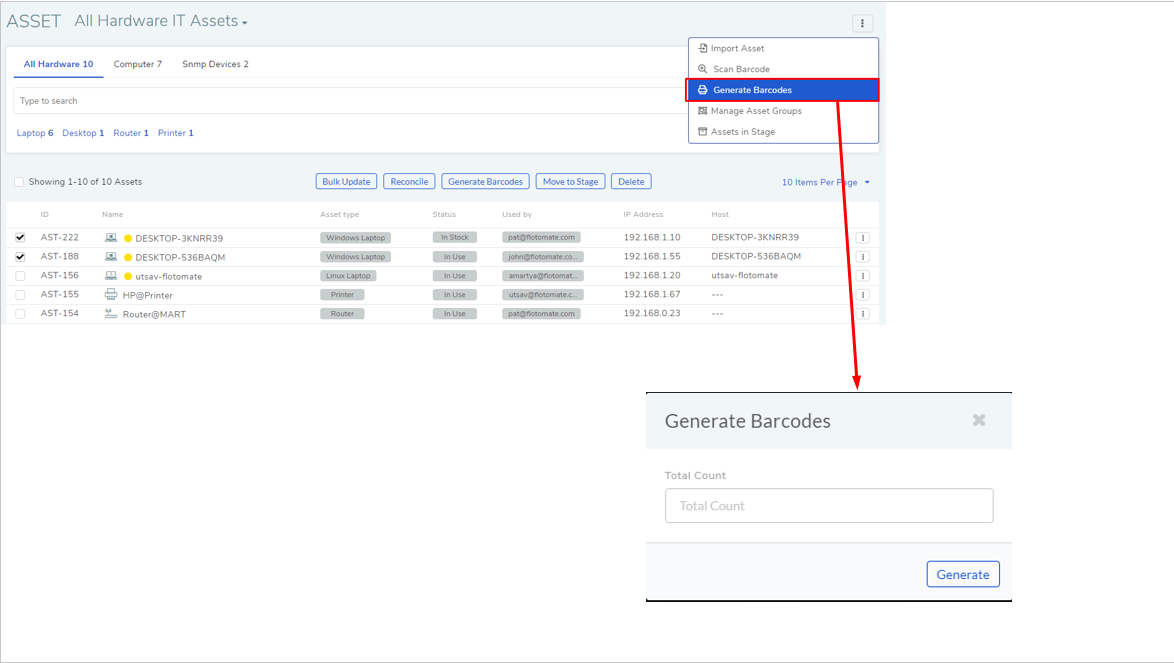
Clicking the Generate Barcodes option opens a dialog box where the technician can mention the number of barcodes he wants to generate. A PDF file automatically downloads with the said number of barcodes.
11.5.7. Changing Barcode Prefix
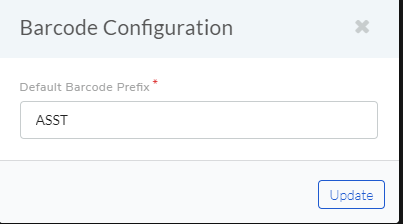
You can have a variety of barcode prefixes when you are generating barcode for printing.
Go to Admin (A Navigation tab) >> Barcode Configuration (Asset Management).
Barcode Configuration dialog box opens. Add the new prefix and hit update.
