DC-DR Upgrade Guide
Overview
This document provides step-by-step instructions for upgrading the Motadata ServiceOps application to the latest version in a DC-DR environment.
- From version v8.2, incremental upgrades are not required. You can upgrade directly from v8.2 to v8.6.0.
- Always perform a full database backup before upgrading.
- Starting from v8.6.0, you can upgrade ServiceOps using a single common installer across supported operating systems.
Supported OS Versions
- Ubuntu: 22, 24
- RedHat: 9.2, 9.4
Pre-Upgrade Checklist:
- Application Backup: Backup the application and filedb folder. Refer to the Application Backup documentation.
- Database Backup: Take a complete database backup. Refer to the DB Backup documentation.
- VM Snapshot: Take a snapshot of the virtual machine for recovery.
Steps for DC Server Upgrade
To upgrade the ServiceOps application for the DC-DR environment, perform the below steps:
Disable Crontab Jobs on the DC Server
Before starting the ServiceOps upgrade on the DC server, it is important to disable scheduled cron jobs. Follow the steps below:
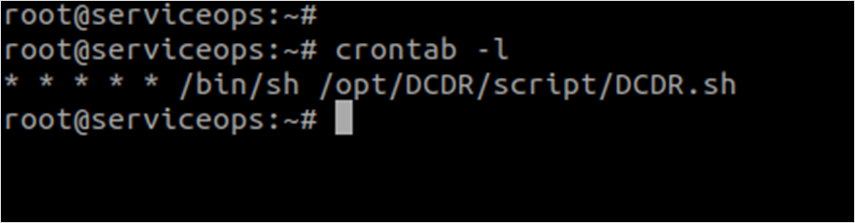
a. View Existing Crontab Entries
Use the following command to list current crontab jobs:
crontab -l
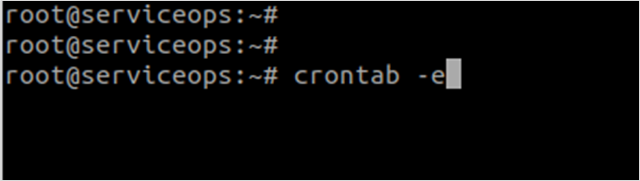
b. Edit the Crontab
To disable the jobs, open the crontab file for editing:
crontab -e
c. Comment Out Cron Jobs
In the editor, add a # at the beginning of each line to comment it out.
Example (Before):
* * * * /opt/DCDR/scripts/DCDR.sh

Example (After):
# * * * * /opt/DCDR/scripts/DCDR.sh

d. Save and Confirm
Save the file and exit the editor. Then, verify the changes:
crontab -l
You should now see all lines commented out with #.

After disabling crontab on the DC server, begin the standard ServiceOps upgrade process.
Upgrade Process in DC Server
Ensure that the DC and DR servers are in sync. To verify synchronization, follow the steps outlined in the Check DC-DR Synchronization section.
1. Download the Release Build
Download the latest Common Installer build.
2. Prepare the Installer
Copy the MotadataServiceOpsCommonUpgrade installer to the DC machine.
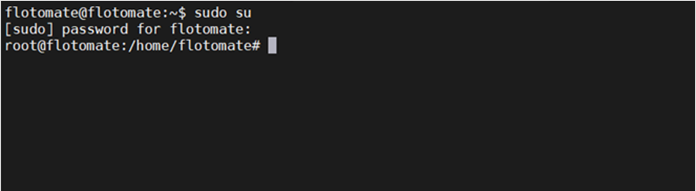
Log in to the terminal server with root user rights using the command below.
sudo su
Stop the main server and analytics server services using the below command:
systemctl stop ft-main-server.service ft-analytics-server.service

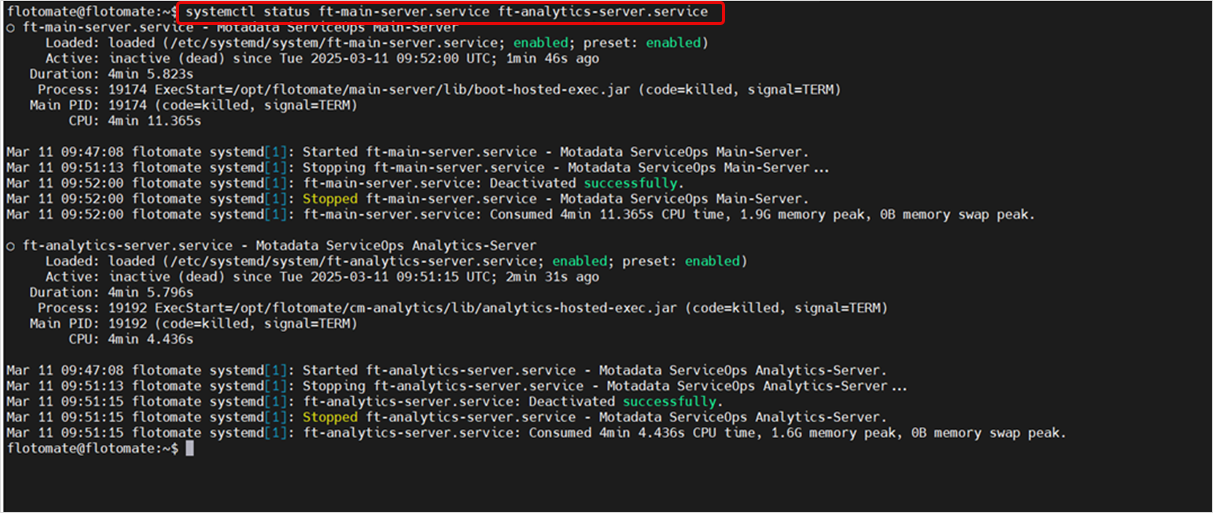
Check the status of the services using the below command:
systemctl status ft-main-server.service ft-analytics-server.service
Grant execute permissions for the installer file using the root user:
chmod 777 MotadataServiceOpsCommonUpgrade_V860

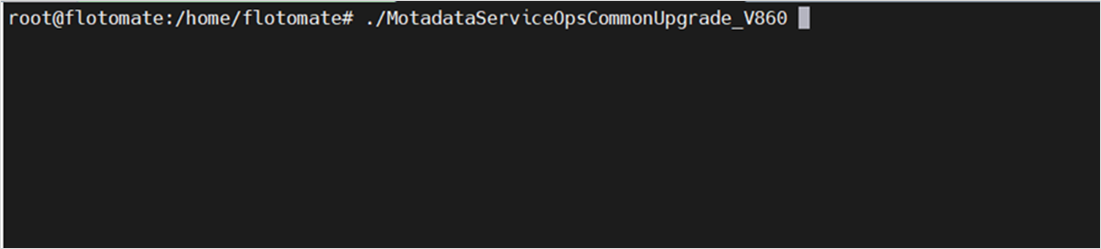
3. Run the Installer
Run Installer using the following command:
./MotadataServiceOpsCommonUpgrade_V860
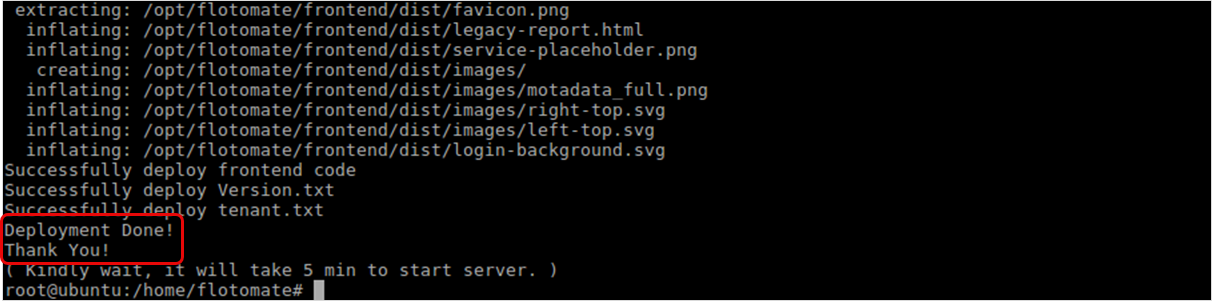
The upgrade procedure will begin.
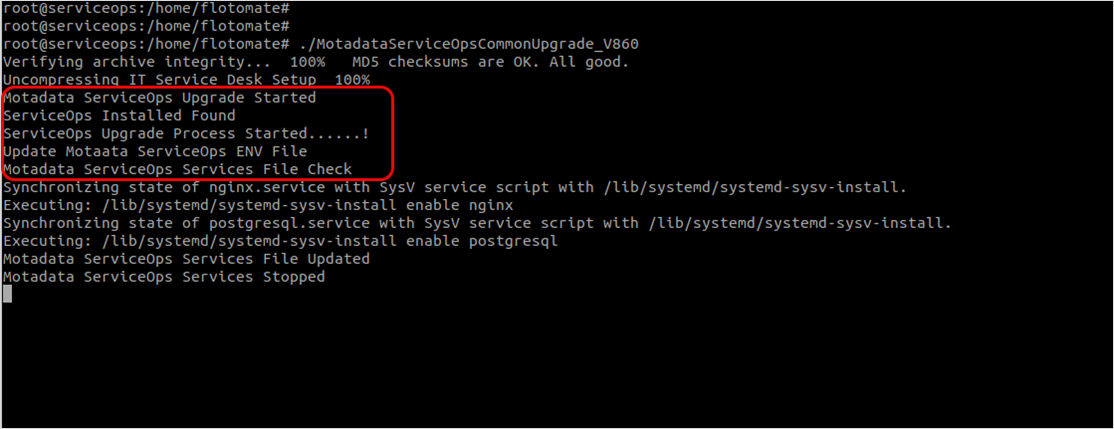
Once you see the screen below, you will see that you have successfully upgraded the product.
4. Post-Deployment Verification
Check the status of all the services (Standalone Architecture). All the required services should be up and running. For example,
systemctl status ft-main-server.service
systemctl status ft-plugin-server.service (If system with any plugins)
systemctl status ft-discovery-service.service (before v8.6.0)
systemctl status ft-discovery-go.service (from v8.5.0 onwards)
systemctl status ft-file-server.service
systemctl status elasticsearch.service
systemctl status nginx.service
systemctl status postgresql.service
systemctl status file-sync.service (If HA Architecture with Master Server)
- Now wait for at least 5 Minutes to allow the restart of all the Motadata services.
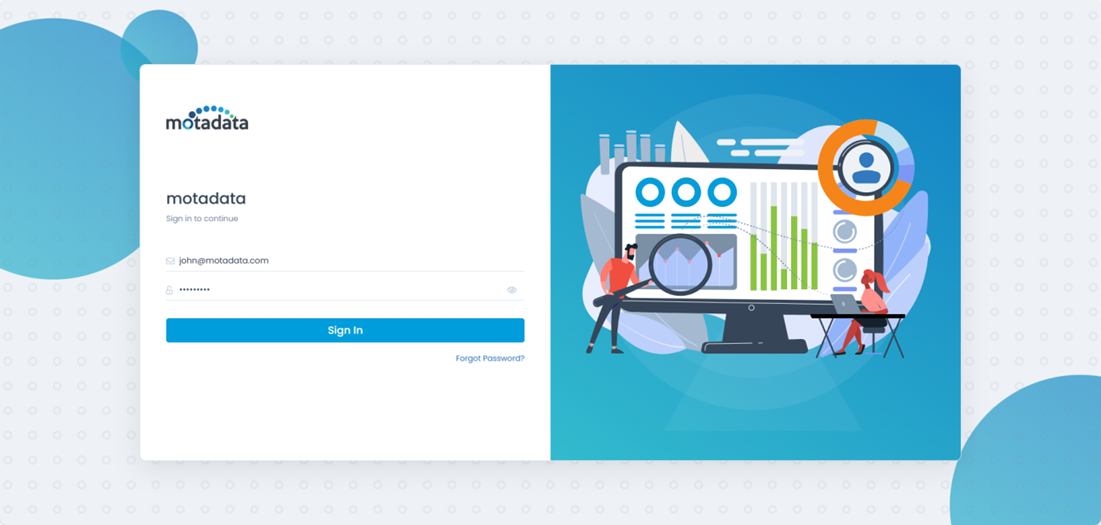
- Log in to the Motadata ServiceDesk Portal and verify the application version from the Admin > Organization > Account > License Details tab.
- Do the sanity check and verify functionality.
5. In case of upgrade failure,
Collect the SSH Session Logs You can view the logs from the below location path:
/opt/flotomate/main-server/logs/
It contains two folders: apolo (default tenant) and common
The apolo folder contains the following logs:
| Admin | Discovery | Error | nsq |
| Agent | Elastic | scheduler | |
| csvimport | Apilogger | Events | service |
| Audit |
The common folder contains the following logs:
| Apilogger | error | Nsq | Service |
| Agent | events | Integration | shutdown |
- Collect logs and evidence from these folders and share with Motadata QA/Dev team for troubleshooting.
Upgrade Process in DR Server
Ensure that the DC and DR servers are in sync. To verify synchronization, follow the steps outlined in the Check DC-DR Synchronization section.
1. Perform an upgrade on the DR server
After successfully upgrading the DC server, proceed with the standard ServiceOps upgrade on the DR server. Follow the same upgrade steps used for the DC server.
You do not need to disable crontab on the DR side.
2. Verify Data Synchronization
Once both DC and DR upgrades are complete, verify that data synchronization between the two sites is working correctly.
Check DC-DR Synchronization
Once the upgrade is completed, verify that the HA setup is functioning correctly by ensuring the database and the filedb folder are properly synchronized.
Database Sync Check:
Check if the Master and Standby databases are in sync by comparing the request counts using the below command:
sudo -u postgres psql -d flotoitsmdb -tAc "SELECT COUNT(*) FROM apolo.request;"

Create a test ticket on the Master server and confirm that the same record appears on the Standby to validate synchronization.
FileDB Sync Check:
In an HA setup, the filedb folder on the Master server is synchronized with the Standby server using rsync. This ensures that file attachments and other critical data remain consistent across both nodes.
Ensure the file-sync.service is running on the Master and stopped on the Standby.
Check the service status using the below command:
systemctl status file-sync

Compare the number of files in the filedb directory on both Master and Standby using the below command:
find /opt/flotomate/main-server/filedb -type f | wc -l
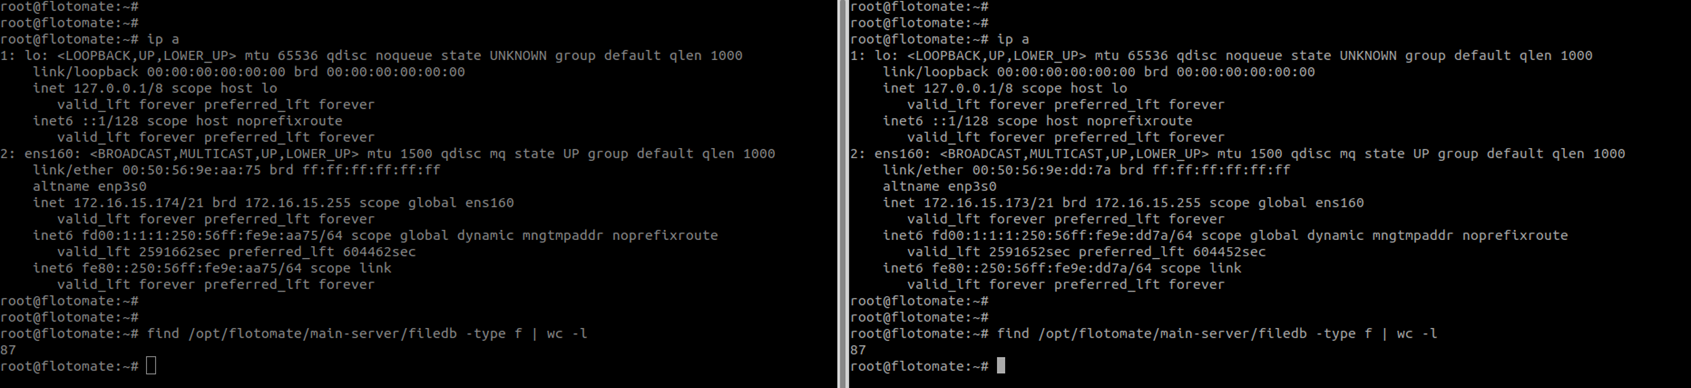
The Master and Standby servers will have same filedb file count.
- To verify, create a test file in the Master’s filedb folder and confirm it appears on the Standby node.

Re-enable Crontab Jobs on the DC Server
After completing the entire upgrade process and confirming synchronization:
Open the crontab editor on the DC server:
crontab -eRemove the # comments you previously added to re-enable the scheduled jobs.
Example (Before):
#* * * * /opt/DCDR/scripts/DCDR.shExample (After):
* * * * /opt/DCDR/scripts/DCDR.shSave and exit the editor.
Verify the updated crontab:
crontab -lYou should now see all active scheduled jobs restored.
