Motadata Service Desk – Server Upgrade Guide
This document provides step-by-step instructions for upgrading the ServiceOps application to the latest version.
- From v8.2 the server upgrade need not be done incrementally. For example, you can upgrade the server from v8.2 to v8.5.0 directly.
- Kindly perform a DB backup before doing an upgrade.
- From v8.6.0, you can upgrade the Motadata ServiceOps application using a single installer file across all supported operating systems. The supported versions include Ubuntu 22, 24 and RedHat 9.2 and 9.4.
Pre-Upgrade Checklist:
- Application Backup: Ensure you backup the application and filedb folder. For more details, refer to the Application backup document.
- Database Backup: Ensure you take the full DB backup. For more details, refer to the DB backup document.
- VM Snapshot: Take a snapshot of the existing Virtual Machine for recovery.
Procedure
To upgrade the ServiceOps application, perform the below steps:
Download the Release Build
- Download the Common Upgrade Build.
Prepare the Installer
Copy the MotadataServiceOpsCommonUpgrade installer to the target machine.
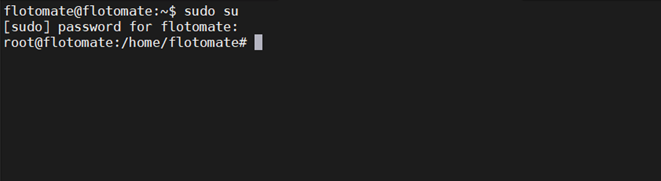
Login to the terminal server with root user rights using the below command.
sudo su
Stop the main server and anlaytics server services using the below command:
systemctl stop ft-main-server.service ft-analytics-server.service

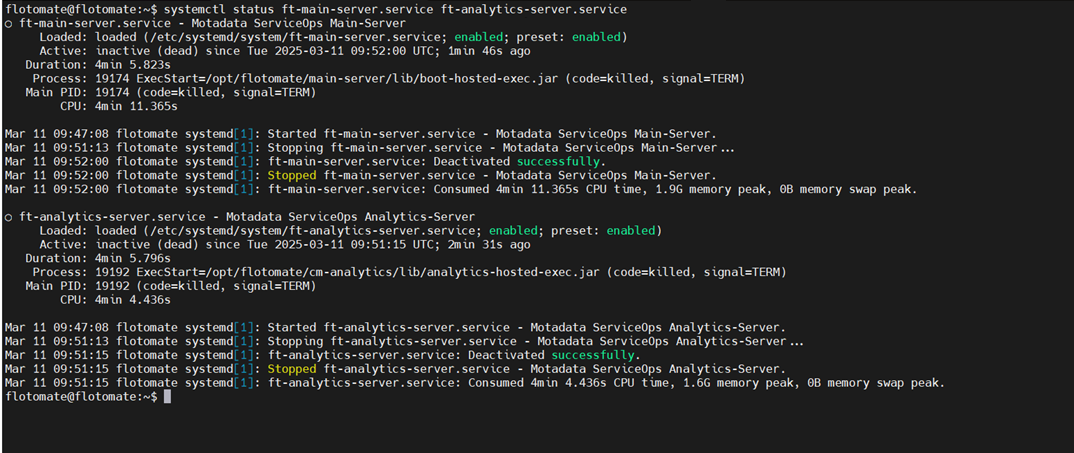
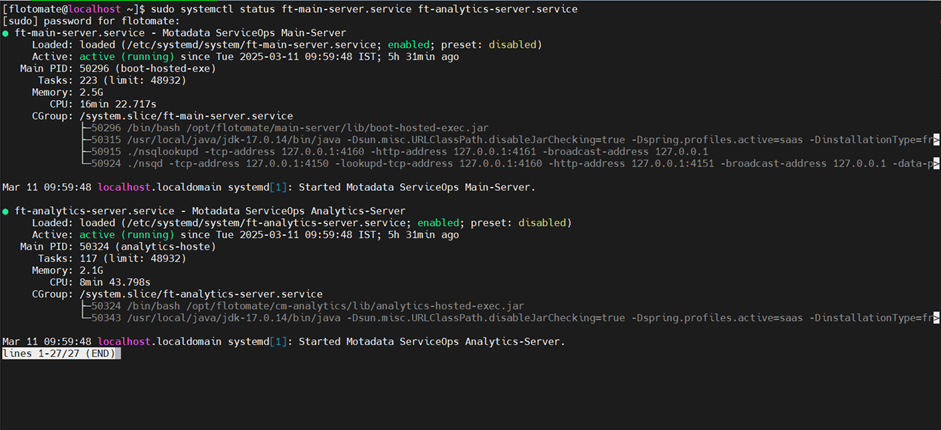
Check the status of the services using the below command:
systemctl status ft-main-server.service ft-analytics-server.service
Grant execute permissions for the installer file using the root user:
chmod 777 MotadataServiceOpsCommonUpgrade_V860
Run the Installer
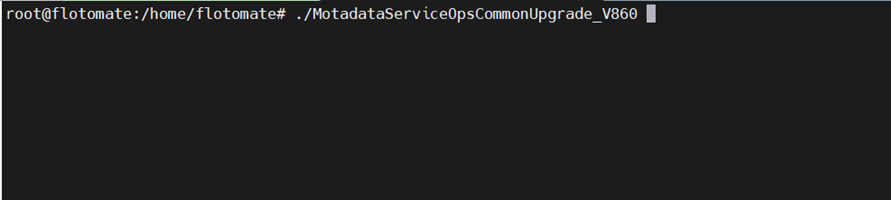
Run Installer using the following command:
./MotadataServiceOpsCommonUpgrade_V860
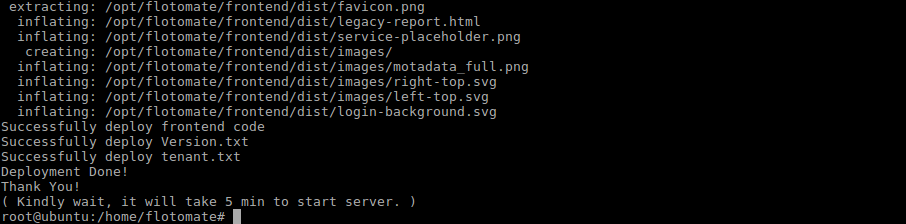
The upgrade procedure will begin.
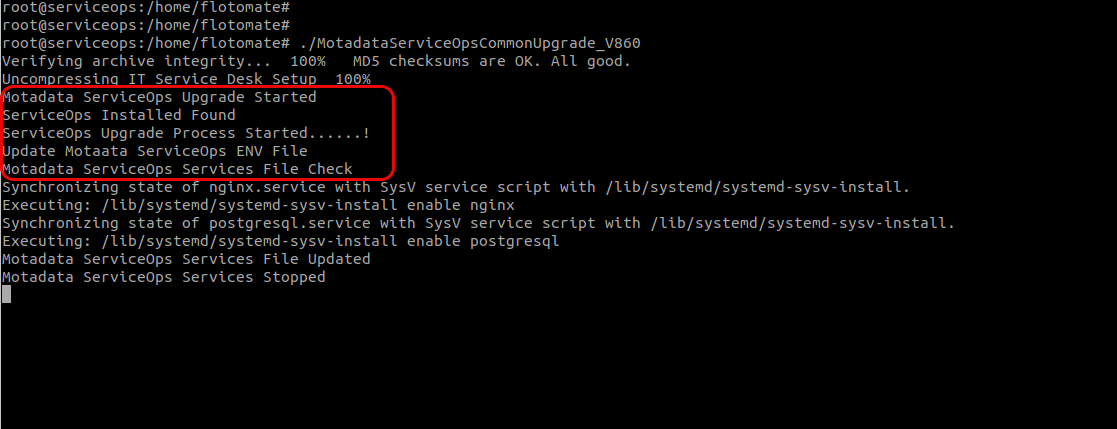
Once you see the below screen, that means you have successfully upgraded the product.
Post-Deployment Verification
Check the status of the services.
systemctl status ft-main-server.service ft-analytics-server.service
- Now wait for at least 5 Minutes to allow restart of all the Motadata services.
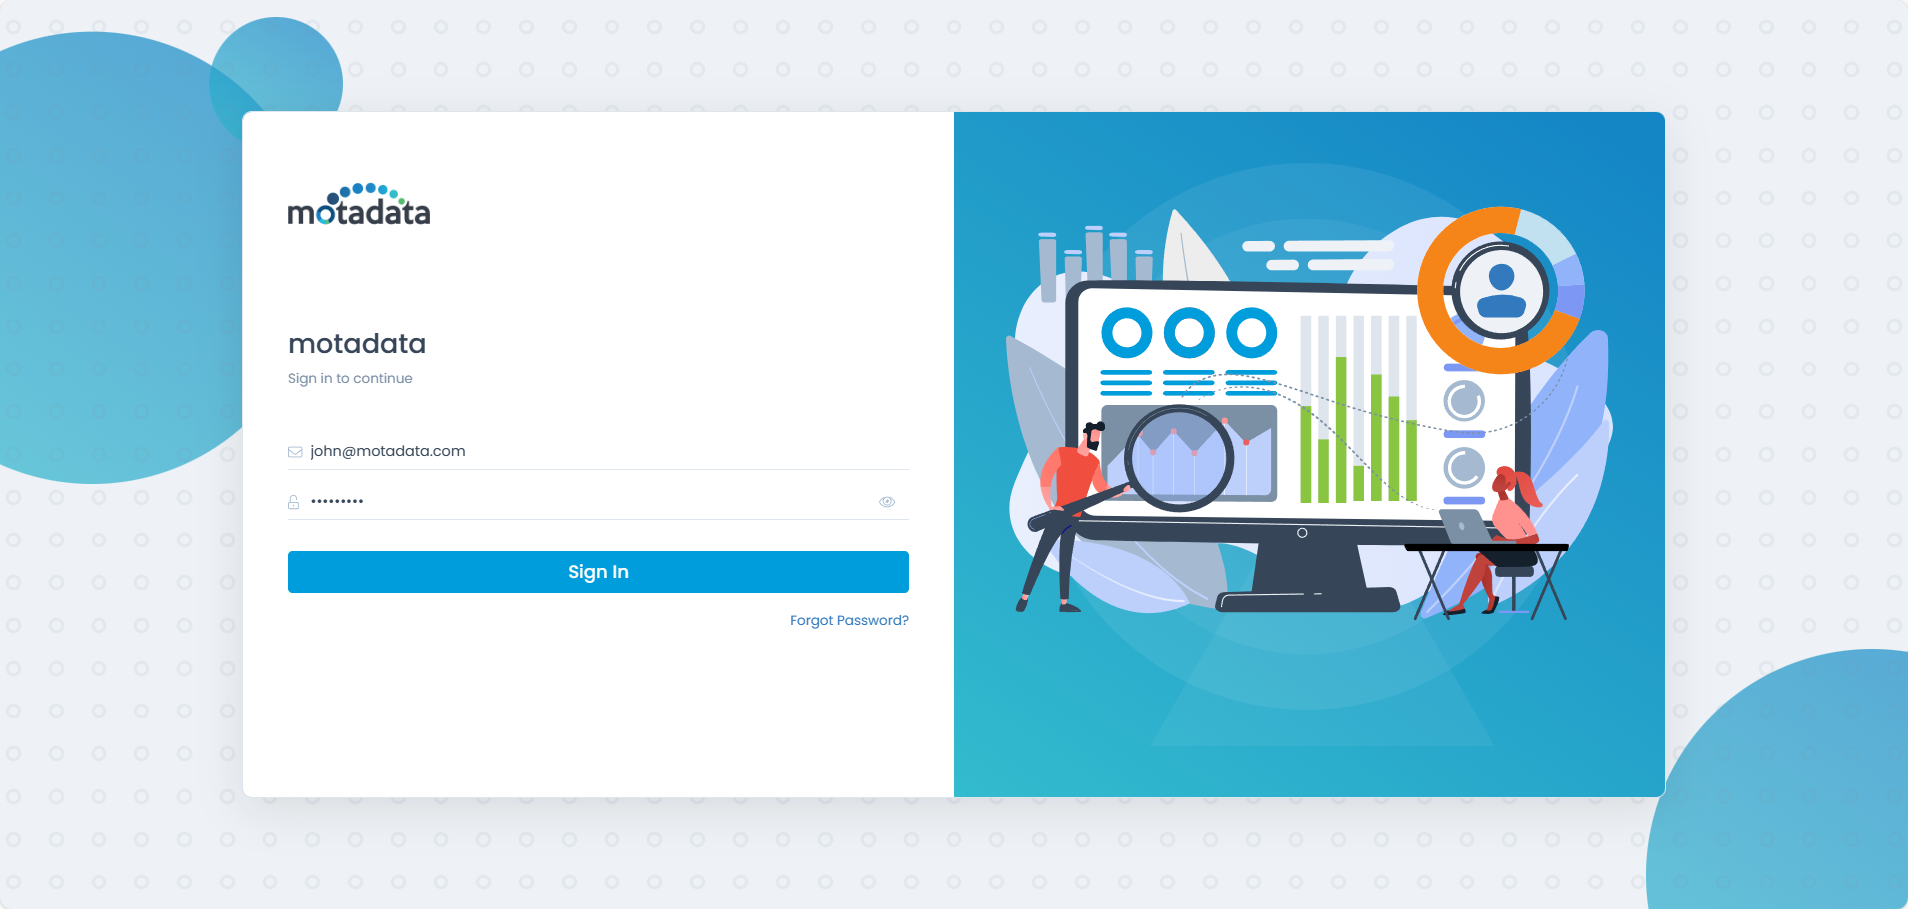
- Now, you can login to Motadata as usual and start using the product.
In case of upgrade failure
Collect the SSH Session Logs You can view the logs from the below location path:
/opt/flotomate/main-server/logs/
It contains two folders: apolo (default tenant) and common
The apolo folder contains the following logs:
| Admin | Discovery | Error | nsq |
| Agent | Elastic | scheduler | |
| csvimport | Apilogger | Events | service |
| Audit |
The common folder contains the following logs:
| Apilogger | error | Nsq | Service |
| Agent | events | Integration | shutdown |
- Collect logs and evidence from these folders and share with Motadata QA/Dev team for troubleshooting.