Steps to Increase the Connection Limit
Effectively managing system resources is essential to ensure the performance and stability of applications, particularly those handling numerous concurrent connections or large datasets. By default, the Motadata server supports a fixed number of open files or connections, which may be insufficient for high-performance or resource-intensive applications. For example, when the RDP Server and ServiceOps Server are co-hosted on the same machine, the system may require an increased RDP connection limit to accommodate concurrent administrative and operational sessions. To address these limitations, increasing the open file or connection limit is necessary. This article provides a step-by-step guide to help you adjust these limits, ensuring your system can easily handle demanding workloads.
This document applies to Linux, Nginx, and Meshcentral servers.
Procedure
To increase the connection limit and enhance performance, you must perform configurations from the Linux, Nginx, and MeshCentral servers.
Linux Server
To increase the limit from the Linux OS side:
Login to the Terminal server.
Navigate to the etc. folder and copy or take the backup of the “sysctl.conf” file using the below command:
cp /etc/sysctl.conf /etc/sysctl.conf.bkpEdit the “sysctl.conf” file and add the following two parameters towards the end of the file. Here, the maximum limit is set.
vim /etc/sysctl.conf`
fs.file-max = 262144
vm.max_map_count=262144

Save and exit.
To replicate the immediate changes, apply the below command:
sysctl –pOR
sudo sysctl -w vm.max_map_count=262144
sudo sysctl -w fs.file-max=262144
If you face any issue in accessing the Nginx server or Meshcentral server via GUI, kindly revert the changes on the sysctl.conf file.
- Check the current open limit from the Linux machine side using the below commands:
ulimit –a
ulimit -n
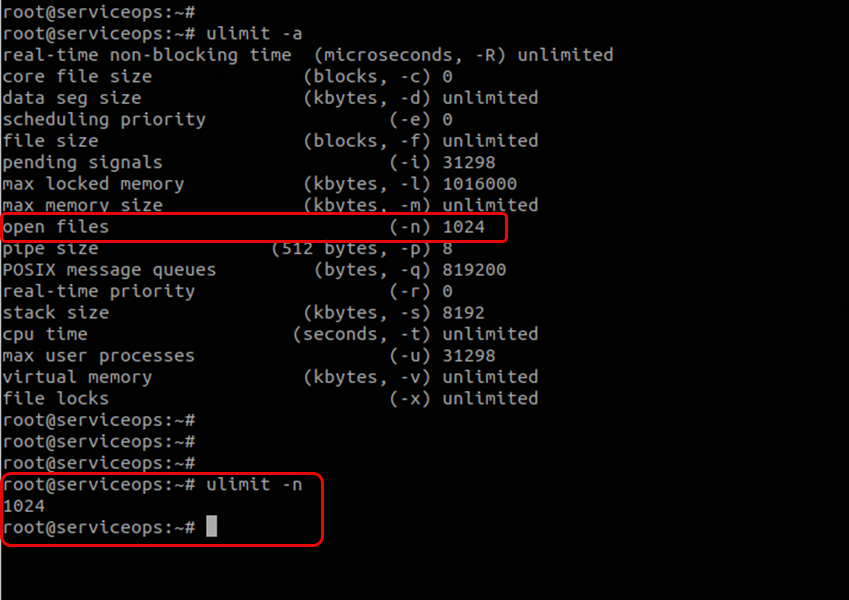
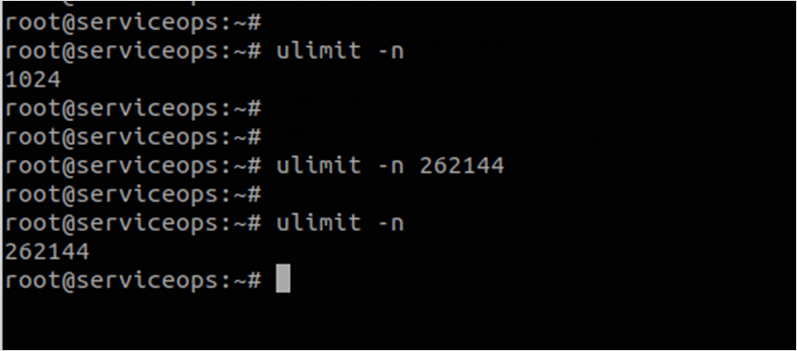
Update the limit using the below commands:
ulimit -n 262144echo "ulimit -n 262144" >> ~/.bashrc
The root user is required to apply the commands.

Nginx Server
To increase the limit from the Nginx server:
Login to the Terminal server.
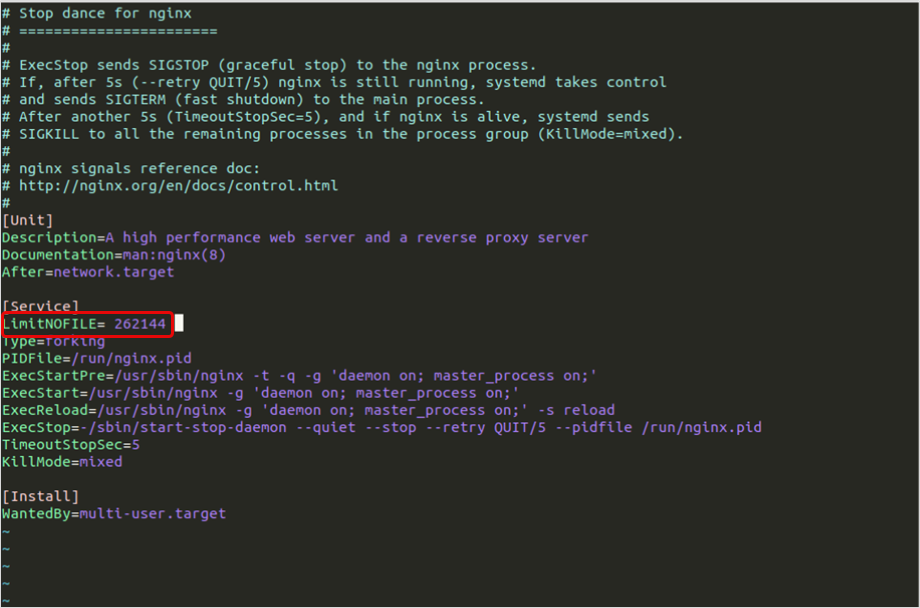
Navigate to the "/lib/systemd/system/nginx.service" file path:
Copy and take the backup of the nginx.service file using the below command.
cp /lib/systemd/system/nginx.service /backupfolder/nginx.serviceEdit the "nginx.service" file and add the below line.
LimitNOFILE= 262144
- Next, apply the below commands:
sudo systemctl daemon-reload
sudo systemctl restart nginx
Nginx Configuration File
To increase the limit from the Nginx configuration file:
- Navigate to the "/etc/nginx/nginx.conf" file path.
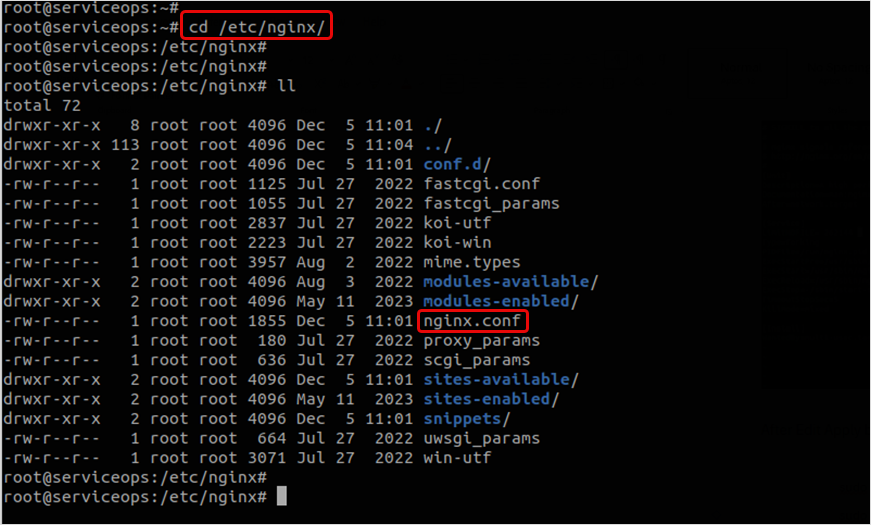
- Take the backup of the nginx.conf file.
- Edit the "nginx.conf" file and add the below lines:
    worker_processes 4;
    worker_rlimit_nofile 65536;
    events {
    worker_connections 65536;
    multi_accept on;
    }
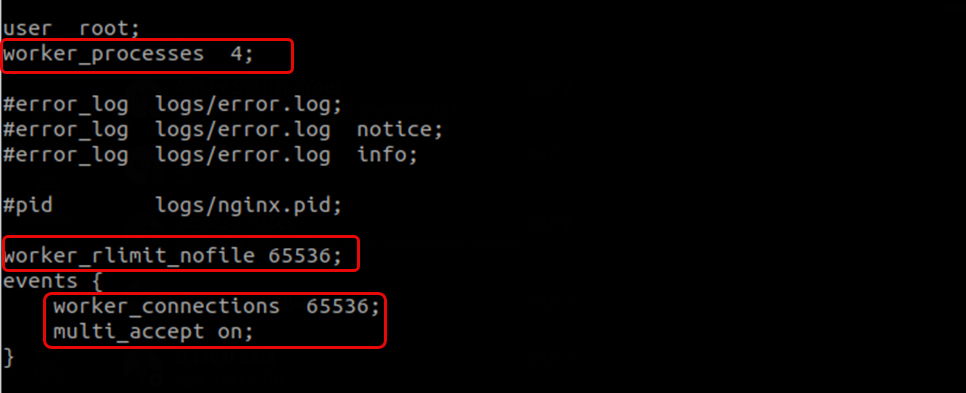
Once done, save the file, and verify the file using the below command:
nginx -tRestart the nginx service using the below command:
sudo systemctl restart nginx
sudo systemctl status nginx
