Motadata Service Desk - Server Installation via Ubuntu Build
System Hardware Requirements
- Please refer Hardware Requirements
Downloading and Installing Base OS
You can download the required OS using the below links:
Fresh Installation Guide
After installing the Base OS, follow the below steps to install the product on your server:
Download the product installer builds from here.
noteOnce the product is installed, install the required prerequisites either manually or by running a script.
Copy the release build installer (service_desk_master_CI) to the target machine.
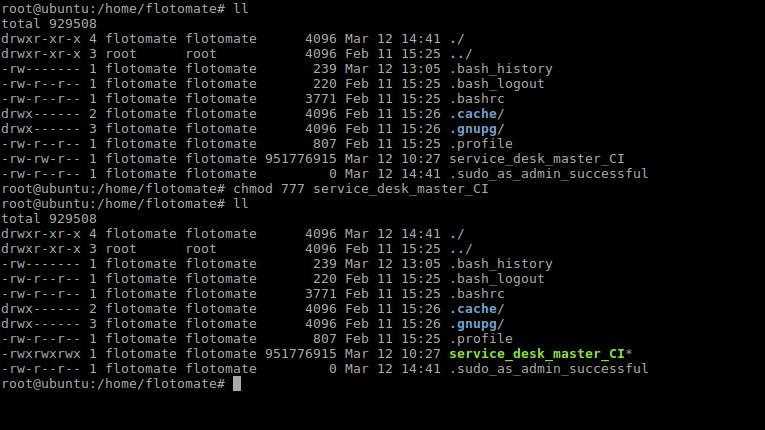
Make sure to execute the permission to build file. If it does not have execute permission then you can change it using the below command:
chmod 777 service_desk_master_CI
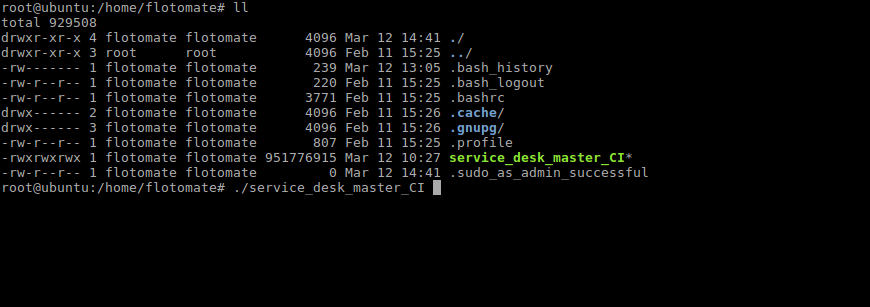
Run the Installer using the following command
./service_desk_master_CI
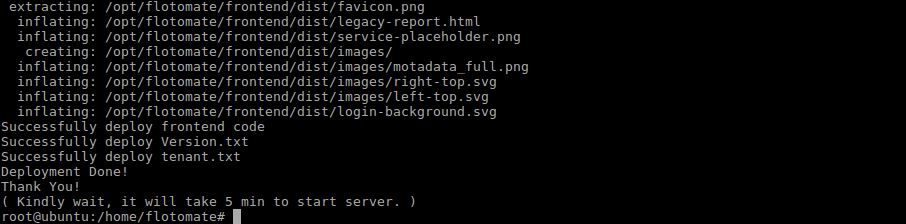
- Once the below screen appears, that means you have successfully installed the product.
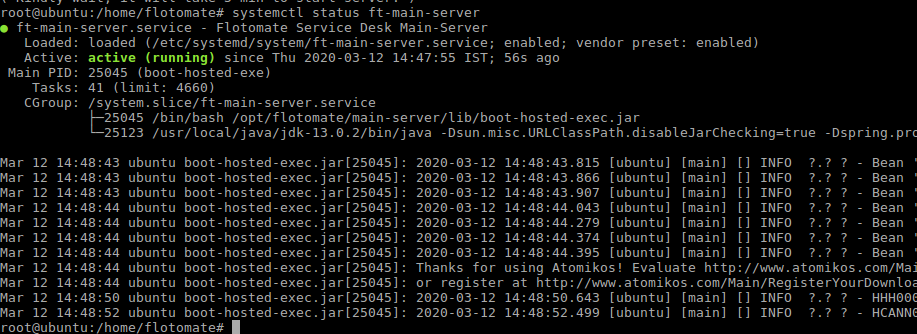
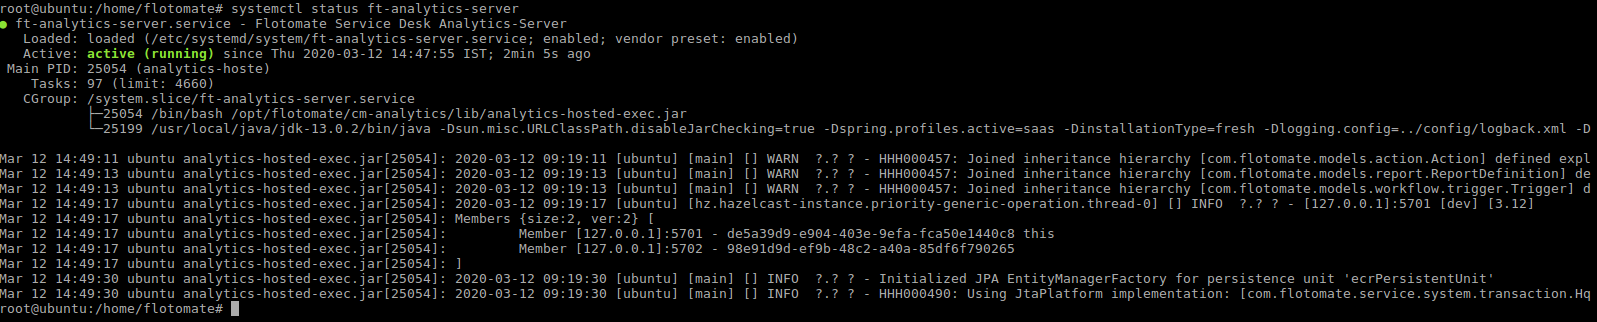
After installation, check the services of ‘Main Server’ and ‘Analytic Server’ (Report) using the below commands respectively:
systemctl status ft-main-server
systemctl status ft-analytics-server
- After Installation, wait for five minutes. Navigate to http://{server_IP}/register, it will open the Registration form as below :

- The registration form is for the first user, who is by default the Super Admin who has all the rights. Register the user, and use the credentials to login to the ServiceOps Portal.
- Click on ‘Register’ once the form is filled. It will redirect you to the Login Page. Use the tab to switch between the Support and Technician Portal.
- You can also access the ServiceOps Portal from a web-browser on http://{server_IP}/login.