How to Install Agent via ServiceOps and Auto-Upgrade it?
Overview
Installing and upgrading agents from ServiceOps is a critical process to ensure that the software used by agents to deliver IT services remains updated, secure, and optimized. This document provides a step-by-step process for installing and automatically upgrading the agent from ServiceOps.
Prerequisites
To upload the agent build fulfill the below prerequisites:
- python3-pip should be installed
- python3 -m pip impacket should be installed
- apt install msitools
- python3 -m pip install smbprotocol
- python3 -m pip install pyreadline
- You can also install the above prerequisites using a script.
- Check whether impacket is available in the Main Server. You can verify the packet from this location “/opt/flotomate/main-server/config/”.
- To auto-upgrade, the lower version agent should already be installed in the target machines.
- The agent build must be a normal build and not the pre-configured one.
Agent Installation
To install the agent in remote machines from ServiceOps, follow the below procedure:
- Go to the Admin > Asset Management > Asset Discovery > Agent Build tab.
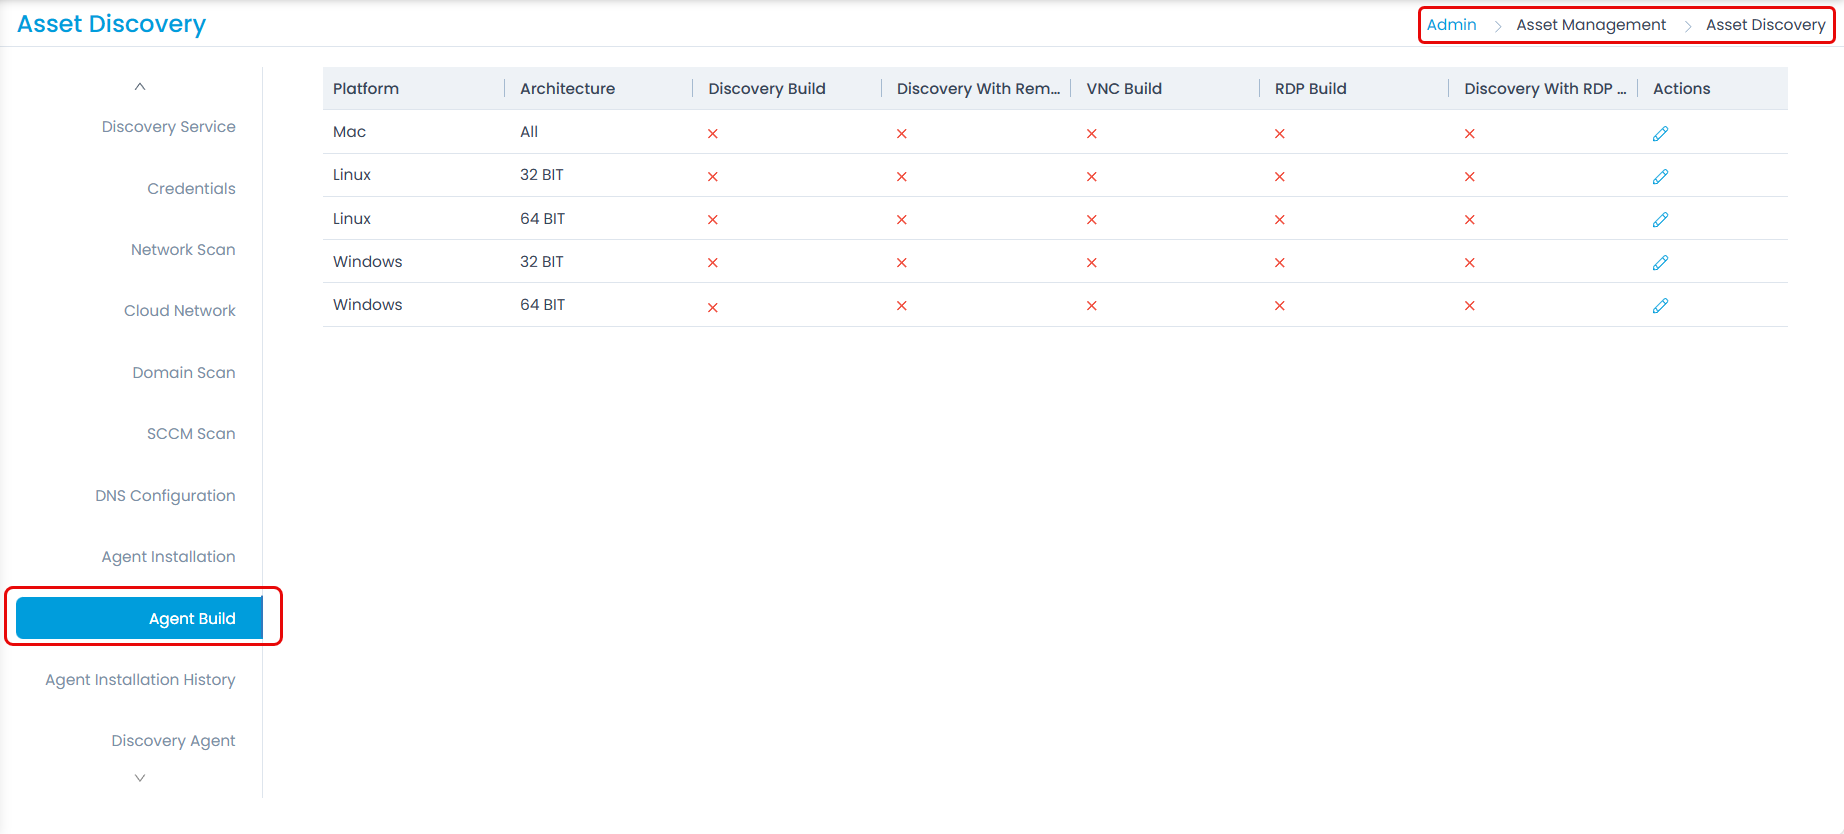
- Click the edit icon next to the platform whose agent you want to install, and the following popup appears.
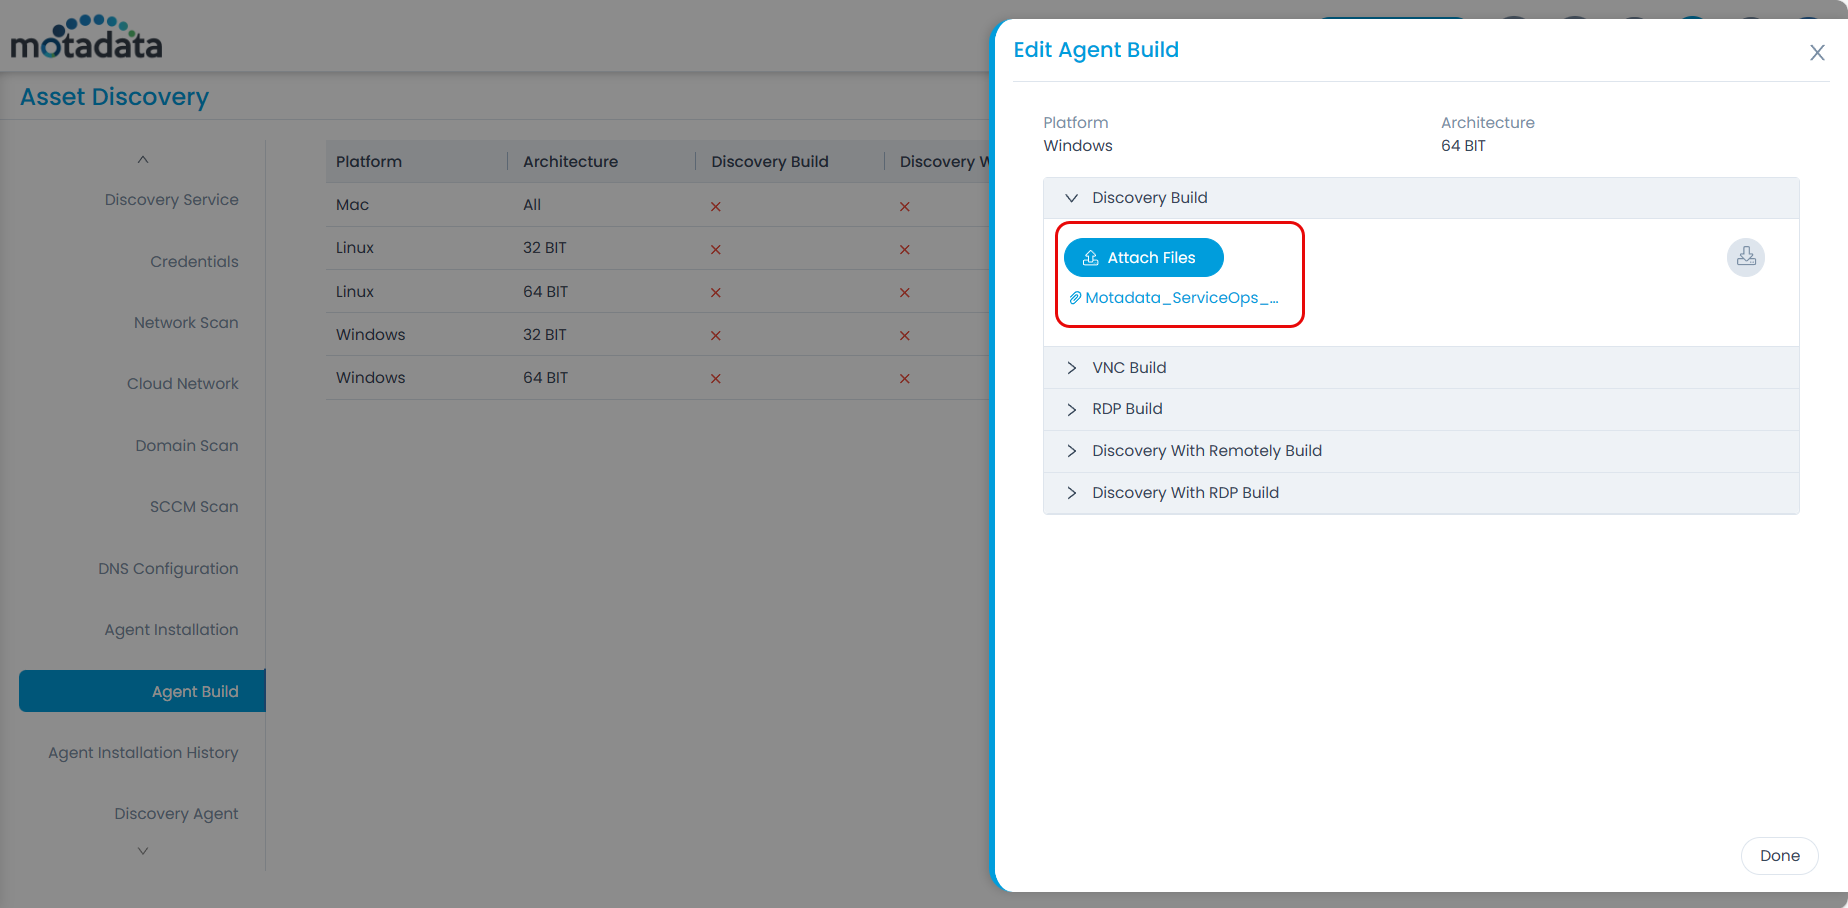
Select the required option and upload the required agent build. Here, Windows Discovery Build is uploaded.
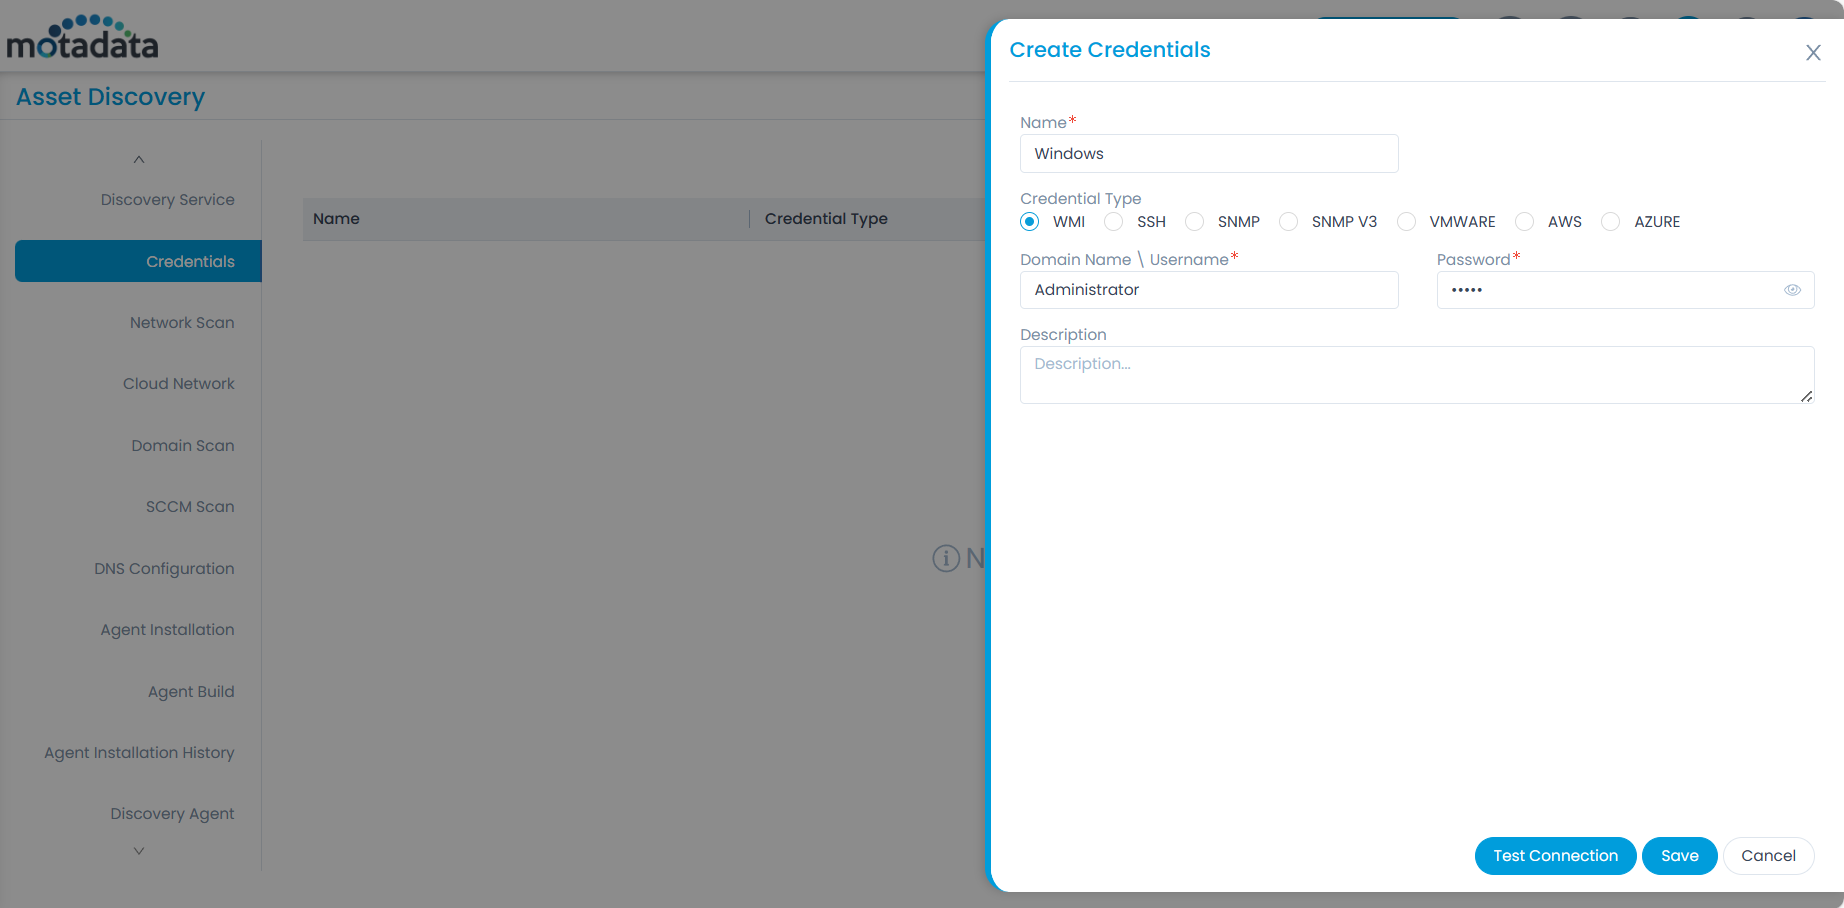
Once done, go to the Credentials tab and create the credentials for the machine to which you want to upgrade the agent.
- Next, create the Agent Installation.
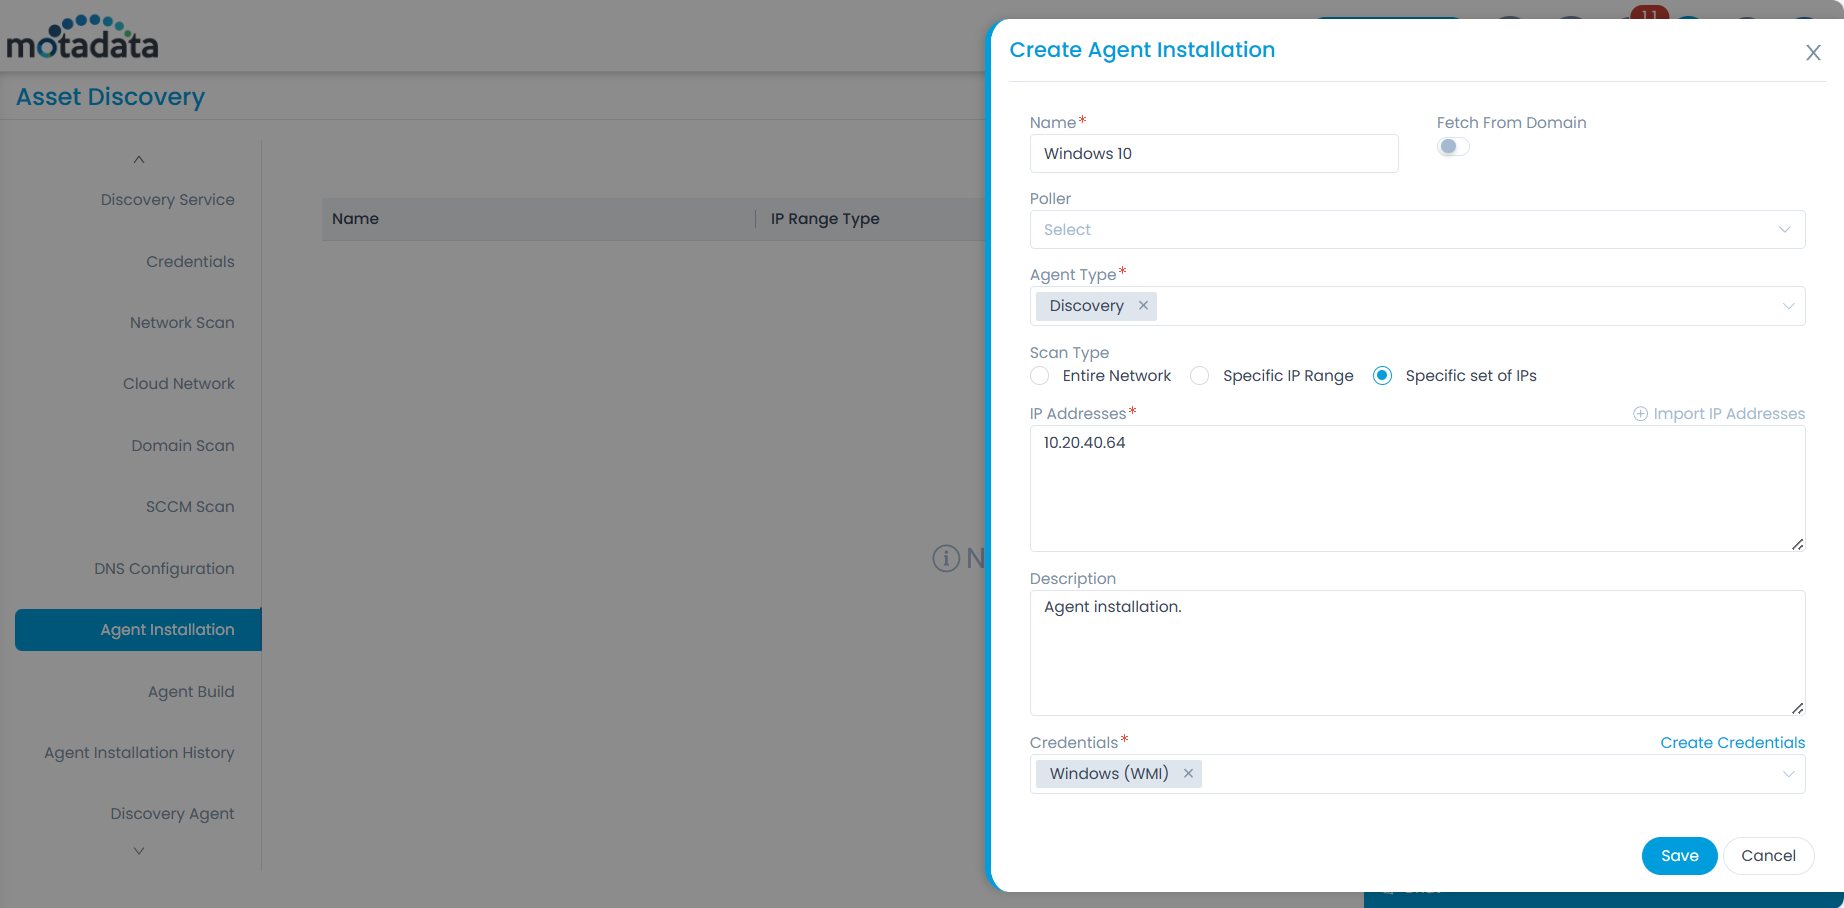
Enter the required details and click Save.
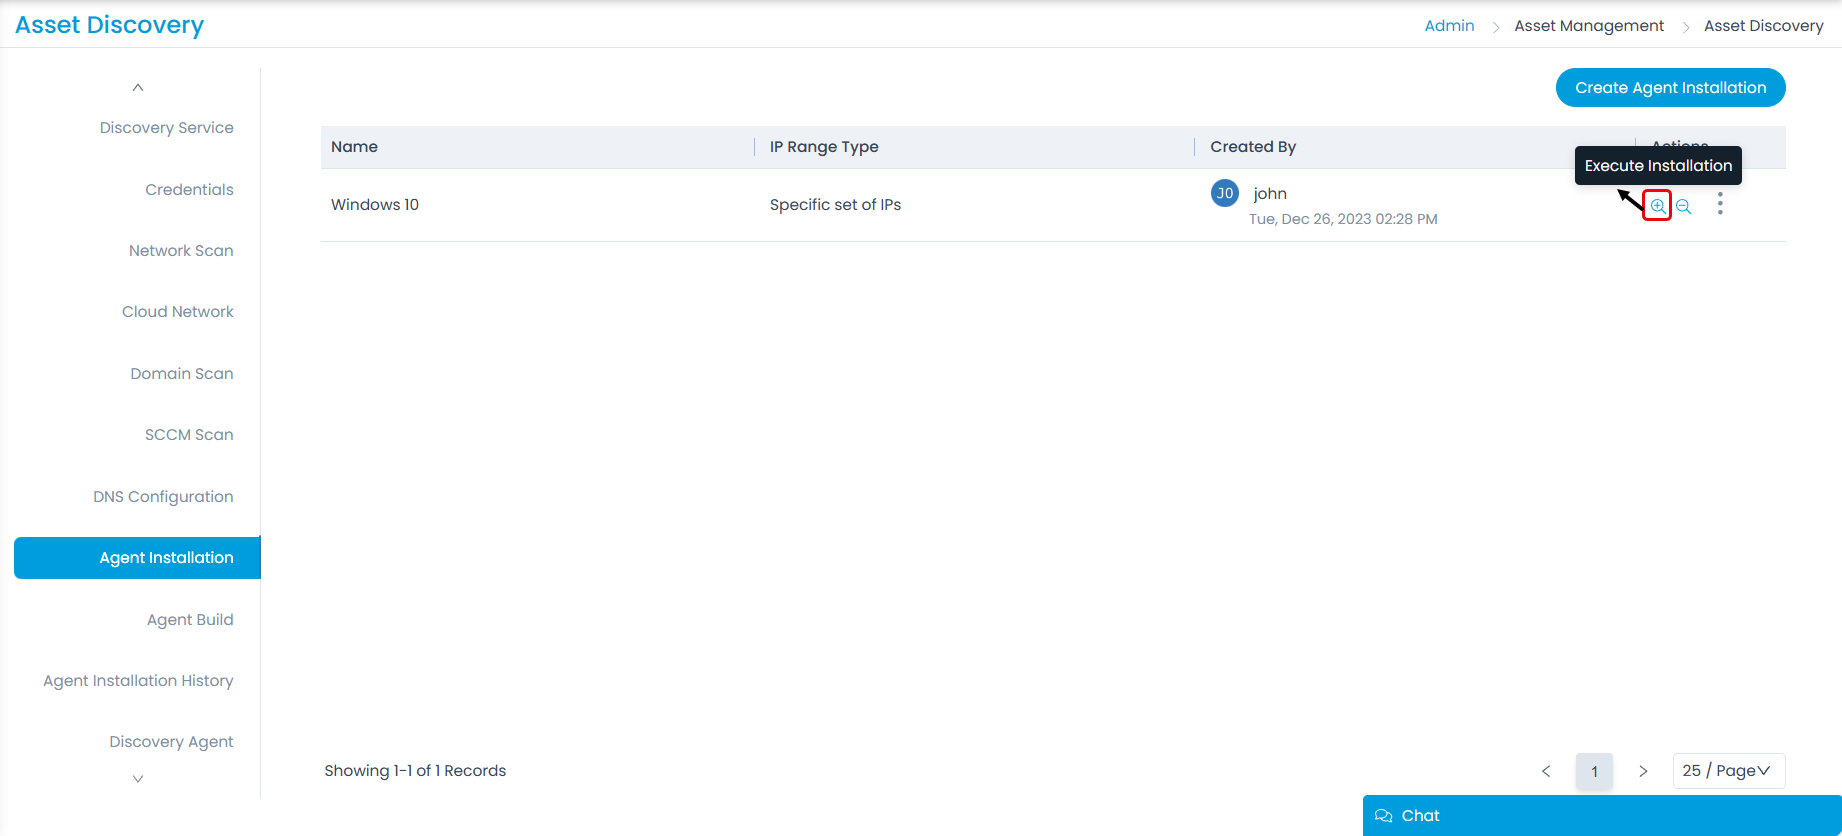
- On the list page, click the Execute Installation icon.
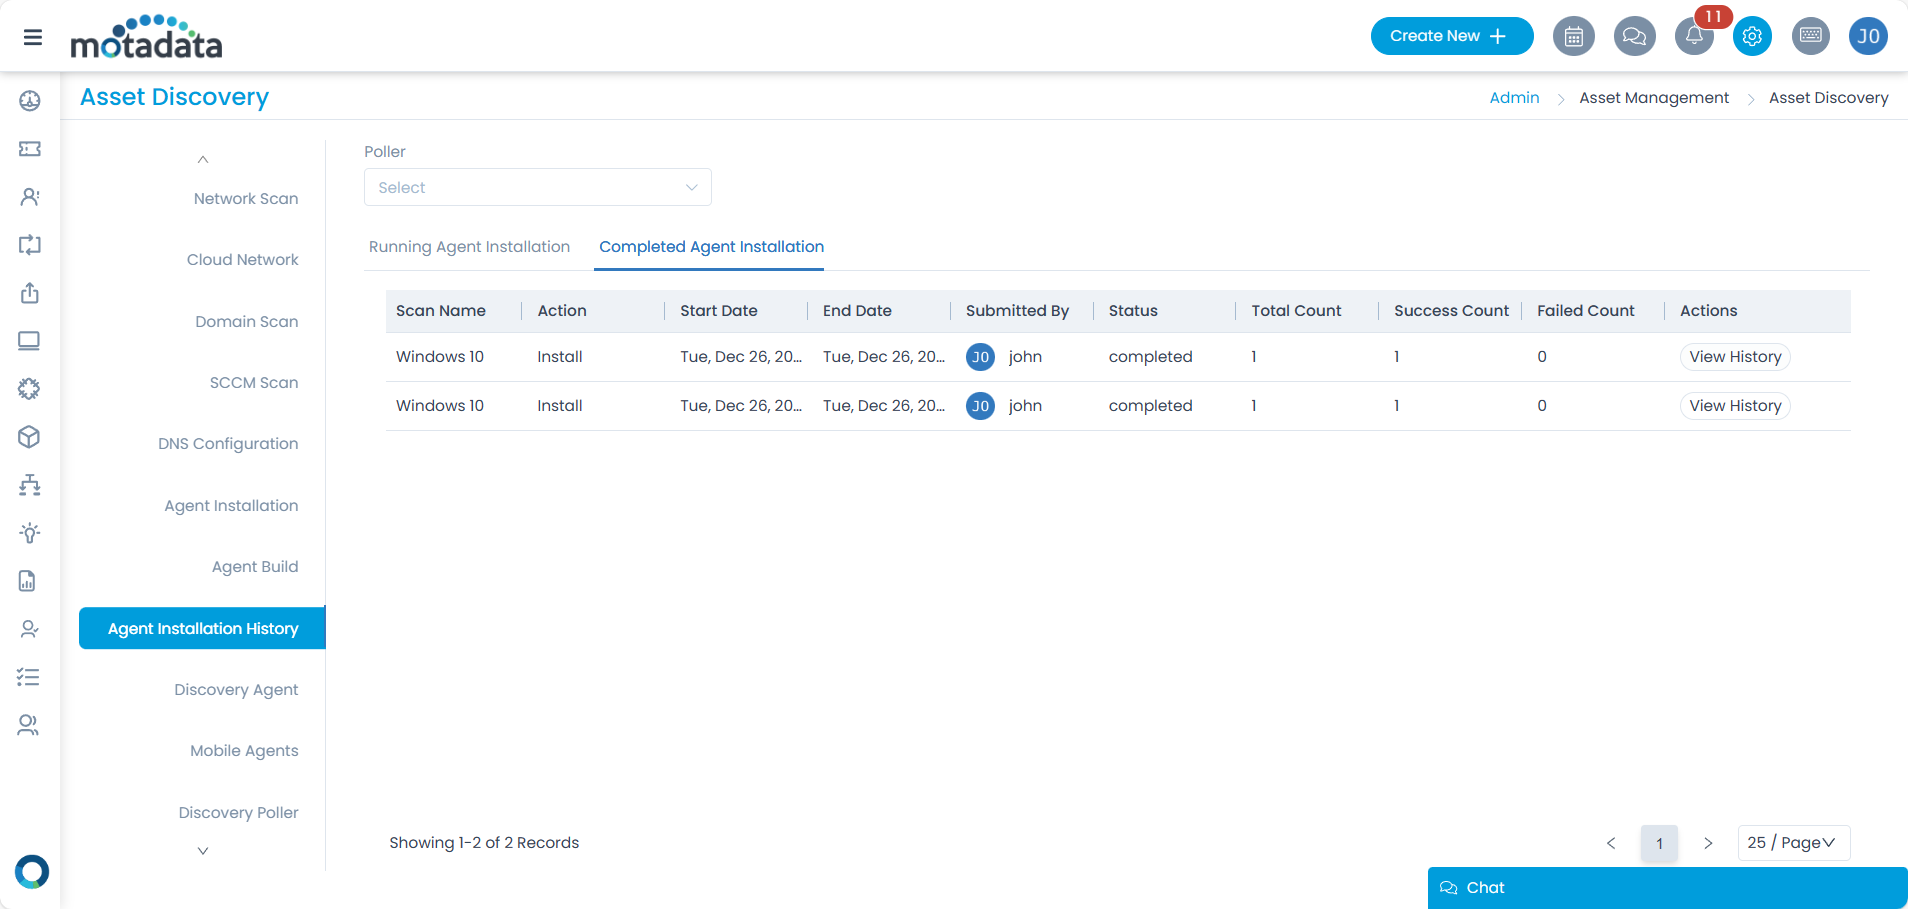
- Once the installation starts, its status will appear in the Agent Installation History tab. Once completed, the agent will be installed in the target machines.
Agent Auto-Upgrade
To automatically upgrade the agent in remote machines from ServiceOps, follow the below procedure:
- Go to the Admin > Asset Management > Asset Discovery > Agent Build tab.
- Click the edit icon next to the platform whose agent you want to install, and the Edit Agent Build popup appears.
- Select the required option and upload the required agent build. Here, Windows Discovery Build is uploaded. Ensure that the agent build used is neither the pre-configured build nor downloaded from here.
Once the agent is uploaded, it will get auto-upgraded in the respective machines on the next agent refresh cycle.