Getting Started
Why ServiceOps?
Motadata ServiceOps is an ITIL compliant ITSM tool that uses AI/ML to optimize and streamline the service delivery across the various business processes. It automates the support workflows and discards the manual complexities. Apart from request tracking and management, it also provides Problem, Change, Release, Assets, Patches, Packages, Projects, Knowledge, Reports, and Task management functionalities. With all these services in a single ServiceOps instance, an organization does not need to buy multiple tools for different services, making it an All-in-One solution. Moreover, with a modern and user-friendly interface, the IT team can work effectively and streamline the IT service delivery. Thus, the technicians and administrators can resolve the queries or requirements of the end users in no time.
Now, let’s start with setting up the ServiceOps product.
Before moving forward, ensure that the ServiceOps server is installed. If not, first install it by referring to the link Server Installation.
Setting up ServiceOps
The steps to setup the ServiceOps are as below:
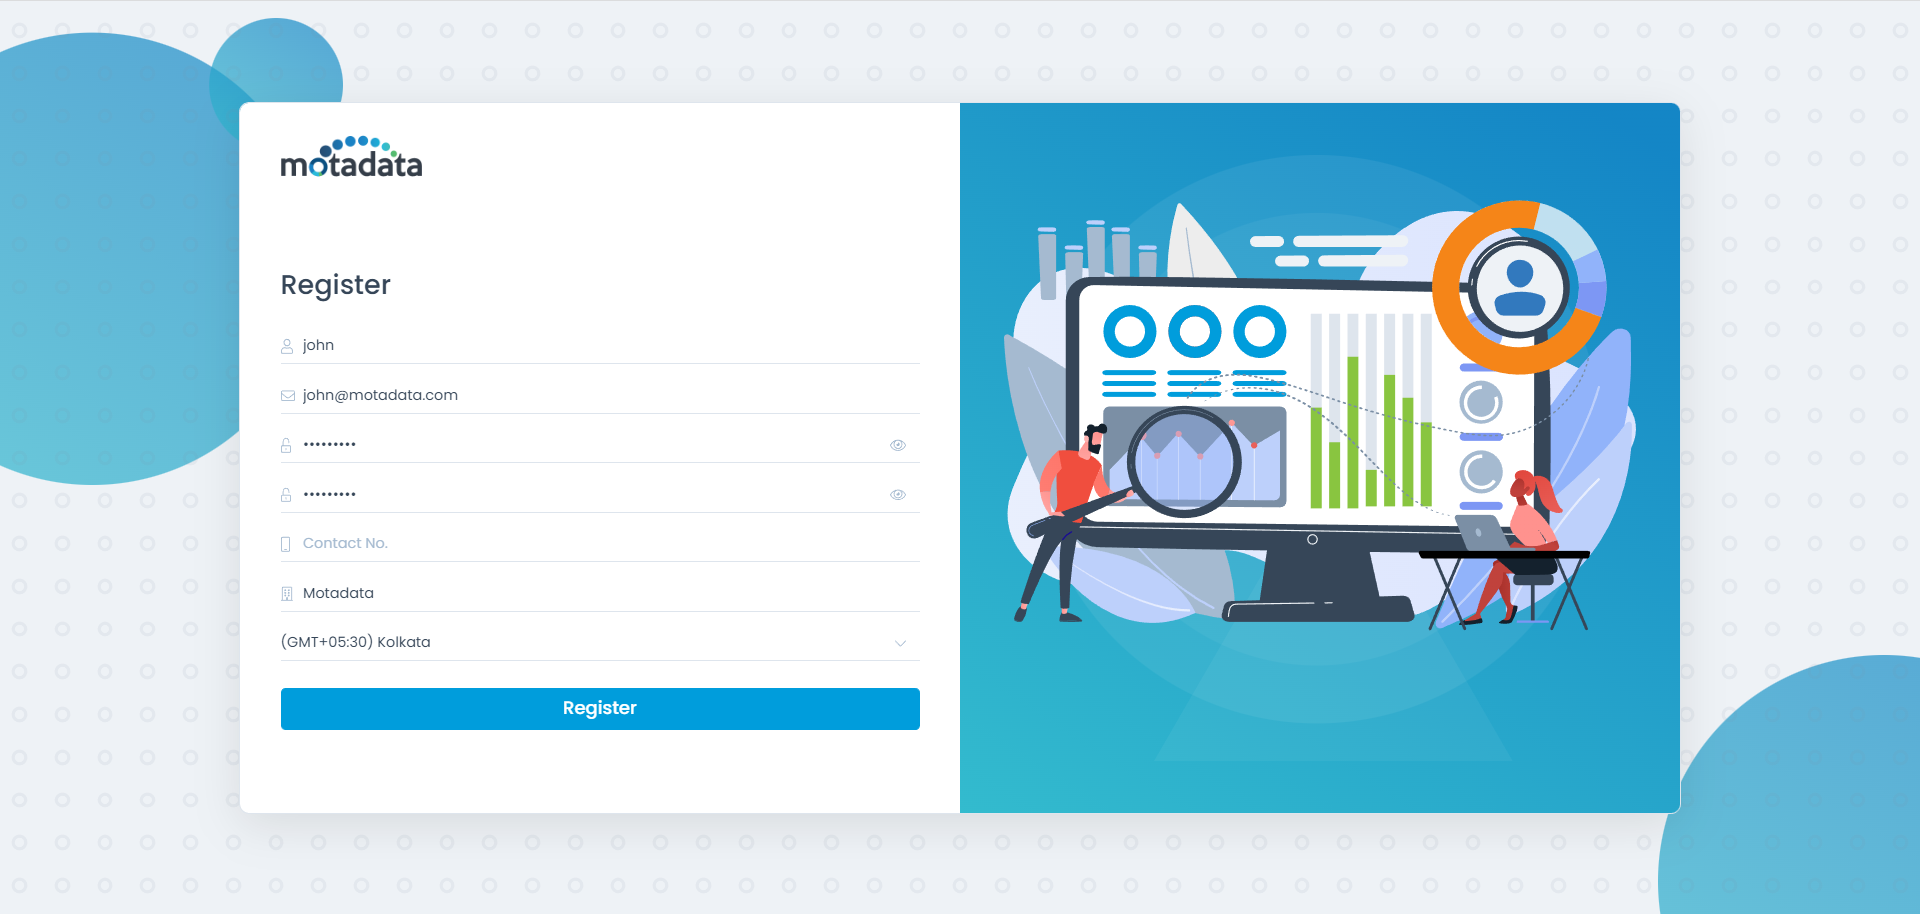
- Register yourself as a Super Admin using the URL “<IP_Address>/register”, and create the credentials.
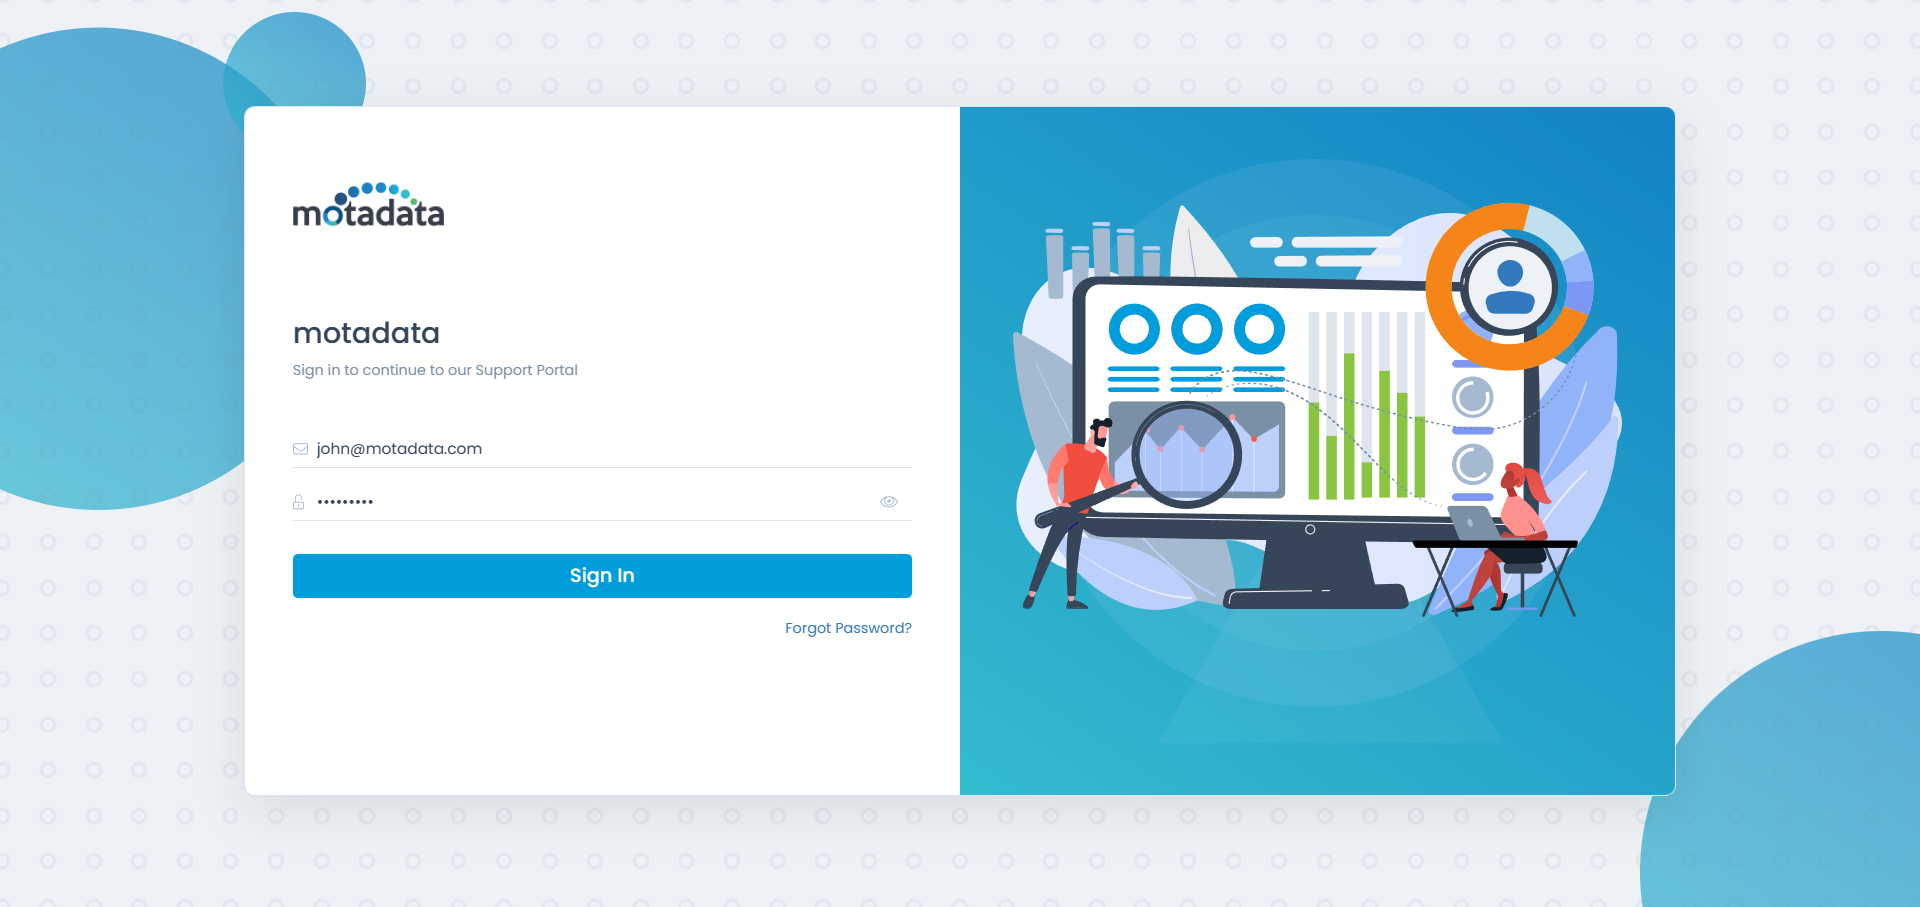
- Once registered, sign-in to the ServiceOps Portal by entering the email address and password. In case, you forget your password, you can use the Forgot Password link to reset it. The password reset link will be sent to your registered email address.
- Once you are signed-in successfully, the home page appears as shown below.
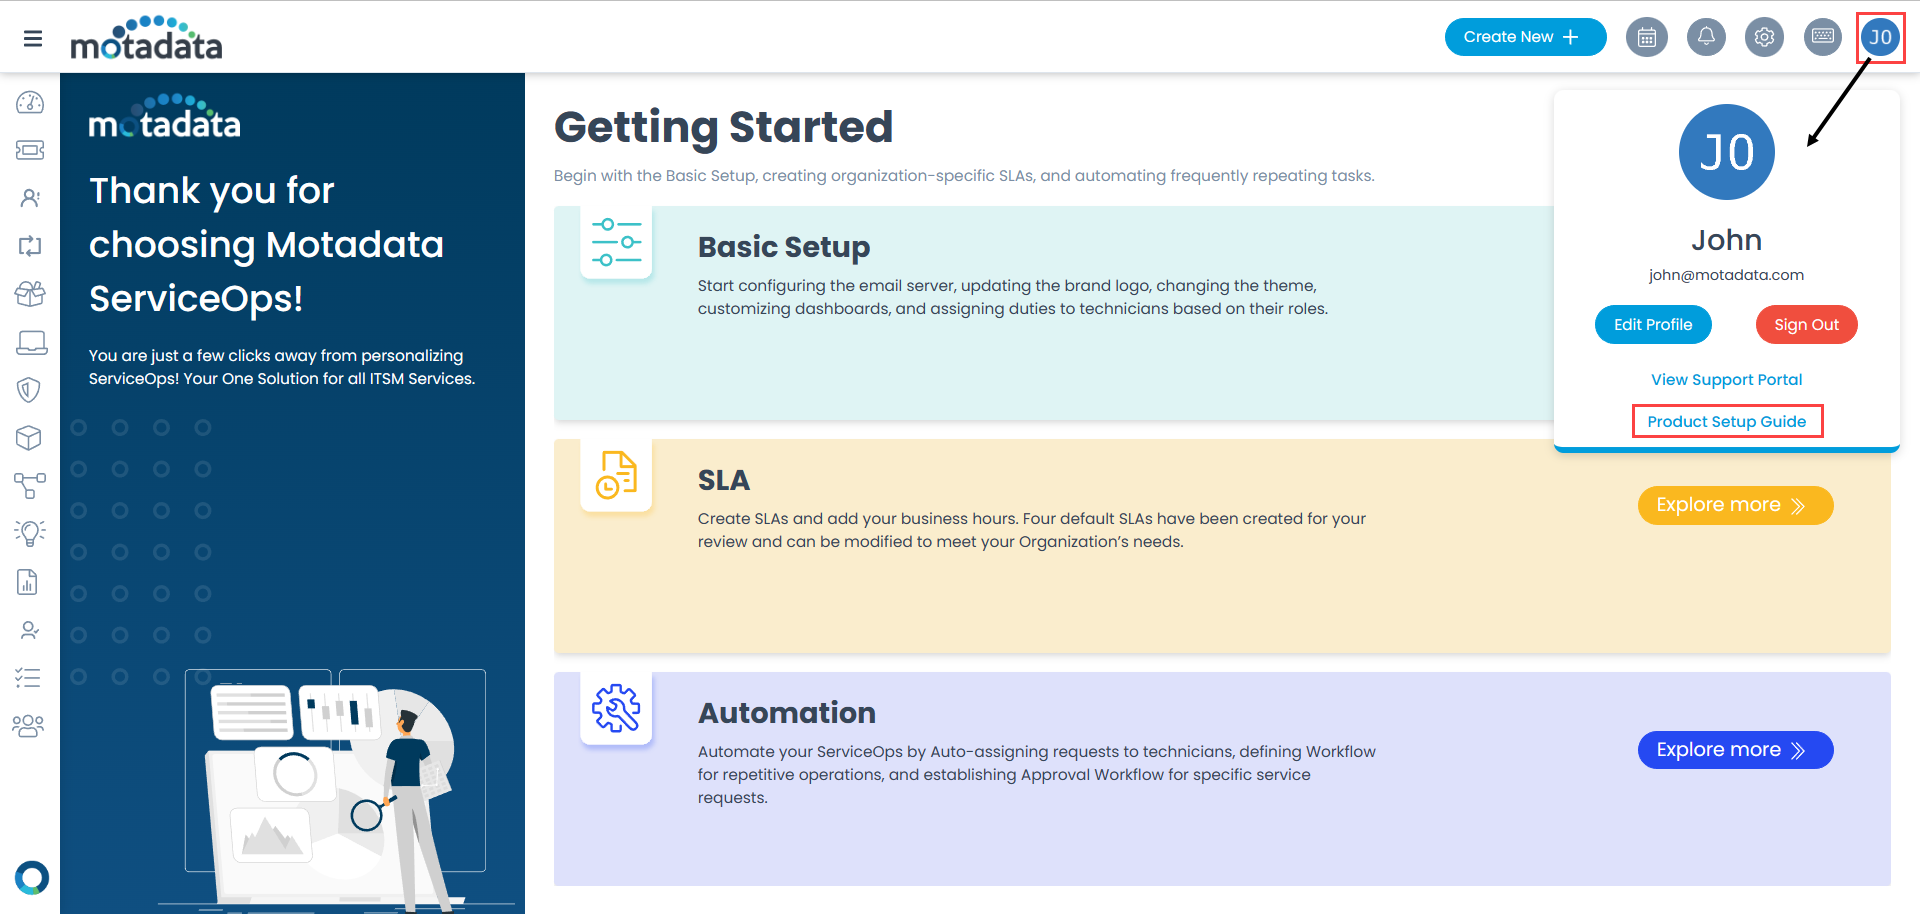
Now, let’s learn how to setup ServiceOps in a few steps.
Quick Setup
This allows you to start with the Basic Setup, creating organization specific SLAs, and lastly automating the frequently repeating tasks.
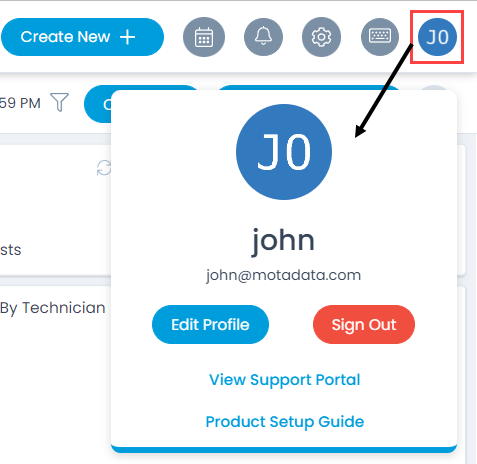
To begin, click the username on the top-right corner, and select the Product Setup Guide link. The below screen appears.
- The Product Setup Guide is displayed only when the Administrator logins to the Technician Portal directly.
- Only Technicians with Super Admin role can access this guide.
- In case of SSO, if the landing URL is other than Dashboard, then the guide will not be displayed.
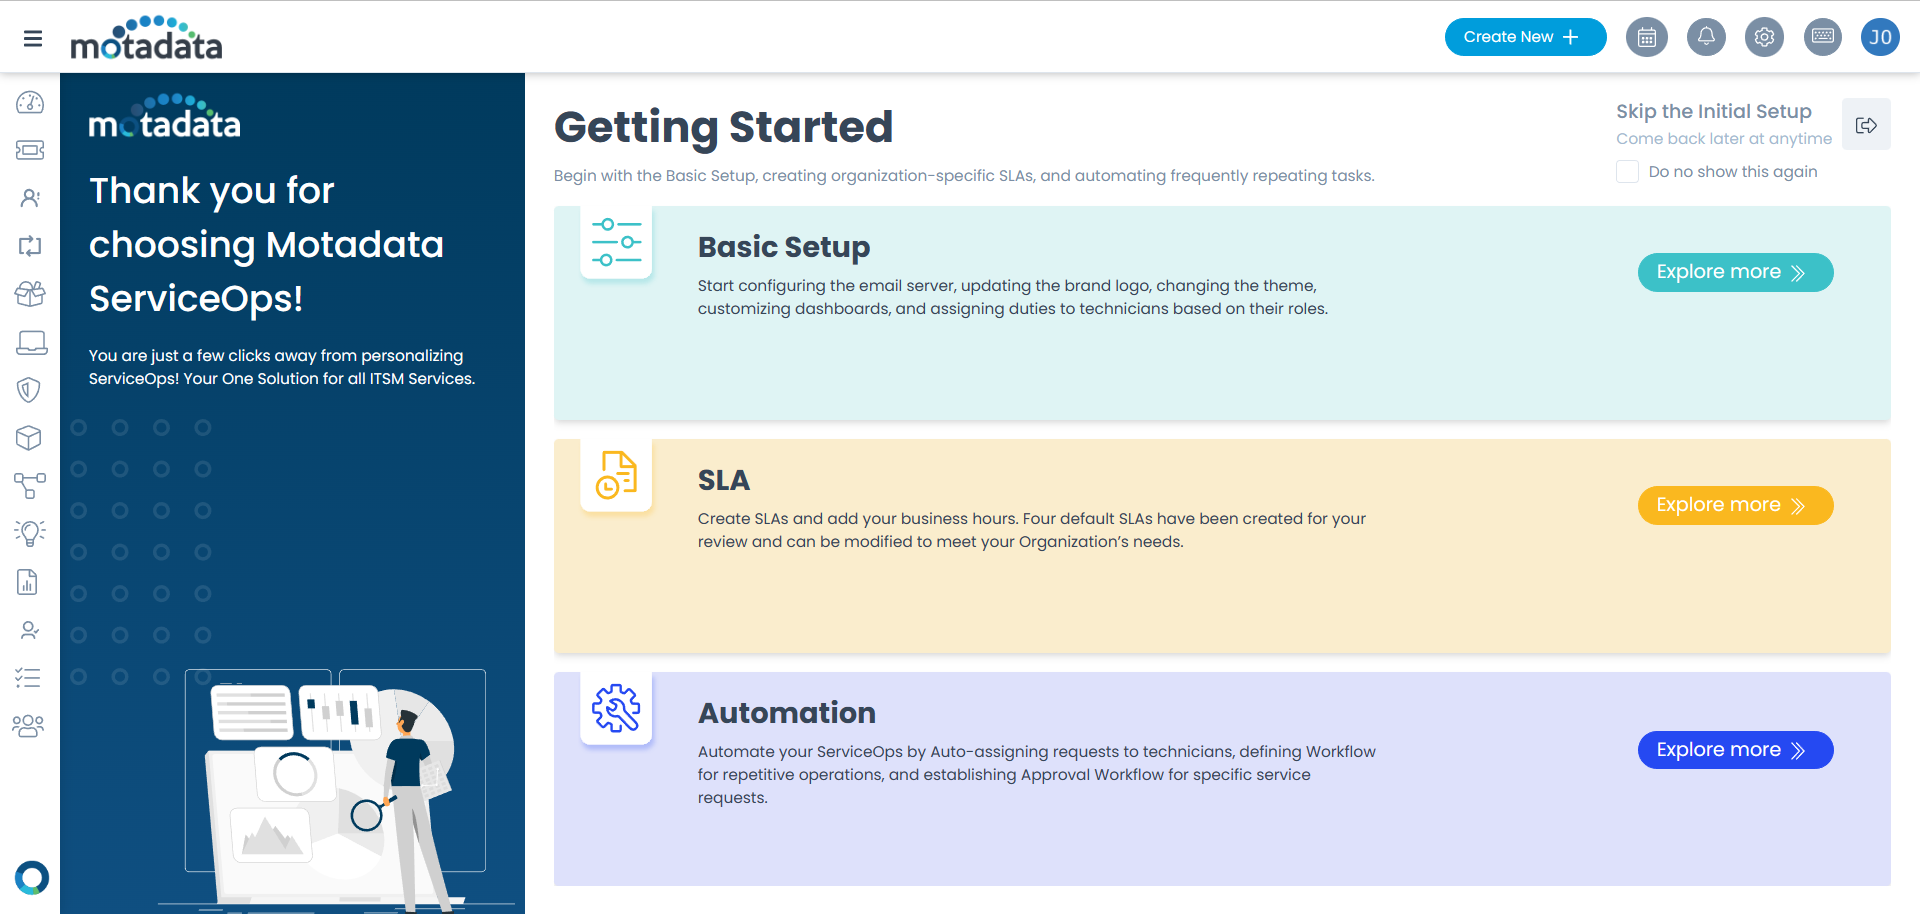
Start with the basic setup by clicking the Explore more button.
Basic Setup
It consists of configuring the following items:
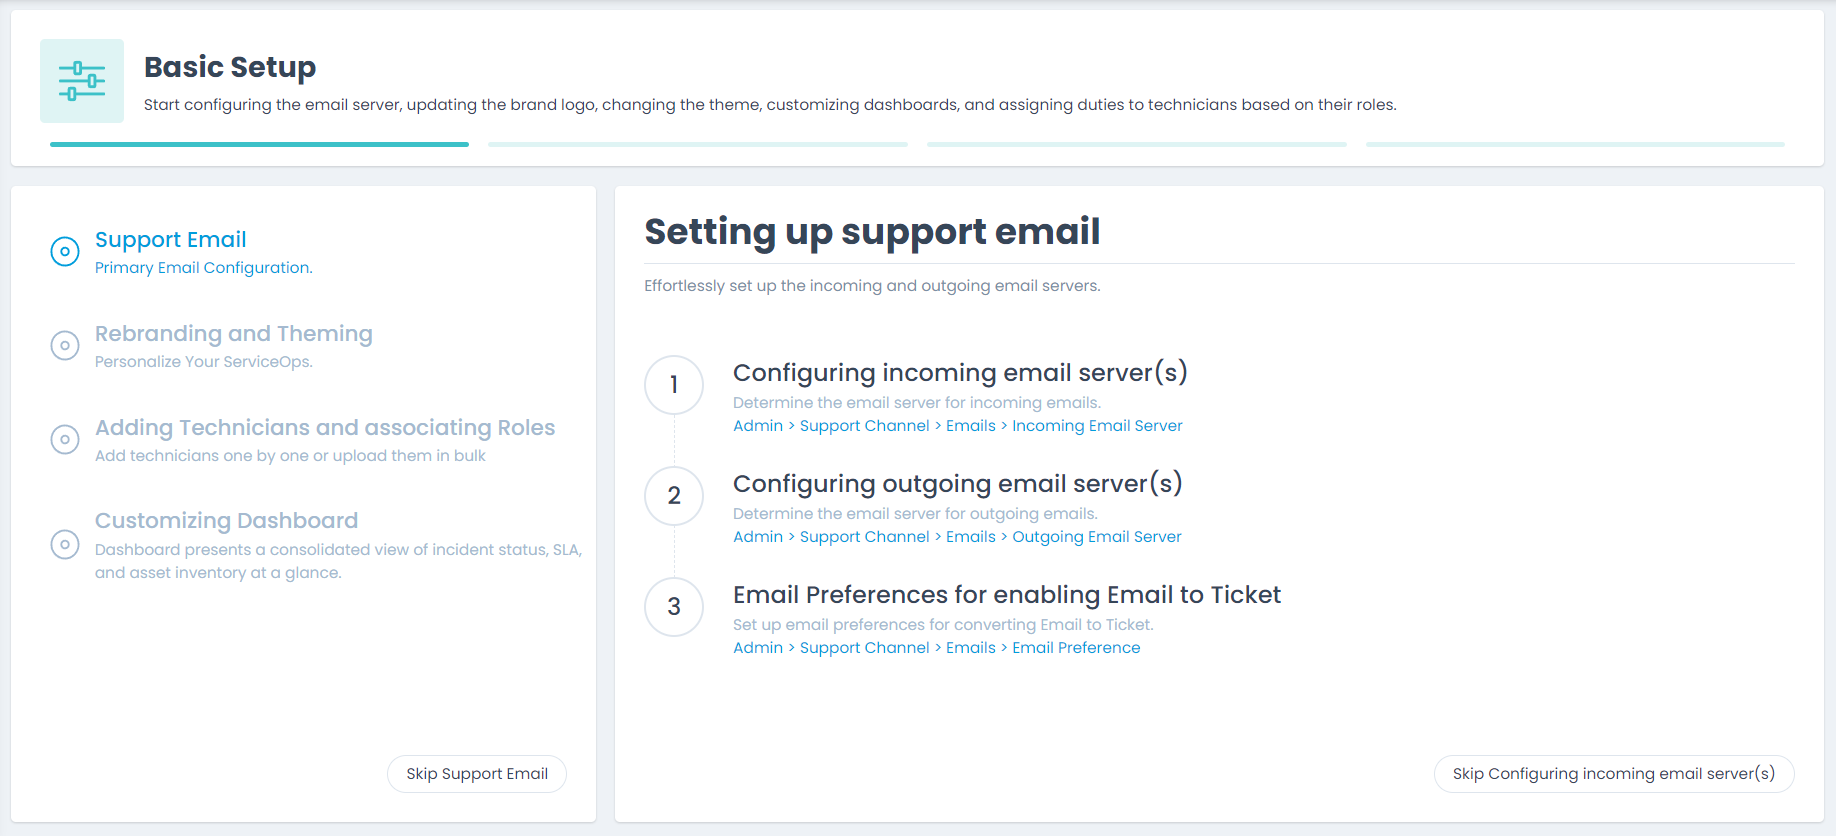
- Support Email Address: Configure the incoming and outgoing email servers used for receiving and sending email notifications to the users. Also, you can set the email preference for allowing the technicians to create a ticket via Email.
- Rebranding and Theming: Customize the look and feel of your ServiceOps as per the company’s branding. You can change the helpdesk name of the Technician and Support Portal, and upload the company logo, and favicon. For more details, click here.
- Adding Technicians and associating Roles: Add technicians and assign roles based on which the required modules will be available for access. Also, you can add the end users by adding requesters as per requirement.
- Customizing the Dashboard: Create customized dashboards to view only the required details on the screen. To create such dashboards, click here.
Once the basic setup is completed, move on to SLA.
SLA
Setup custom business hours and SLAs based on various criteria and escalation levels.
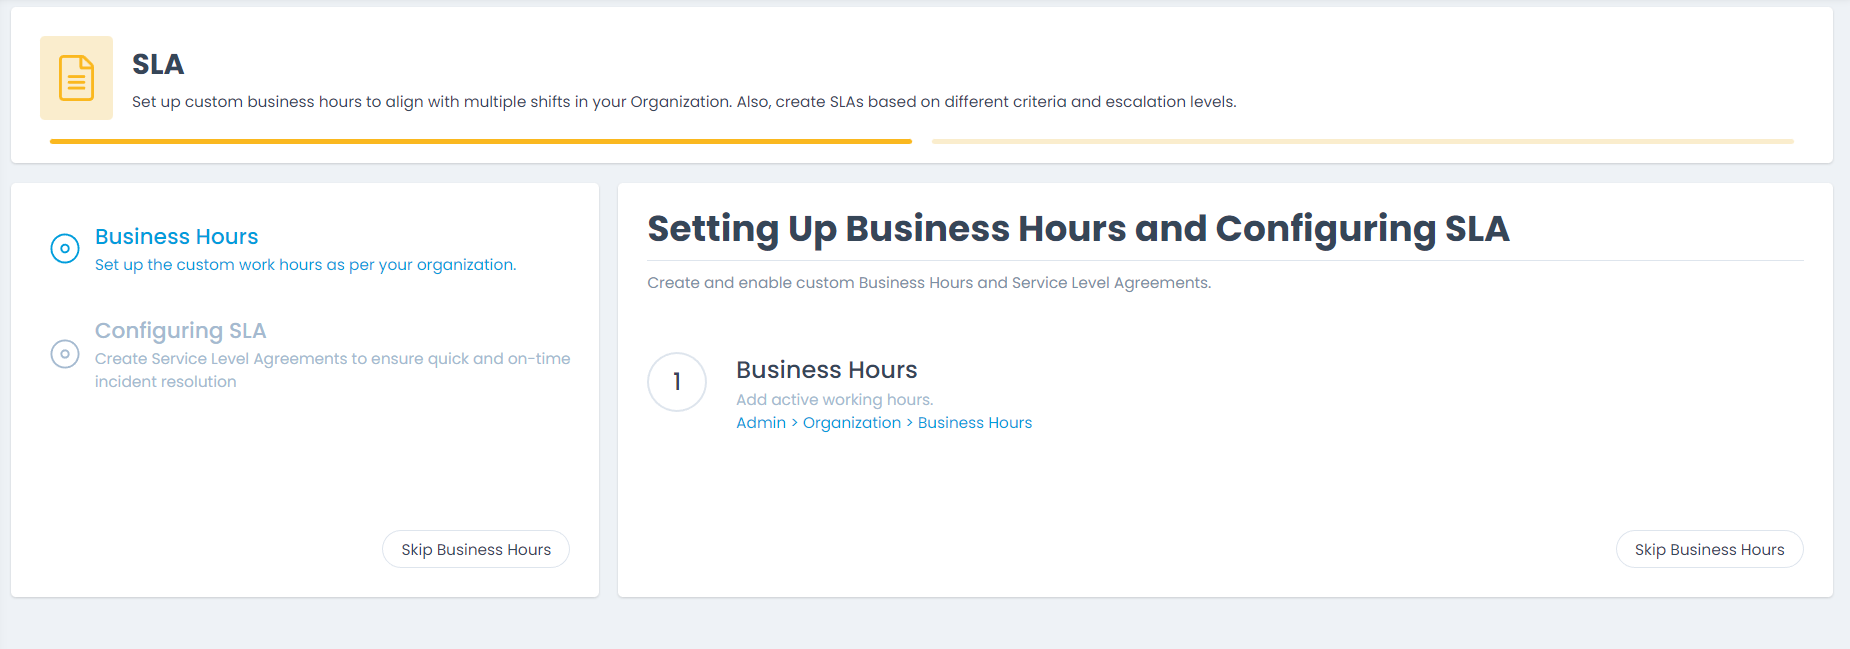
- Business Hours: Create custom business hours according to the organization’s needs. Business hours represent the official working hours. For more details, click here.
- Configuring SLA: Configure various SLA (Service Level Agreement) policies based on which the technicians should respond to or resolve the tickets, and also set escalation rules to notify about the SLA violations. To create SLAs, click here.
Next, move on to Automation.
Automation
Automate request assignment, approval, and create workflows to reduce the manual intervention for repeated tasks.
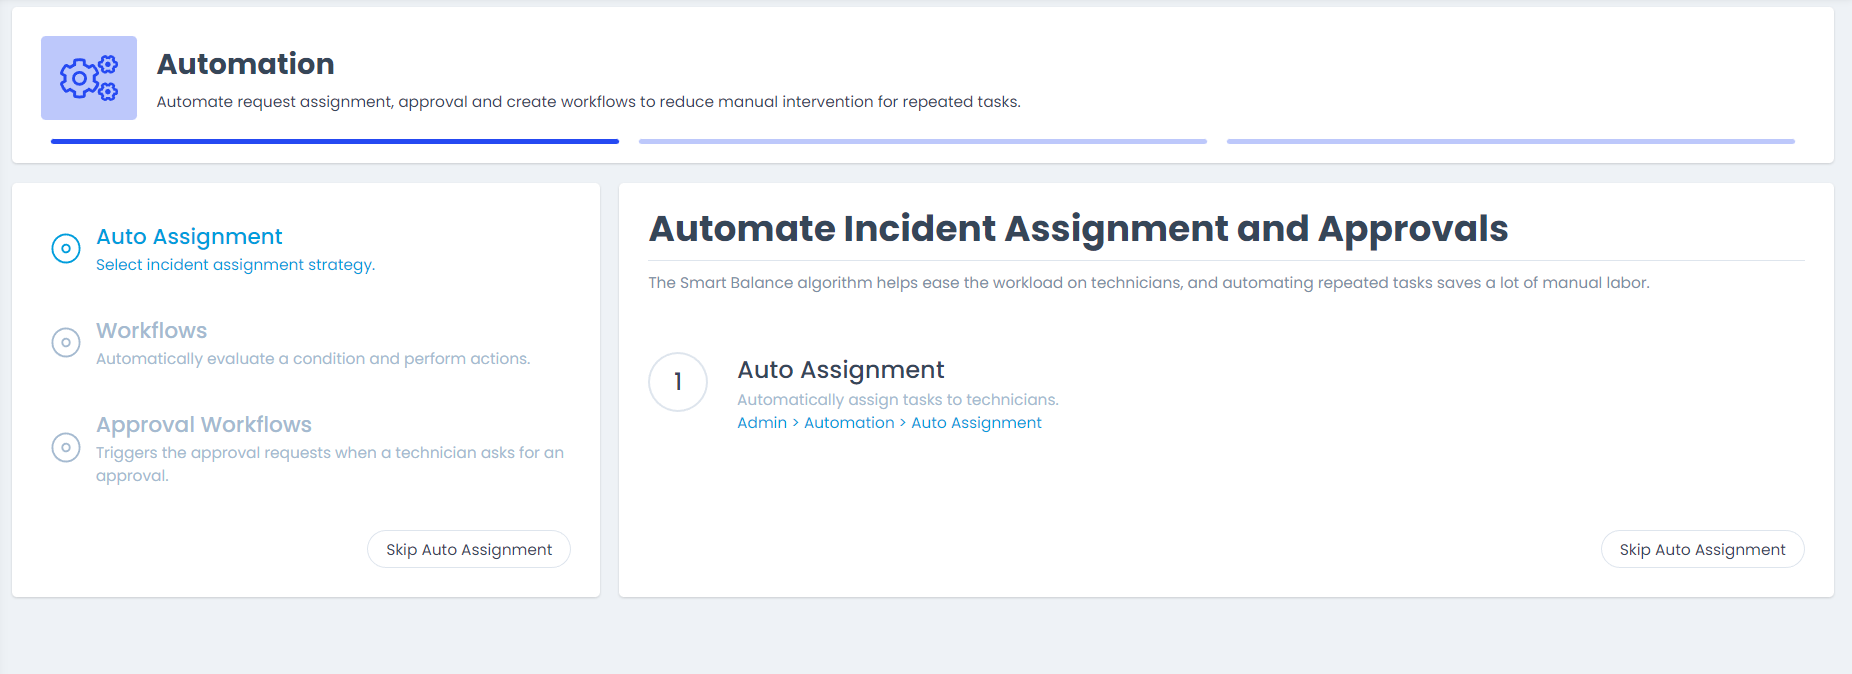
- Auto Assignment: Select a strategy to automatically assign requests to the technicians. For more details, click here.
- Workflows: Create workflows to automate the frequently repeating tasks. To know how to create workflows, click here.
- Approval Workflows: Create workflows to ensure that no ticket moves ahead without the approval of the concerned superiors. For more details, click here.
The basic setup of the ServiceOps Portal is now completed. Before going further with the modules, first it is better to understand the features available on the ServiceOps User Interface (UI).
Know your ServiceOps UI
The UI provides the below list of features:
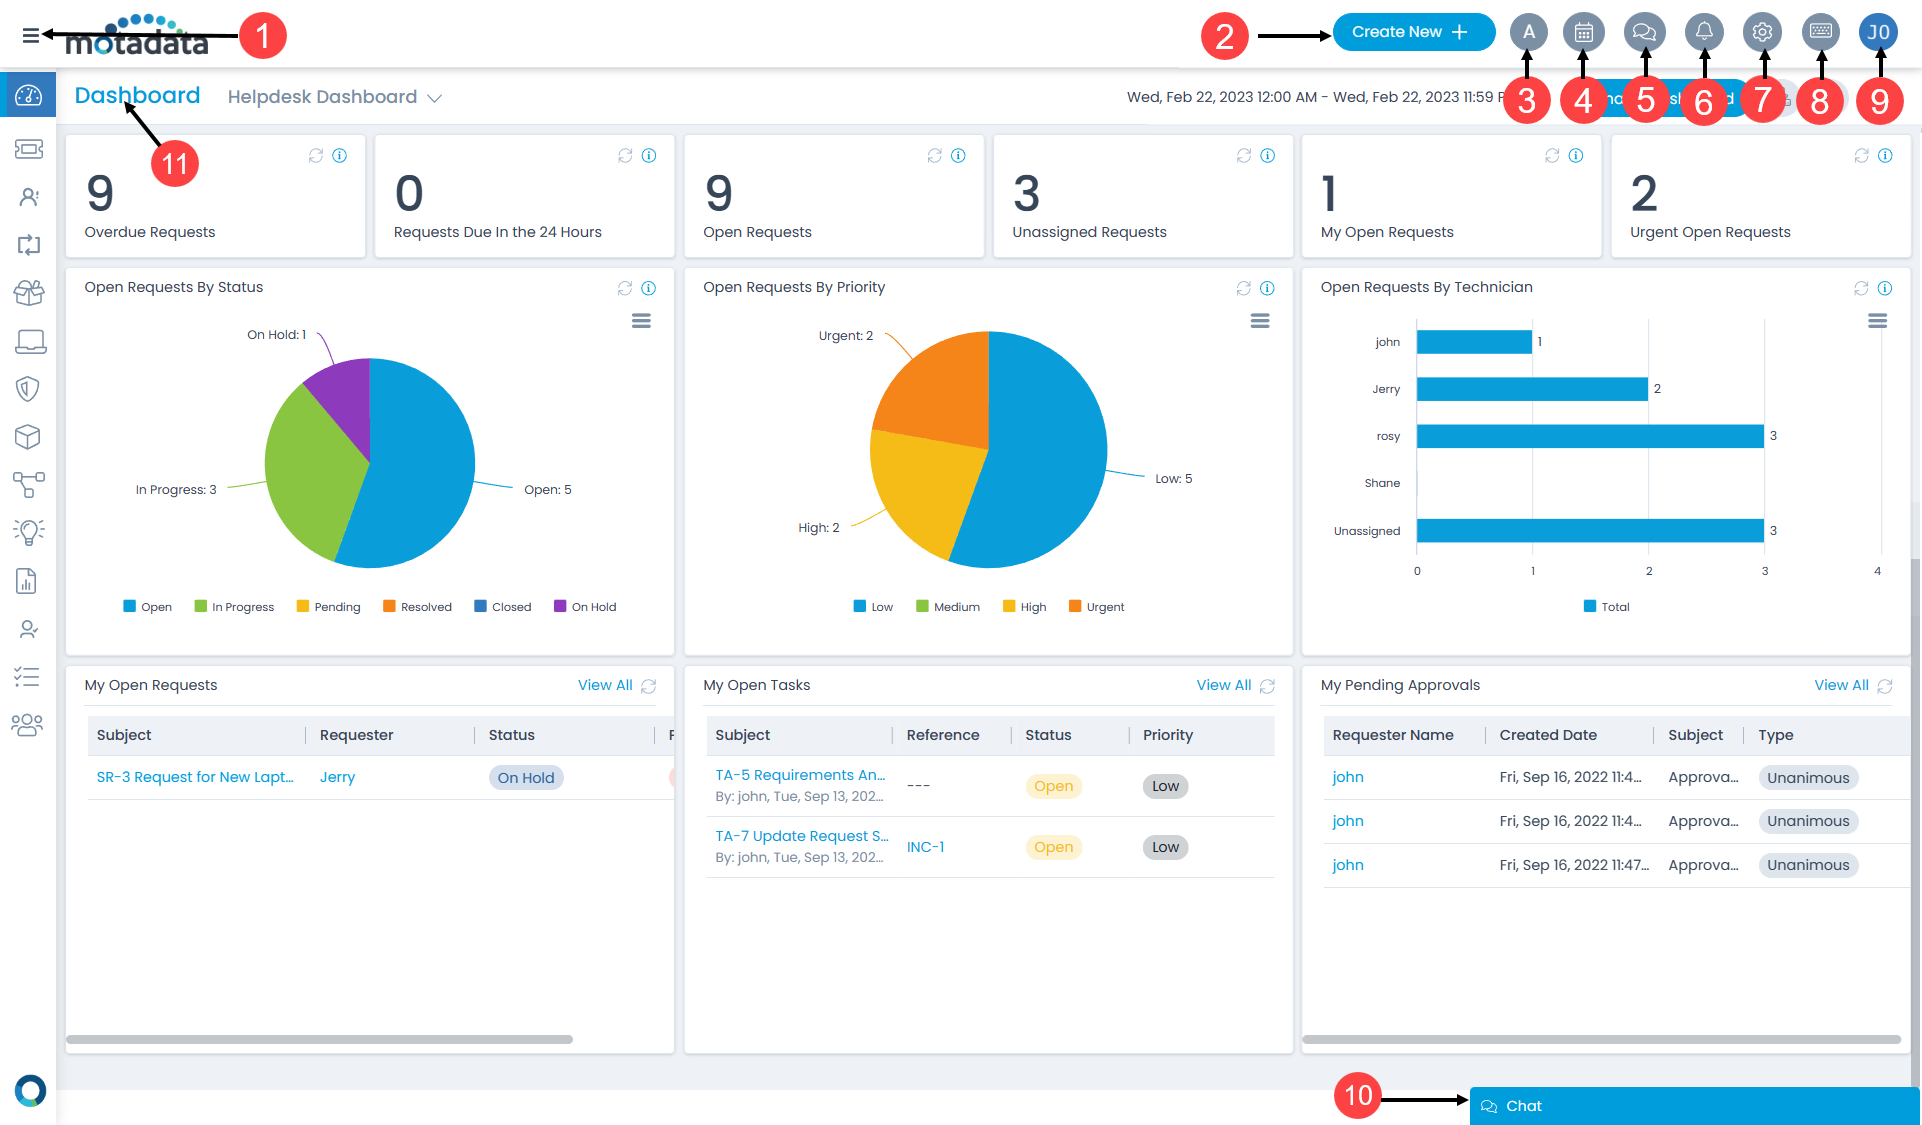
The home page displays the following options:
Expand/Collapse Menu: Click to expand or collapse the menu bar.
Create New: Click to create a new incident, request service, problem, change, release, asset, purchase order, and project respectively.
Font Size: Click to increase, decrease, or reset the font size of the text in the application. This option is visible only if Application Accessibility is enabled from the Application Settings page.
Calendar: Click to view the calendar. It displays a list of requests and tasks that are due within the selected time range.
Chat Console: Click to view the requester chats, collaborations, virtual agents, and unanswered bot responses. This option is visible only if Chat Support is enabled from the Support Portal page.
Notifications: Click to view the notifications. You can also configure the preference for notifications to be visible on the screen using the Preference Settings link.
Admin Settings: Click to view and configure the admin settings.
View Keyboard Shortcuts: Click to view and enable the available keyboard shortcuts as shown below.

- Current User: Click to view the current signed-in user. Also, you can edit the profile details, sign-out, view the support portal, and view the product guide.
- Chat: You can click to start a conversation with the chat representative to resolve your queries.
- Dashboard: This gives you an overview of the requests that come into your ServiceOps Portal. Apart from displaying the Overdue Requests, it also displays the statistics on requests that are open, unassigned, and due as per the selected time range.
Notifications
This displays the notifications as per the options enabled in the Preference Settings. To mark them as read, click the Mark all as read option or click the Clear All option to clear all the notifications.


In the Preference Settings, you can select the desired options based on which you will receive the notifications. You can also set the preference to view the notifications for email failure.
You are now all set to move ahead with the other modules and admin settings.