Plugins
Plugin
A plugin is a piece of code that integrates with the Main Server to perform a specific function. In the context of ServiceOps, a plugin is nothing but a .fp bundle (i.e. Kind of app, zip). After the execution of the .fp is performed, the server will possess the installed Plugin.
A plugin is first installed in a Plugin Server. A Plugin Server is a server which hosts or runs the plugins. It is like the Main Server with a specialized purpose of running plugins. The Main Server will call a Plugin Server to execute specific plugin and get the desired output.
Once you upload the plugin, you need to register it in the ServiceOps portal. Registering a plugin establishes all the dependencies and makes it available for execution.
Upload and Register Plugins
- To view and register plugin, navigate to Admin > Automation > Integrations > Plugin.

- Before registering, you need to upload a Plugin in the desired server. Uploading a Plugin allows you to add it to the Server and execute it.
- Click on Upload Plugin and select the desired .fp file.
- Once it is uploaded successfully, it will appear in the dropdown while registering a plugin.
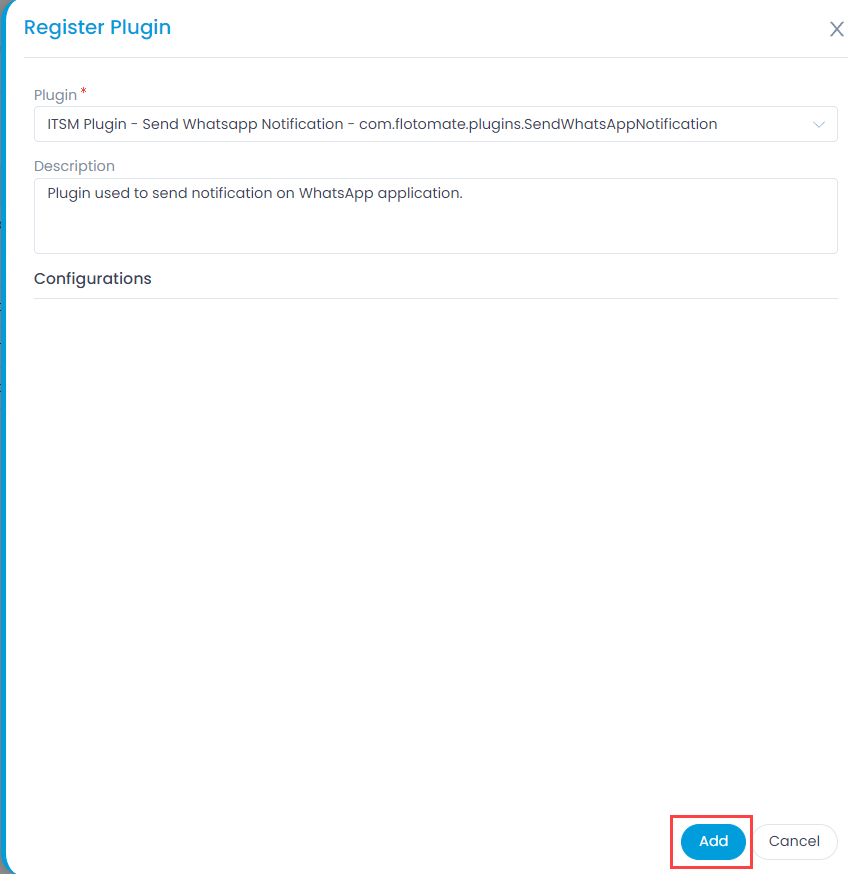
- To register, click the Register Plugin button, select the desired Plugin, and click Add, as shown below.

Report Plugin
This tab enables to upload a plugin using which you can create some specific custom reports based on the customer's requirement.

Here, you can upload and remove the Plugin. Once you upload the Plugin using the Upload Plugin button, its details will be visible in the grid.
Chat Plugin
This tab enables you to upload a plugin using which you can build a communication with the customer's bot application. Once uploaded, you need to train the model, and then use it in the chat flow.
