Manage Knowledge Articles
As a technician, you can create new knowledge articles and manage the existing ones. The knowledge management has the following features for effective content management:
- Rich text editor to create impressive articles. You can add images, audio, and video also.
- Organize the articles in different folders.
- Draft option to save the changes before publishing them.
- Article tags to help others to quickly find the relevant articles.
- Articles feedback to understand if it is helpful or not.
- Distinct article sections to see most read, most helpful, and most searched keywords.
- Edit and delete the article to update the existing ones and remove the obsolete.
Articles List
You can view the articles in the knowledge menu organized in different folders and headings. The home page shows articles as:
- Folders: All the articles belong to some folders. Click on the desired folder to view the articles within it. Click on All Folders to view all the articles in one place.
- Most Read: Displays the articles that are most read by the people.
- Most Helpful: Displays the articles that people considered as the most useful articles.
- Most Searched Keywords: Displays the list of most searched keywords.

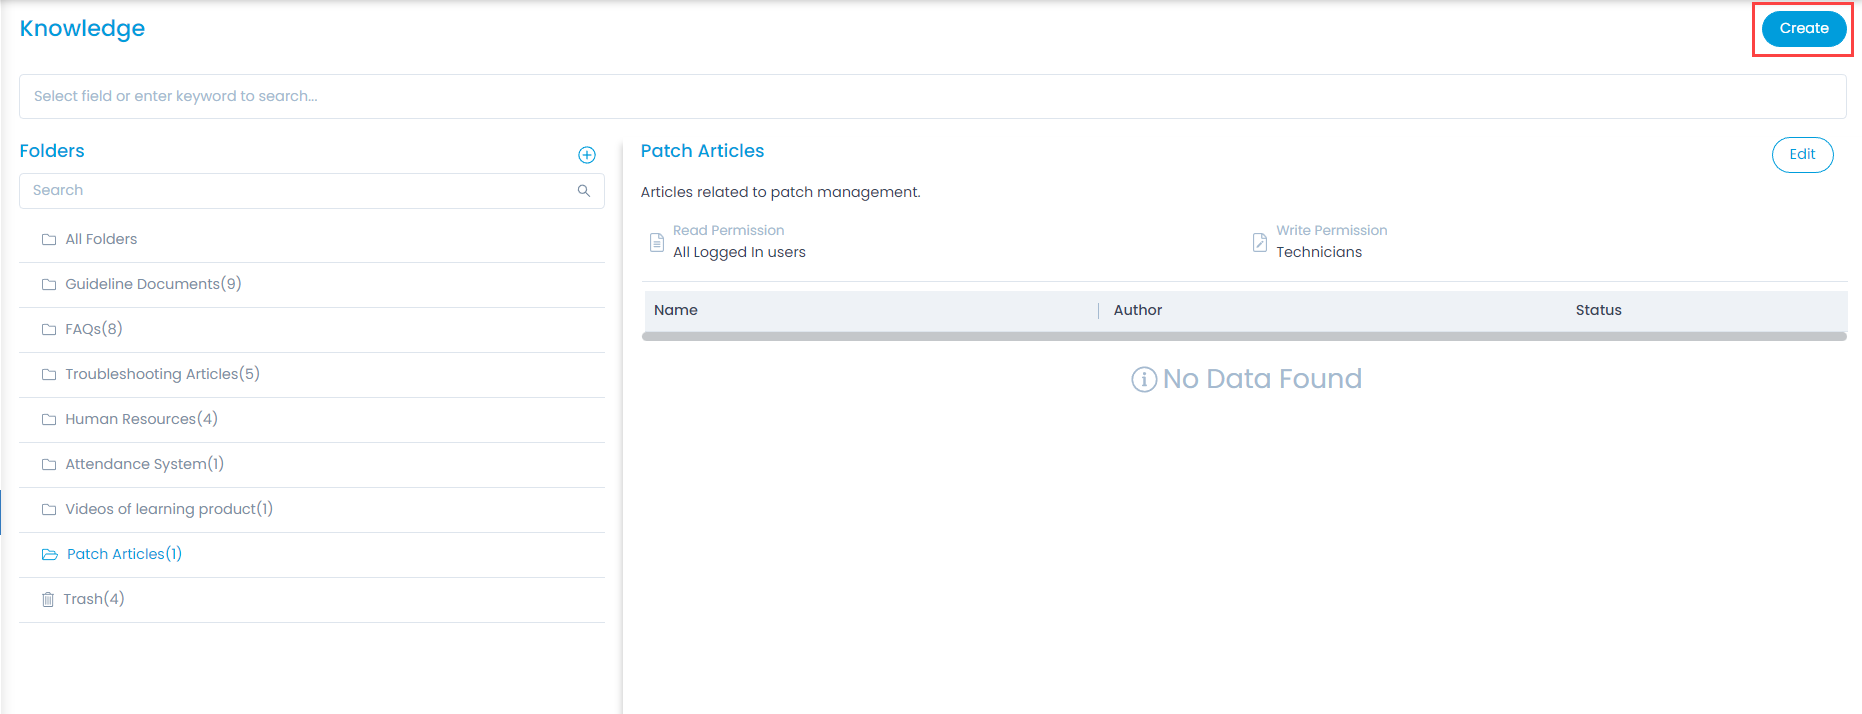
Create Article
To create an article,
- Click the Create button on the top-right corner of the page. The Create Knowledge page appears.
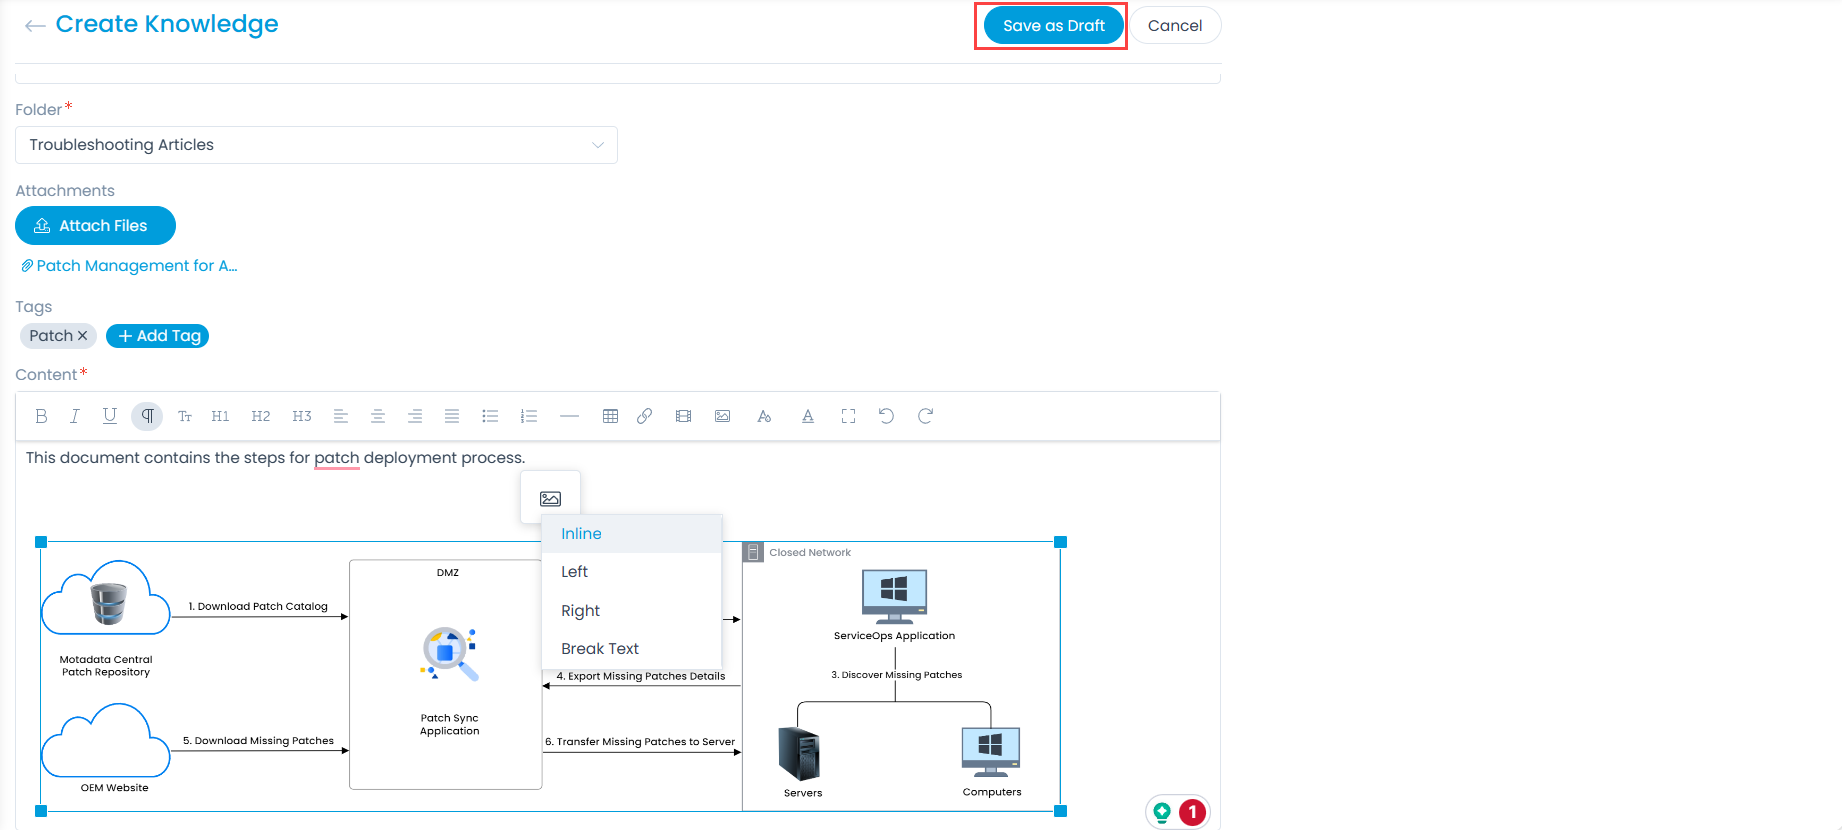
- Enter the following details:
- Title: Enter the title of the article.
- Folder: Select the folder in which the article should belong. By default it displays the selected folder.
- Attachments: Attach the related document.
- Tags: Add tags for the article so that it can be searched easily.
- Content: Enter the content of the article. You can also add images and align them as per requirement in the article.
- Click Save as Draft and the details page appears as shown below.
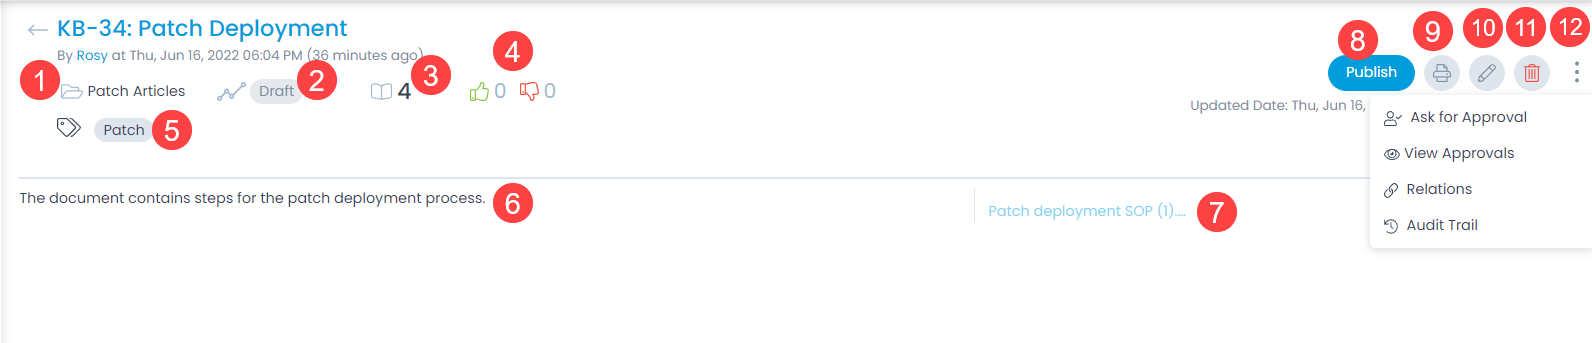
Here, you can view the details as well as perform the following activities:
- Folder: Displays the folder name.
- Status: Displays the status of the article.
- Total Read: Displays the number of views of the article.
- Likes and Dislikes: Displays the total number of likes and dislikes for the article.
- Tags: Displays the tags.
- Description: Displays the description of the article.
- Attachments: Displays the attachments.
- Publish: You can publish the article.
- Print: You can print the article.
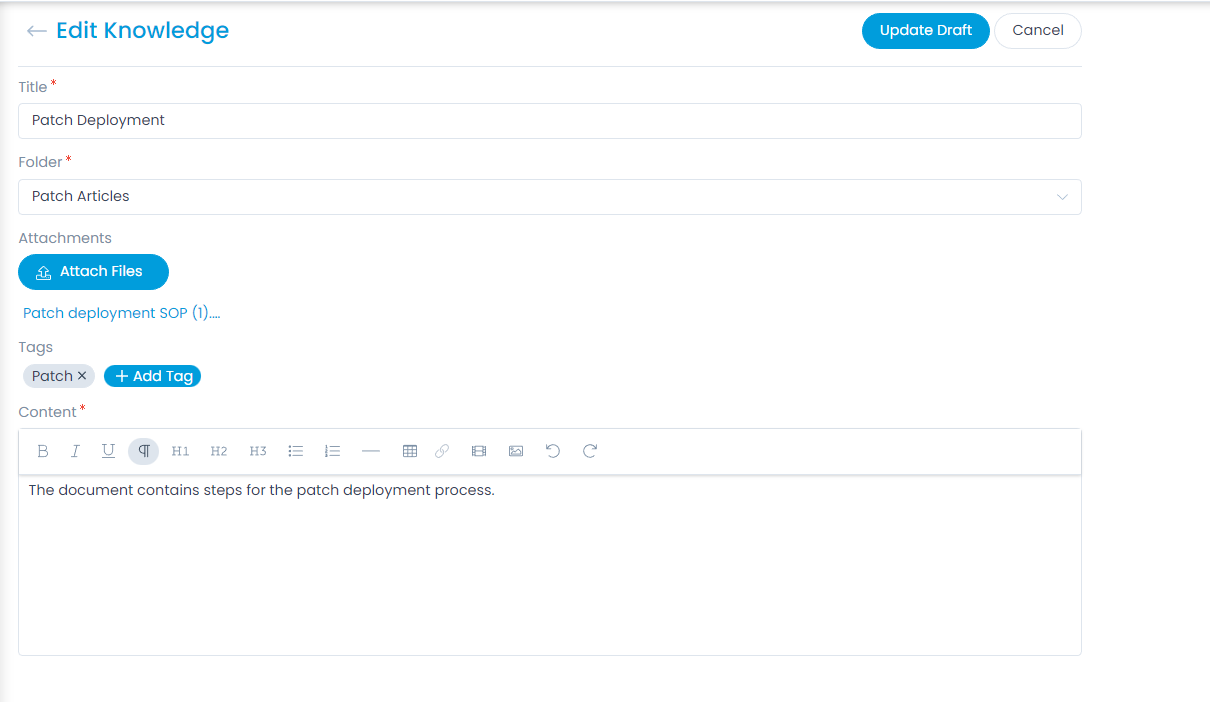
- Edit: You can edit the article. On clicking, Edit Knowledge page appears as shown below. Make the required changes and click Update Draft.
- Delete: You can delete the article. When you delete a Draft article, it is permanently deleted. But when you delete a Published article, it stays in the Trash folder.
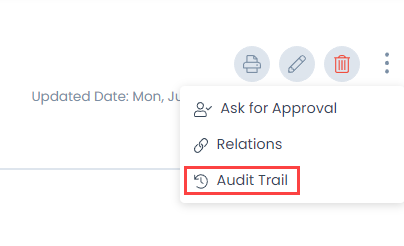
- Options: Displays the following options.
- Ask for Approval: You can ask for approval of the article.
- View Approvals: You can view the approvals of the article.
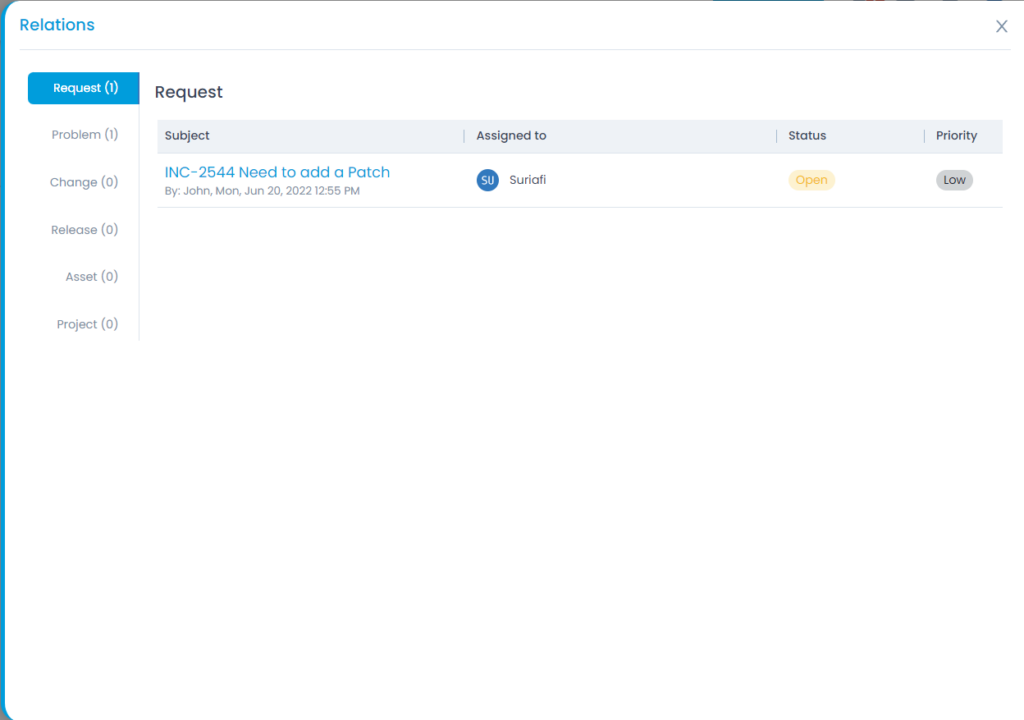
- Relations: You can view the related requests, changes, problems, releases, assets, and projects.
- Audit Trail: You can view the audit logs of the user performing different activities related to the article.
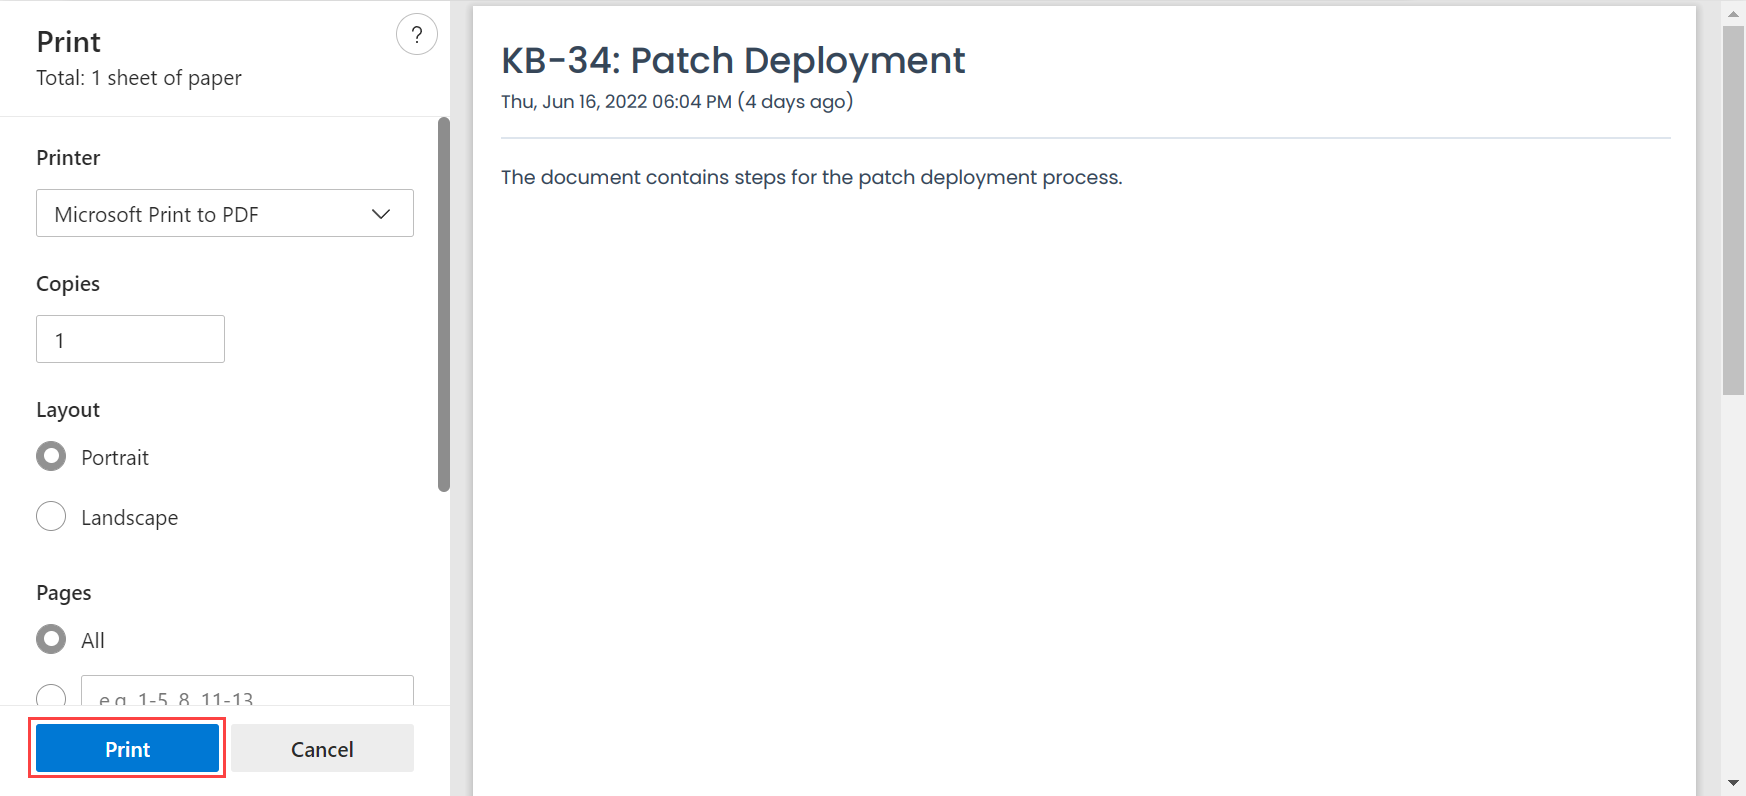
Print Article
To print the article,
- Click the Print icon on the top-right corner and a popup appears as shown below.
- Click Print.

Approval Process
An approval process makes sure that there are no unauthorized actions. You can ask for an approval only if a technician is assigned to the knowledge. For some, the approvals can be mandatory to process a knowledge article.
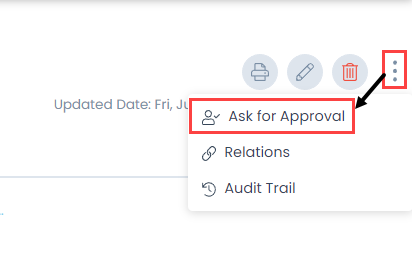
To ask for approval,
- Click the Options icon (vertical 3 dots) and select Ask for Approval option. the Create Approval page appears.

- Enter the following details:
| Parameter | Description |
|---|---|
| Set Individual Decision Type | Select the type of decision. - Unanimous: Everybody selected as approver has to approve the Knowledge. - Majority: Majority of approvers should approve the Knowledge. - Anyone: Any one approver can approve the Knowledge - First Approval: If selected, the first approval received (Approved or Reject) will be considered and the rest will be ignored. For example, If 3 approvers are set and if the first approval received is Approved, then this is considered. The approvals from the rest of the approvers will be Ignored, though rejection is received later from other approvers. |
| Subject | Default subject is 'Approval Required for - [KB-No]'. You can replace it with your own subject. |
| Requester Group | Select the requester group whose members can give the approval. |
| Technician Group | Select the technician group whose members can give the approval. |
| Set Approvers to | If you want specific people to approve, select the name of the approvers. |
| Description | Type the description so approvers can gain sufficient information about the approval required. |
| Add Stage | If the approval process is a multi-level process, click on 'Add Stage' to another approval form. For example: When someone wants to publish multiple articles simultaneously, initially his/her manager/s should approve. Secondly, Its department should approve. |
- Once all the details are provided, click any of the below options to send the article for approval:
Create + Run Approval Workflow on Create: If the option "Run Approval Workflow on Create" is enabled and the Create button is clicked, two approvals will get created i.e. Manual and Approval Workflow Approval. By default, this option is enabled.
Create: If the option "Run Approval Workflow on Create" is disabled and the Create button is clicked, a single Manual approval will get created.
noteThe field "Allow User to Create Manual Approval" should be enabled from the Approval Settings page.
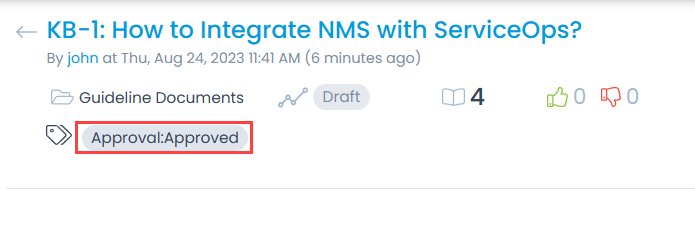
Skip: If Skip is clicked, the approval request gets pre-approved and the status is displayed next to the Add Tag option as shown below. The pre-approved requests are not displayed in the Approvals tab.
noteThe knowledge request will get pre-approved only if there is no active Approval Workflow whose conditions match the knowledge details. If the Approval Workflow exists, the knowledge will not get pre-approved, and the Approval Workflow with matching conditions will get executed.
- Cancel: Click to cancel the approval request if not required.
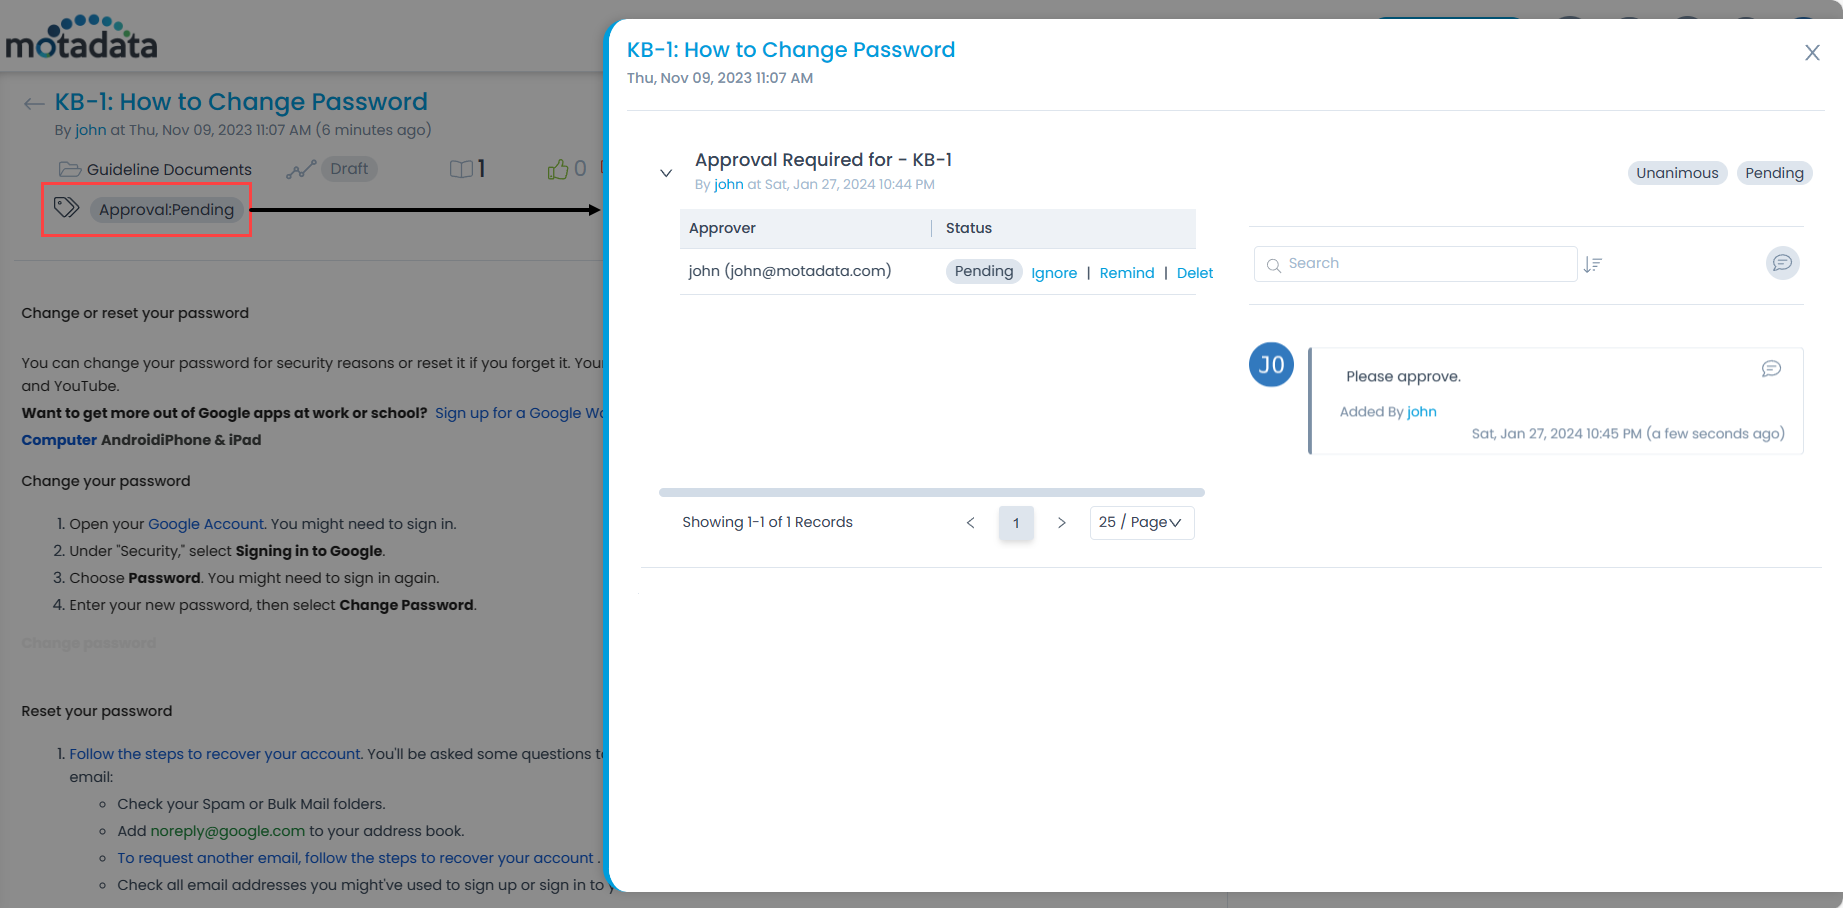
View Approvals
To view the pending/approved/referred back approvals, click the Approval tag, and a popup appears displaying all the approvals done or pending for the knowledge.
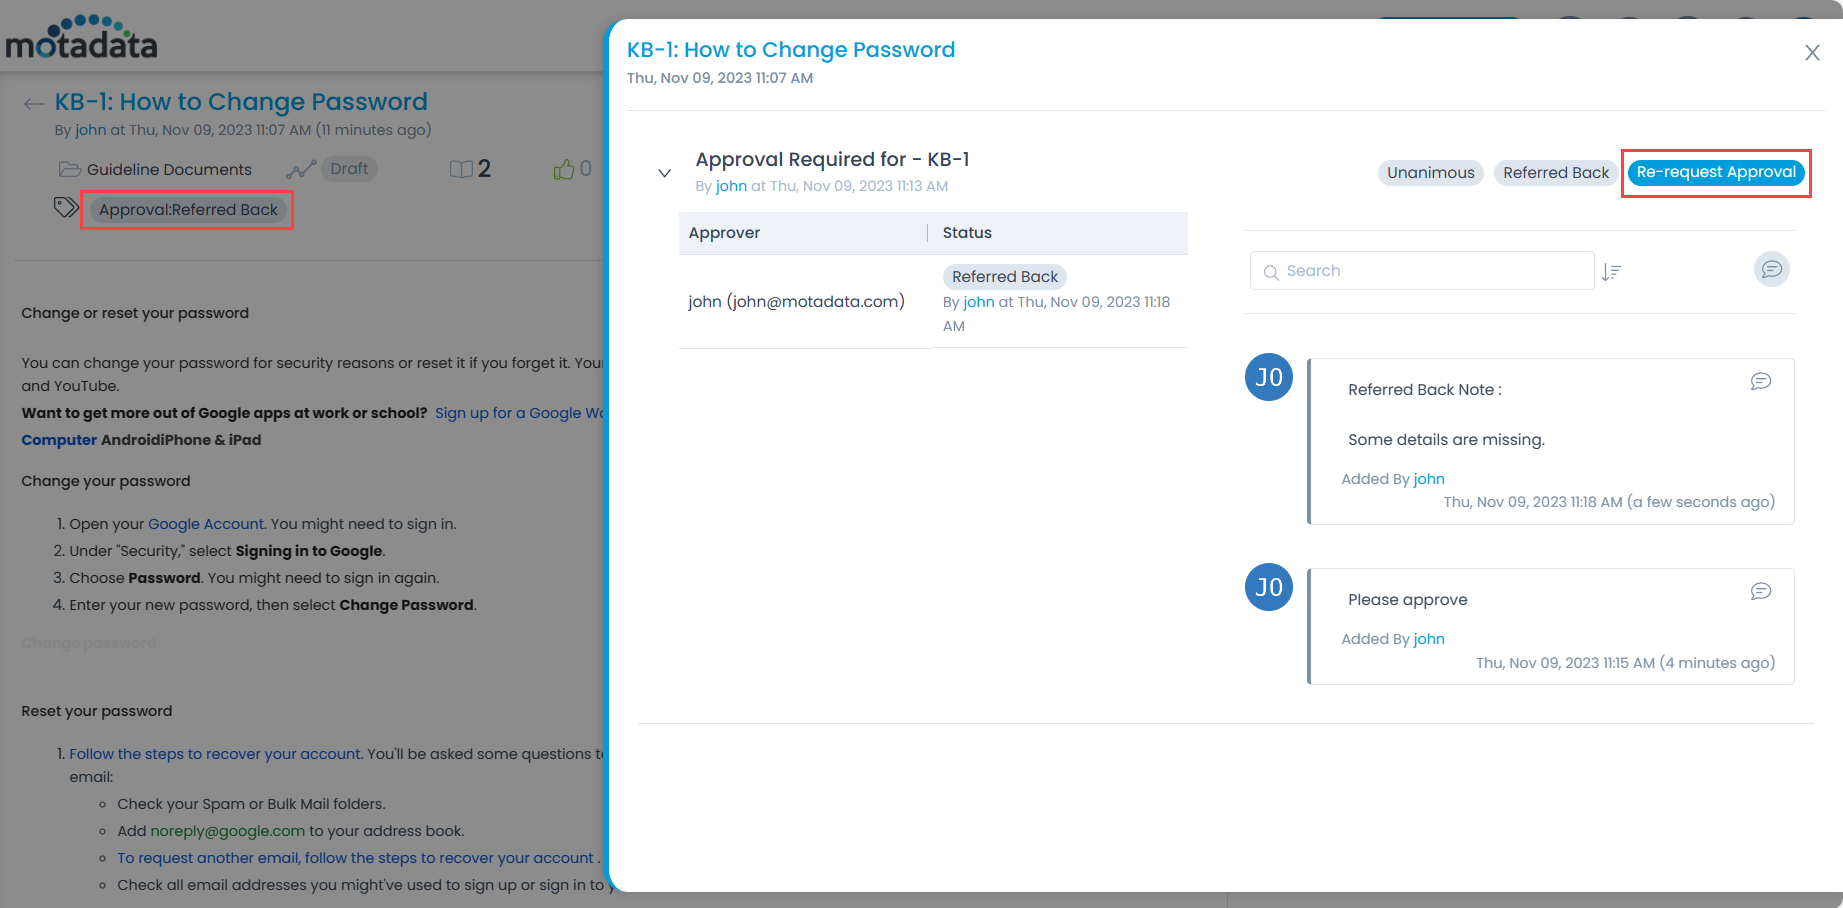
From this page, you can ignore the approval if no longer needed, remind the approver to take an action on it, delete an approver's approval, or re-request the approver for approval if it is referred back due to reasons like missing/incorrect details, need additional info in the approval, etc.
In case of delete approval,
- If there is a single approver for the process and the approver is deleted, no approval would be required.
- If there are multiple stages of approval and an approver is removed, the approval of that user will no longer be required and will skip to the next level/approver .
- If the deleted approver happens to be the final approver, the previous level approver would now be treated as final.
- Once the user takes the act of approval or rejection, the Delete option for Approval will not be visible.
Once the approver approves or rejects the approval request, it will also be updated here. In case, the approver finds some details missing or needs additional info before approval, the approval request is referred back, and its status will also get updated from Pending to Referred Back.
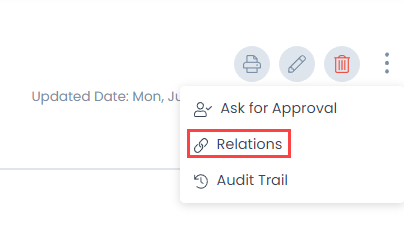
View Relations
The relations popup displays the association of the knowledge article with the requests, problems, changes, releases, assets, and projects. Click on the vertical-three dots and choose Relations.
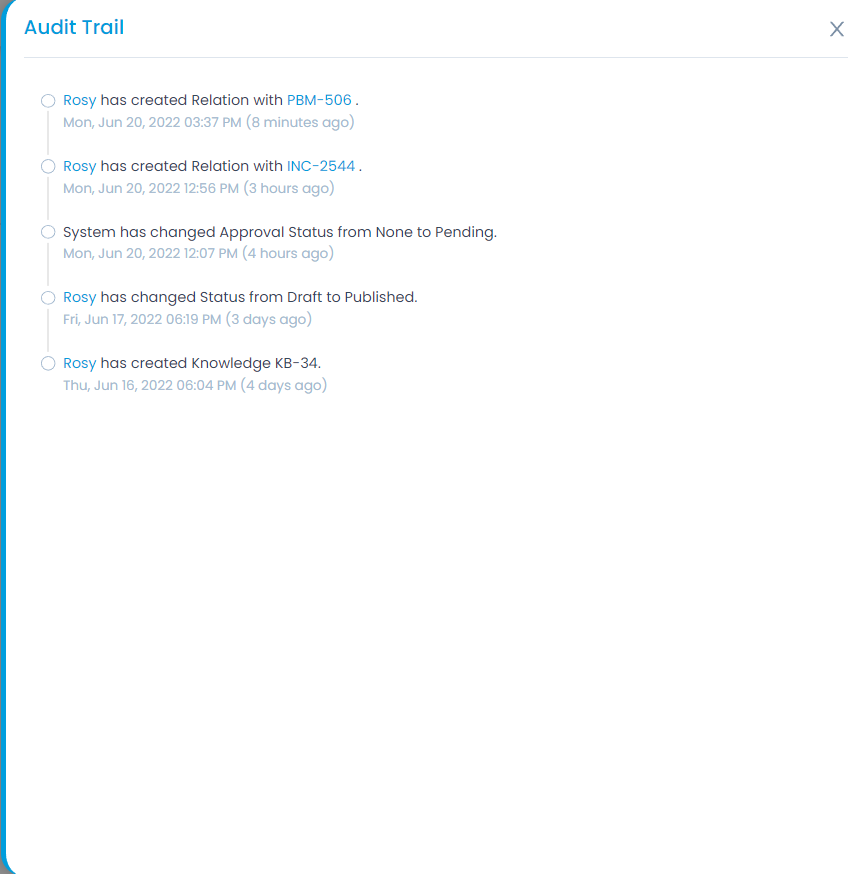
View Audit Trail
The Audit Trail displays all the activities done in the knowledge article. It helps you understand who and when did the changes took place.