10.2.9. Requestor Accounts
We have users who use our Helpdesk to serve their external clients from different organization. In such cases, it becomes important to track the source of a request. With the Request Accounts feature, users of our product can bifurcate incoming Requests based on the organization of the Requestor. Before using this feature, a user (with admin rights) has to manually add the client organizations in the product.
Adding a Requestor Account
Go to Admin (A Navigation Tab) >> Request Accounts (under User).
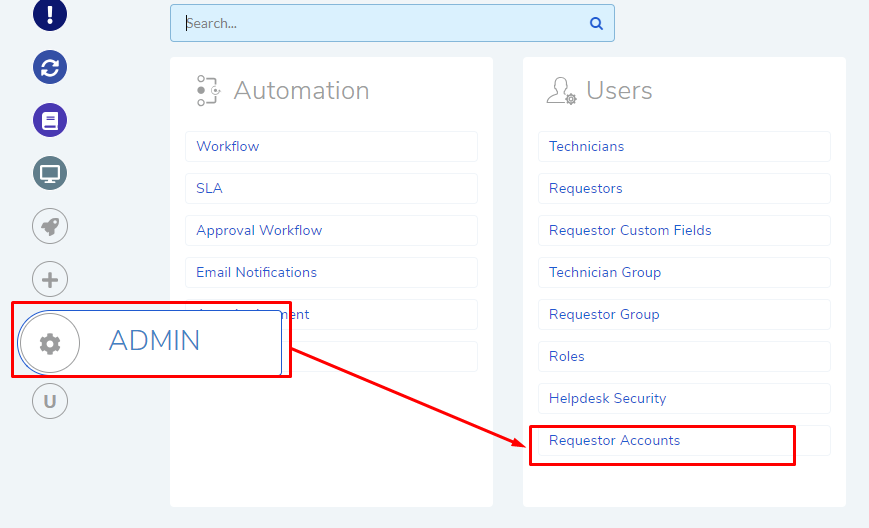
The Requestor Accounts page opens. Here you can view all your existing accounts. You can search for an account using the search bar. To create a new account, click on Create Requestor Account situated in the top right corner of the page.
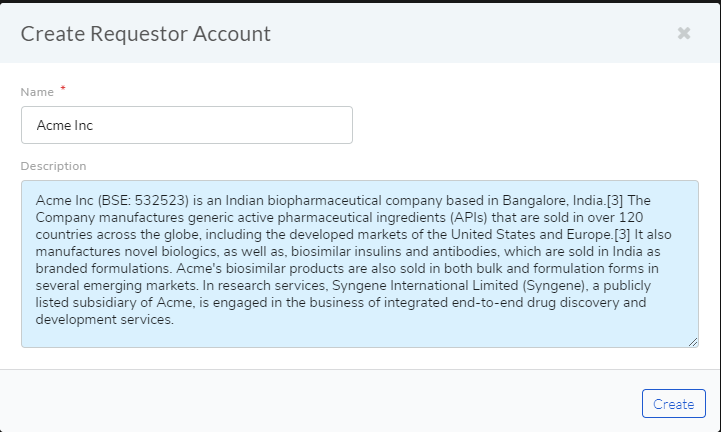
A dialog box opens. Type in a Name and Description and hit Create.
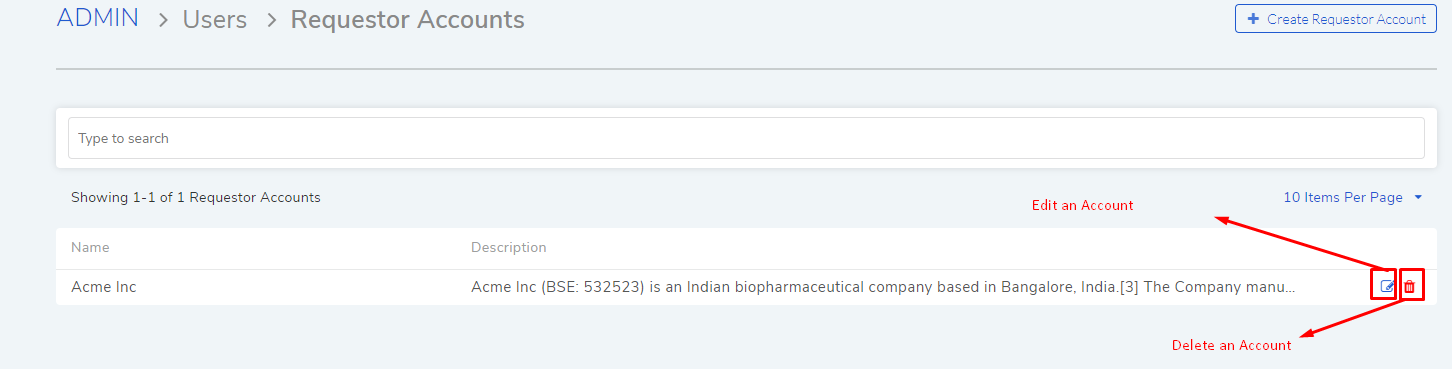
The new account is added to the Requestor Accounts page.
Edit/Delete an Account
Go to the Requestor Accounts page.
The edit icon allows you to edit an Account and the delete icon lets you delete one.
Note
When you delete an Account, the Account label disappears from Requests that have already been created.