10.2.2. Requestor Groups
Motadata allows you to create groups of Requestors. Grouping is a way to classify Requestors based on certain criteria.
One use of creating groups is in communication:
You can send an email notification to a Requestor Group about a ticket. All members of the group receives the email.
You can email an Announcement to a Requestor Group.
You can keep a Requestor Group as a watcher for a ticket (Request or Problem). Watchers receive ticket related emails.
You can send a Knowledge Article/FAQ to a Requestor Group.
Note
You need admin rights to create and modify Requestor Groups.
10.2.2.1. Add a Requestor Group
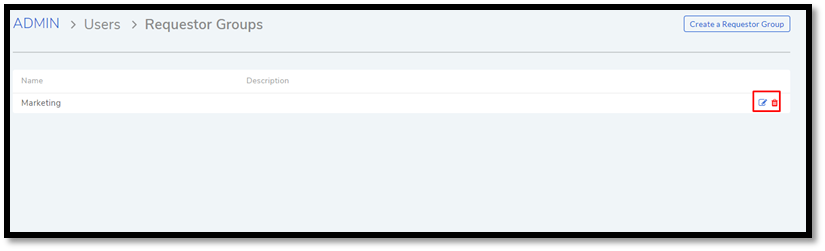
Go to Admin >> Requestor Groups (Users).
The Requestor Groups page opens. Here you get to see all the groups in the product if any. Click on Create a Requestor Group situated in the top right corner of the page.

In the new page, give a name and a description of the group. You can manually add group members from the Select Users field. In case there are many members, we have the option of setting conditions using the Select a Parameter field based on that Requestors are added automatically. You can set conditions based on three criteria:
Important
- If the logged in admin has limited location permissions then he/she won’t be able to select requesters outside his/her
location scope. Learn more.
Requestor Department
Department info from LDAP server
Department ID
System departments
Location
System locations
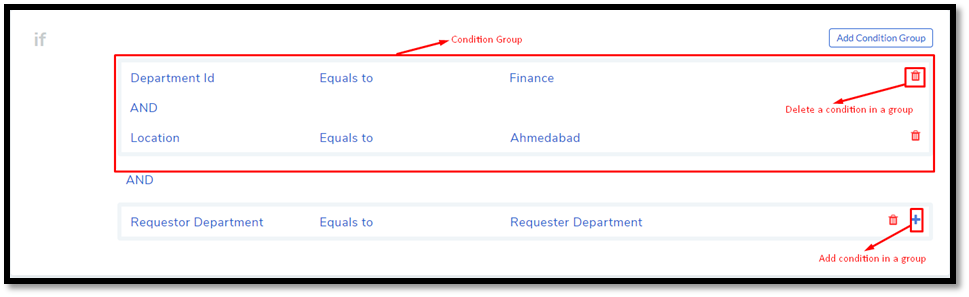
You can set a single condition or have multiple conditions in different condition groups. A condition group can have maximum two conditions.
You have to define the relationship between conditions in a group using either AND or OR. In case there are multiple groups, then you have to define the relationship between them as well.
Use Add Condition Group button to add groups. The plus icon adds conditions to a group, and the delete icon deletes them.
Use the Preview button to preview Requestors who are going to be added to a different page.
Click on Create to add the group.
Go to Requestor Groups page. Click the Edit Icon adjacent to the group that you want to edit. Make the changes and hit Update. You can delete the group by clicking Delete.
You can also delete a group using the Delete Icon from the Requestors Groups page.