10.5. Organization
Motadata allows you to maintain company details in the product in the following forms:
Account
Department information
Location details
Business hours
Branding
10.5.1. Account
Motadata has the account section where you can maintain the company’s profile.
Note
Managing company details requires you to have Administrative rights.
Go to Admin from the Navigation Tabs.
Search Account in the search bar or you can find Account under Organization. Click on Account; it opens the Account page.
The Account page is divided in to three sections; they are as follows:
Profile
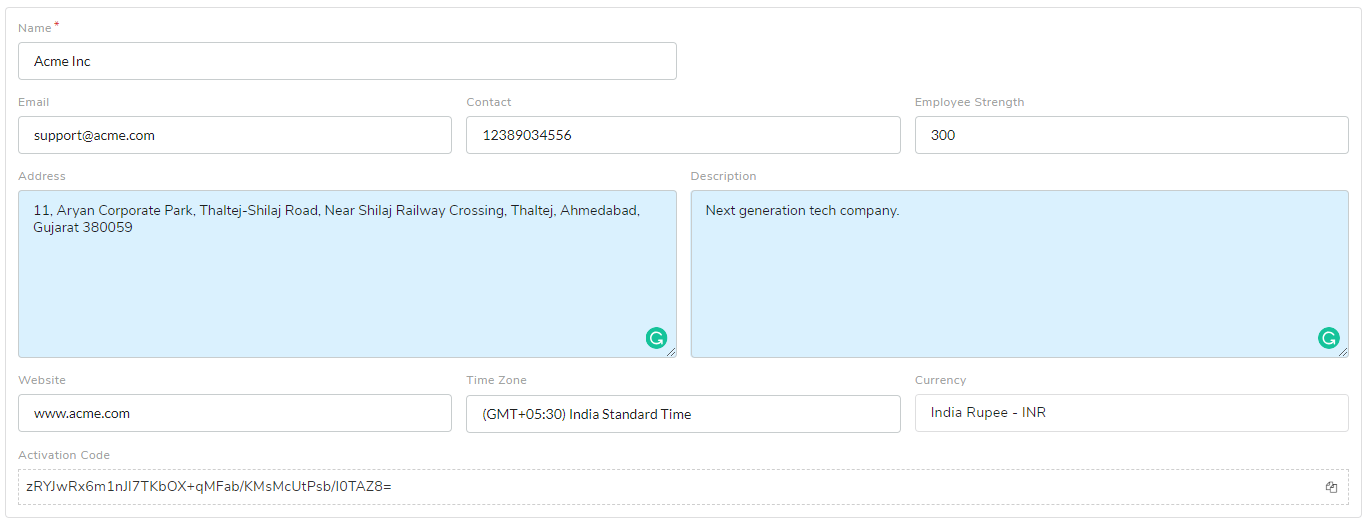
Click Edit situated in the top right corner of the display area. The Profile fields become editable.
You can enter the following information:
Name of the company.
Email of the company.
Contact number of the company.
Number of people employed by the company.
Registered address of the company.
Description of the company.
Website URL of the company.
Time zone of the company.
Base currency in which the organization does all its transactions. When required, the base currency is converted against a foreign currency in the system list (Learn how to add a Currency)
The Activation Code in use is visible here.
Once you are done inputting data, click on Update to save the information.
You can edit the profile any time using the Edit option in the same way you created your profile.
License Information
How much you can use our product is decided by the type of license you have.In this section, you can view all license related information.
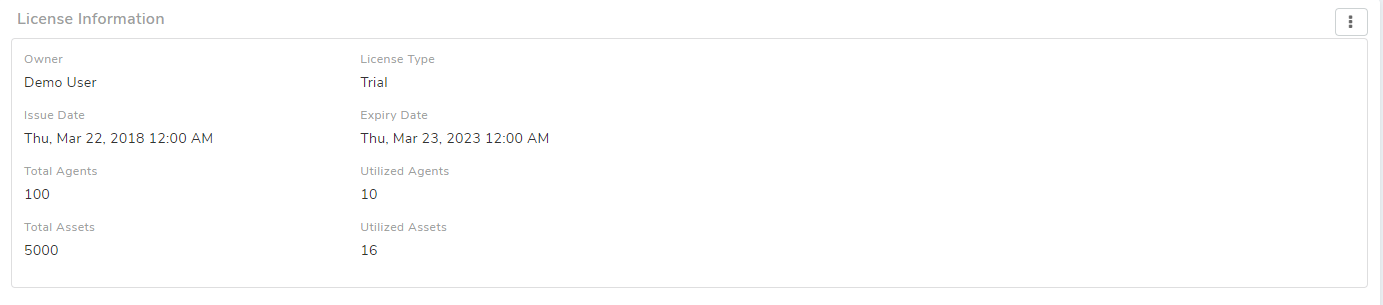
Here you can view vital information about the License; for example, license type, number of Agents you can use, number of Assets you can discover, etc.
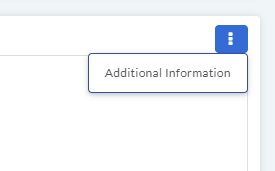
You can access additional information about the license from the Action Menu.
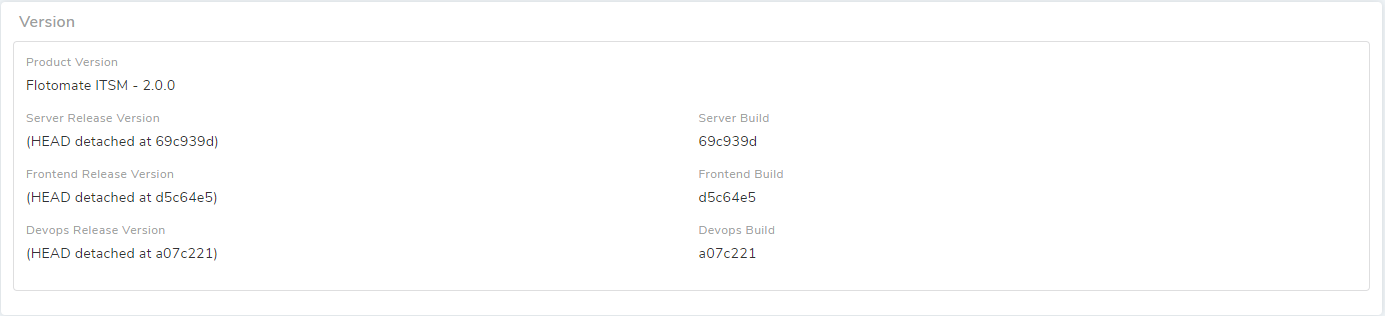
Version
Here you can view the version details of the product. The details are automatically updated after every release.
10.5.2. Departments
Motadata allows you to add your organization’s department names and sub-departments in the product. Each department can have sub-departments up to level three.
Some of the benefits of having department names in the product are:
You can classify tickets, Assets, Projects and users by department.
You can create automated workflows using department as a condition.
You can create Requestor Groups by using department names.
You can generate department specific reports.
Note
Managing company departments requires you to have Administrative rights
Add a Department
Note
System Department is different from the Requestor Department, which is imported from the LDAP servers.
Go to Admin from the Navigation Tabs and click Departments under Organization. You can see all your available departments in the new page if any.
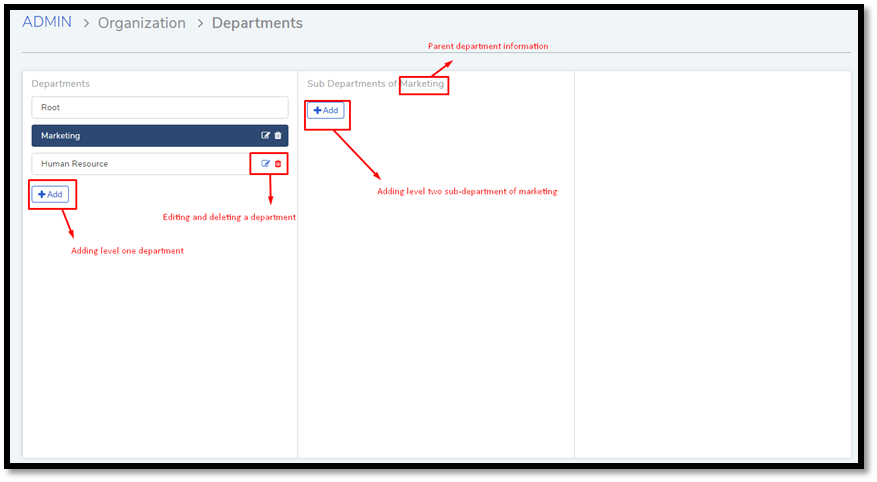
Use the Add button to add departments. The leftmost column has the level one departments, and all others columns have the sub-departments. Clicking on a department name activates the adjacent column, where sub-departments can be added, edited and viewed.

Import Departments
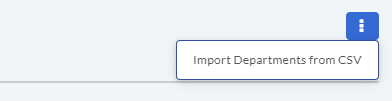
You can import departments using a CSV file. To import a department, click on the icon and click on ‘Import Departments from CSV’. Importing a department allows you to import data with 2 level hierarchy.
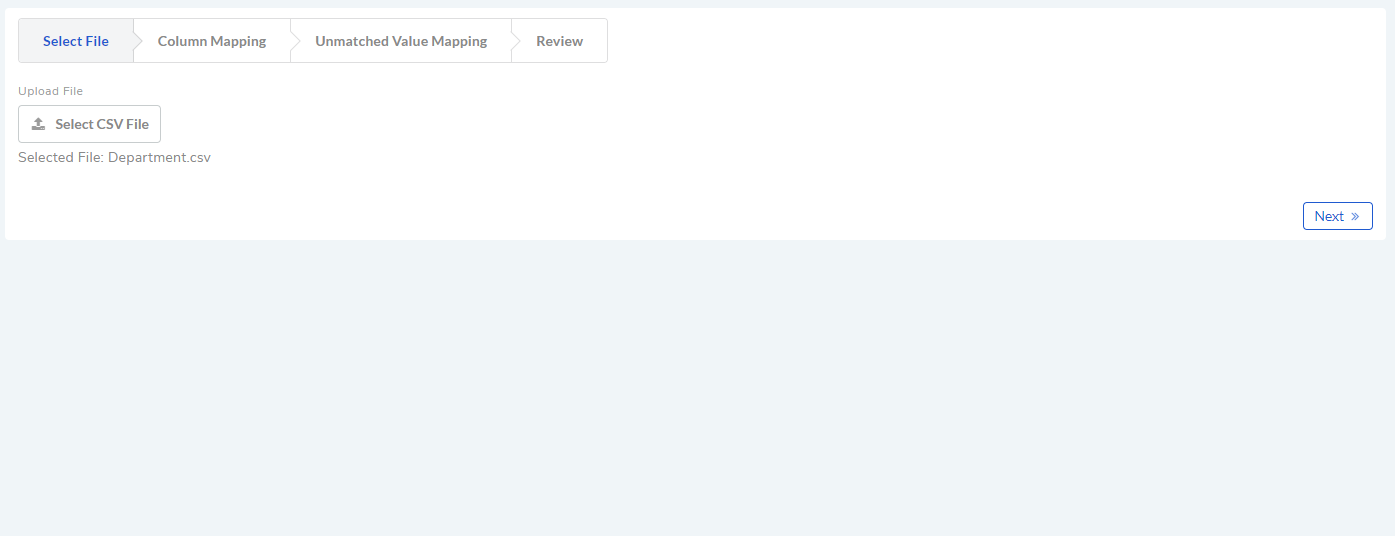
Click on ‘Select CSV File’ and select your department file. For help on CSV file format,
download the sample CSV file.In Column mapping, map the fields name with CSV columns. Make sure that your CSV’s first row reserved for field names. Data in CSV should start from second row.
In Unmatched Value Mapping, system will show you if there is any issue in mapping with CSV or if there is any data that system cannot map. Rectify it and click Next.
Review the data and the count.
Click on Import.
Manage Departments
You can change the name of a department by clicking on the Edit Icon. Clicking on the Edit Icon opens a dialog box where you enter the new name and update.
Use the Delete Icon to delete any department.
10.5.3. Business Hours
You can define the working hours of your organization in the product. You can have separate working hours for each of your departments, and you can even add all your holidays in a year.
Having a business hour/hours helps the product in determining the available response time and resolution time of a Request (holidays are subtracted from the calculation). These calculations are done to see whether any SLAs have been violated or not. Of course, the SLAs have to be configured to use business hours.
Learn more about SLA.
To add business hours:
Go to Admin >> Business Hours (Organization).
Business Hours page opens. Here you can set the business hours if any.
Click Add Business Hour situated in the top right corner of the page.
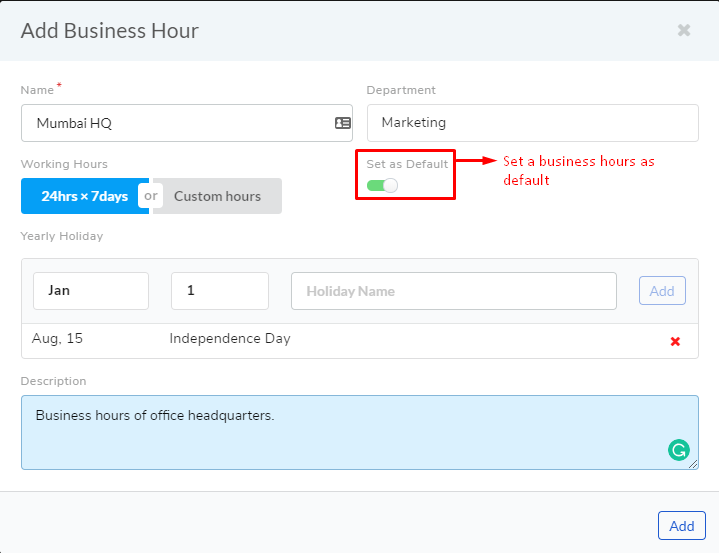
In the Add Business Hour dialog box, select the department (you can also select a sub-department) for which you want to set time. Give a name to the time profile.
You can set the business hours as default.
We have two options for setting working hours: 24hrs x 7days and Custom hours. You can select any one of them.
To set custom hours:
Click Custom hours; you get a list of all days with their work hours.
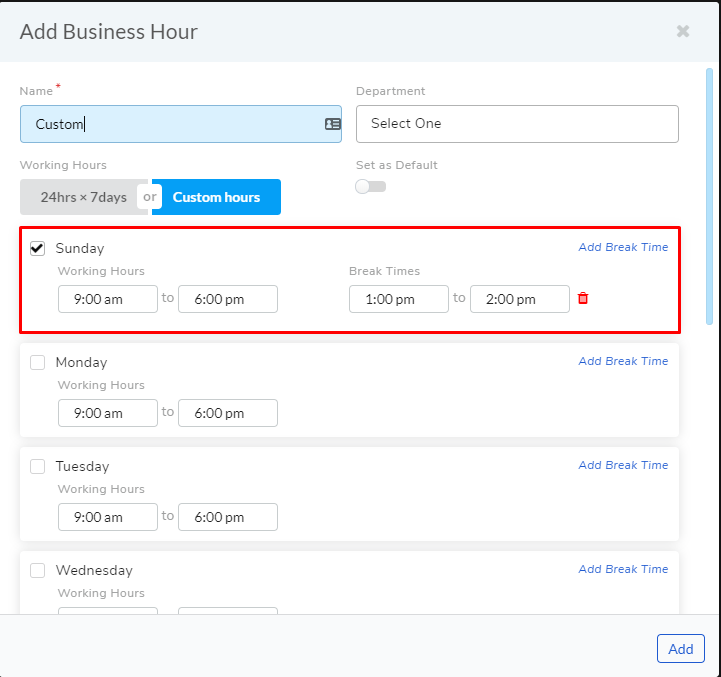
Select the days that are applicable and set the work hours.
In custom mode, you can also add break time for each day.
Note
SLA time calculation for a ticket will consider work-time and break-time if custom hours are set.
Set holidays and write a small description. Click Add to add your new business hours.
10.5.4. Location
You can add your business location/locations in Motadata along with the time zone/zones. business hours are auto configured based on the time zone of each location.
Some benefits of having locations:
You can set a time zone for your business hours.
You can classify and segregate (learn more) tickets, Assets, and Projects by location.
You can create location specific Reports.
Note
changing Location settings require administrative rights.
Add Location
Go to the Admin from the Navigation Bar and click Location under Organization.
Location page opens. Here you can view the present locations in the system if any. Click Add New situated in the top right corner of the page.

Add Location dialog box opens. There you can input the following details:
Name of the location.
Country name.
Time Zone of the location.
Business Hours from a drop-down list.
Address of the location.
Description of the location.
Fill in the details and hit Save.
Import Locations
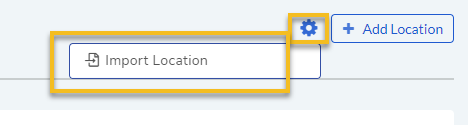
You can import location using a CSV file. To import a location, click on the icon and click on ‘Import Location’. Importing a location allows you to import data with 3 level hierarchy.
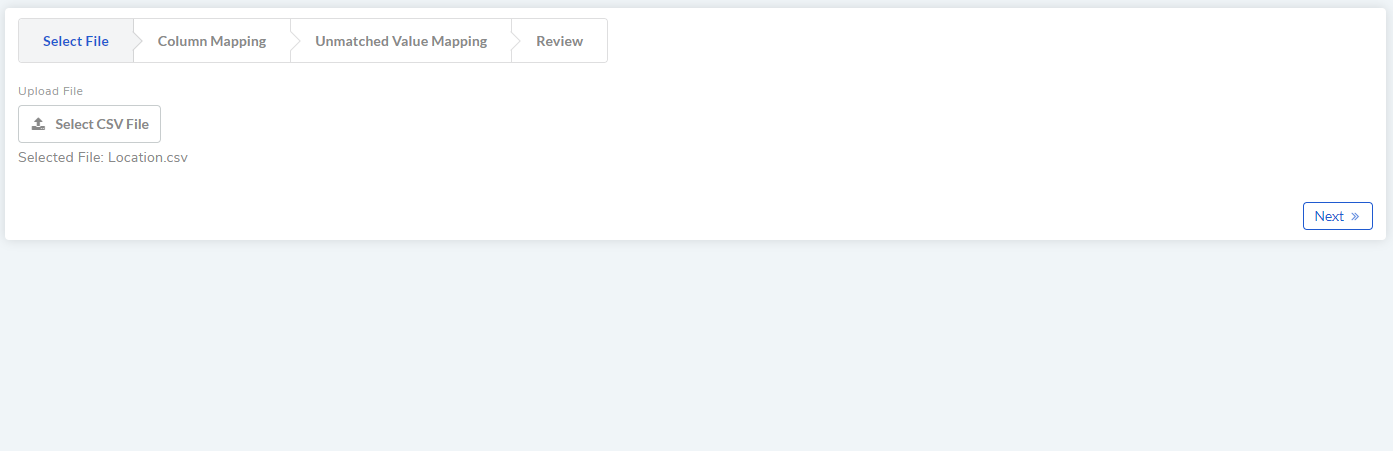
Click on ‘Select CSV File’ and select your location file. For help on CSV file format,
download the sample CSV file.In Column mapping, map the fields name with CSV columns. Make sure that your CSV’s first row reserved for field names. Data in CSV should start from second row.
In Unmatched Value Mapping, system will show you if there is any issue in mapping with CSV or if there is any data that system cannot map. Rectify it and click Next.
Review the data and the count.
Click on Import.
Manage Locations
Click on the Edit Icon adjacent to the Location that you want to change.
Edit Location dialog box opens where you have to make the changes. Don’t forget to save your changes.
You can delete a Location by clicking on the adjacent Delete Icon. On confirmation, the system deletes the location.
10.5.5. Branding
Motadata allows you to upload brand assets like logo and Favicon; you can customize the looks of the product so that people using the product can identify the service as part of their organization.
Note
Editing brand information requires administrative rights.
Add/Edit Branding Information
Go to the Admin from the Navigation Bar and click Branding under Organization. The Branding page opens.
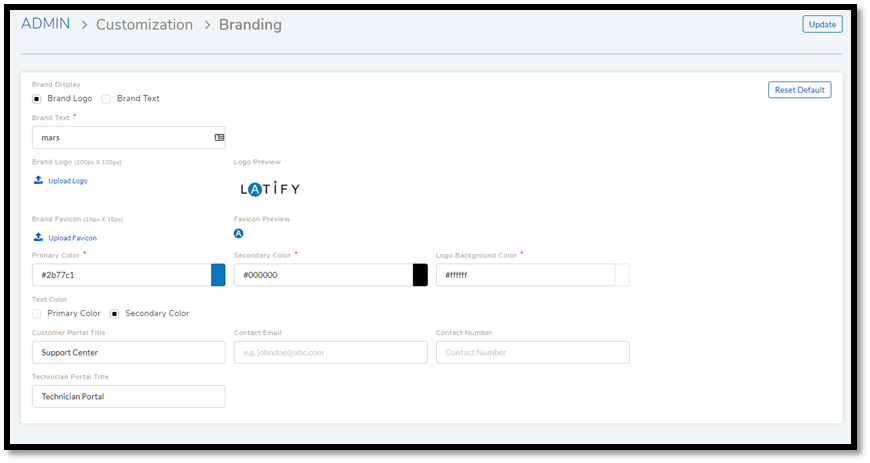
Add the Brand Text, Brand Logo, and Brand Favicon. You can toggle between logo and text, whichever way you want to show your identity on Motadata (top left corner of the screen).
Set the Primary, Secondary and Logo Background colors. You can choose the text color to be primary or secondary. Whichever you choose as the text color, the other option becomes the background color; except when you have a logo, the Logo Background Color is selected as the only color.
You can set a name for the customer and technician portals. You can provide contact details in the form of email and phone number.
Update your changes when you are done. You can edit your Branding details anytime you want.
10.5.6. Settings
The settings allows you to define the file size and the color pallets for different characteristic values of a request, problem and change.
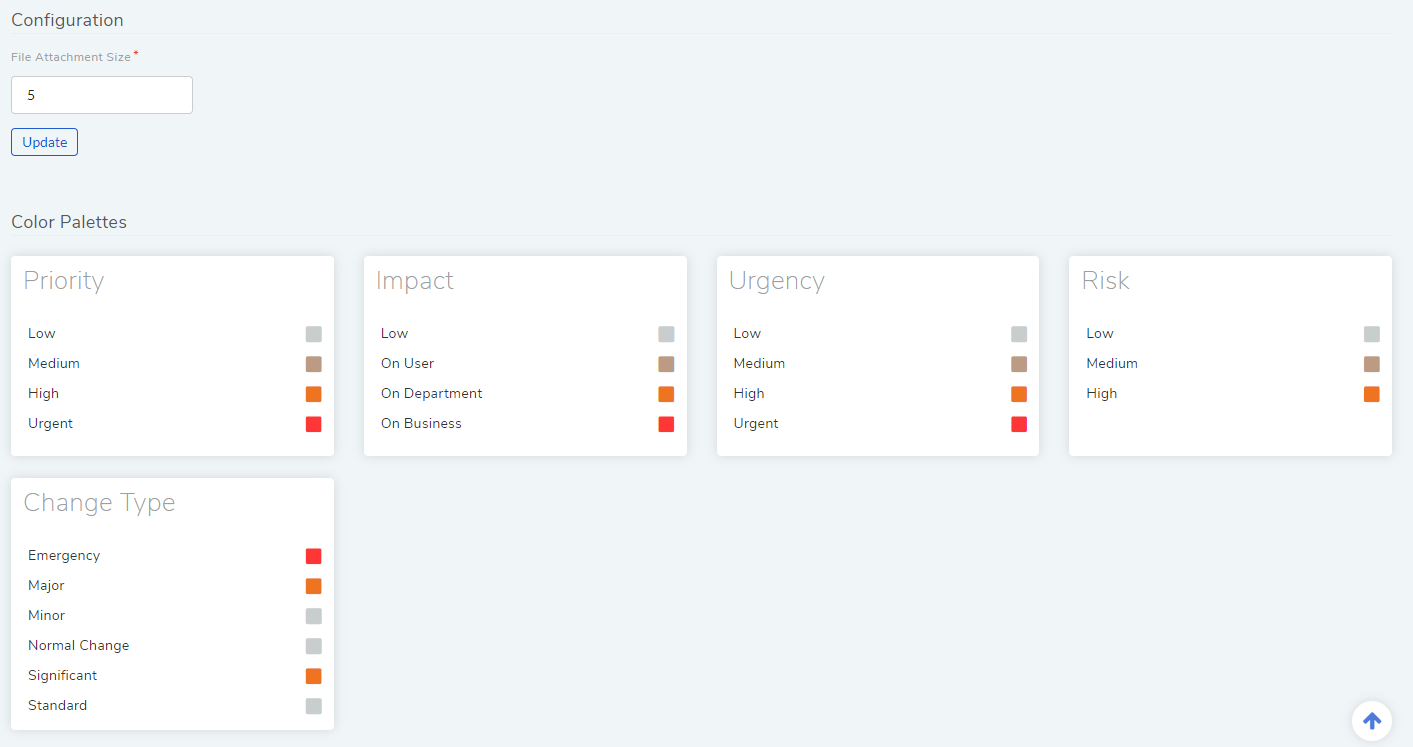
Organization Settings
File size: The size reflects the maximum size in MB that user can upload. You can enter a size between 1 - 25 MB.
Color Pallets: For each characteristic, select a color. This will reflect in requests.