10.7. Setting Up Helpdesk
10.7.1. Email Command Settings
You can change the details of a Request remotely using an email. Along with changing details, you can also add a note to a Request.
You create an email command tag, and you have to enclose your Request details within the email command tags along with [[Request Id]] in the subject field.
10.7.1.1. Setting Up Email Command:
Note
Whatever parameters you want to change, you have to have the necessary permissions in your role.
Go to Admin >> Email Command Settings (Helpdesk).
The Email Command Settings dialog box opens. You can change only the details in Available Commands of a Request. Add your email command in the Email Command field.
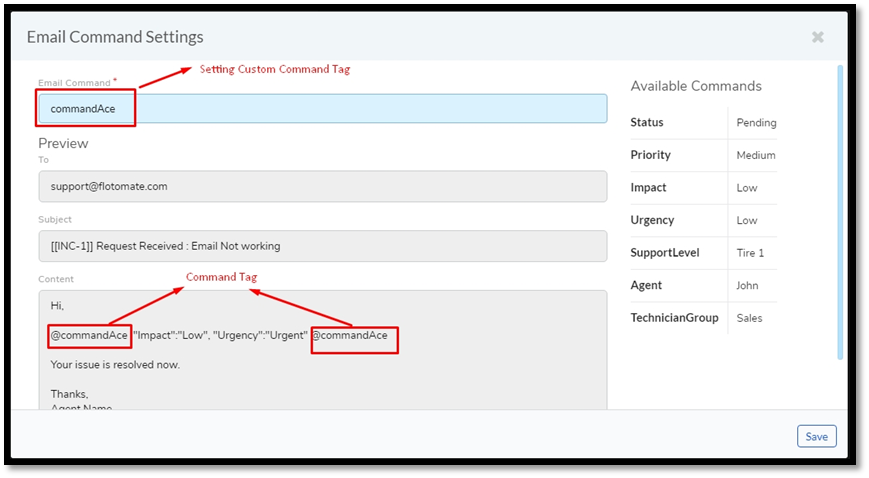
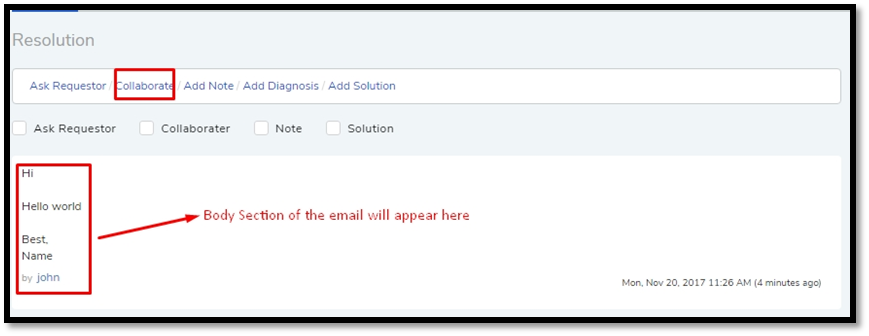
The Subject and Content section of the page gives you a preview of how to format an email to change a Request. The Request Id has to be in the subject section, and whatever you write in the email body, other than the command line, appears under collaborate in the Request details page(
adf-110).
10.7.2. Request Feedback Settings
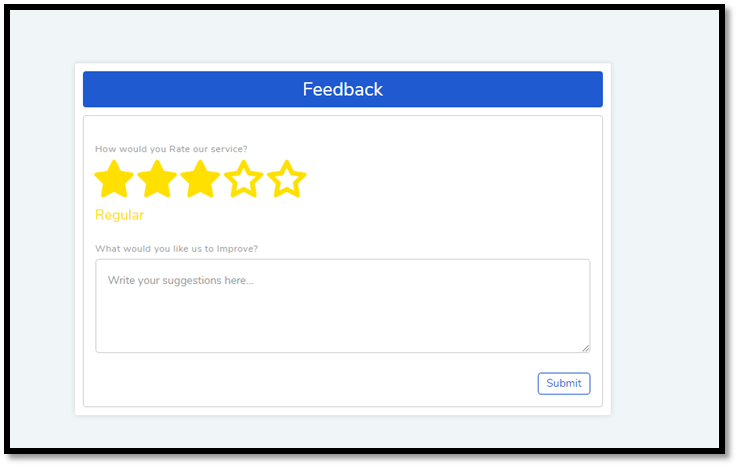
You can send an email to a Requestor of a Request asking for a Feedback. The email contains a link to the feedback form. You can choose whether to send the link with the Resolved and Closed email notification or send it manually in a separate email. The feedback link is valid for 30 days by default. You can change to a different value.
Go to Admin >> Request Feedback Settings (Helpdesk).
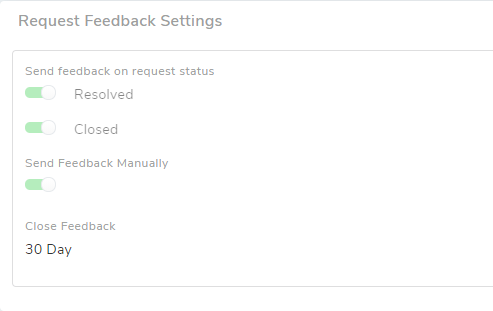
You can automatically send a feedback link to a Requestor in the following ways:
Resolving a Request: If you toggle the Resolved button on, a feedback link is sent with the email notification on Resolving a Request.
Closing a Request: If you toggle the Closed button on, a feedback link is sent with the email notification on Closing a Request.
If you turn Send feedback manually button on, then you can send a feedback link to a Requester from the Details View of a Request.

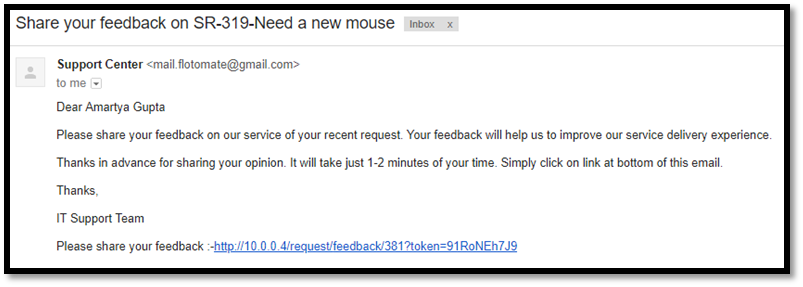
On clicking on a feedback link you get following page:
10.7.3. Priority Matrix
In the product, Priority is a way to set the importance of a Request ticket. A Technician can set the Priority of a Request manually or automatically using the Priority Matrix feature.
To open Priority Matrix:
Go to Admin (A Navigation Tab) >> Priority Matrix (in Helpdesk). The Priority Matrix page opens.

The Priority Matrix is a matrix with the column head having the Urgency values and rows having the Impact values. For example, if you want to set the Priority for Urgency Low and Impact On Department as High then you have to set the following row column value:
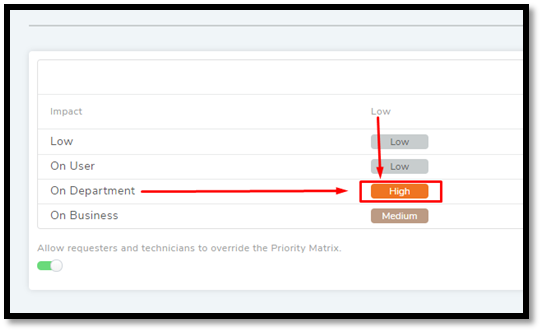
This way you have to set the values for all row and column combinations.
The system automatically sets the Priority of a Request based on the
matrix. You can decide whether you want users to override the set
Priority using the toggle (adf-114).