My Profile
Empower yourself to maintain accurate personal and preference settings, ensuring a personalized and efficient experience within ServiceOps.
You can manage your profile and update the demographic details using ‘Edit Profile’ option. The option is available at the top-right corner of the application.


Profile
This tab allows you to edit the profile details. You can edit the following details:
- Name
- Contact No
- Location
- Department
- Time Zone
- Language Preference
- Date Time Format
- Date Format
- Time Format
- Regenerate Recovery Code (Only for main Super Admins): The main Super Admin can regenerate the recovery codes for using the two-factor authentication functionality. Once regenerated, the previous codes will become invalid. For more details on two-factor authentication, refer to Users Security.
- Signature: You can set the signature that will be used while sending an email.
Once done, click Update.
Preferences
This tab allows you to set the following:
- Theme: You can set the theme as light or dark.
- Request Page Layout: You can set the request page layout as split view or list view.
- Page Size: You can select the number of items to be displayed on a single page. You can select 10, 25, 50, and 100 items per page from the dropdown list. The selected option will be applied as the default page size.
- Attachment Password: You can set a common password from here for all the reports, attachments, and attachment links. This will be used if no password is set for any attachment. Once configured, if the password is removed a confirmation dialog will appear.
You can set password for reports, attachment links, and attachments in PDF, Excel, and Word formats only.

Change Password
You can change the password from here.

Enter the Current, New, and Confirm Password, respectively. The password is in encrypted format. To view the password, click the Eye icon. Once the password is entered, click Update and it will get changed.
Do not Disturb
This tab allows you to enable the Do not Disturb mode. Once enabled, the tickets will not be assigned to the user. Also, you can schedule the time period within which this setting should be applicable.
If the parameter "Allow Technician to Change Do not Disturb mode" is disabled from the User Preference settings, the enabled fields can be disabled. But if they are already disabled, then they will become uneditable.

Delegate Approval
This tab allows you to delegate approval to other users in case you are not available. Once the approval is distributed, the delegated user can approve or reject the requests on your behalf.

- Enable Delegate Approvals field to distribute approval to another user. By default, disabled. If enabled, enter the following details:
- Delegate To: Select the user to whom the approval is to be delegated.
- Delegation Start Date: Select the start date from which the delegated user can approve or reject the requests. The start date must be greater than the current date.
- Delegation End Date: Select the end date till which the delegated user can approve or reject the requests.
- Comments: Enter the comments for delegation.
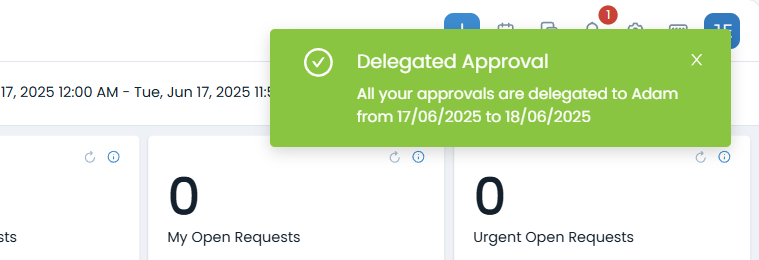
Once done, click Update and an email notification will be sent to the delegated user. Also, a notification is displayed whenever the delegator sign-ins to ServiceOps as shown below.