Windows Agent Installation Guide
Describes Installation Steps for Motadata Windows Agent.
System Requirements
- Windows 8 and above versions
- OS – Windows (32 & 64 bit)
- .NET version 4 and above
- Microsoft Visual C++ 2015 and above
Prerequisites
Fulfill the below prerequisites in case of the remote agent bulk installation being performed either by using GPO or utility.
- File sharing should be allowed.
- UAC (User Access Control) should be allowed in the Registry Editor from the path: Computer\HKEY_LOCAL_MACHINE\SOFTWARE\Microsoft\Windows\CurrentVersion\Policies\System\LocalAccountTokenFilterPolicy.
- Add a folder (C:\Windows) in the Exclusions section under Virus and Threat Protection Settings.
- If Firewall is on, allow the below Inbound Rules:
- Windows Management Instrumentation (DCOM-In) (Private, Public)
- Windows Management Instrumentation (DCOM-In) (Domain)
- Windows Management Instrumentation (WMI-In) (Private, Public)
- Windows Management Instrumentation (WMI-In) (Domain)
- Remote Service Management (NP-In) (Private, Public)
- Remote Service Management (NP-In) (Domain)
note
If the agent does not get installed after fulfilling the above prerequisites, reboot the machine, and try again to install the agent.
Installation Links
Windows(32 bit): Click Here
Windows(64 bit): Click Here
Installation in Windows
- Download the latest msi file from the given link.
- Run the msi file with administrator rights.
- The User Access Control popup will appear. Click Yes and continue with the installation.
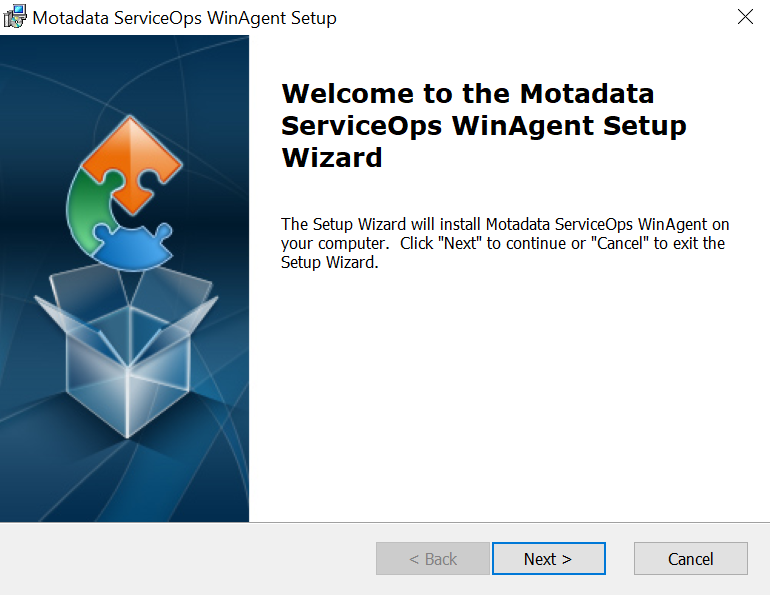
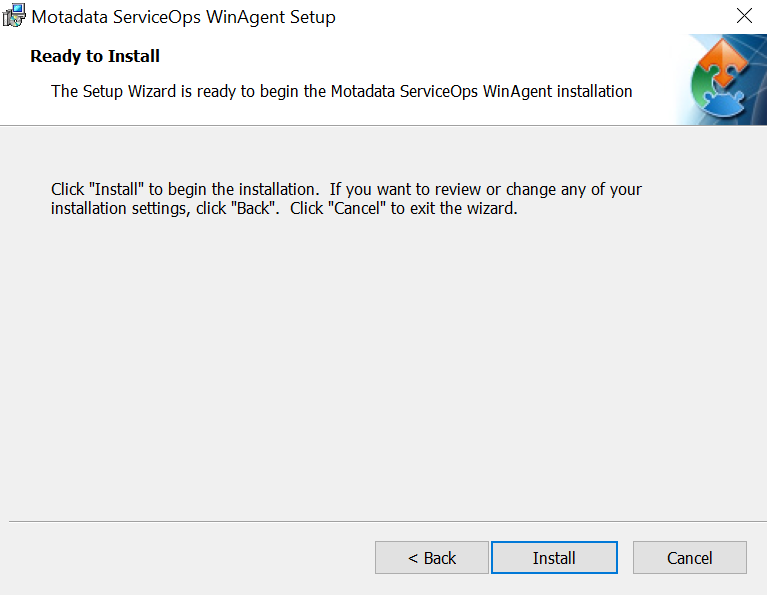
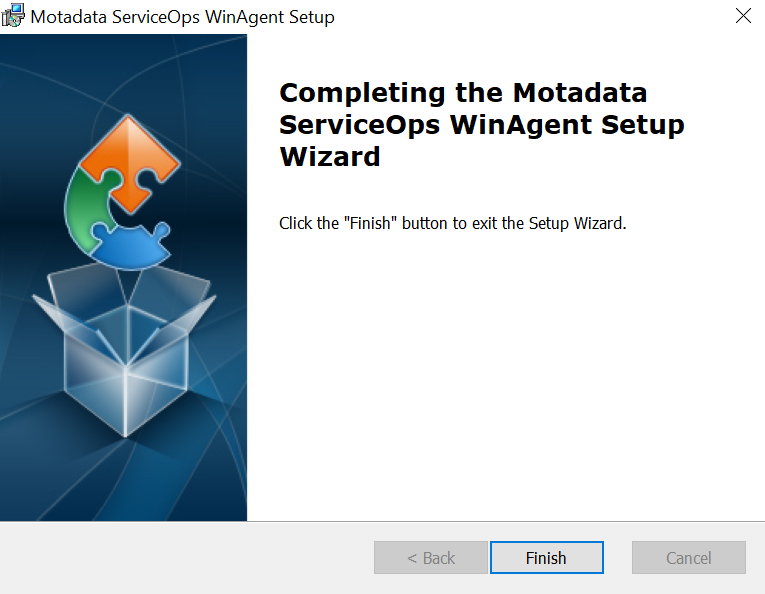
- Follow the wizards as below mentioned screenshots:
a. Click Next.
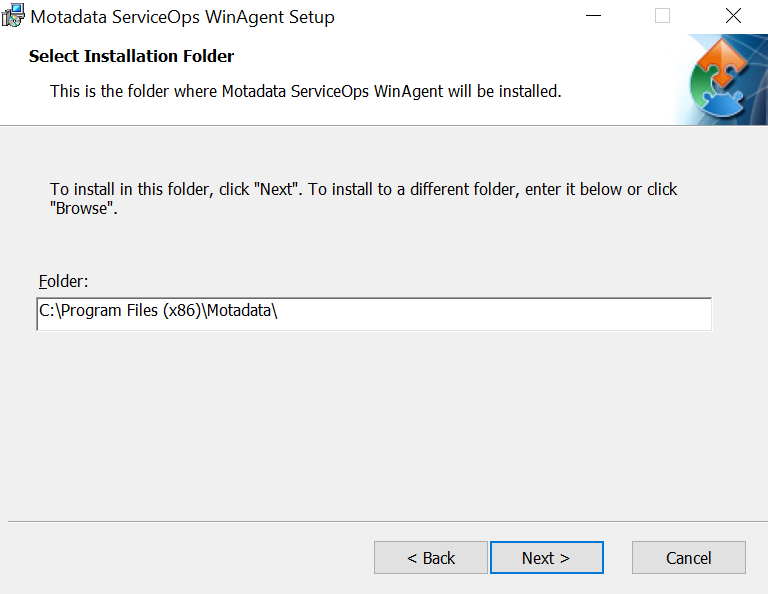
b. Click Next.
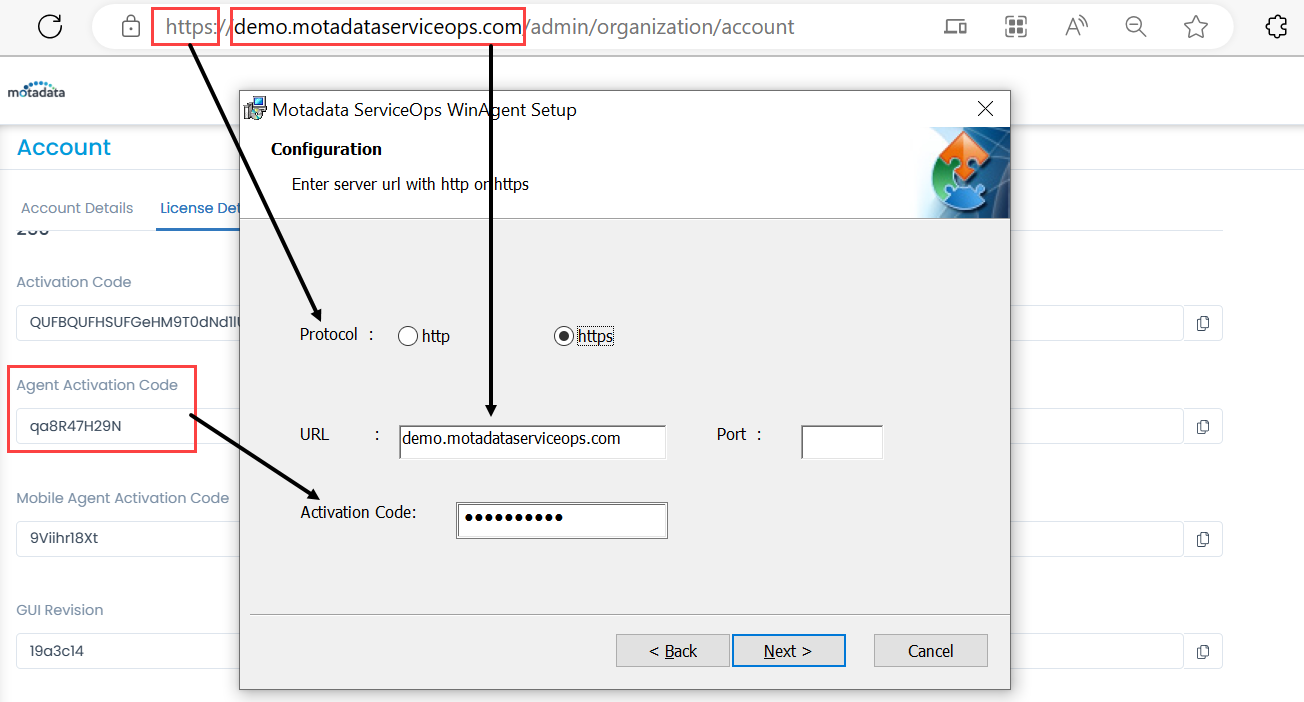
c. It will ask for URL and Port. Select a Protocol based on what the URL supports. If there’s no Port, then leave it blank. You can get the activation code from Motadata ITSM tool in Admin > Organization > Account > License Details tab.
d. Click Install and finish the installation process.
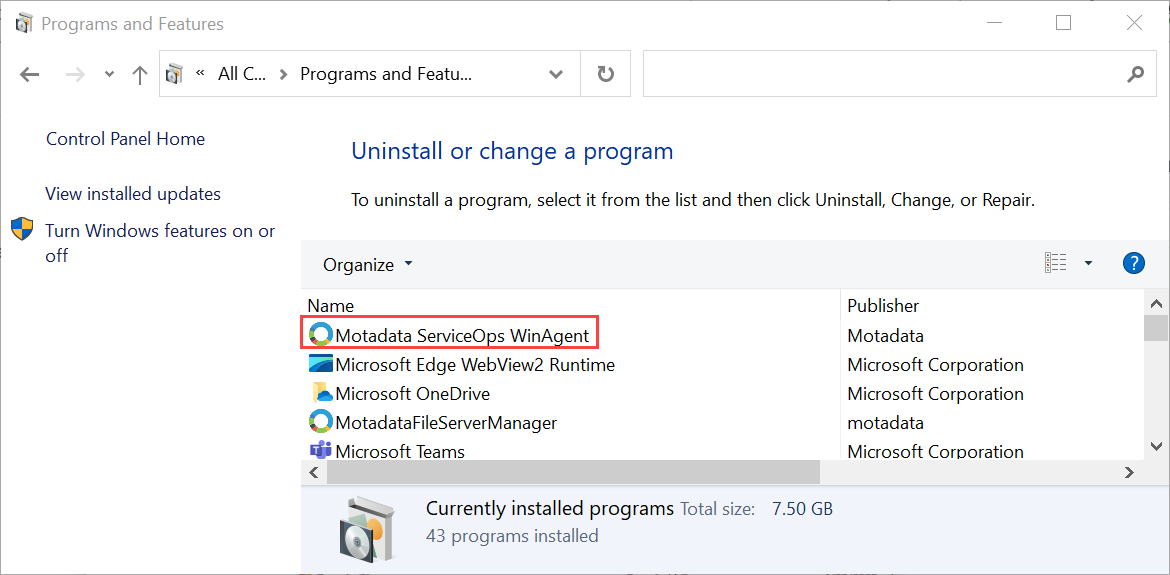
- After the completion of installation, it will appear in the apps or Programs and Features Window as shown below:
