How to Configure SSO in NMS?
Overview
What is Single Sign-On (SSO)
Single Sign-On (SSO) is an authentication method that enables users to securely authenticate with multiple applications and websites by using just one set of credentials. Many protocols and standards are available when identifying and working with the SSO. These include: SAML, OAuth, OIDC, Kerberos, and Smart Card Authentication.
Security Assertion Markup Language (SAML)
SAML is an open standard that encodes text into machine language and enables the exchange of identification information. It has become one of the core standards for SSO and is used to help application providers ensure their authentication requests are appropriate. In addition, SAML 2.0 is specifically optimized for use in web applications, enabling the transmission of information through a web browser.
Motadata NMS supports SAML-based SSO integration that includes the following services:
- Trinity
- NetiQ
- OKTA
- OneLogin
- Others
Here, the Identity and Service Provider plays a vital role as they are the central management system for authentication:
Identity Provider (IDP) – A centralized management system or repository responsible for authenticating the user and passing the details to the service provider.
Service Provider (SP) - The owner of the Applications whose services the user will use. It trusts IDP and uses it for authenticating.
Prerequisites
- Metadata file containing IDP details provided by the Identity Provider.
- The user in the IDP server must also exist in NMS.
SSO Flow
Initially, the user requests a SAML SSO to access the Service Provider's (SP) service. Next, the SP asks the IDP for authentication, where the IDP checks the user's existence and replies to the SP. The communication between the SP and IDP takes place in the SAML data format.
Configuring SSO in NMS
To configure the SSO in NMS, follow the below steps:
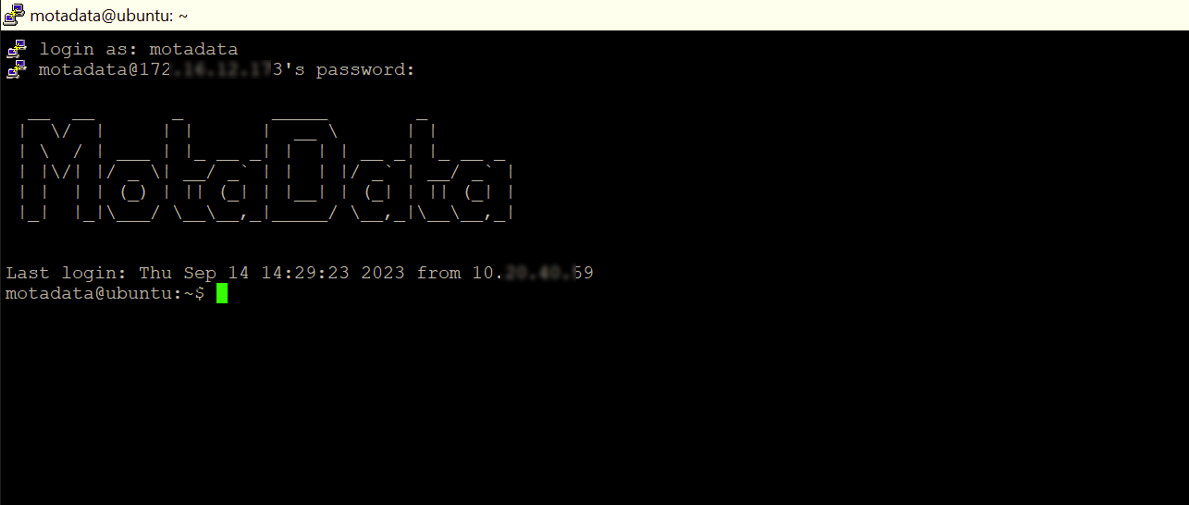
- Open the server terminal and sign-in to the NMS.
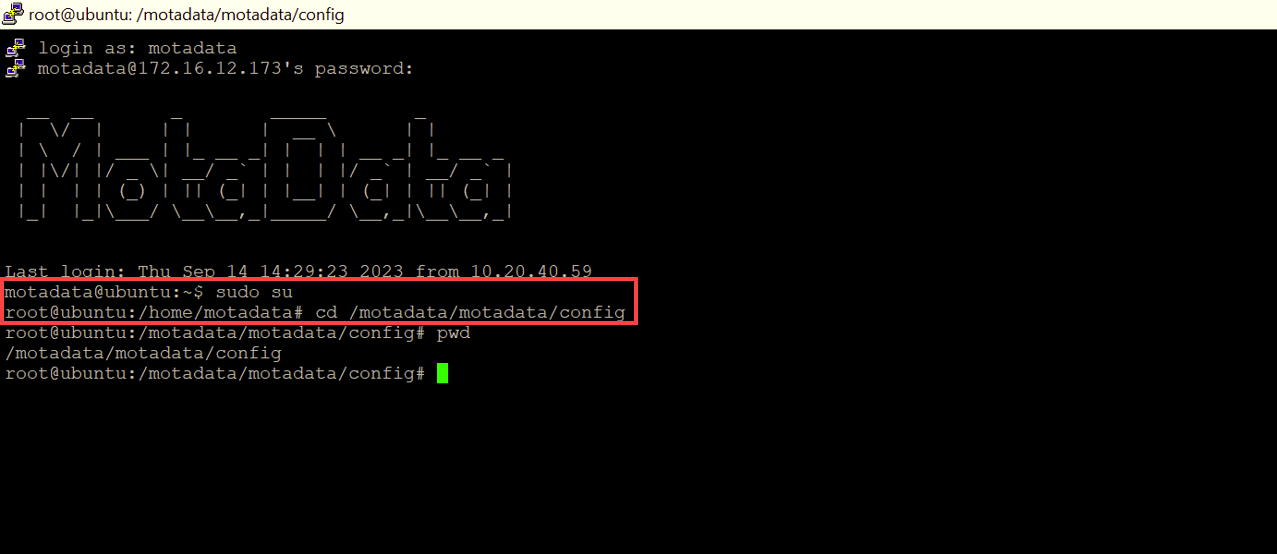
- Switch to the root user using the
sudo sucommand and go to the config directory.
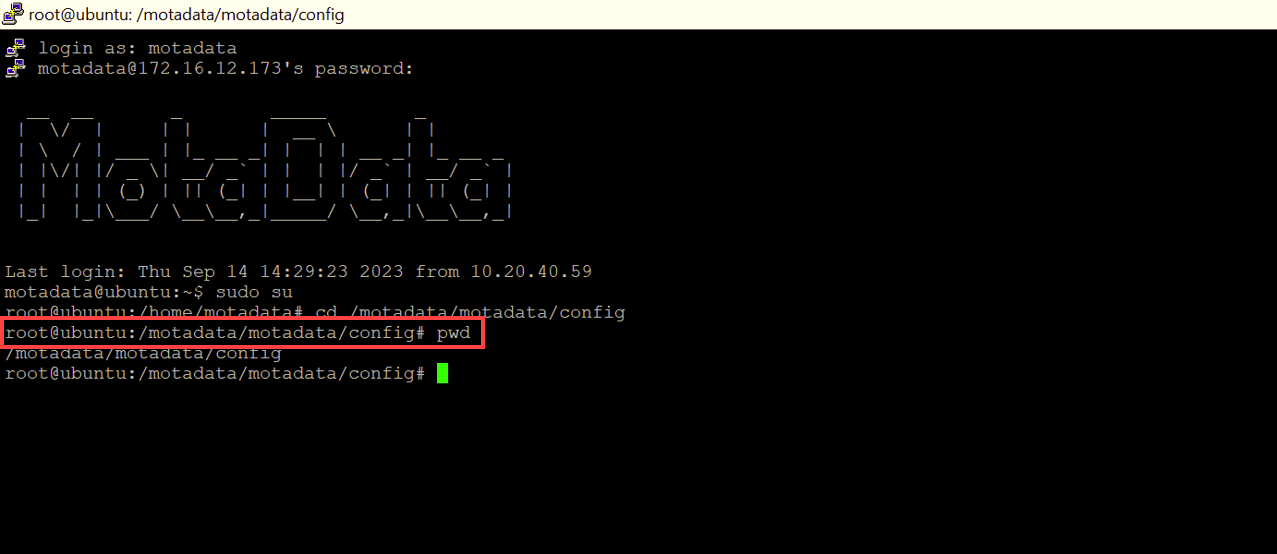
- Verify the path using the
pwdcommand.
- Check the list of files using the
llcommand.
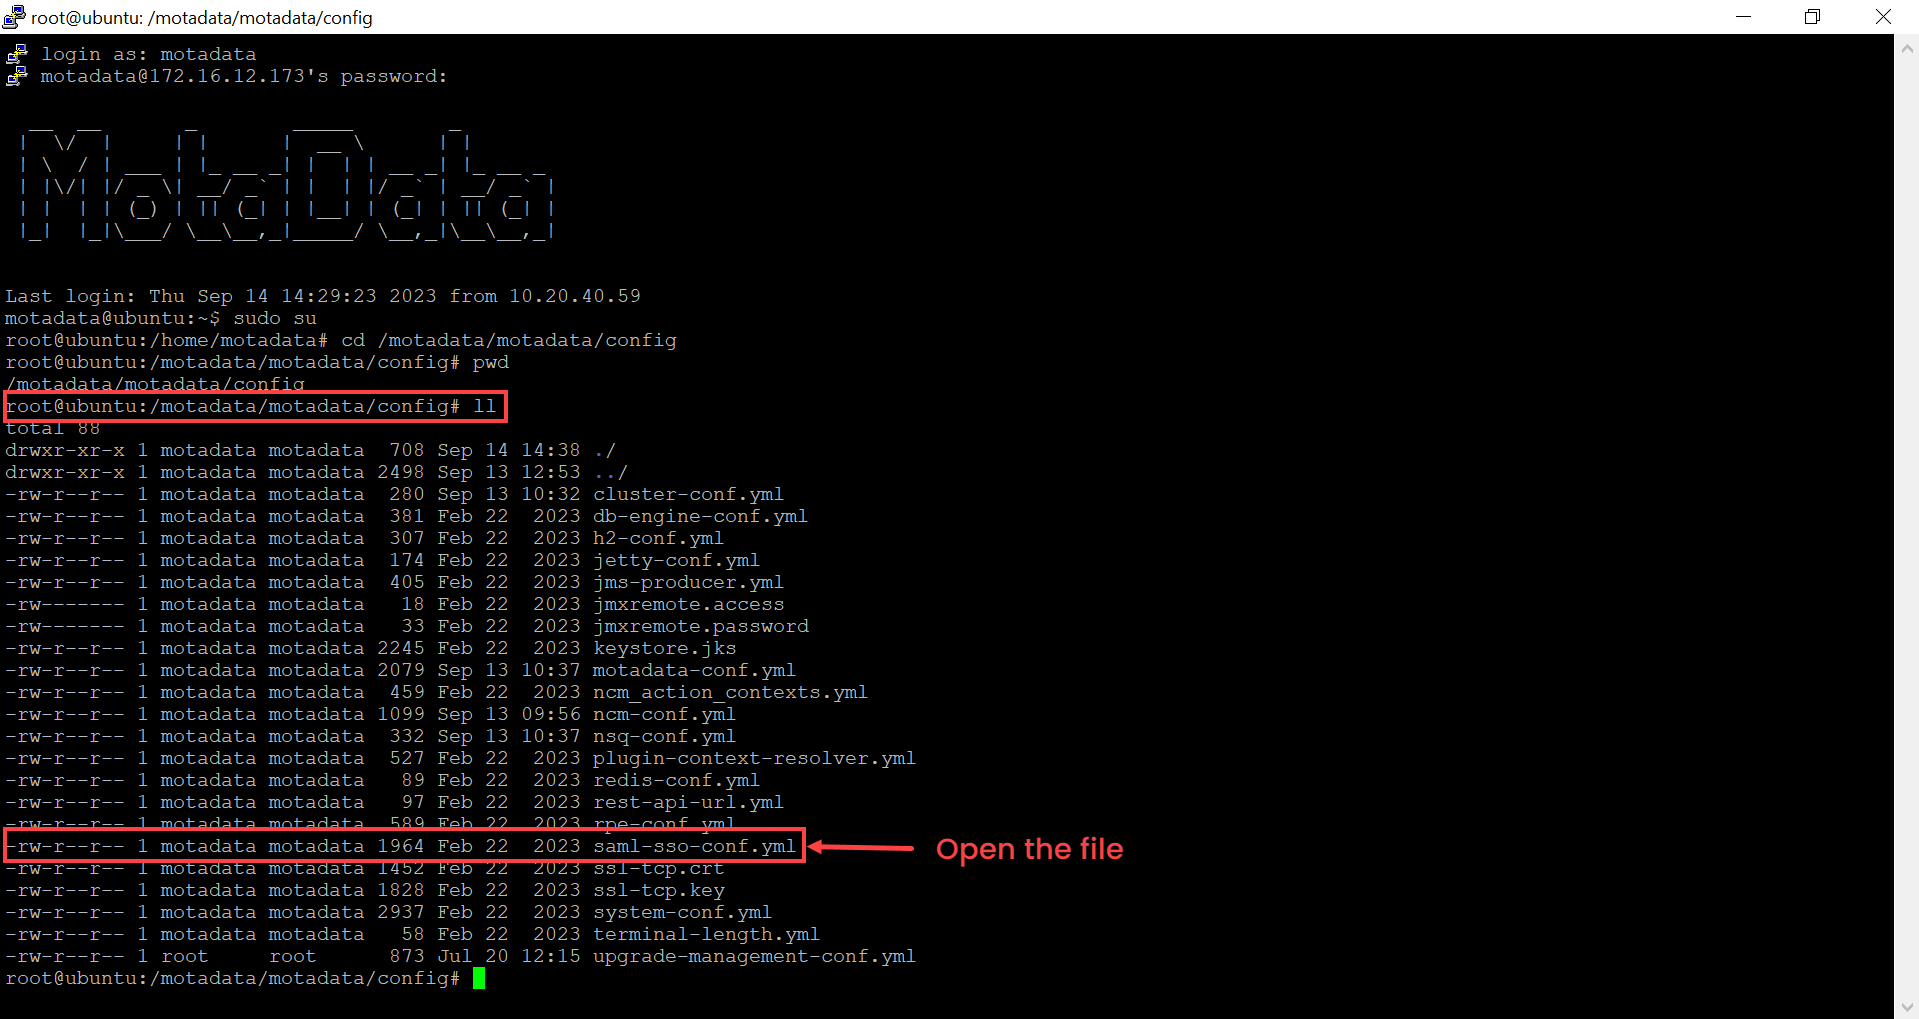
Next, open the saml-sso-conf.yml file using the
vicommand, as shown below.Command:
vi saml-sso-conf.yml
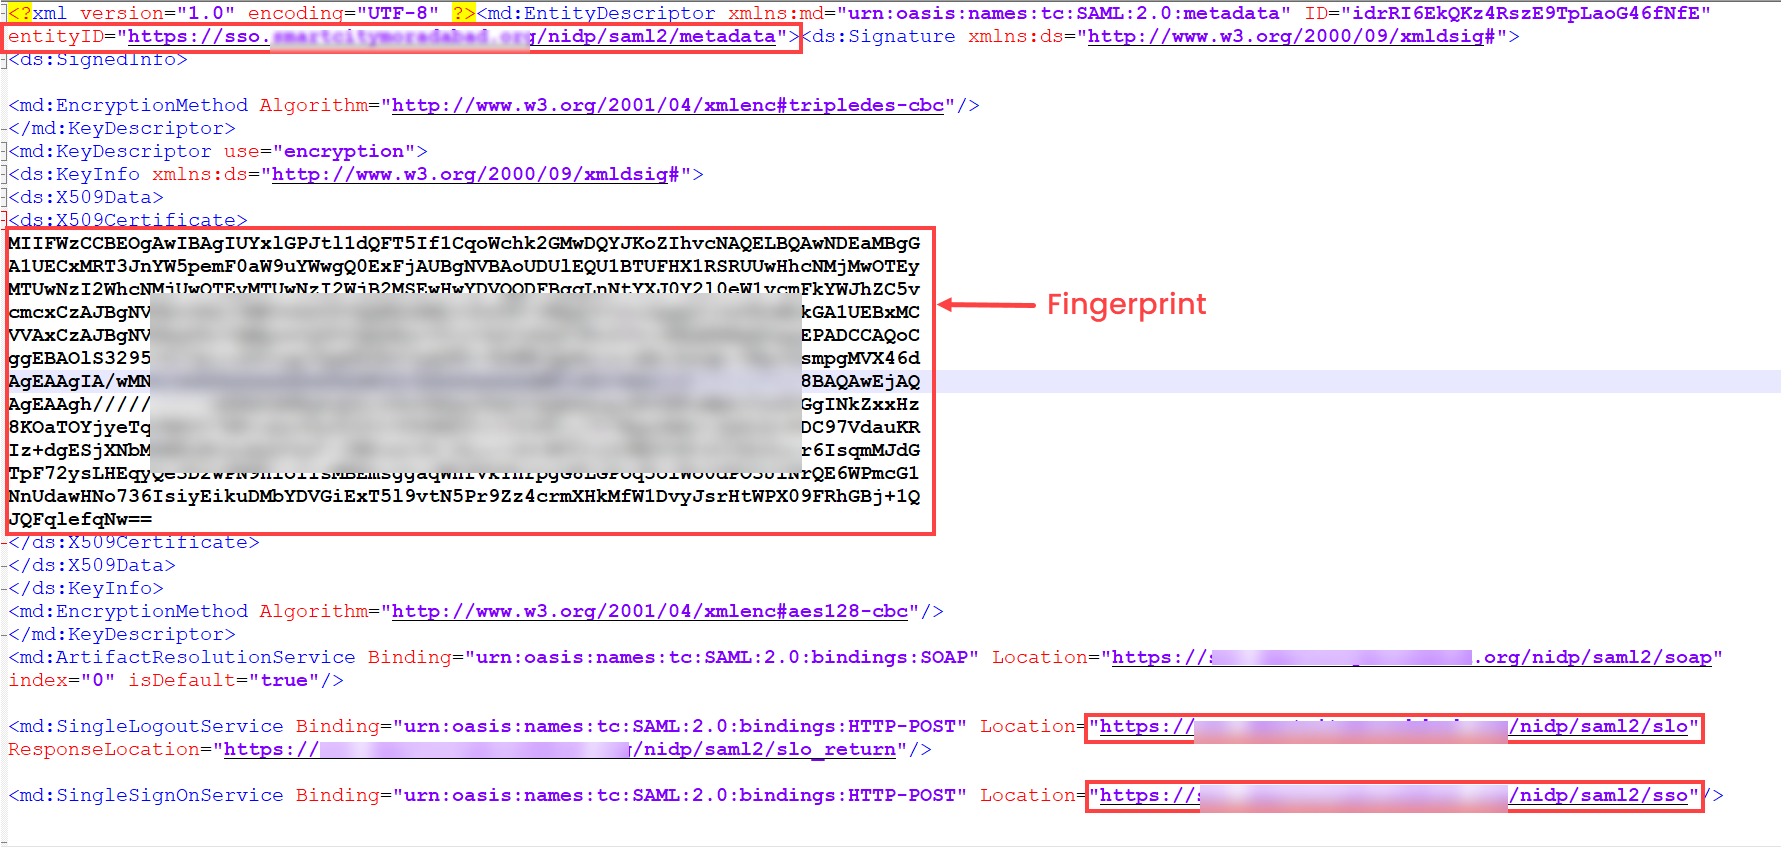
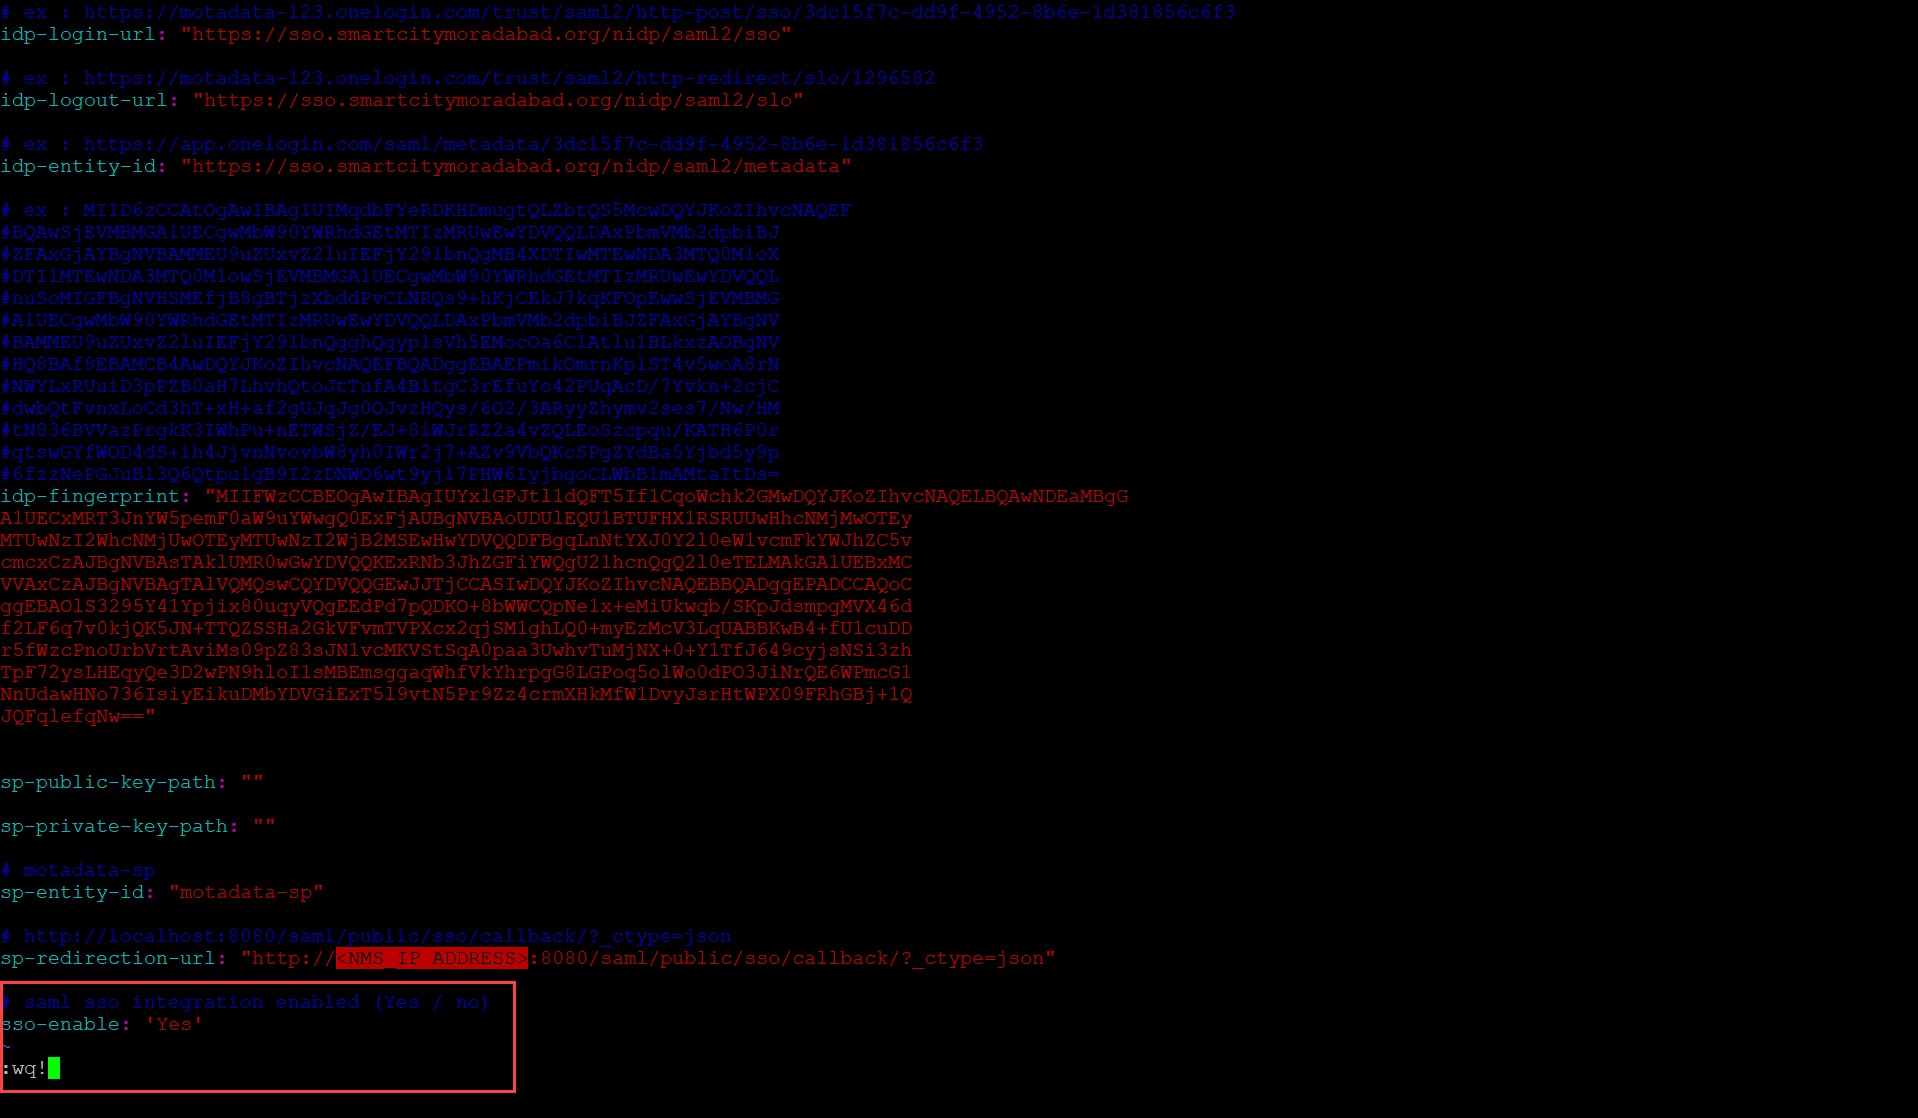
Once opened, enter the IDP details from the metadata file provided by the Identity Provider.
- Idp-login-url: Enter the URL given in the "SingleSignOnService" tag.
- Idp-logout-url: Enter the URL given in the "SingleLogoutService" tag.
- Idp-entity-Id: Enter the "entityID" as it is from the metadata file. For example, If the entityID contains a URL, copy and use it as it is.
- Idp-fingerprint: Copy and use the certificate (fingerprint) given in the "X509Certificate" tag.
- sp-entity-id: Enter the ID as "motadata-sp".
- sp-redirection-url: Set the NMS IP Address in the URL. It is the URL of the NMS login page.
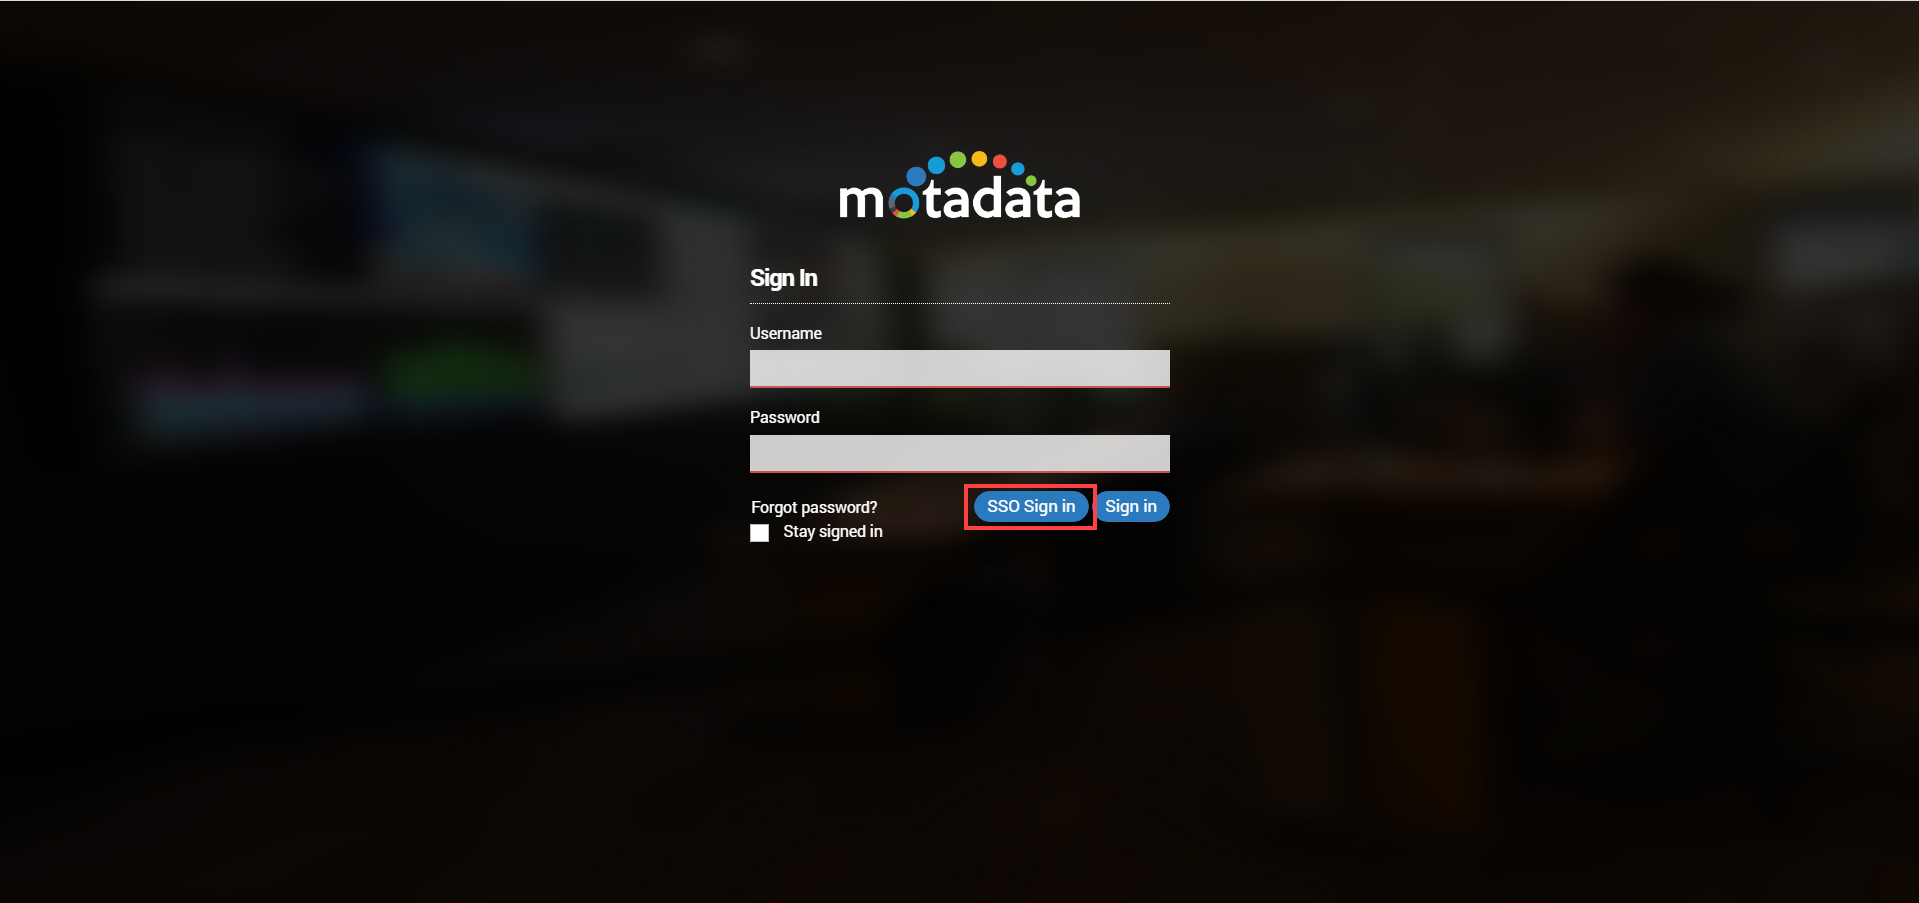
- sso-enable: Type Yes to enable the SSO functionality. Once enabled, the SSO Sign In button will become available on the Sign In page.
For Service Provider (Motadata) details, download the sample metadata file. In this file, change the IP Address of the "SinglelogoutService" and "AssertionConsumerService" URLs as highlighted (Green color) in the below figure.

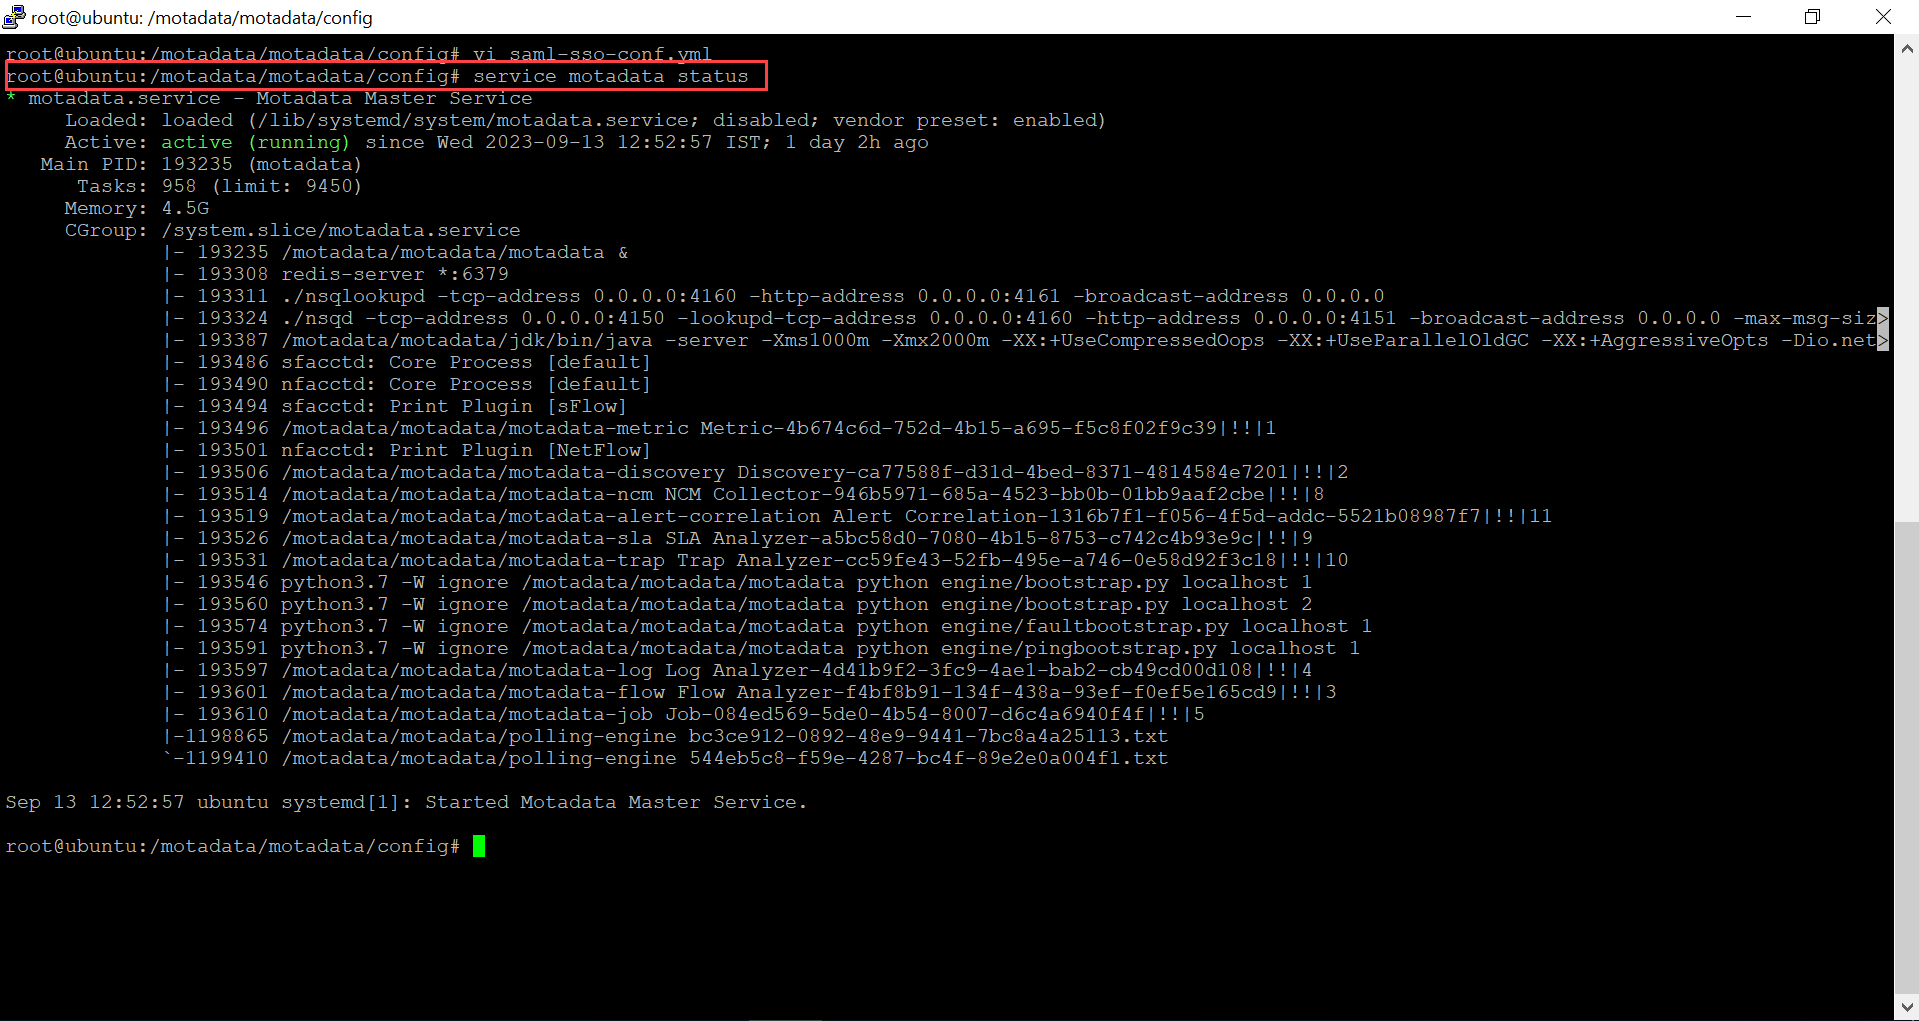
- Once done, save the configurations using the
Esc+:wq!command.
Verify the status of the Motadata service using the below command.
service motadata status
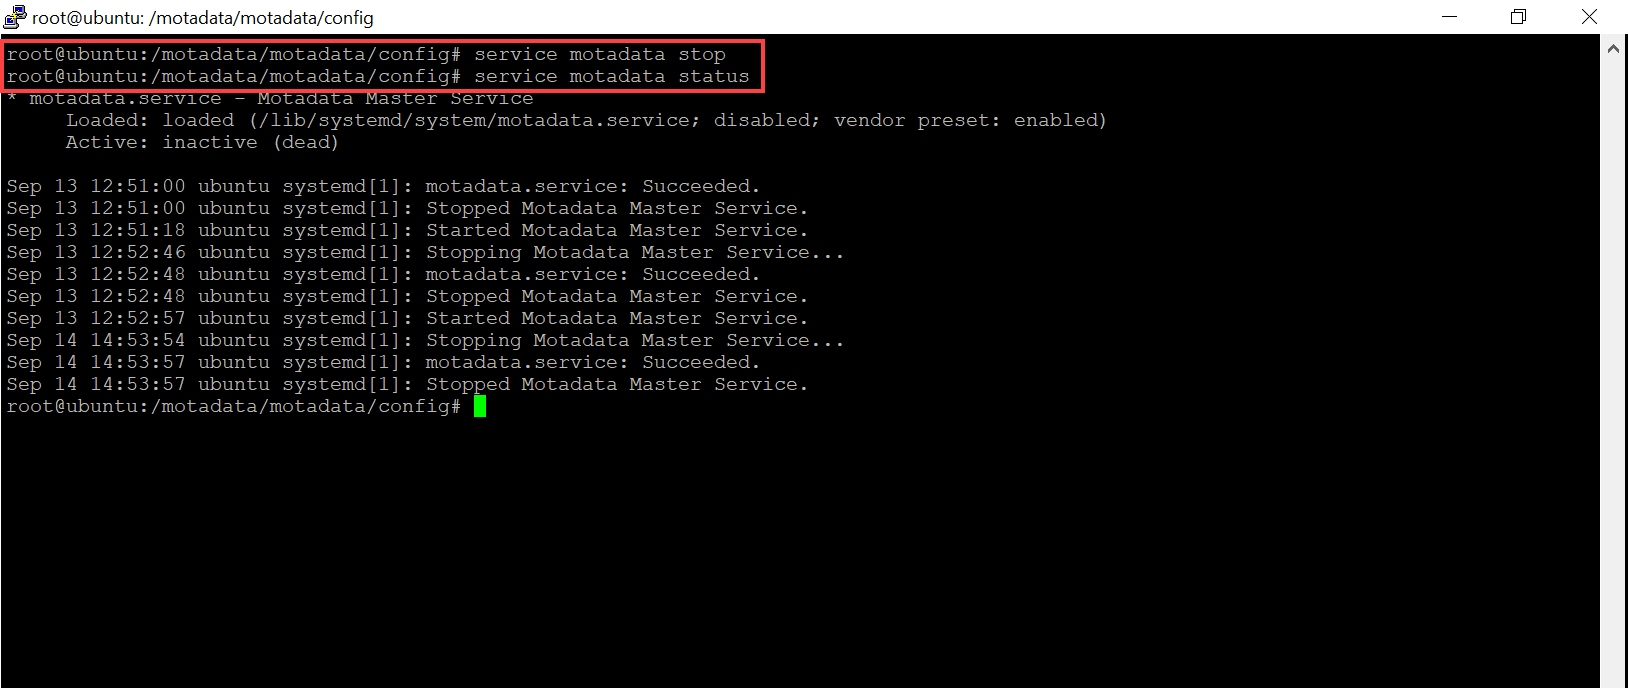
Next, stop the motadata service and check the status using the below commands. The status should be Inactive.
service motadata stop
service motadata status
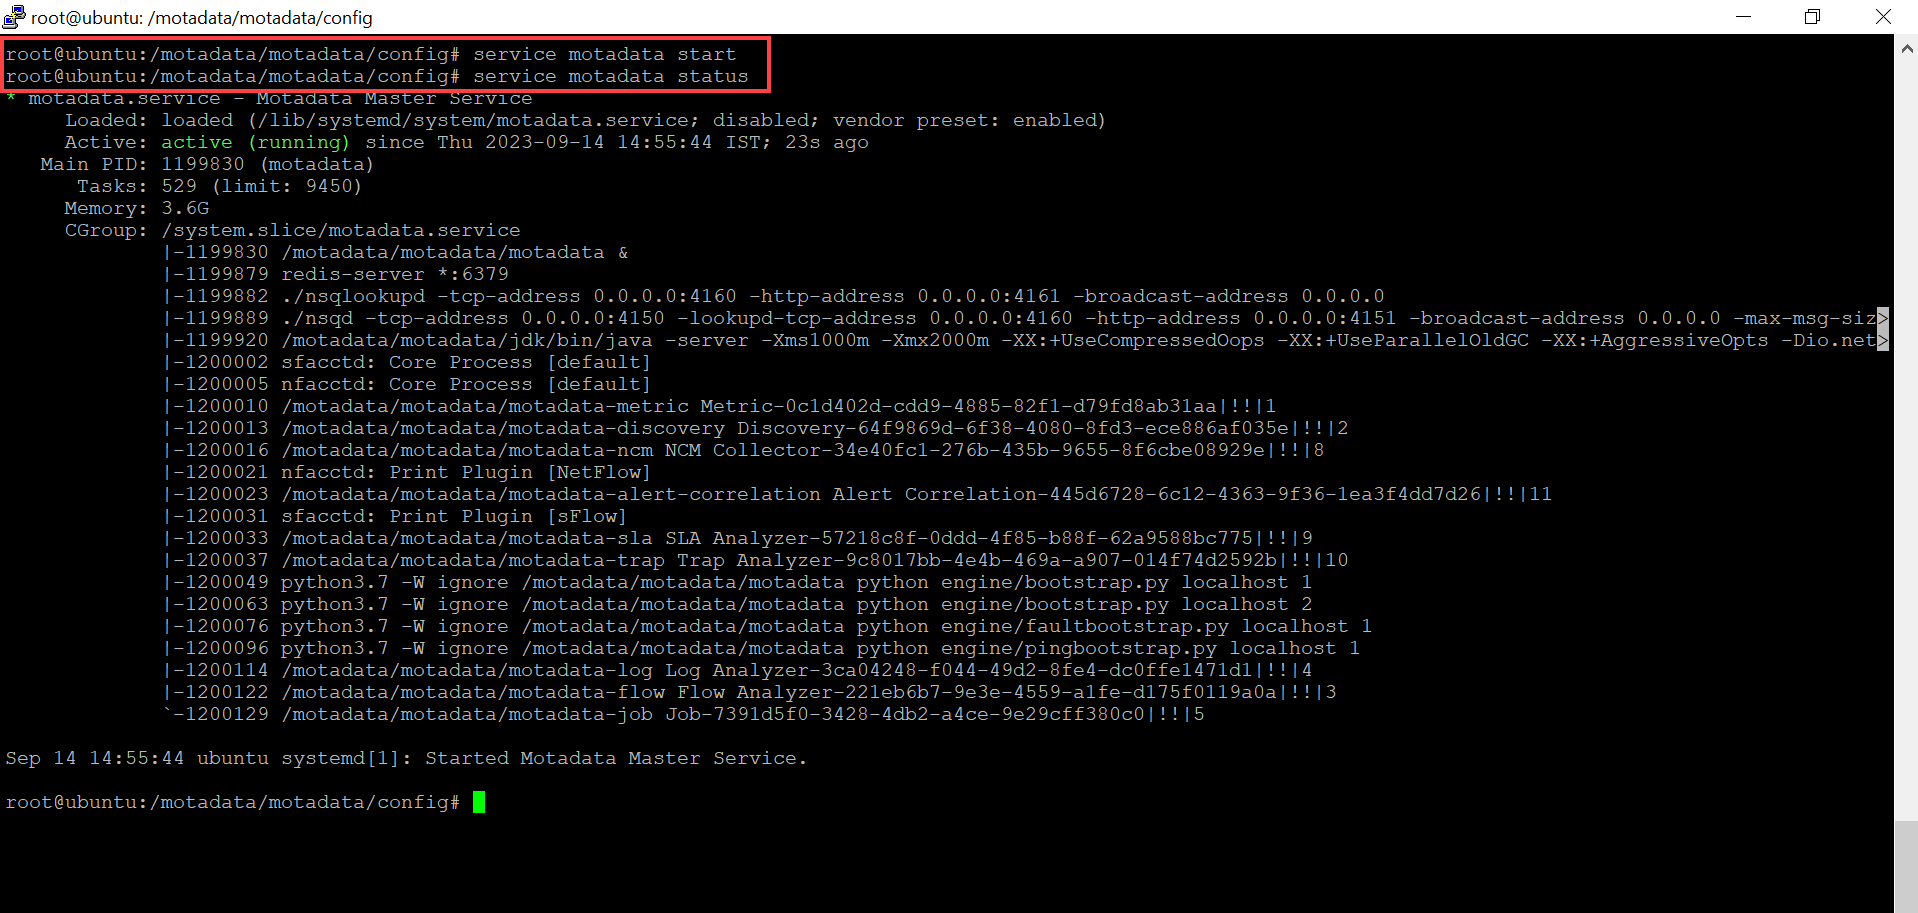
Next, start the motadata service and again check the status using the below commands. The status should be Active (Green Color).
service motadata start
service motadata status
Restart the motadata service whenever you change the "saml-sso-config" file.
- Now, you can sign in to the NMS application using SSO.