10.9.8. Software Normalization
Software Normalization is a rules based automation that does the following:
Change of Software Asset details when certain set condition/conditions are triggered.
Consolidating Software that fulfil certain conditions.
Control Software installation type by putting Software either in white list or black list (Prohibited Software).
Software Normalization can be useful in the following scenarios:
In reality, most of our users are not interested in managing each and every Software Asset discovered. They want to manage a small set of Software Assets mainly for the purpose of compliance management. Here Software Normalization can be used to change Software Type of Software satisfying certain predefined conditions.
Normalization can also be used to set Software Asset fields (i.e Product) upon discovery for reporting and compliance.
Sometimes users want to control the kind of software that can be installed in their Computers and what can’t be installed. And, they expect notifications of an un-authorized instance of an installation. In such a case, one can mark all unauthorized Software as Prohibited (black list). Whenever, a Prohibited Software is discovered a notification is sent to the user and admin.
10.9.8.1. Setting Software Normalization
A user can create Normalization rules that can have two kinds of actions:
Upon trigger, Normalization sets certain field values of a Software Asset. For example, adding a Product to a Software Asset.
Upon trigger, Normalization consolidates all Software, satisfying the Normalization rules, into a single suit.
10.9.8.1.1. Create a Normalization Rule for Field Assignment
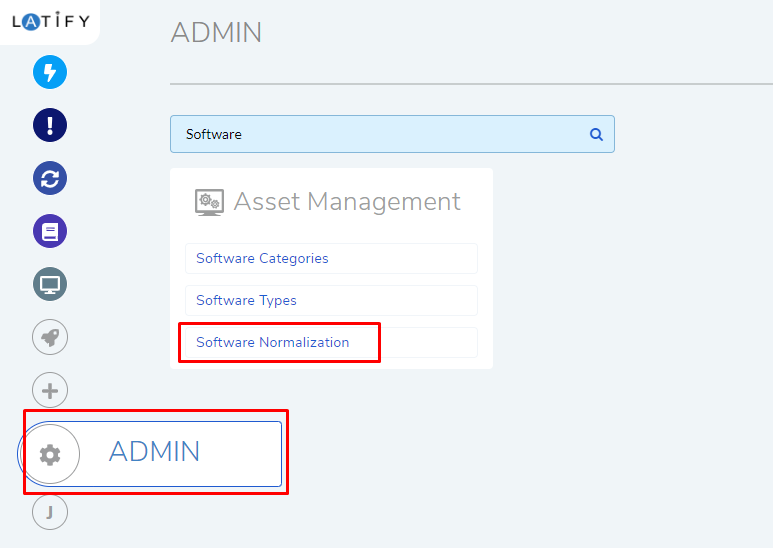
Go to Admin >> Software Normalization (under Asset Management).

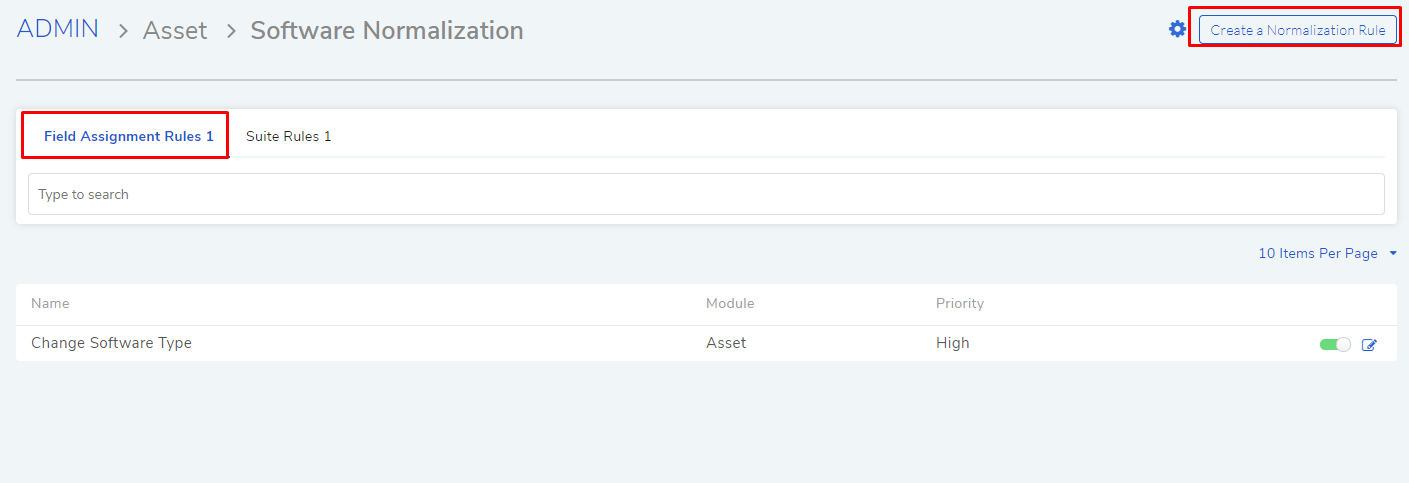
In the Software Normalization page, the Field Assignment Rules tab shows existing rules for field assignment. Click on Create a Normalization Rule to make a new one.

In the new page you have to create a rule:

Here we create a rule that automatically sets Software Type as Managed in Software Assets with Product equals Adobe, and for that we input the following.
“Change Software Type” as the name of the rule.
Rule type as Field Assignment.
We set the condition as Product Equals to Adobe; this means that the rule is applicable on Software Assets with Product as Adobe. Learn how to set complex condition statements.
We add an action: Set Software Type to Managed. The set action will be performed when the rule is triggered.
We set the execution priority as High. In a scenario where multiple rules are applied to a single Software, the rules with the High priority are applied first, followed by the Medium and then the Low.
We turn on Re-normalize on Next Run. Turning on this option allows Software that have been normalized by this rule or any other rule to be renormalized by the same rule, if conditions are satisfied, during its next run.
When you are done creating a rule, click on Create.
10.9.8.1.2. Create a Normalization Rule for Suite
Go to Admin >> Software Normalization (under Asset Management).

In the Software Normalization page, the Suite Rules tab shows existing rules for creating Software suites. Click on Create a Normalization Rule to make a new one.
In the new page you have to create a rule:

Here we create a rule that automatically adds Software to Microsoft Office 2013 (to make a suite) if the name contains the keywords “Microsoft Office” or only “Office” in their name, and for that we input the following.
“MS Office Suite” as the name of the rule.
Rule type as Suite.
We set the condition as Name either contains “Microsoft Office” or only “Office”.
We add an action: Add to Suite AST-69: Microsoft Office OSM UX MUI (English) 2013.
We set the execution priority as High. In a scenario where multiple rules are applied to a single Software, the rules with the High priority are applied first, followed by the Medium and then the Low.
We keep Re-normalize on Next Run turned off. Turning on this option allows Software that have been normalized by this rule or any other rule to be renormalized by the same rule, if conditions are satisfied, during its next run.
When you are done creating a rule, click on Create.
10.9.8.1.3. Software Installation Control Settings
Control settings allows you put all Software either in the Managed List or Prohibited List. You can access the settings from: Admin >> Software Normalization >> Software Installation Control Settings.


In the control settings dialog box, you get the following options:
Prohibited Software: If selected then all Software except those with Type either managed or prohibited are marked as Un-Identified. The process is applicable for both new and existing software assets. But the automatic change of the software type happens only once. For a re-run, admin can turn the feature of and on again.
Managed Software: If selected then all software whose type is not managed become prohibited. The process is applicable for both new and existing software assets. But the automatic change of the software type happens only once. For a re-run, admin can turn the feature of and on again.
Note
Notification on the discovery of a prohibited software is applicable for new assets only.
10.9.8.1.4. Initiating Normalization
A normalization rule is automatically triggered every 60 minutes. When a Software is eligible for multiple rules then rules with priority High are applied first. A normalized Software can only be re-normalized when the rule that normalized the Software has Re-normalize on Next Run option turned on.
A user can initiate all Normalization rules at once from the Software Asset List page.


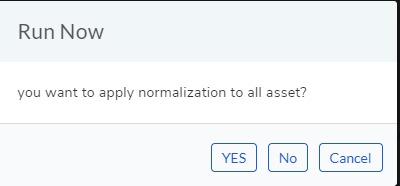
On clicking the option, a dialog box will ask, “you want to apply normalization in all asset?”, here a user has two options:
Clicking on Yes will apply all normalization rules on all Assets irrespective of whether they are normalized or not.
Clicking No will apply all normalization rules on Assets that are not normalized.