Actions on NCM
Actions in the NCM devices are nothing but the set of commands by which you update their configuration. For cisco devices, Motadata gives you some common commands that you can directly use and run in devices. For other devices, you can either create a new action (set of commands) or import from outside.
A wrong action/command can lead to network failure. Please use this menu under expert supervision.
Benefits of this Feature
- You don’t need to login into each device and do any action.
- All your action commands are safe and secured in Motadata.
- You can change configuration of more than one devices in single go.
- Motadata automatically takes a backup before and after doing any action.
- Simple hierarchical structure to store and manage your actions.
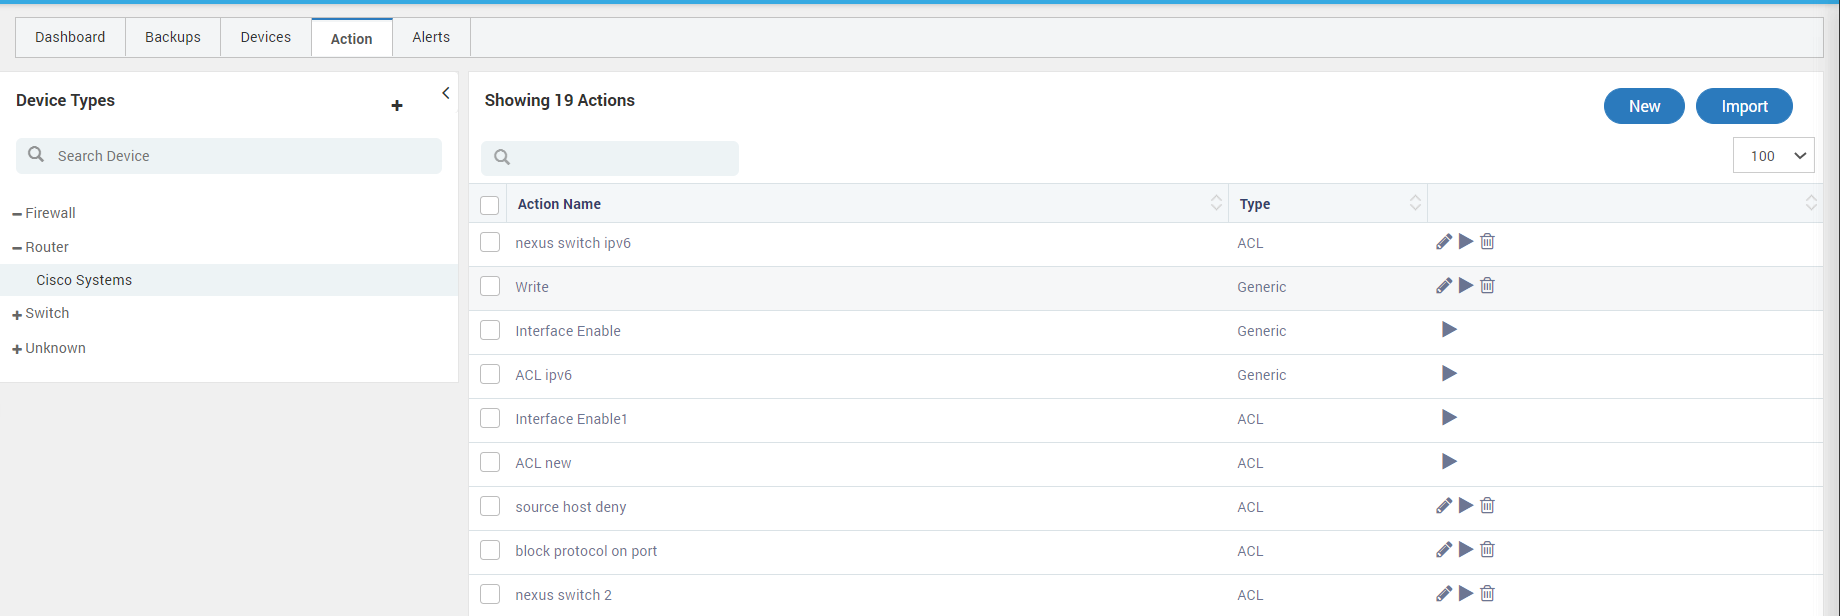
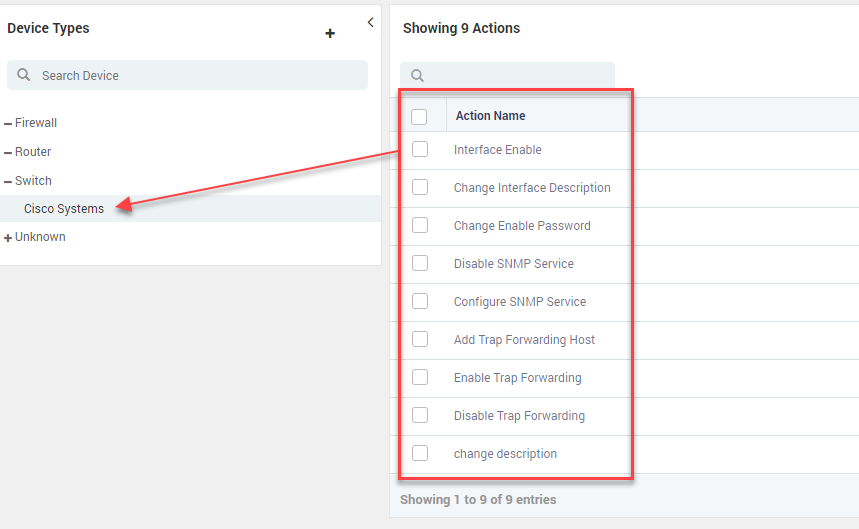
Default Actions: Motadata has some actions as default for the cisco switch. You’ll need to put only necessary configuration values to change the configuration.

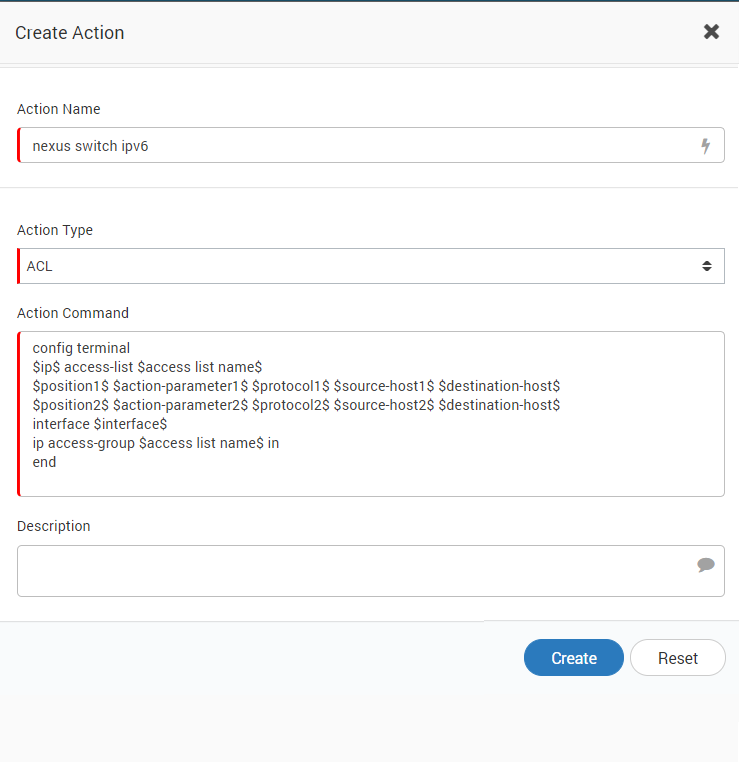
New Actions: Click on the New button to create a new action. A popup will open for you to fill details. Upon completion, the action will be visible in actions list of selected device type.
Import Actions: To import an action from your local machine, click on the import button. A popup will appear for you to import the files. Here you should import the YML files. System will read the files to create ‘Action Command’ from YML. The maximum file size you can upload is 100 MB. The imported file will appear in actions list of selected device type.

Device Types: Device type is the category under which actions on the right side are displayed.
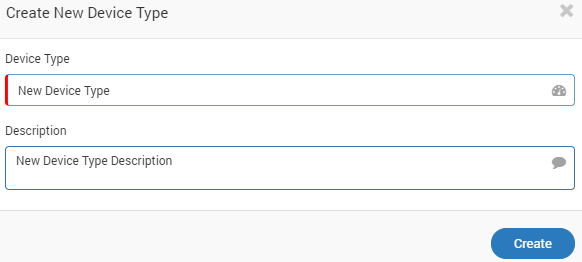
You can also create new device types for your network devices. Click on the + button. A popup will open to fill the details.
Execute Action on NCM Device
- Click on the arrow button to run an action. A slider will open with all the list of commands to execute the action.
- Change the commands/values as required.
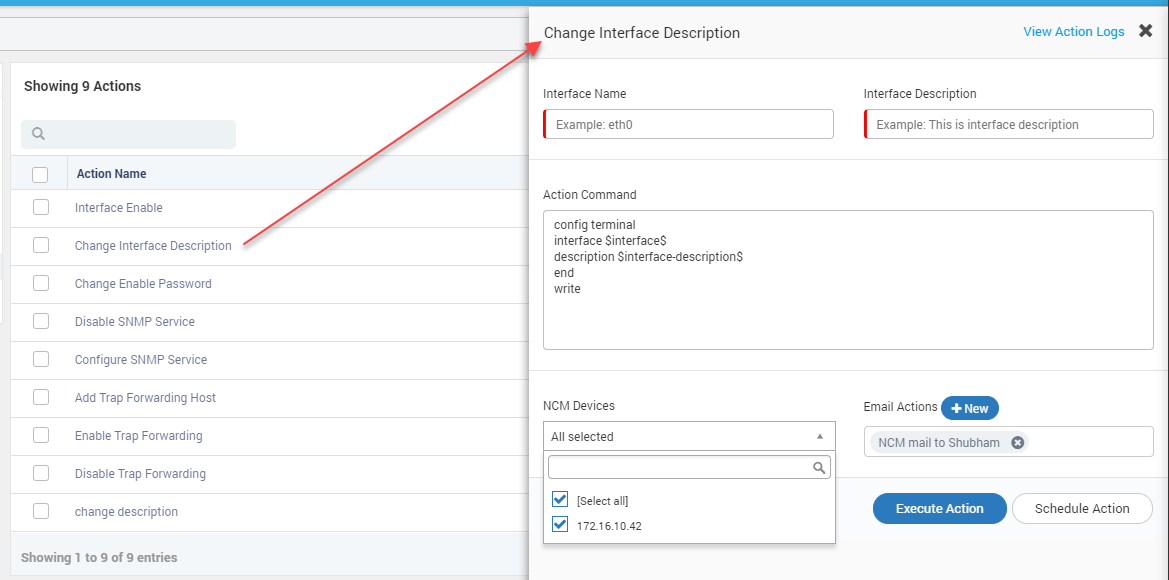
- Select the NCM devices on which the command should be executed.
- Click on Execute Action or Schedule Action
- Execute Action: Click the Execute Action button to run the backup instantaneously.
- Schedule Action: Click the Schedule Action button to schedule the backups.

- Provide the name of the scheduler.
- Select time of the schedule.
- For scheduling job at specific time, turn on ‘Repeat this job’ and configure the repeat schedule.
The scheduler name and email at the top shows the list of existing schedulers for this action. For a new scheduler it is blank. But if there are existing schedulers running for the action, you’ll see it there.