15.4. Create a New Project
Note
Technicians with necessary permissions can create a project. Learn more.
A technician can create a new project in the following way:
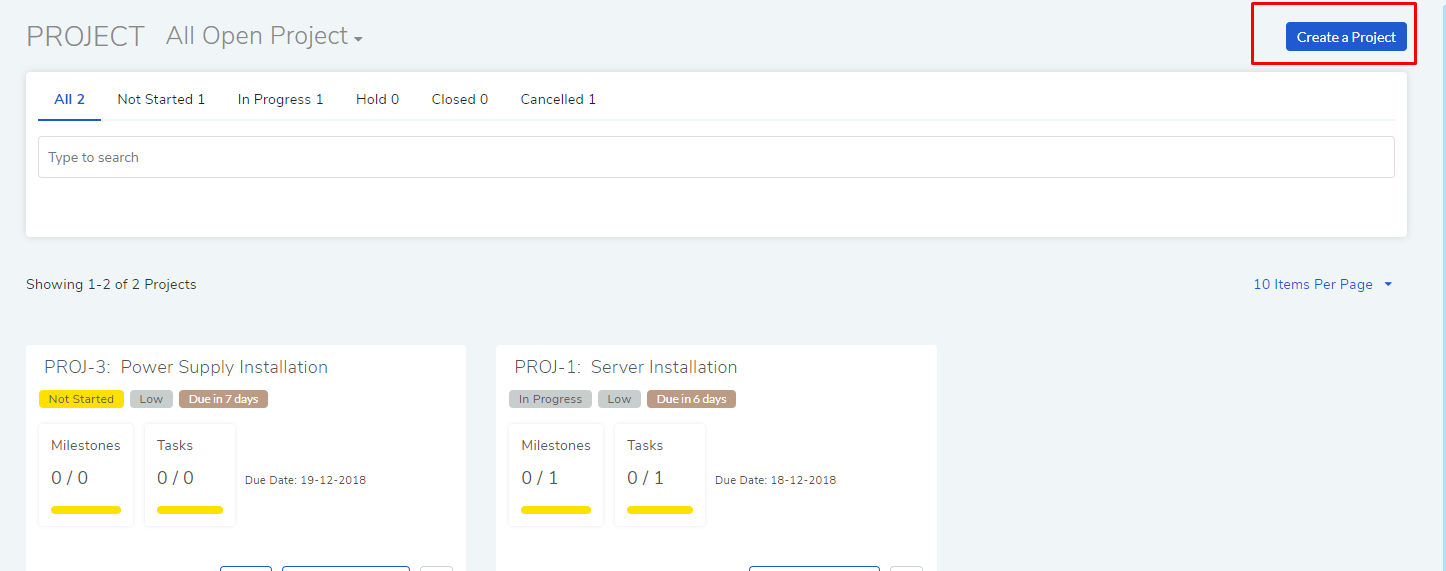
He goes to the project list page.
He clicks on the Create a Project button situated in the top right corner of the page.
A dialog box opens where the technician can enter the following inputs:
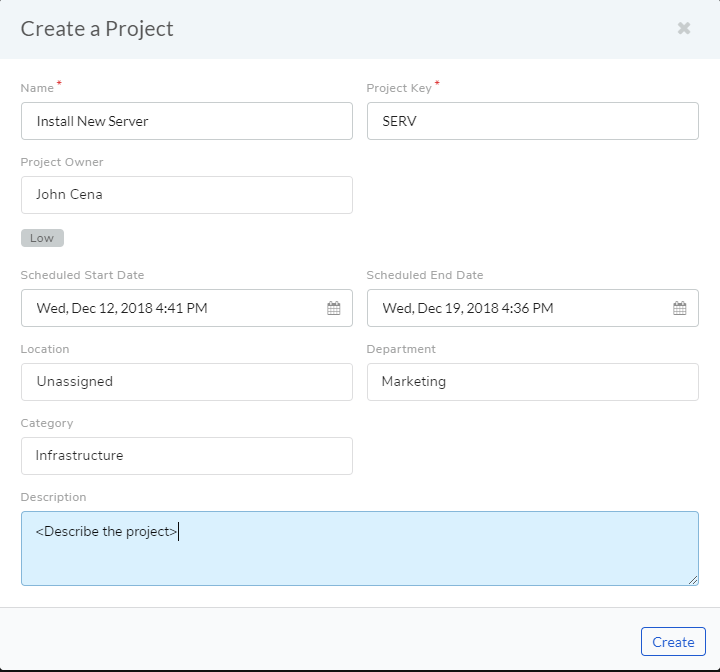
Name of the project in the name field.
Project Key: The project key will be used to generate unique ids for tasks created in the project.
Set the project owner. He/she will be the assigned technician.
Set the priority of the project.
Set the Start and end date of the project.
Set the location of the project; this applies location scope to the project. To be member/owner of the project, a technician has to have the location permission (or All Location permission) as set in the project. Learn more about location scoping.
Set a Department. Learn how to add more departments
Set a Category. Learn how to add more Category
Write a description of the project.
When done, the technician will click on Create.
15.4.1. Project Visibility
A new project is visible to the creator only by default.
Projects follow location scoping when it comes to visibility, which means a technician has to have the permission of the location of a project. A project inherits the location of the creator.
A project creator can assign an owner and members, which allows others to view the project. During assignment, the technician list is filtered based on the location permission of the creator.