12.14. Manually Uploading a Patch
A user can upload a Patch manually and deploy the same across multiple computers. This feature is useful in the following scenarios:
In an office where there’s no internet connection, and the servers are hosted locally.
Following are the steps to upload a Patch manually:
Go to Patch List View.
Click on Add Patch from the Action Menu.
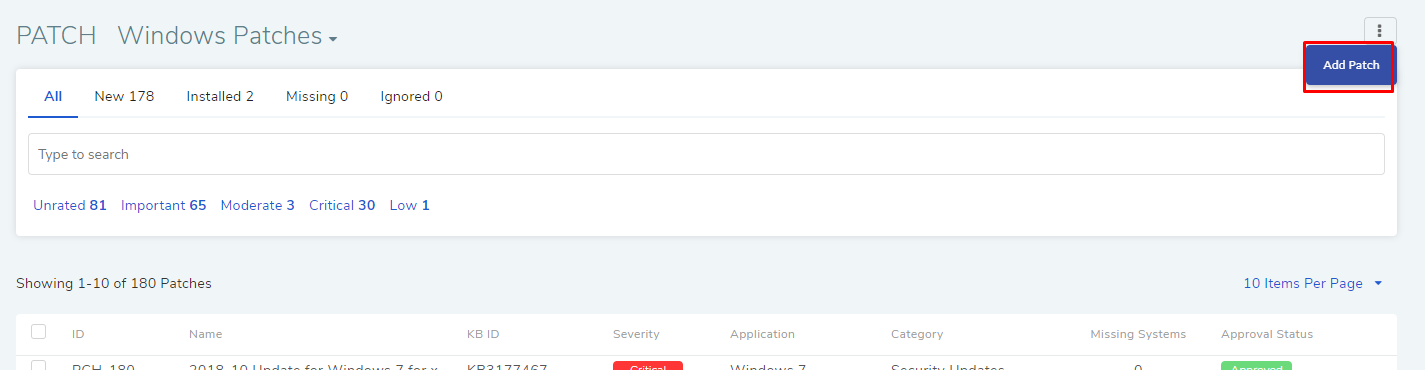
The Add patch page opens with the following fields:

Name of the Patch.
Name of the Platform (Currently Windows).
Severity as defined by the Patch vendor.
Supported architecture.
Update category: mainly talks about the type of the Patch. Selection is done from a predefined list.
Software Catalog: you have to relate the patch with a software in the catalog. Learn how to add software in Software Catalog.
Reboot requirement.
Description of the Patch.
Windows specific details (KBID, Bulletin ID and Release Date). Refer Software vendor site for this info.
When done, click on Done. The Patch will be added to the Patch List.
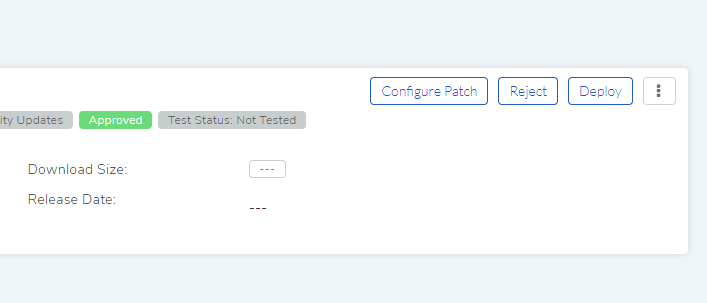
Now you have to configure the location of the file in the Patch that you have added.
Open the Patch from the Patch List View.
Click on Configure Patch.
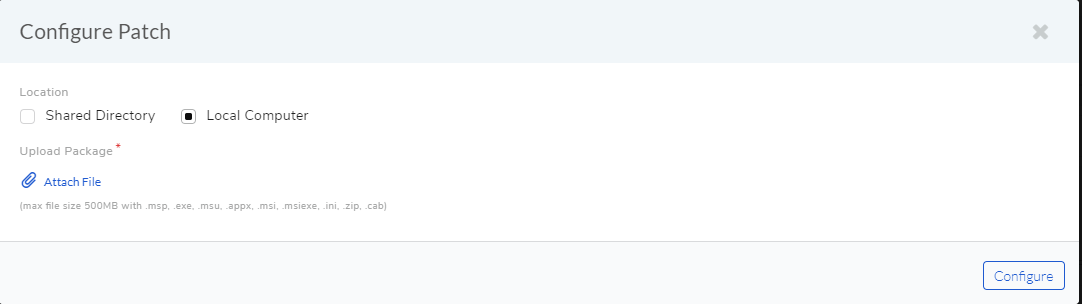
A dialog box opens where you can add multiple share drive file paths or upload files.
Now you can initiate a Deployment Request using the uploaded Patch.