Scheduler Options
Create Scheduler
- Go to Schedulers.
- Click on the date tile to create a scheduler. You will see a popup with Job Types.
- Click on th + Add for job type you want to create.
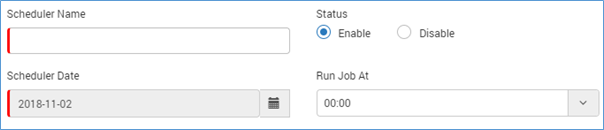
- Name: Type the scheduler name.
- Status: In status, select Enable/Disable to enable or disable the schedulers respectively.
- Scheduler Date: Select the date if you want to scheduler the job on a different date.
- Run Job at: Select the time when the scheduler should run.
- Job Specific Information: Based on the job type, the fields (in grey color background) can vary.
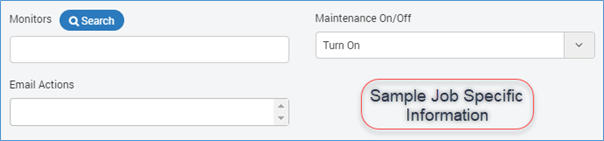
- Repeat: Select yes to repeat the job. When enabled, it shows additional fields to configure repeat schedule.

Edit Scheduler
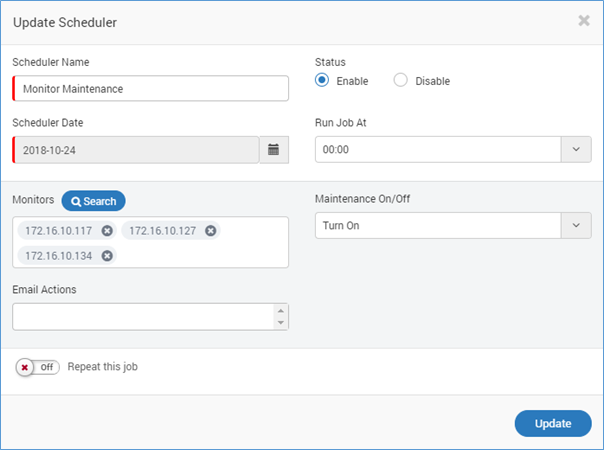
Click on edit icon of the scheduler in scheduler screen to edit it.

Edit a scheduler shows the popup with all details filled. Make the desired changes and save.
Run Scheduler
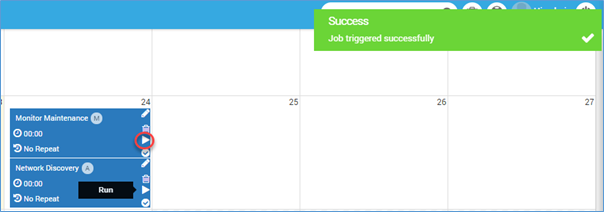
Click on the run icon run a Scheduler. The scheduler however runs by default on the configured time. You will see a success dialog box about status of the job.
Delete Scheduler
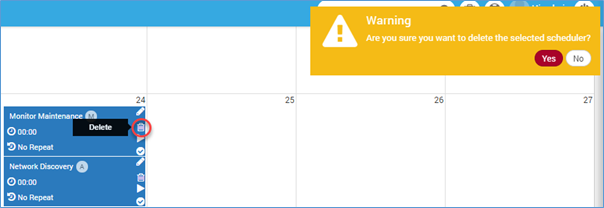
Click on the delete icon to delete the scheduler job. The system shows a warning dialog box to prevent accidental deleting of job.
Enable/Disable
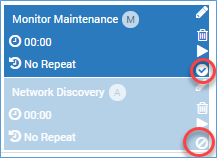
The color and the icon of the widget shows that a job is enabled or disabled. When disabled, a job gets greyed out. You cannot run a job when disabled but can edit or delete it.
In next sections, we will discuss the job types available in the scheduler.