7.2. Create a Contract
A Contract formalizes the relation between two commercial entities. You can add n number of Contracts in the product; adding a Contract starts the process of Contract Management.
Some benefits of automatic Contract Management:
Diminish of risk of expired Contracts.
Reduce admin cost.
Improve contract renewal rate.
Increase compliance level.
Better manage the life-cycle of a contract.
To add a Contract:
Log in to the Technician Portal.
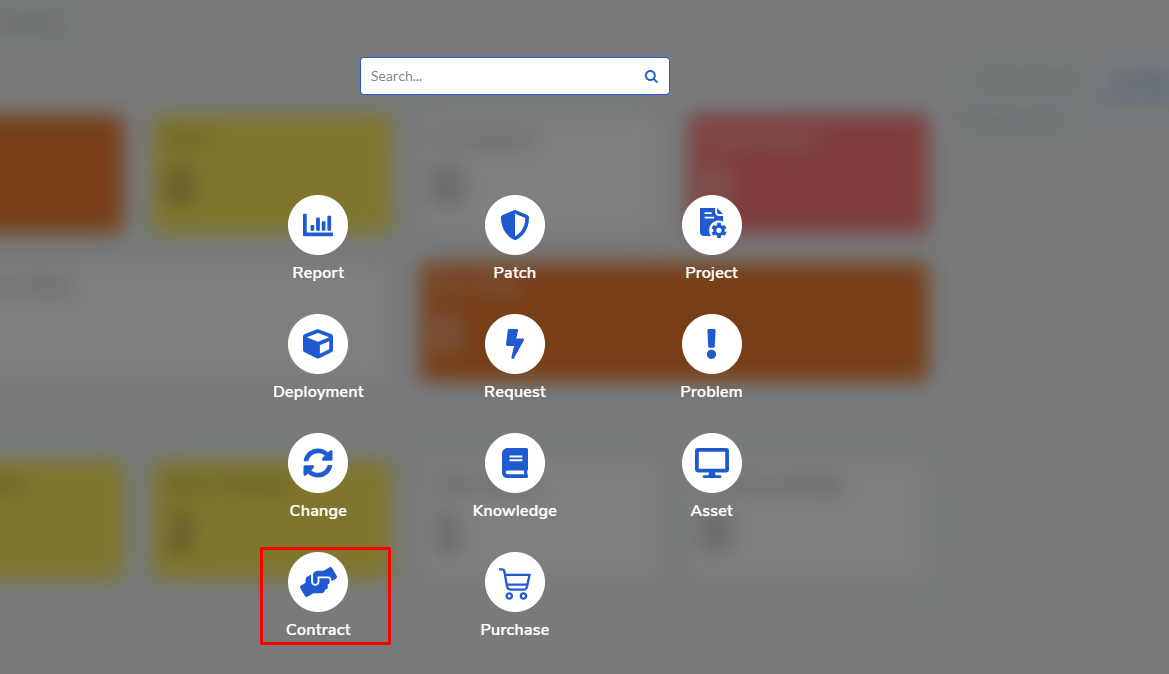
Click on the Launcher Icon and then Contract.
The Contract List View opens. Here you can view all existing contracts in the system. Click on Create a Contract button situated in the top right corner of the page.
The Create a Contract dialog box opens. Here you get the following fields:
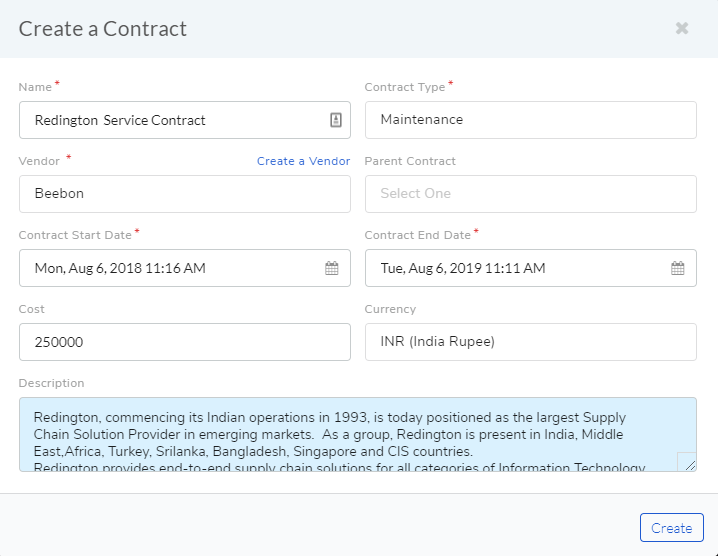
Name: This is the name of the Contract. A ideal name should signify the purpose of the Contract.
Contract Type: Select a contract type from a list of predefined types. Learn how to add a Contract Type.
Vendor: Here you select the vendor with whom the contract is made. The vendor name has to be present in the vendor list in order to add the vendor. You can add a new vendor using the Create a Vendor button. Learn how to add a Vendor.
Parent Contract: If you want the contract to be a sub-contract of another contract then select the parent contract from the drop-down list.
Start and End date: Enter the validity period of the contract using the start and end date fields.
Currency: Enter the Currency in which the transaction will happen from a predefined. Learn how to add Currency.
Cost: It is the cost of the transaction involved.
Description: Add a description of the nature of the transaction.
Once you are done filling the fields, click on Create to add the contract.
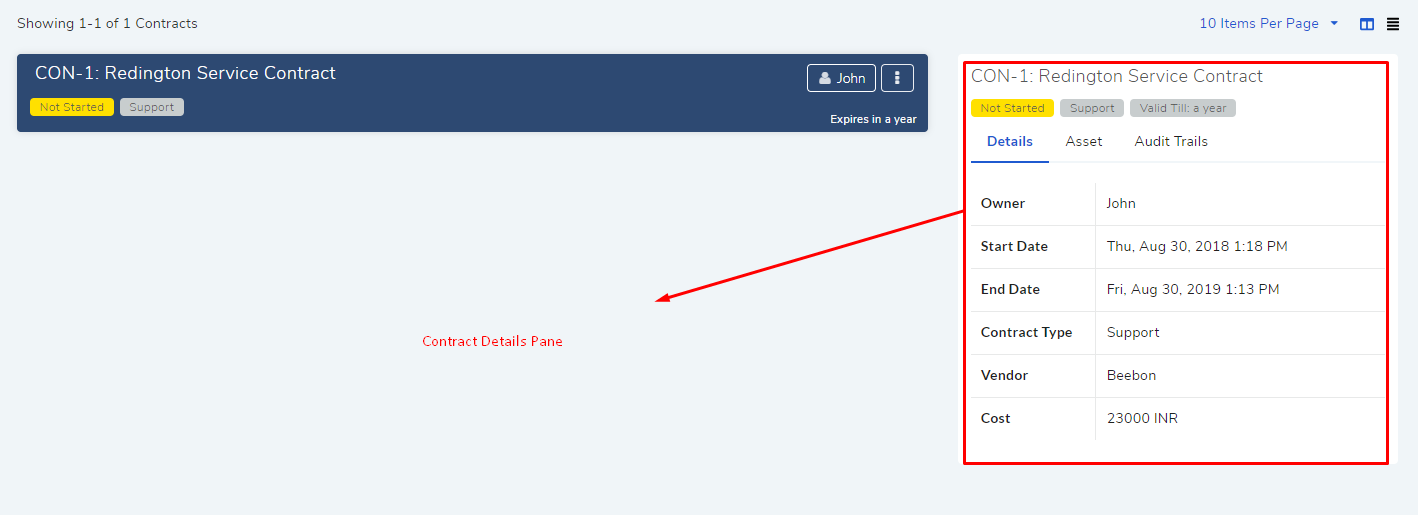
The new Contract is added to the Contract List View. There Technician can view the details of the Contract.