3.9. Change Workflow without Rejection:
The workflow starts with the submission of a Change (Request for Change) by a Requester.
A Technician is assigned to the Change, and then he assigns a Change Manager.
Either the Assignee, Change Manager or anyone with the update Change right can approve the Change, and it then moves to the Planning Stage.
In the Planning stage, anyone who has the update Change right can complete the Planning stage and move the Change to the Approval stage.
In the Approval stage, the assigned Technician appoints approvers for Approval. He can appoint n number of approvers. Alternatively, the RFC can go to approvers automatically if there are pre-defined workflows already.
An approver gets to see his Approvals in the My Approvals section of his account.
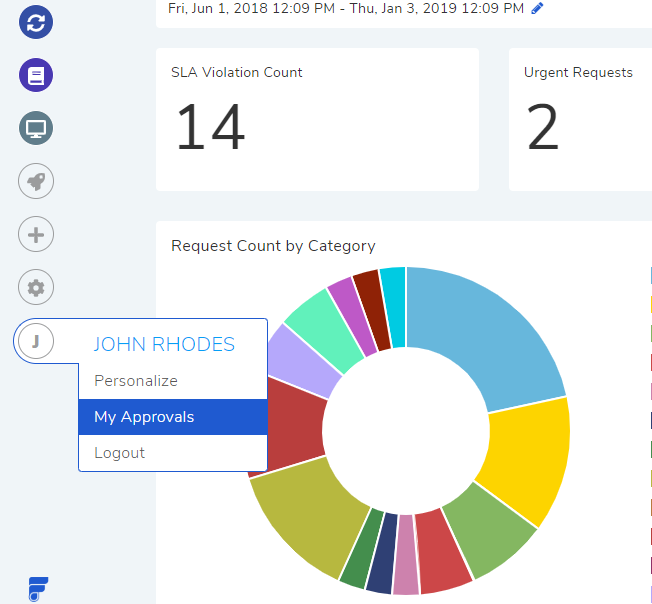
Clicking on My Approvals (
cmf-50) opens the My Approvals page where the approver can view his Approvals.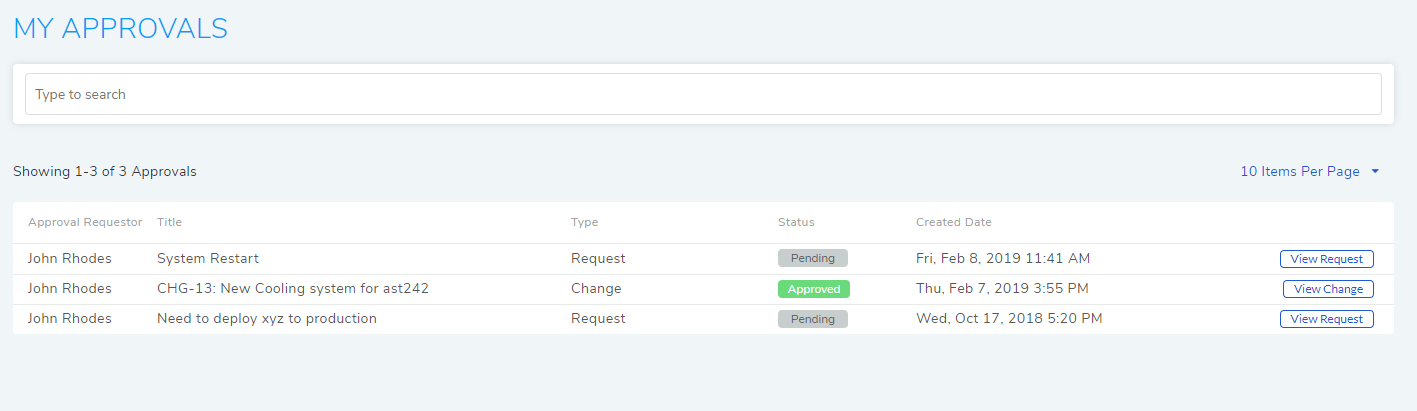
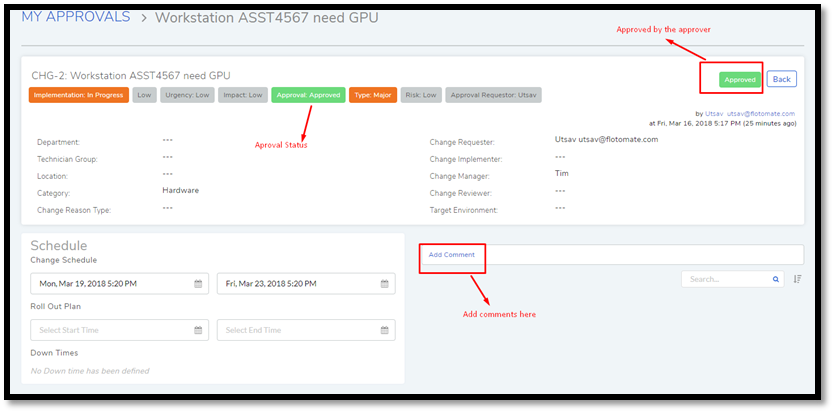
Clicking on an Approval opens a page with the subject line as the page header title. It resembles the Details View of a Change but has no editing capabilities.
Here the approver can start conversation threads and finally decide whether to approve or reject the Approval. Anyone can be part of these conversation threads as long as he/she has access to the comment section.
On approval, either unanimous or majority, the Change moves to the Implementation stage. A Technician with update Change right assigns a Change Implementer and Change Reviewer.
At this stage, the Change is implemented. On success, the Change is marked as Completed.
The Change moves to the final stage where the Change Reviewer audits the Change implementation. On successful audit, the Change is marked as Completed. This ends the journey of the Change in the system.
3.10. Change Workflow with Rejection:
At any given stage a Change can be either rejected or put on hold.
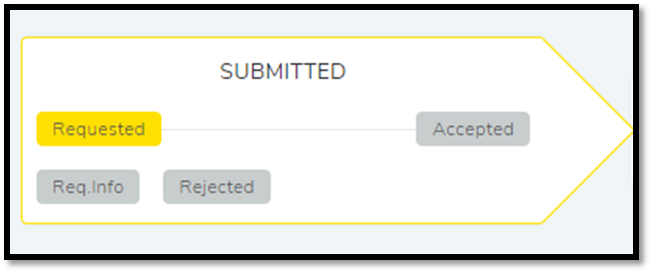
In Submitted and Planning stage, any Technician with update Change rights can reject the Change using the Rejected/Cancelled button after the Change has an assigned Technician.
The Req.Info (button name can be modified and additional buttons can be added) button (
cmf-53) puts the Change on a custom status. It is a way to tell the requester to provide further information for the Change to move forward.
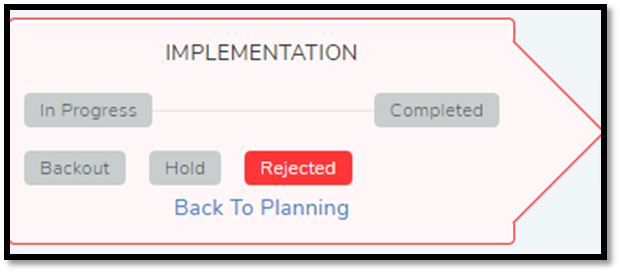
In Approval and Implementation stage, the Rejection button rejects a stage. A Technician can put the Implementation on a custom status (Backout and other custom buttons) or send the Change back to Planning stage by clicking on Back to Planning (Only after rejecting the stage).
The In-Review stage has the Req.info (you can add other custom buttons) for putting the Change on a custom status and Failed to reject.
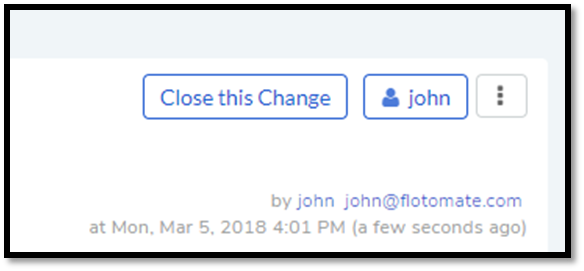
On rejection, a stage turns red, and the Technician can close the Change by clicking on Close this Change situated in the top right corner of the page.
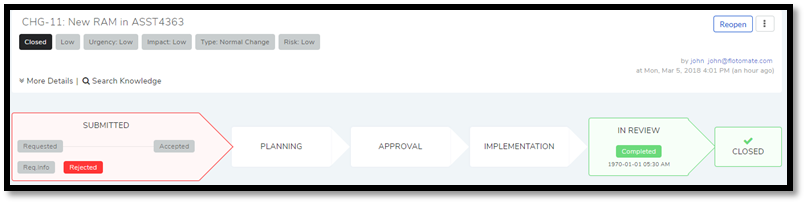
The Change reaches the last stage and closes with the status Closed. A
Technician can reopen the Change by clicking on Reopen (cmf-56).