Windows RDP Agent Installation Guide
This document describes the steps for installing the Motadata Windows RDP Agent.
System Requirements
- Windows 8 and above versions
- OS – Windows (32 & 64 bit)
- .NET version 4 and above
- Microsoft Visual C++ 2015 and above
Prerequisites
Before installing the RDP agent, the respective asset (Agentless or Agent-based) must be discovered in ServiceOps.
The ServiceOps Server Client Domain name or Domain URL must be publicly accessible. If it is not, add its host entry on the client agent machine (target machine - where Motadata ServiceOps Agent is installed). You can add the host entry at the below path:
- Windows OS: c:\Windows\System32\Drivers\etc\hosts
Syntax for host entry:
{Live IP Address} {ServiceOps Server Client Domain name}
For Example:
172.16.12.134 demo.motadataserviceops.com
Fulfill the below prerequisites in case of the remote agent bulk installation being performed either by using GPO or utility.
- File sharing should be allowed.
- UAC (User Access Control) should be allowed in the Registry Editor from the path: Computer\HKEY_LOCAL_MACHINE\SOFTWARE\Microsoft\Windows\CurrentVersion\Policies\System\LocalAccountTokenFilterPolicy.
- Add a folder (C:\Windows) in the Exclusions section under Virus and Threat Protection Settings.
- If Firewall is on, allow the below Inbound Rules:
- Windows Management Instrumentation (DCOM-In) (Private, Public)
- Windows Management Instrumentation (DCOM-In) (Domain)
- Windows Management Instrumentation (WMI-In) (Private, Public)
- Windows Management Instrumentation (WMI-In) (Domain)
- Remote Service Management (NP-In) (Private, Public)
- Remote Service Management (NP-In) (Domain)
If the agent does not get installed after fulfilling the above prerequisites, reboot the machine, and try again to install the agent.
Installation Links
- Windows (32 bit): Click Here
- Windows (64 bit): Click Here
Installation in Windows
Download the latest RDP Agent msi file.
Run the msi file with administrator rights.
The User Access Control popup will appear. Click Yes and continue with the installation.
Follow the wizard as per the below mentioned screenshots:
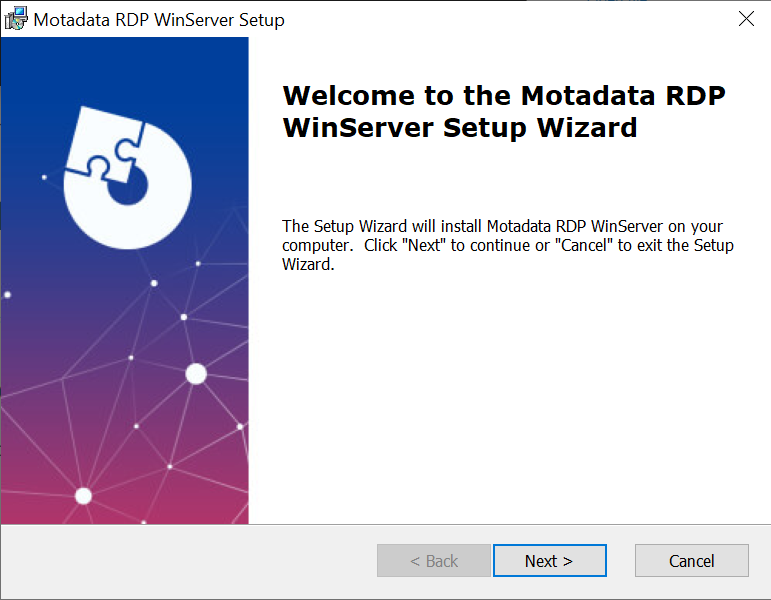
a. Click Next.

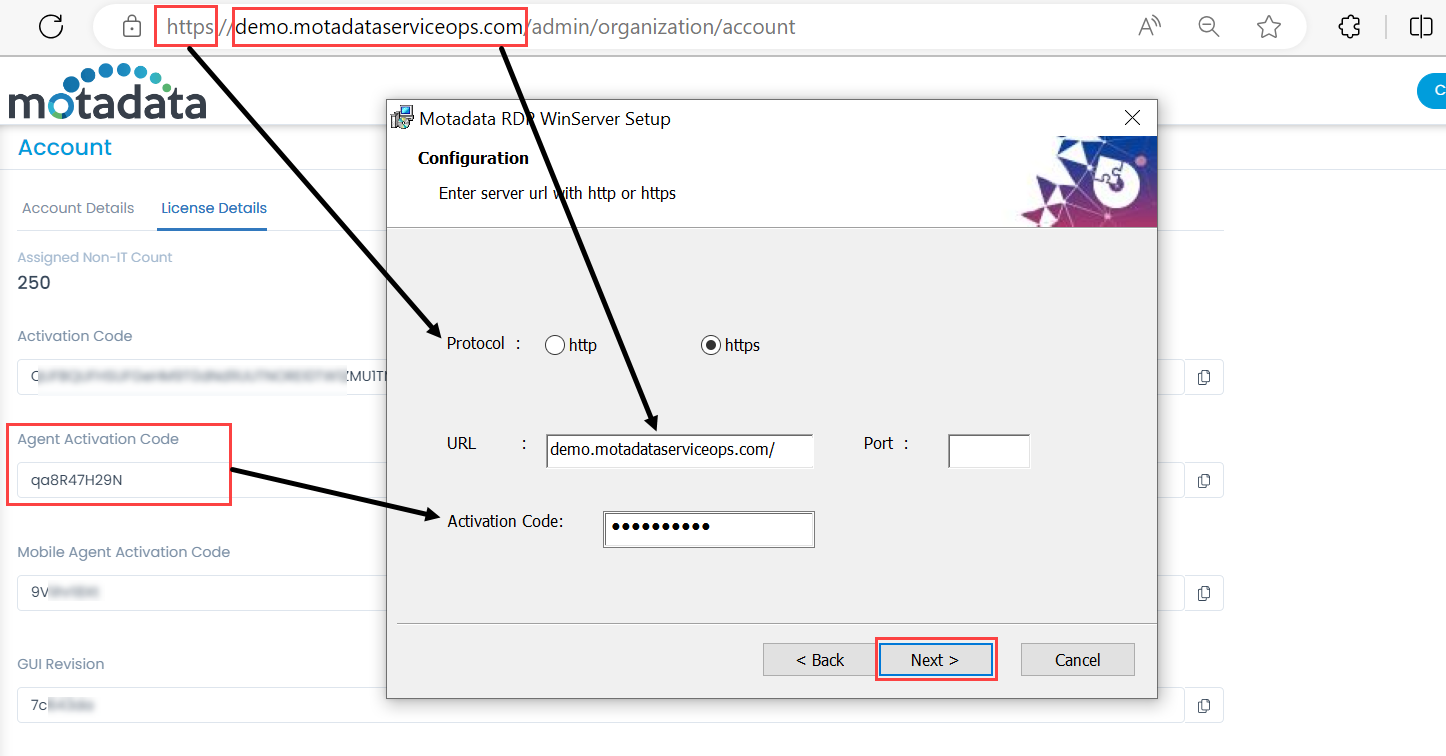
b. It will ask for URL and Port. Select a Protocol based on what the URL supports. If there’s no Port, then leave it blank. You can get the activation code from Motadata ITSM tool in Admin > Organization > Account > License Details tab.

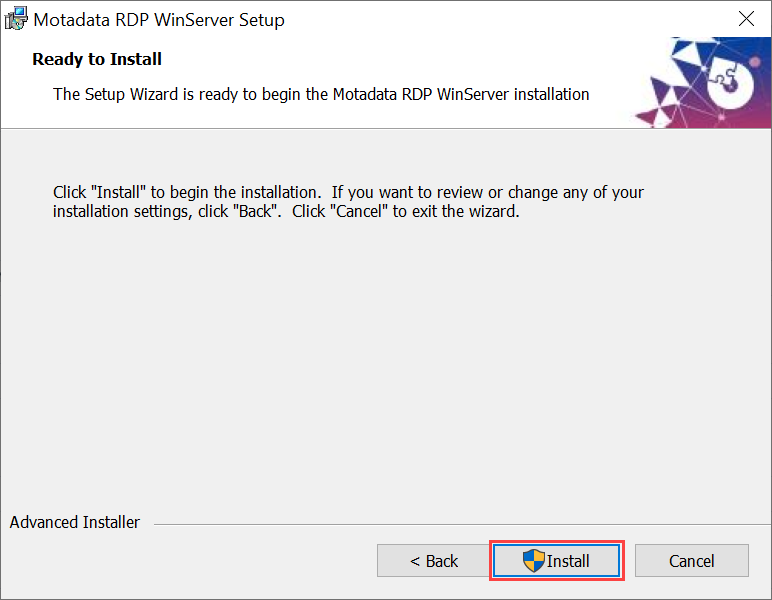
c. Click Install and finish the installation process.


Once installed, it will appear locally in the apps or Programs and Features Window. Also, the agent will appear in the RDP Agent tab of the RDP Configuration page shown below.
